Hey all,
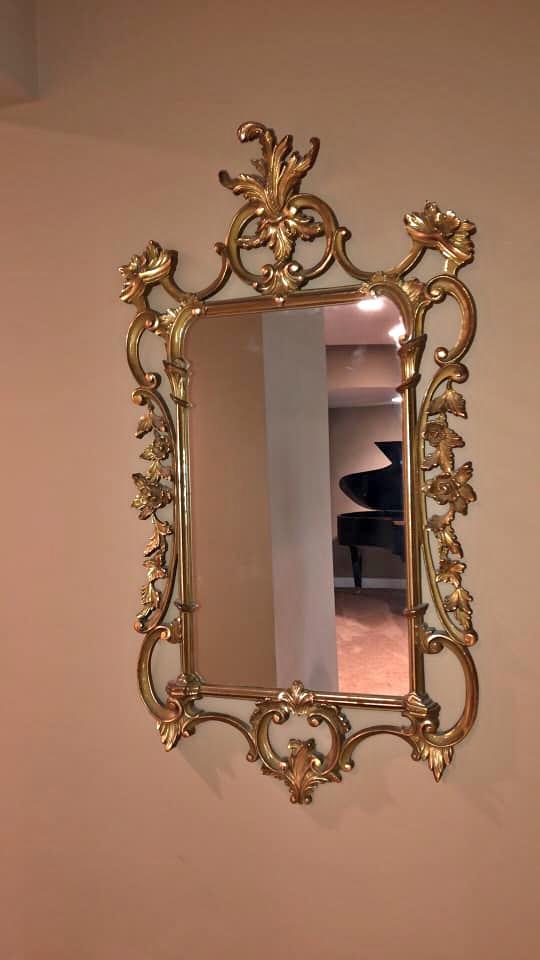
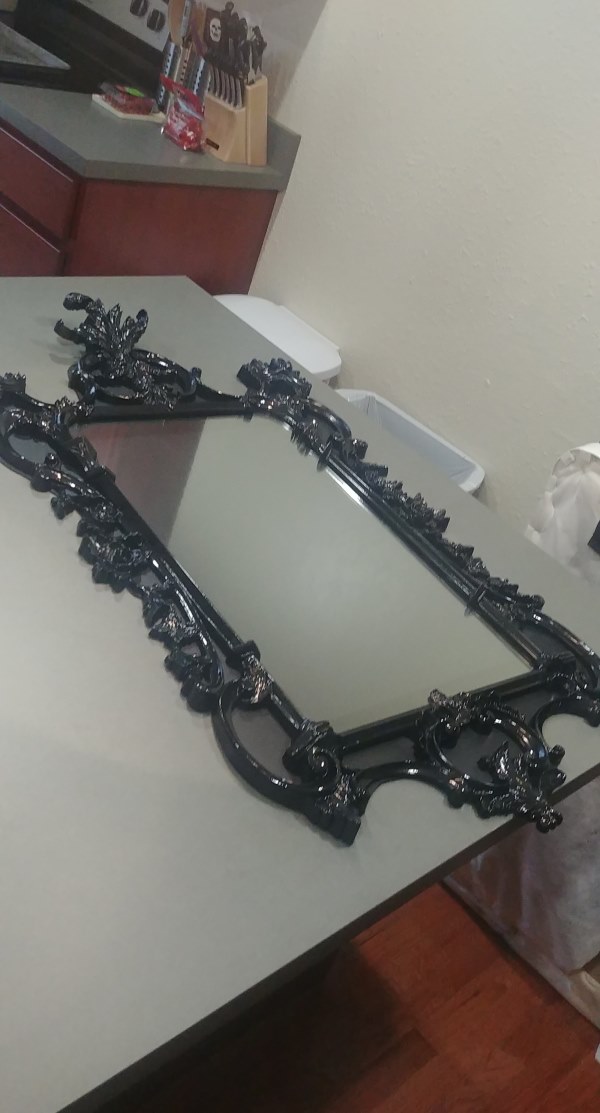
This is my first attempt at building a magic mirror. I think this one is quite unique in style and so I’d like to show it off. I started with an ornate mirror I found on Facebook Marketplace as seen here.
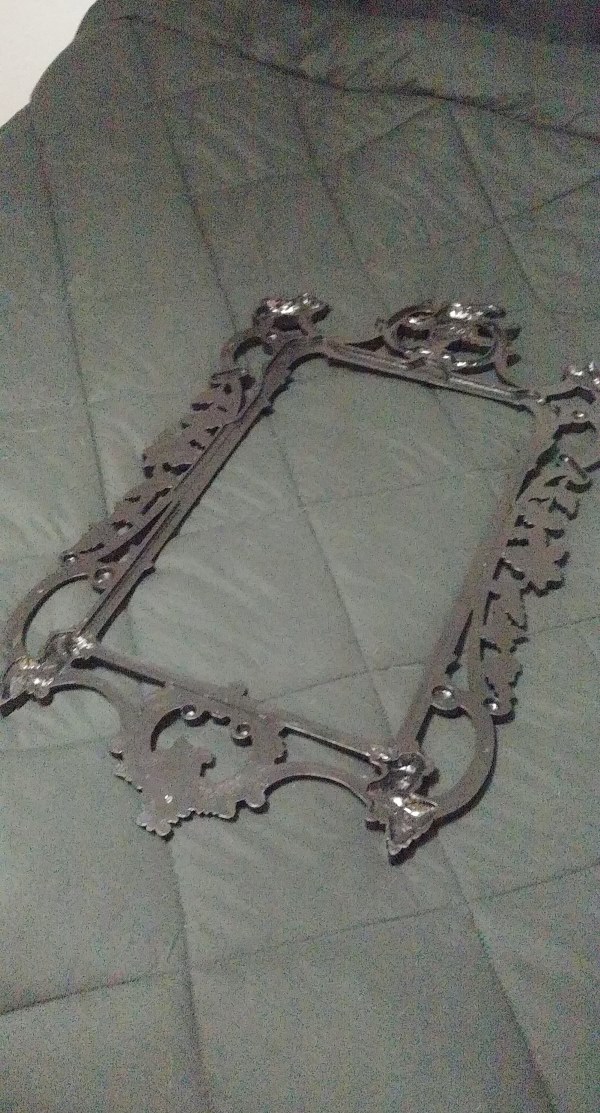
I have a personal aesthetic that I prefer to maintain, so I decided to make some cosmetic changes to this mirror, beginning with building a back panel for it and panting it black as shown here.
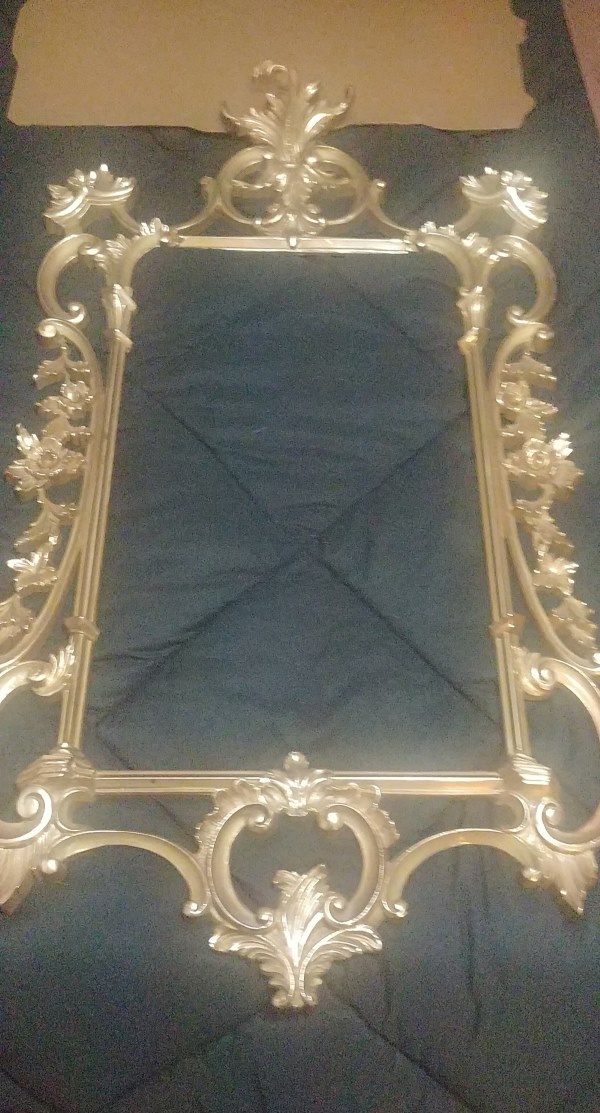
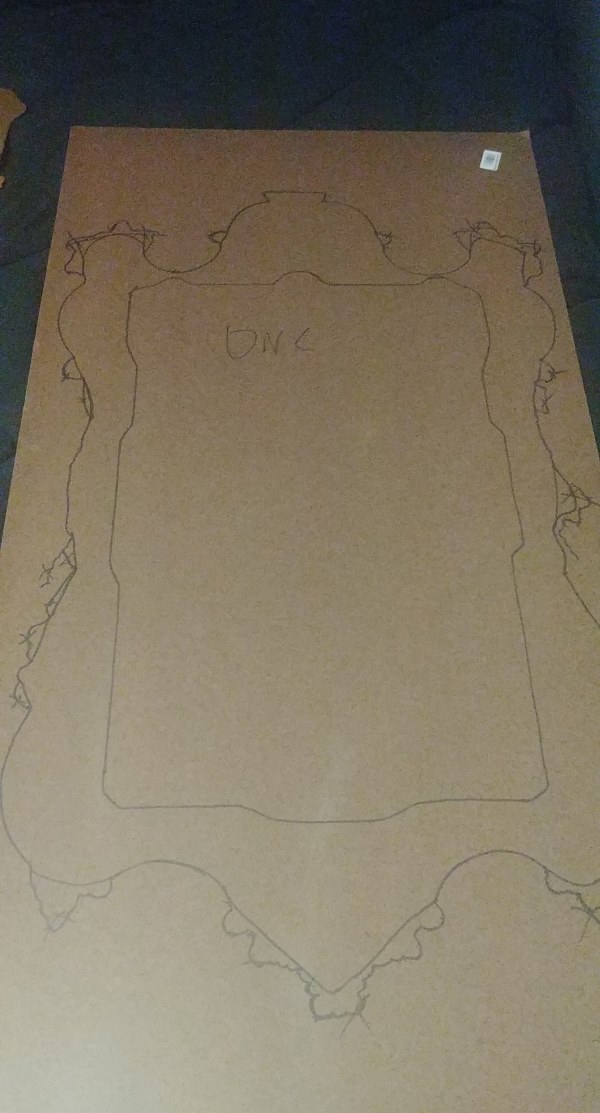
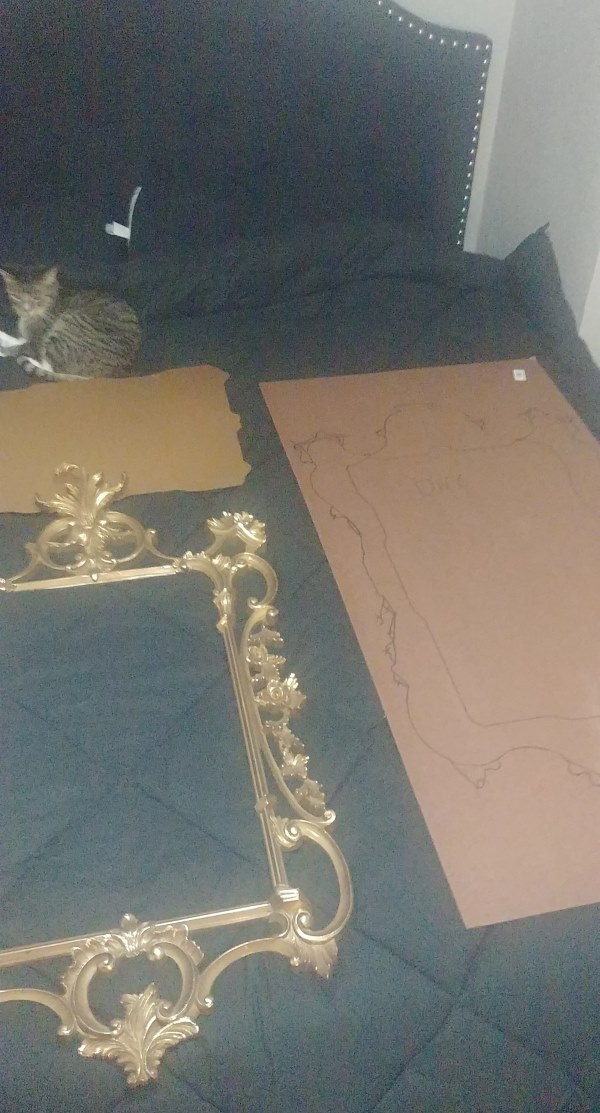
After getting the frame taken care of, I ran into a number of hurdles that I did not document via photos. I intended to reuse the original glass from the mirror for the two way mirror and bought some film that’s made to make the windows of an office building reflective. I had seen other people using this with some amount of success and it was the cheapest option. This turned out to be a fool’s errand because after all of the work of stripping the copper mirror off the back of the glass and then applying the reflective film, it was dull and did not reflect like a true mirror. I feel like this is something I should have expected, because that’s not the intent of the product, but I was hoping I wouldn’t have to shell out for an acrylic two way mirror. I ended up having to in the end, but for the final result I am glad I did. The next hiccup I ran into was my monitor. Originally I was using some cheap 22" LCD TV I had sitting in my closet from ages ago. The backlight bleed was so bad it bled through the mirror and was unusable, so I had to shell out for a proper monitor for the project. I ended up buying a Planar PLL2710W on ebay for about $50 before shipping. This fit the size and shape of my mirror almost perfectly (just a little shy on the width, which you can’t really even tell when looking at the mirror). Once I had this all taken care of and had loaded my raspi up with rasbian and the MagicMirror software, I was ready to assemble.
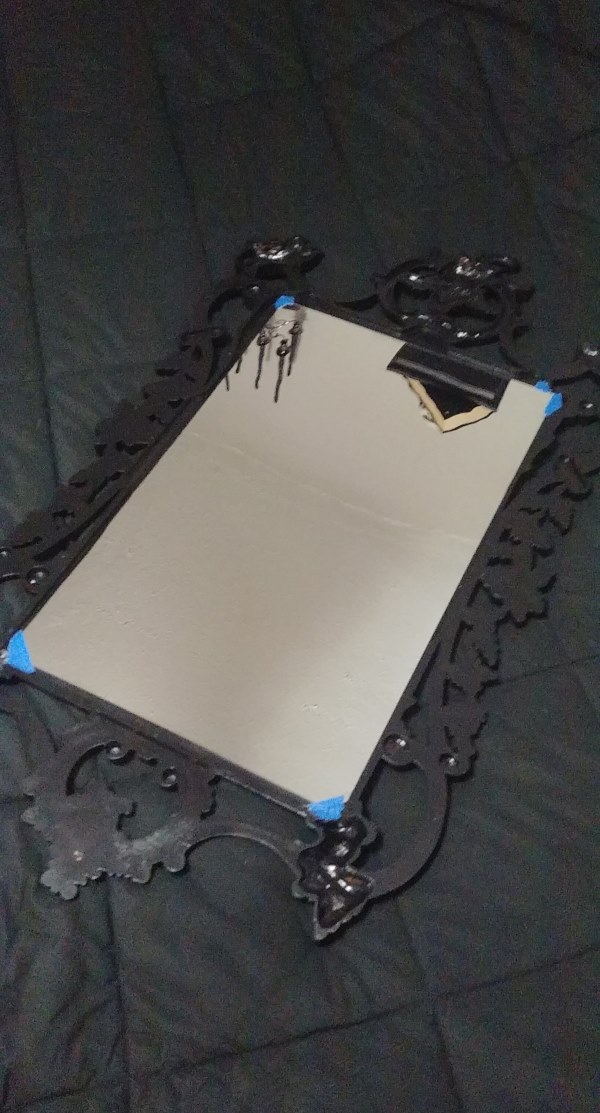
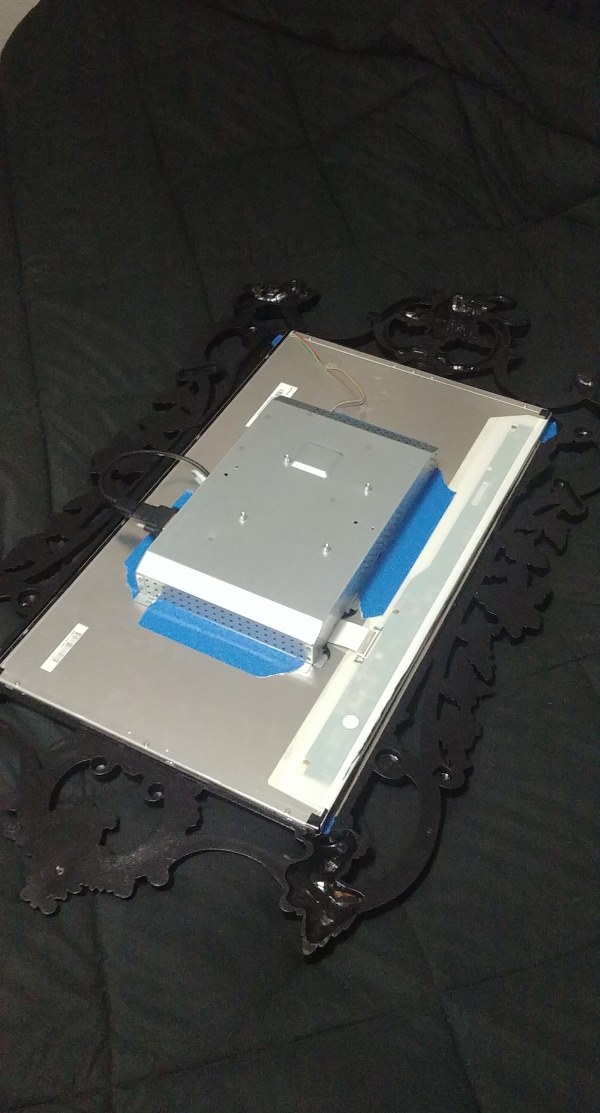
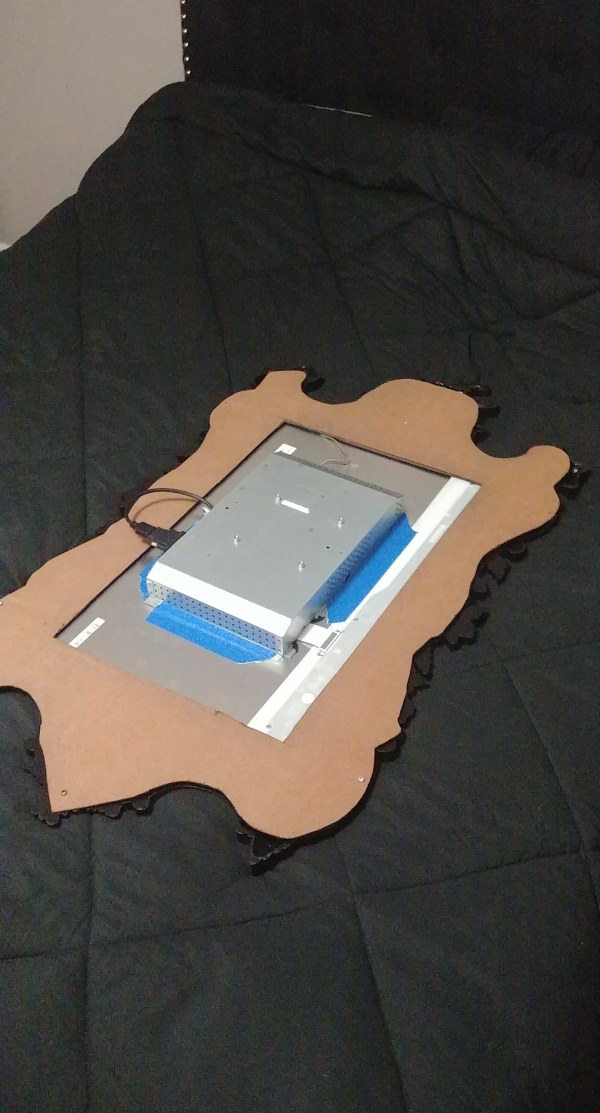
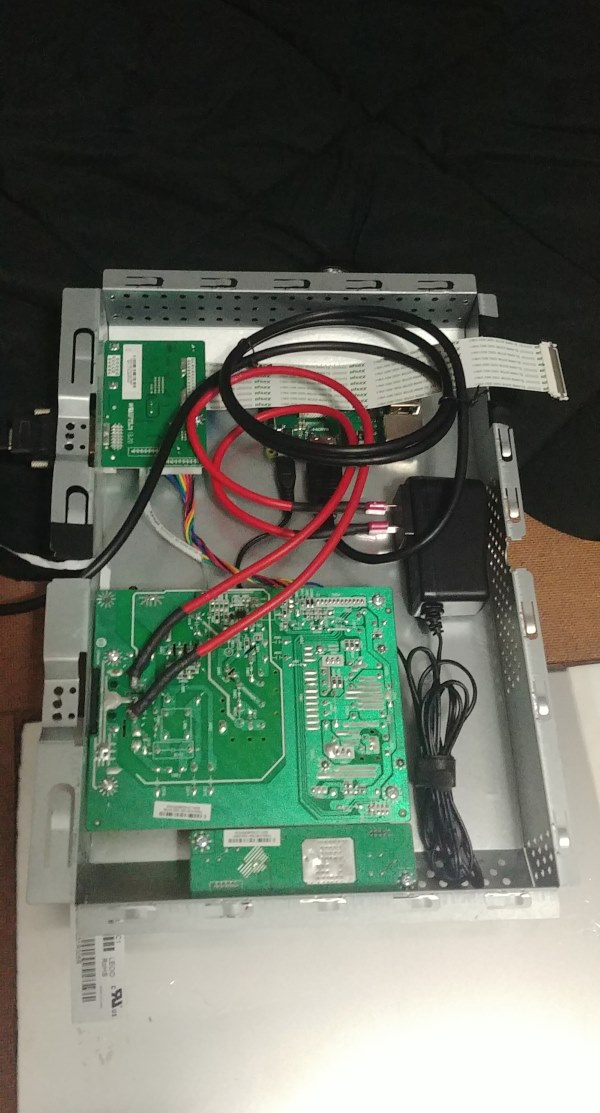
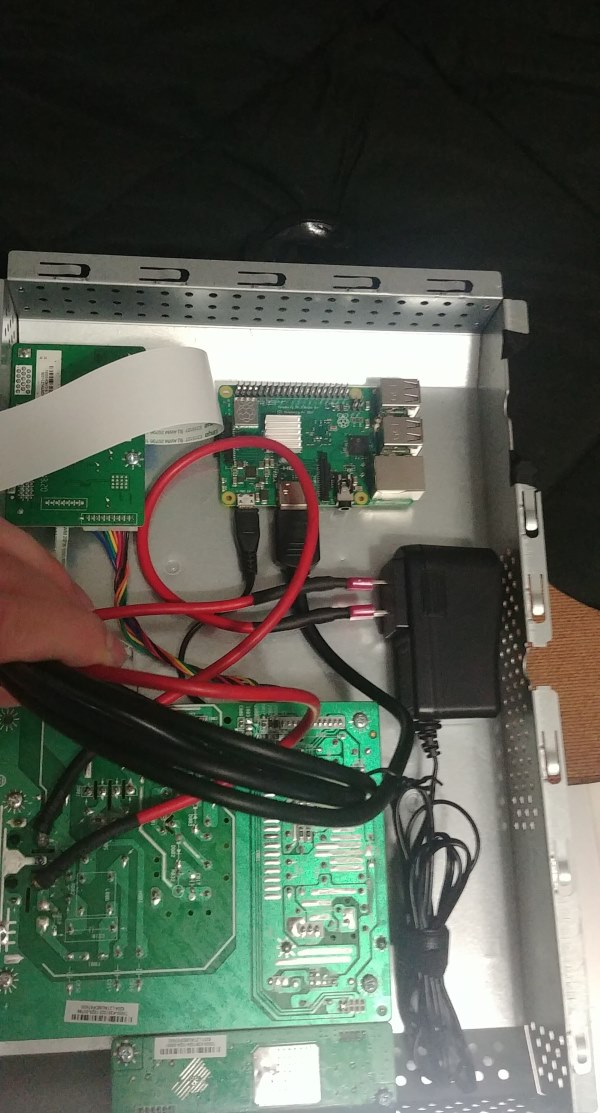
Now to show off the internals of the monitor. I soldered a couple of wires to the AC input on the monitor to share power through the AC power plug, so there’s only one power cord to the whole unit. There was also pleanty of room inside the housing of the monitor’s electronics to fit the pi, it’s power supply, and all the cables I needed. I’m very happy with the result of this.
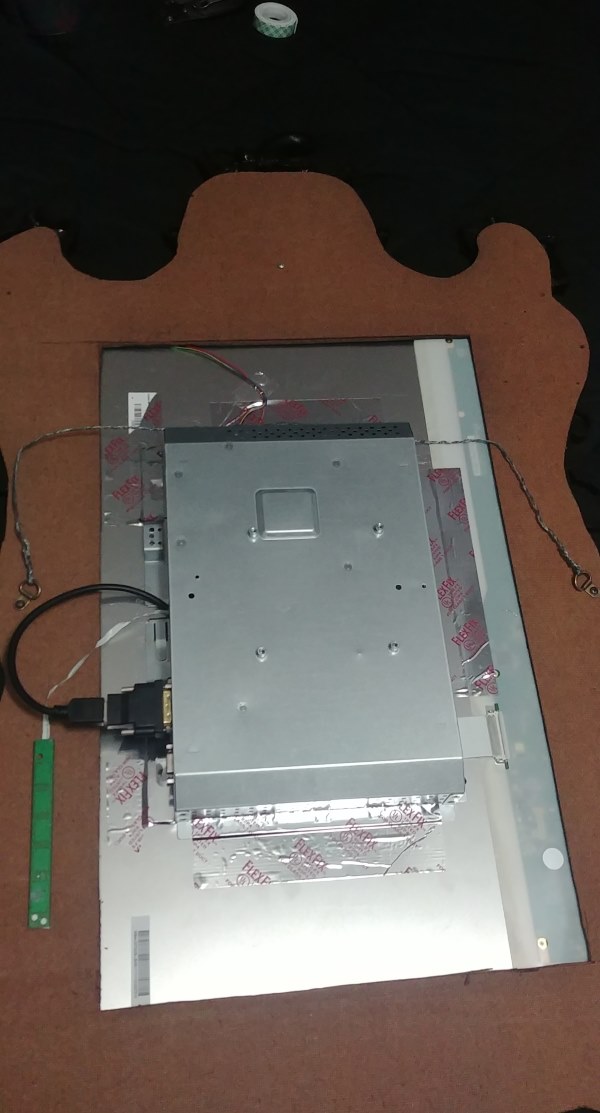
Then it was just a matter of buttoning it up with some aluminum tape, apply the wire to hang it with, and hang it.

Et voilà! The finished product with the pi running and everything.
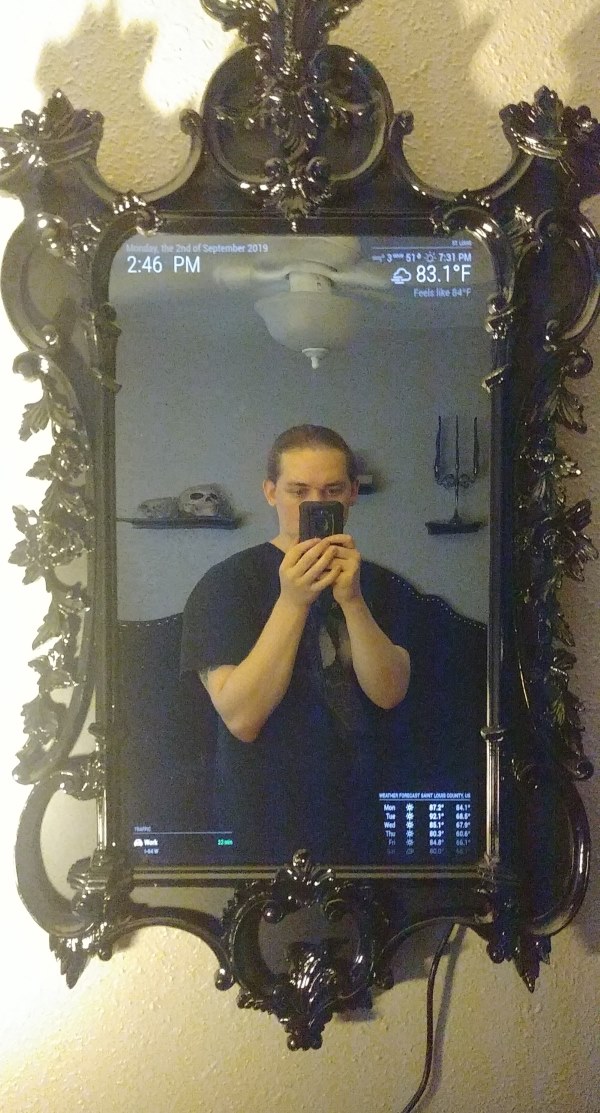
All in all this project (including the hiccups I made along the way) cost me about 200 USD. It’s more than I would be willing to pay for a product like this, but it’s almost funny how easy it is to justify the expense just for the experience of the project. This was an incredibly fun and immensely satisfying project to do, and just as satisfying to look at. If there are any changes I would have made, I would get a thicker piece of acrylic mirror, because this one does still have some ripple to it and does not display a flat reflection. I may buy a thicker piece of acrylic in the future to help with the reflection, but if anyone here has any suggestions as to any cheap or simple fixes for this, I would really appreciate them. It’s not so bad if you’re standing still in front of the mirror, but when walking by or moving around while looking at it, it’s very apparent. I also apologize for the crappy (and verical) photos, but I’m no photographer and I’m just using my phone. I also personally excuse the vertical photos because it’s a tall mirror lol. Thanks for reading this, I hope it looks as cool to others as it looks to me.