Full length mounted mirror
The project was to create a full length mounted mirror for the wife that we could have in the study and walk by each day.
Note: This is a follow on from my initial post here a few months ago.
Basic specs
Frame
38 x 130cm / 15 x 51"
Mirror
32 x 122cm / 12.5" x 48"
Tap Plastics 2-Way Mirrored Acrylic
Power
For the monitor I use a small WeMo Mini smart switch that’s hooked into my Samsung Smartthings hub. This then talks to a sensor I have in my lounge room so the mirror monitor turns on when it senses activity but turns off after 20min of inactivity.
Modules
Will update ASAP
First frame
My first attempt at a frame went fairly well but I made the critical mistake of building the frame before I had the glass and also not making it completely square.
This meant that when I received the acrylic it didn’t fit perfectly and meant I would’ve needed to do some serious adjustments. By this stage I had spent hours on this frame sanding, puttying (including all photos for honesty!) and preparing to paint.
So instead I started again (cheap wood) and this time made sure I
-
- Made things square!
-
- Took the time and didn’t rush

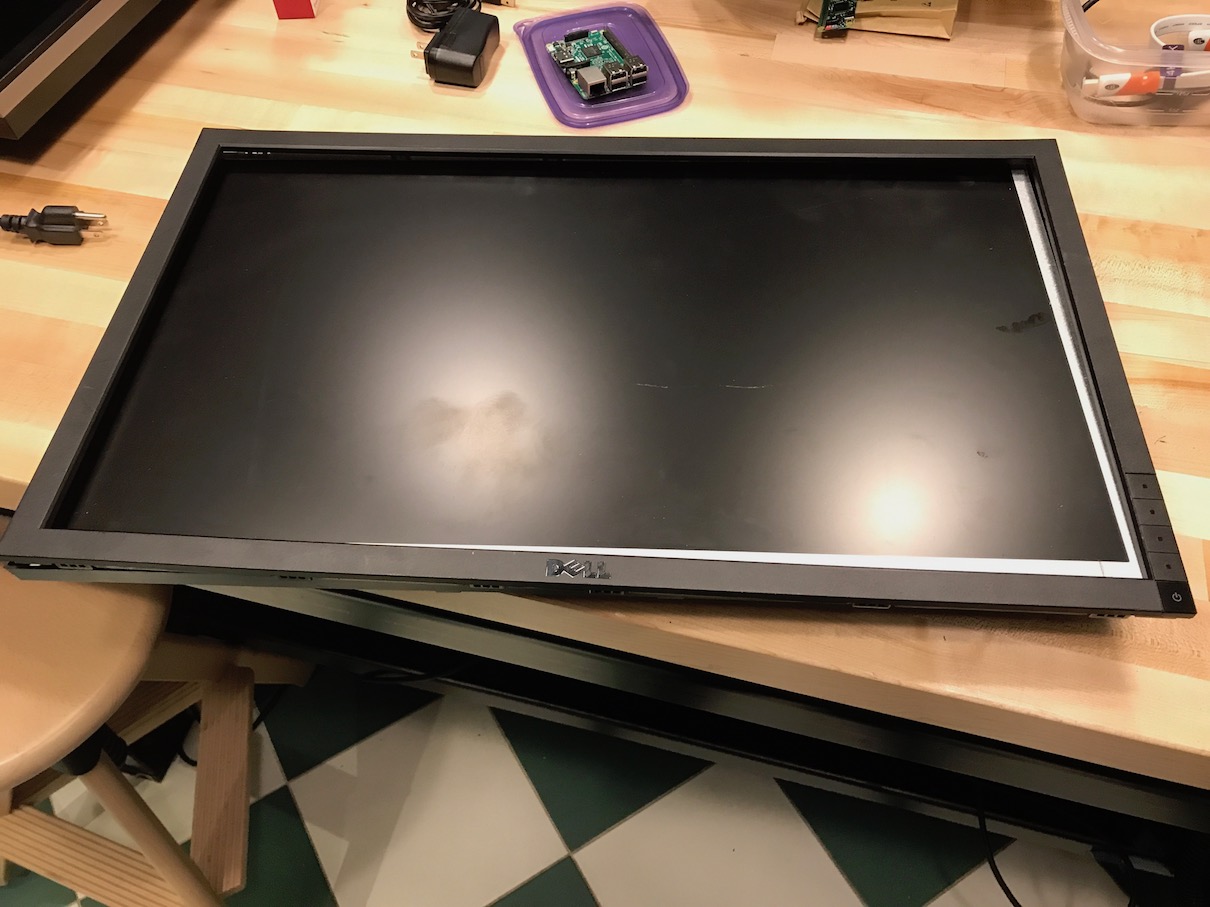
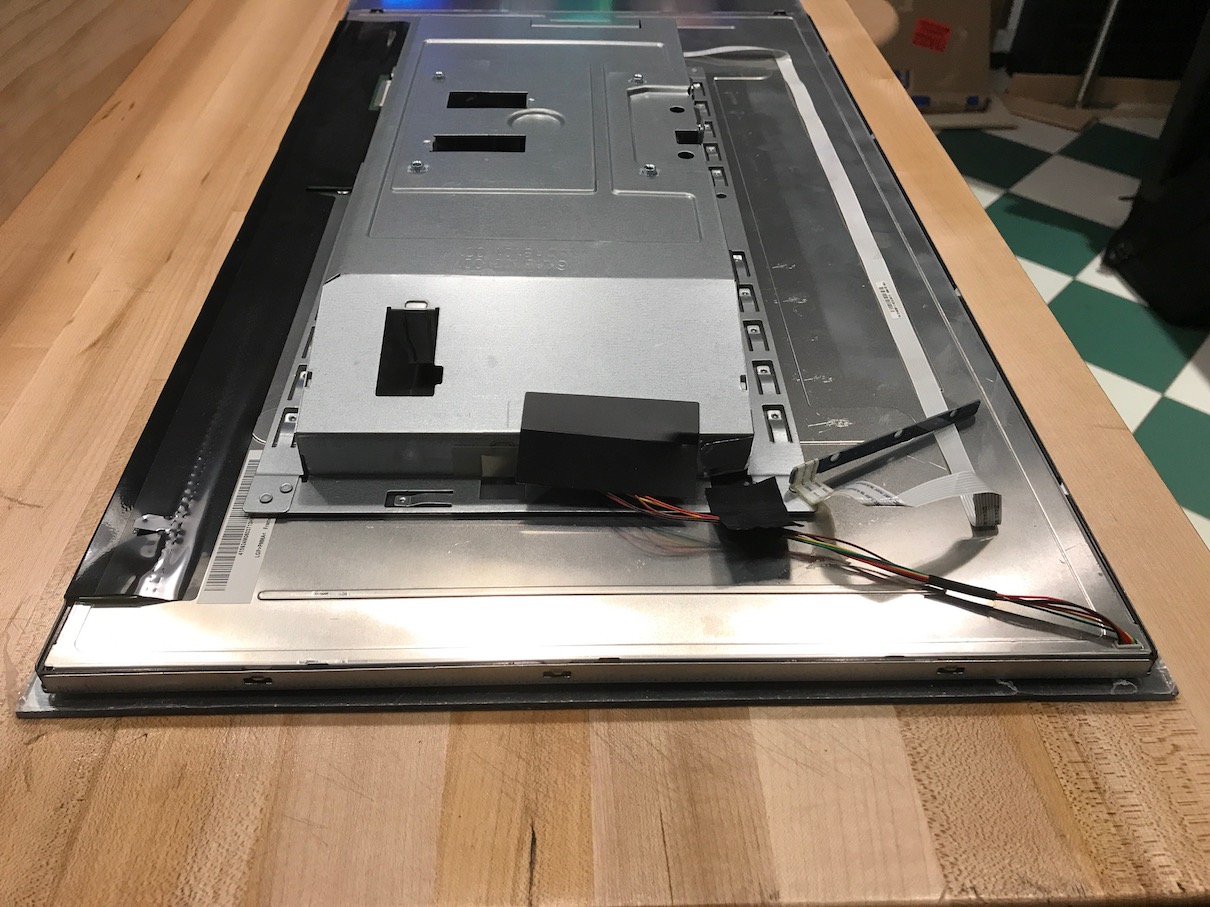
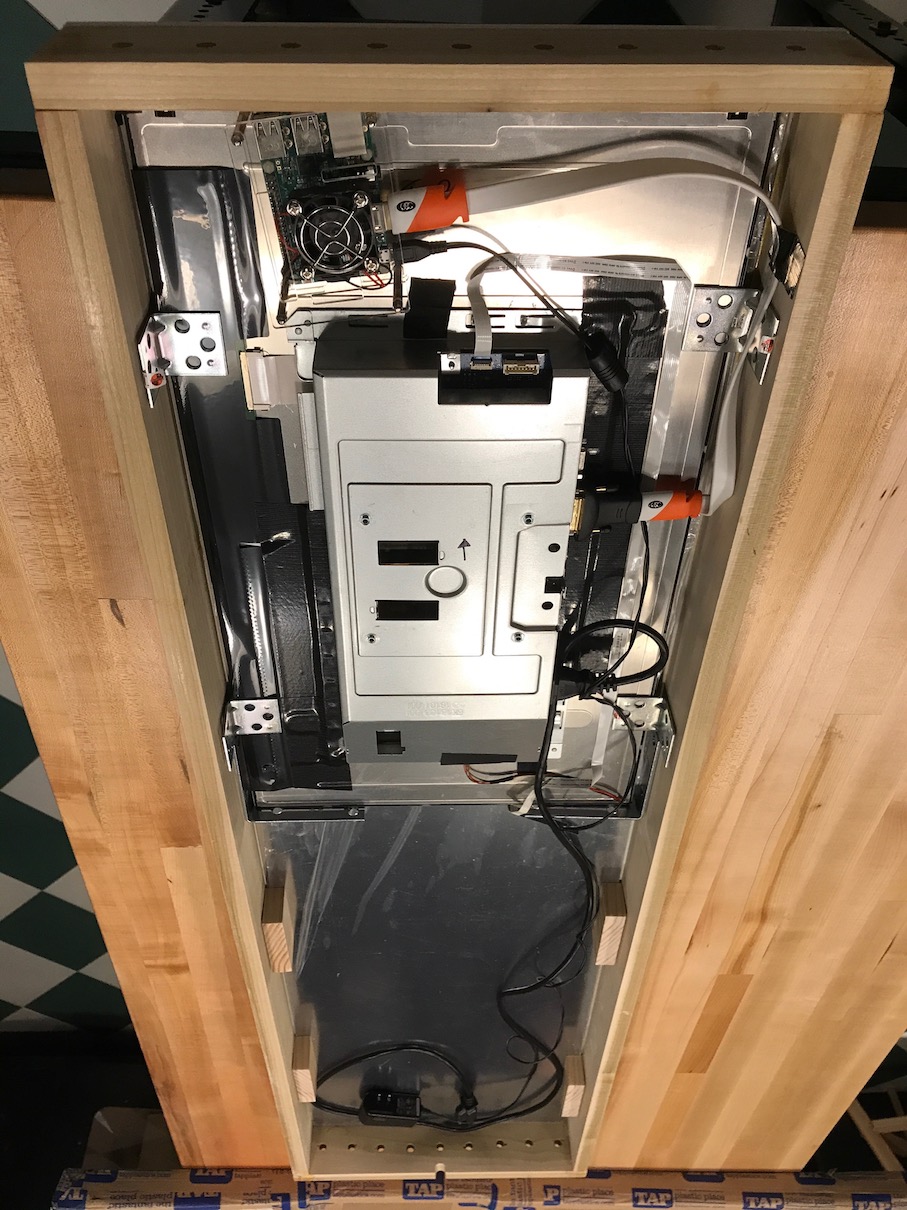
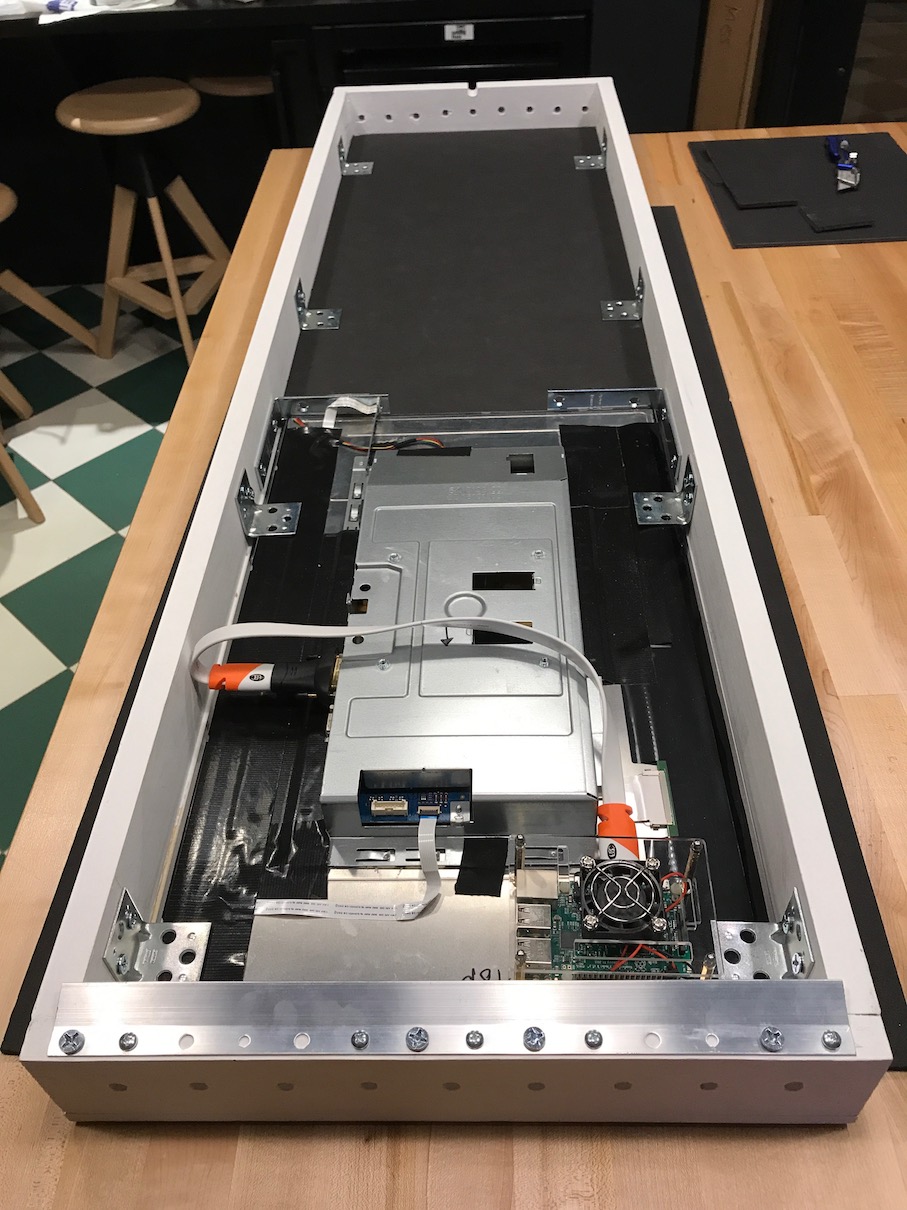
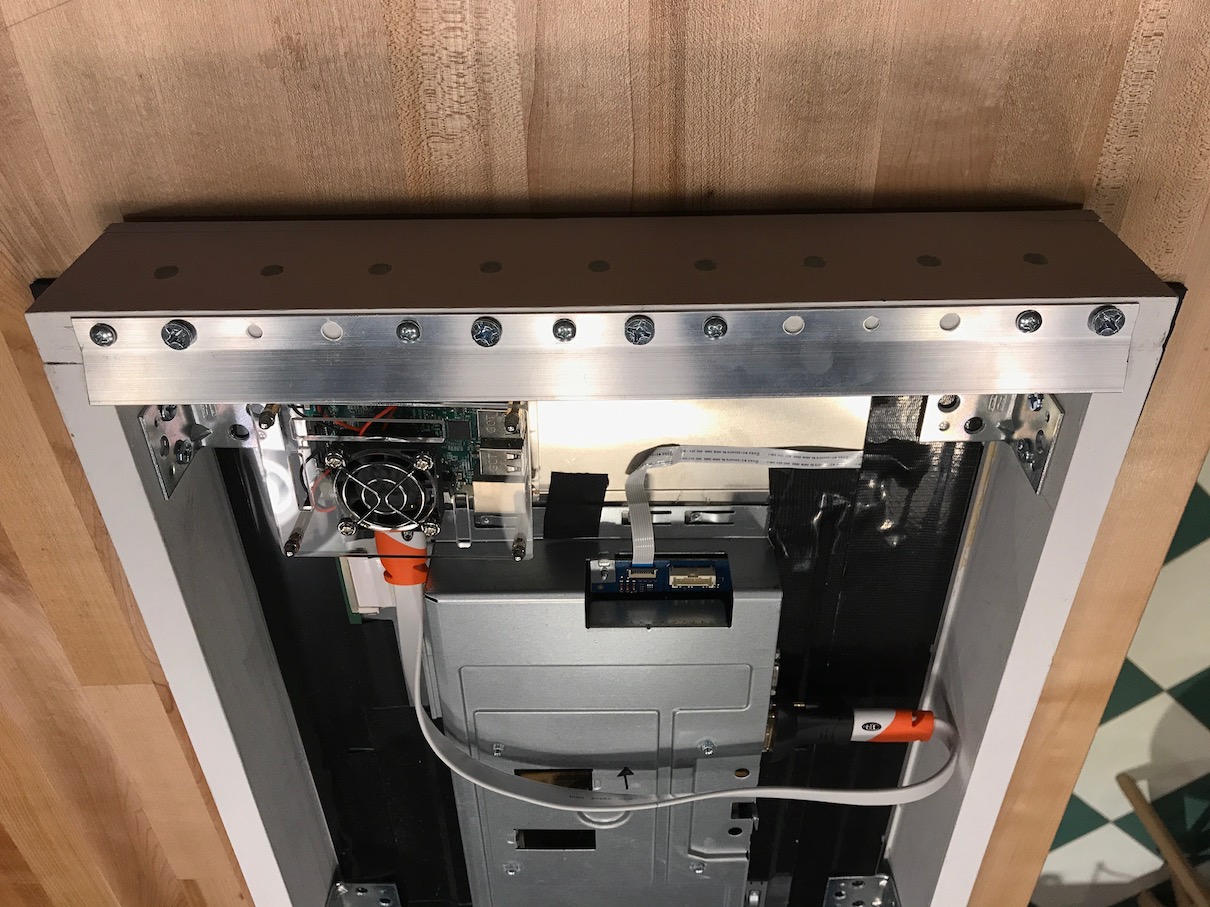
Monitor
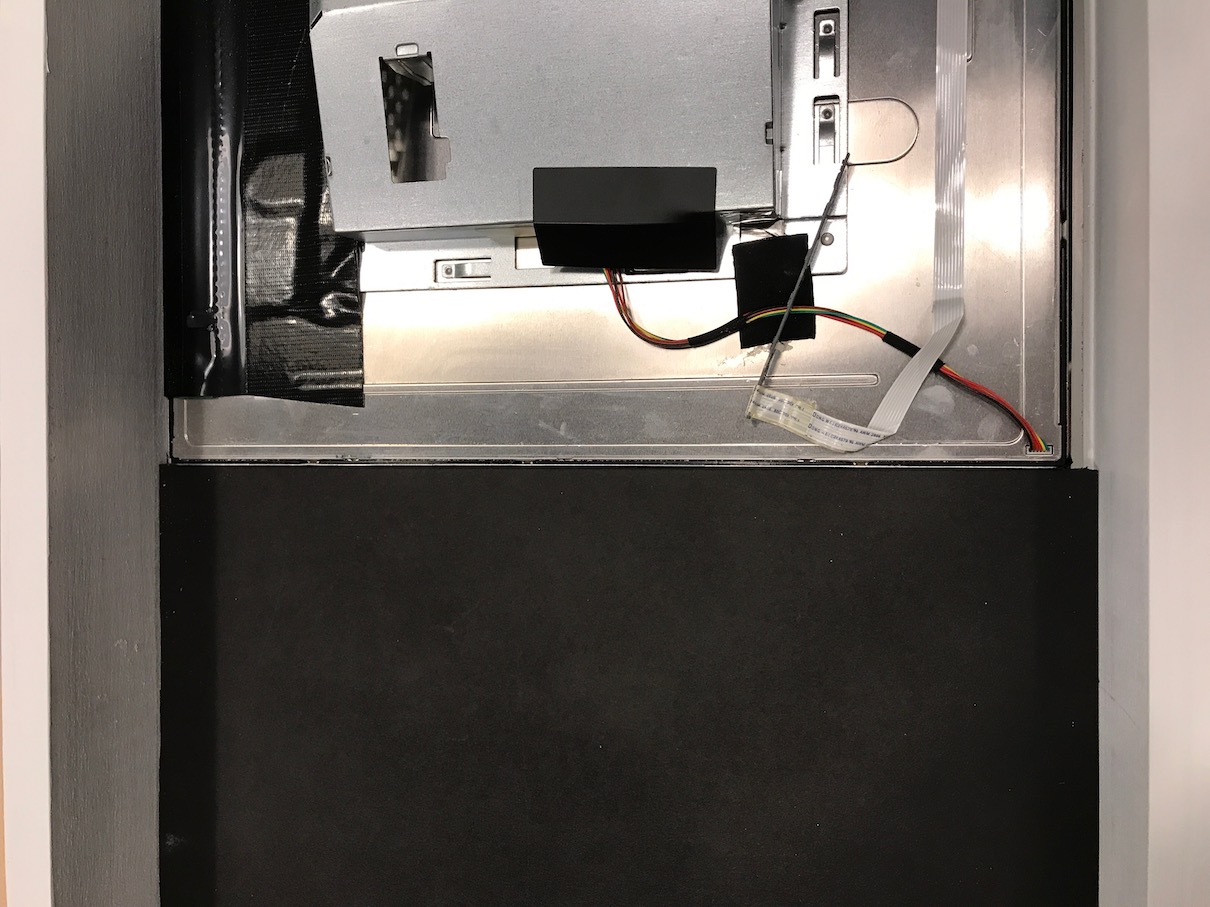
I’ll find the model number but essentially it was a 24" monitor our IT department was throwing out
I removed the bezel and anything else I could from the monitor and kept the switches for later.

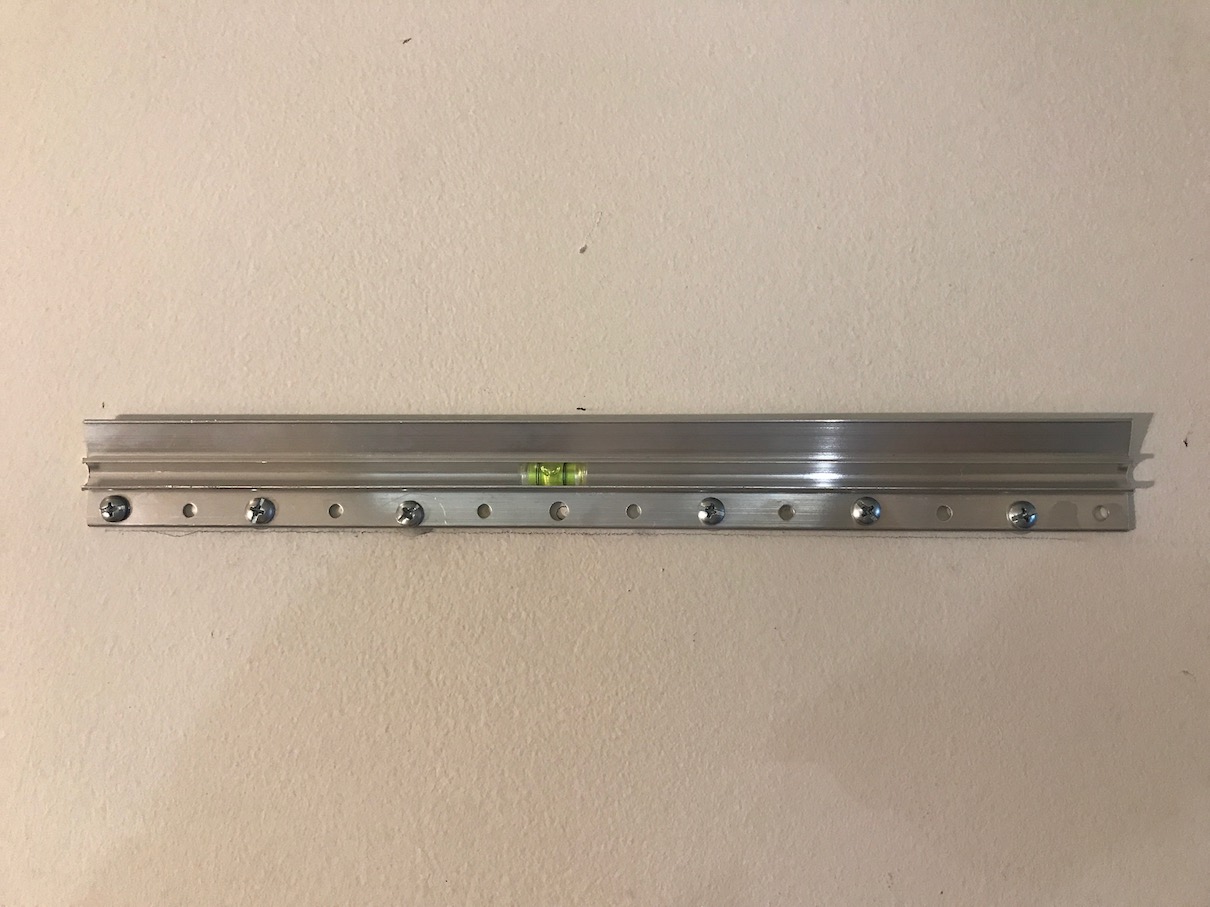
Wall mount
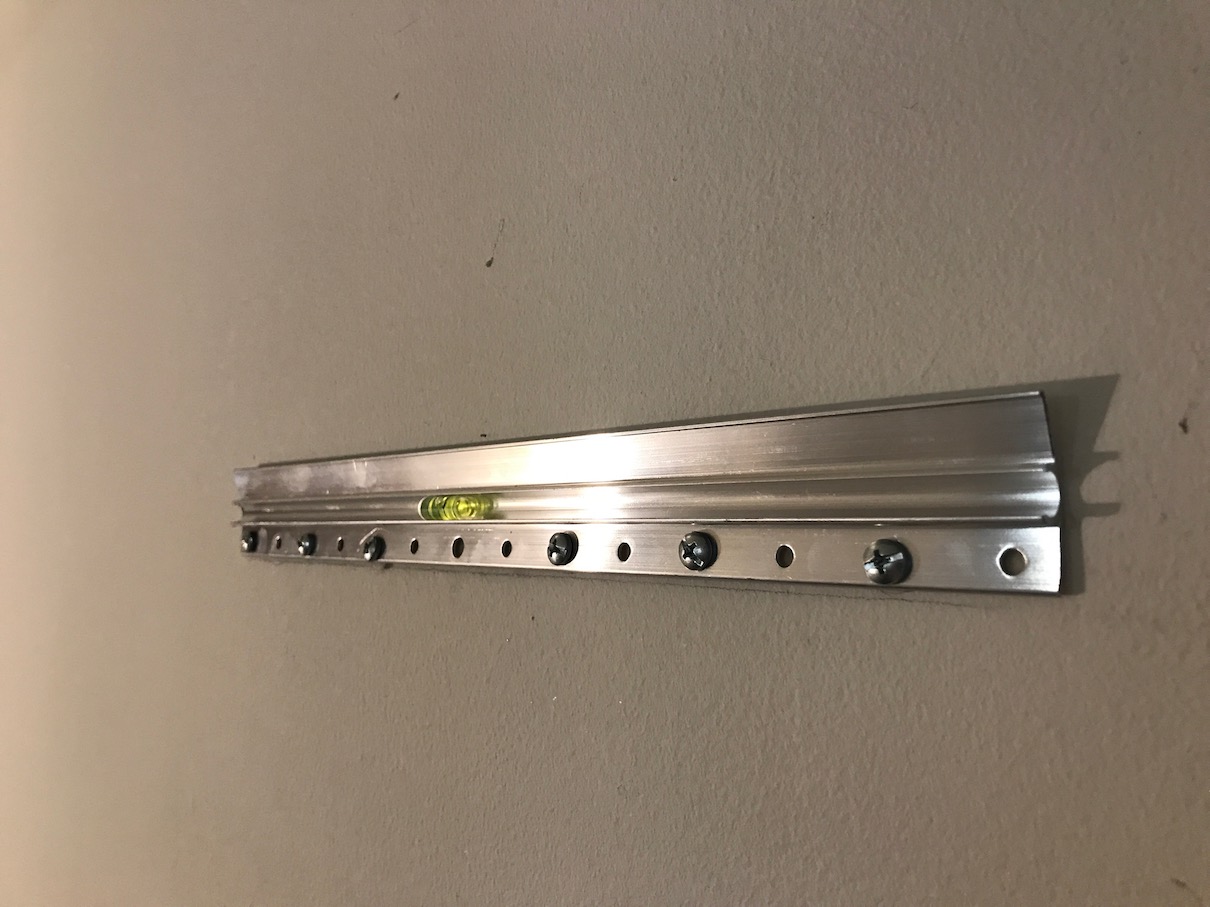
This is a simple French cleat style mount from Lowes that I cut down from 18" to roughly 12" with a hacksaw.
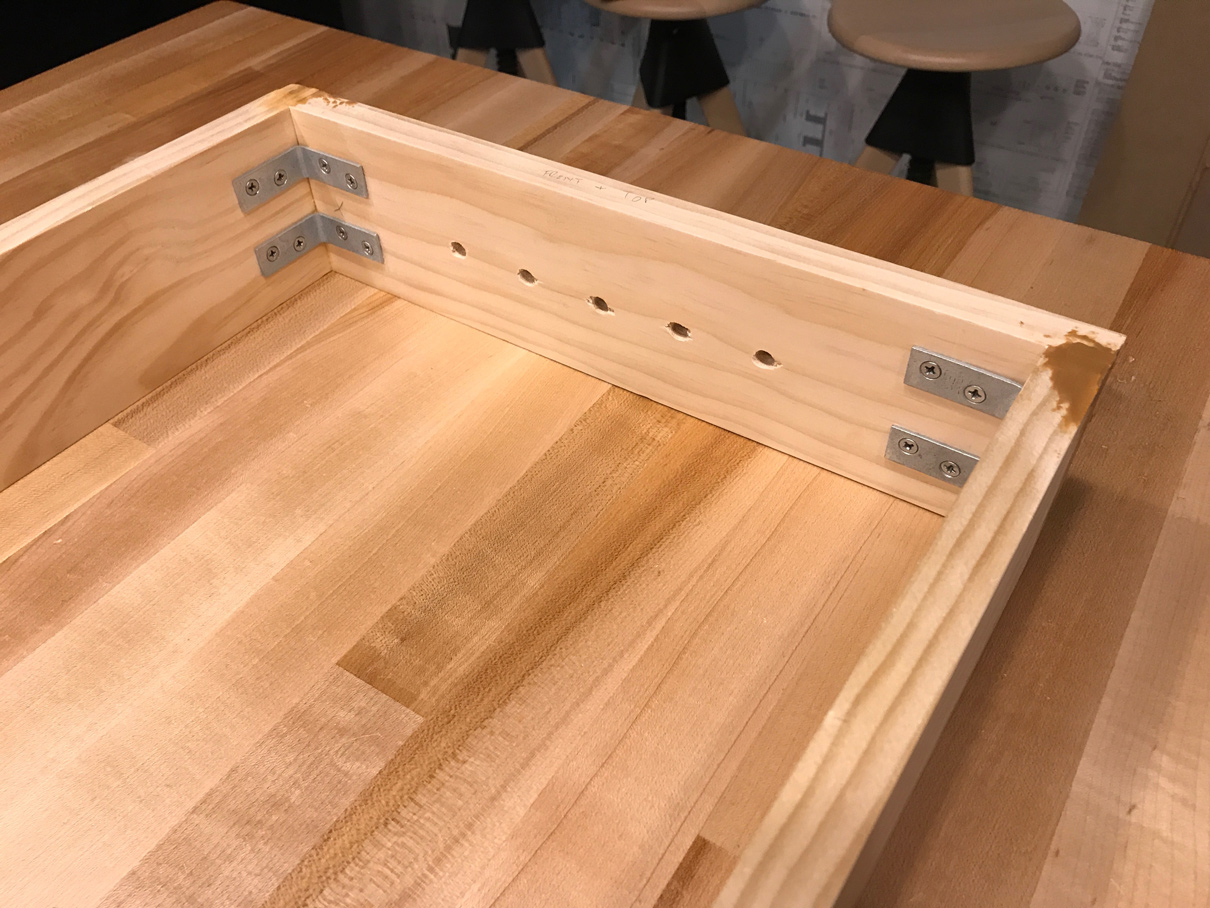
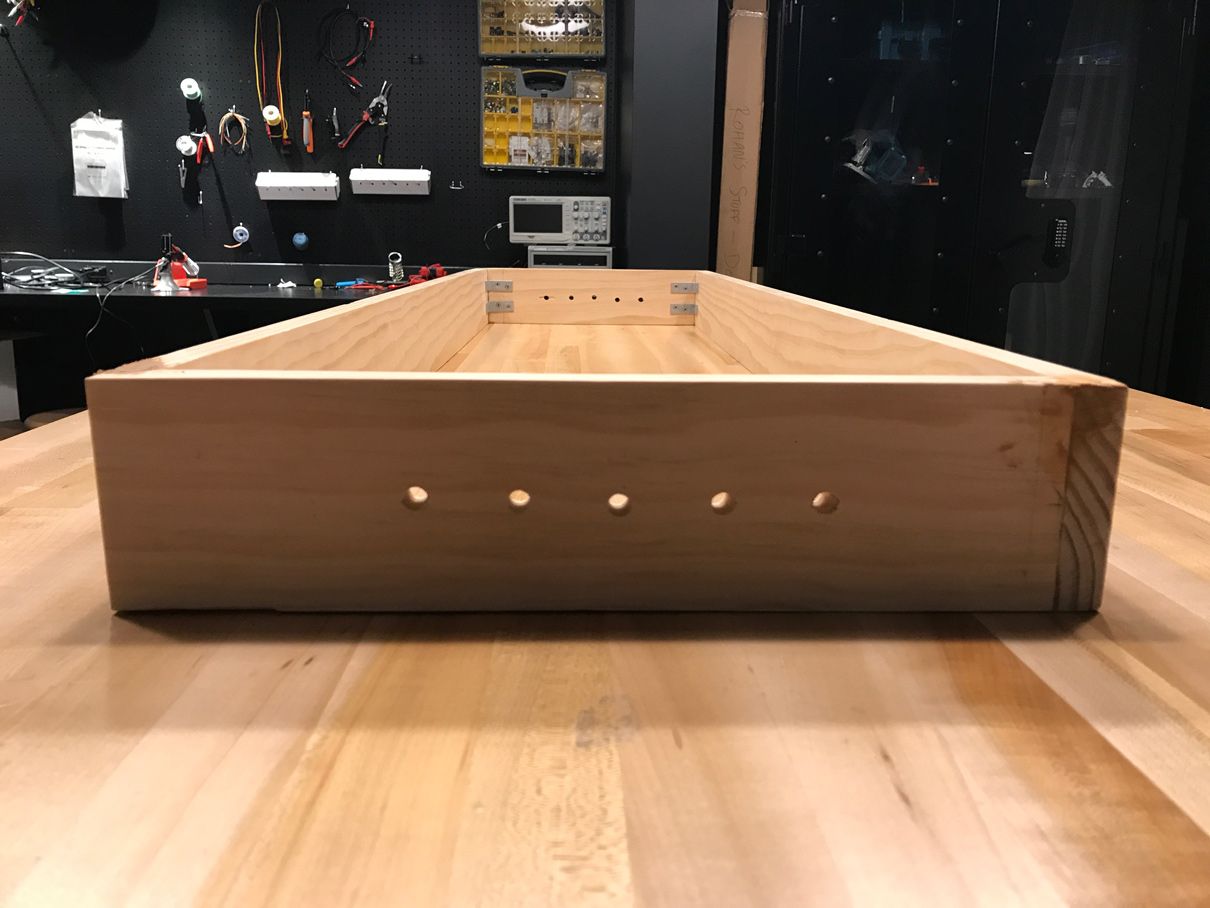
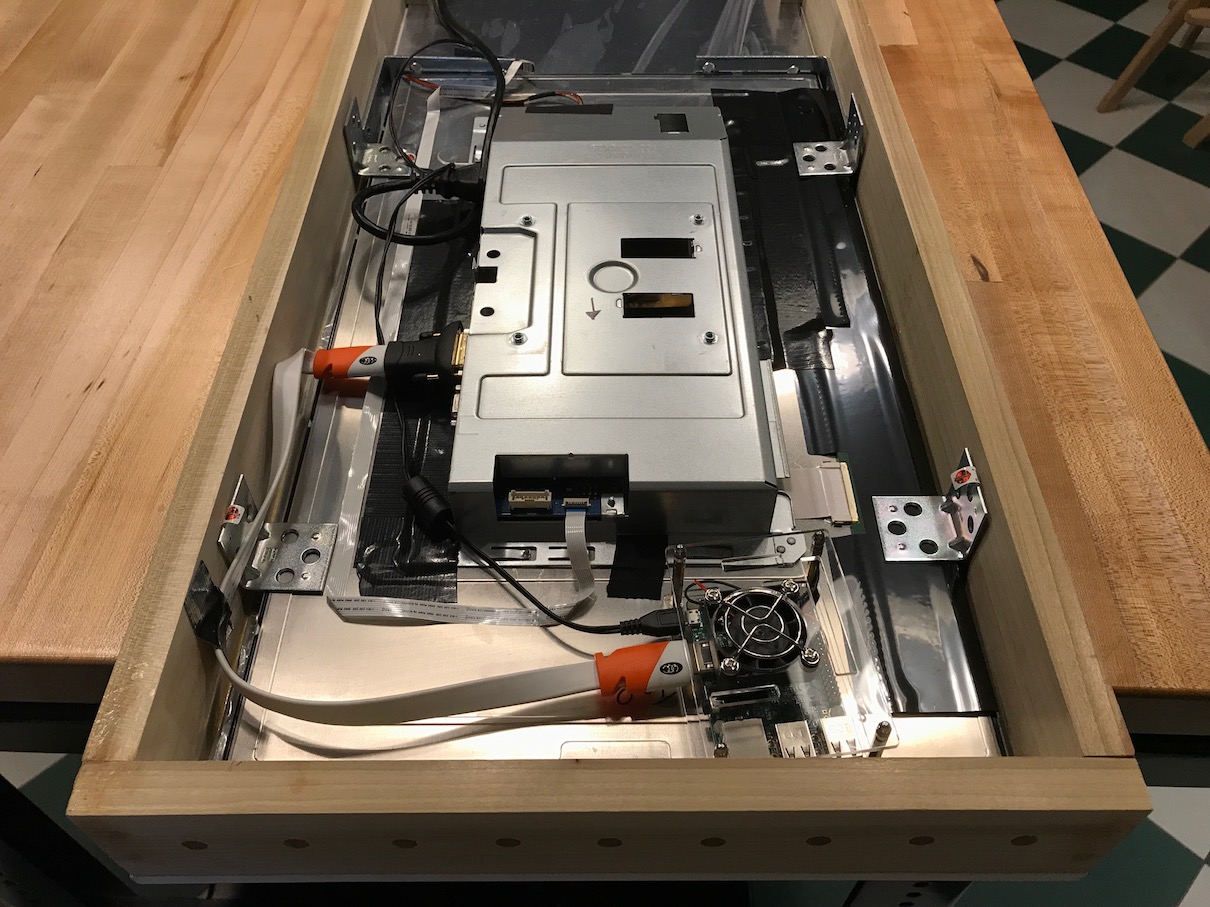
Second frame
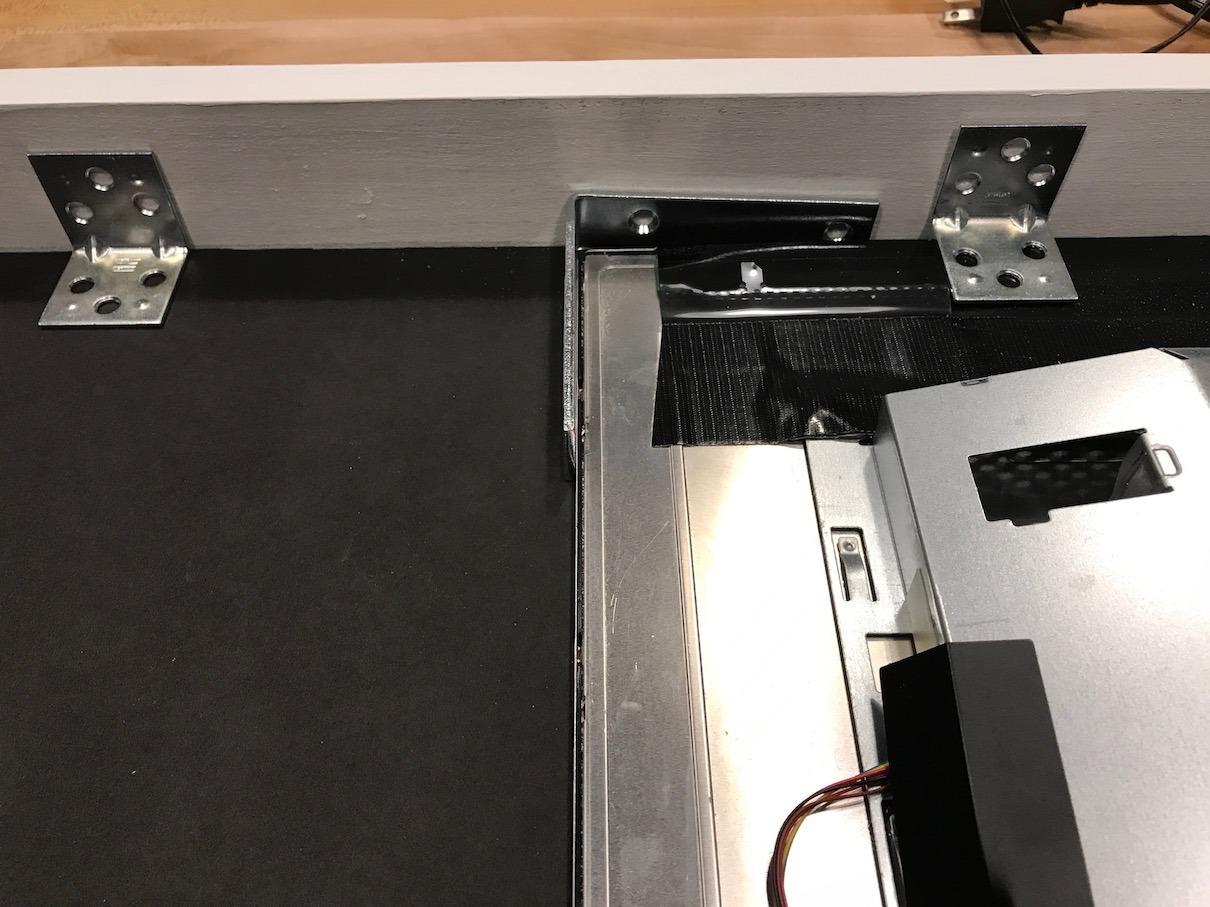
This time round the wood I grabbed was slightly less deep (I had over estimated how much room the frame needed from the wall to the glass for the monitor) and I opted for screws/wood instead of the corner mounts from the first frame.
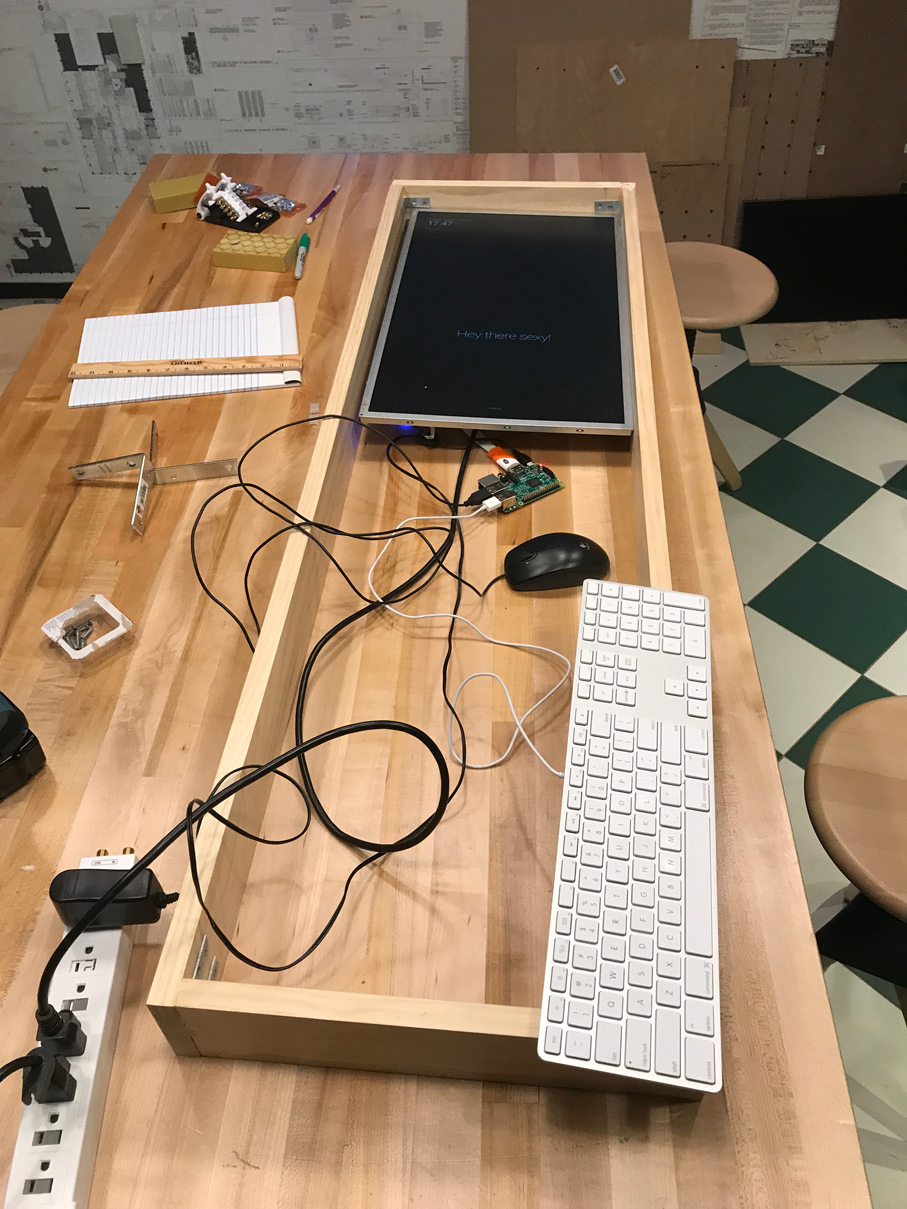
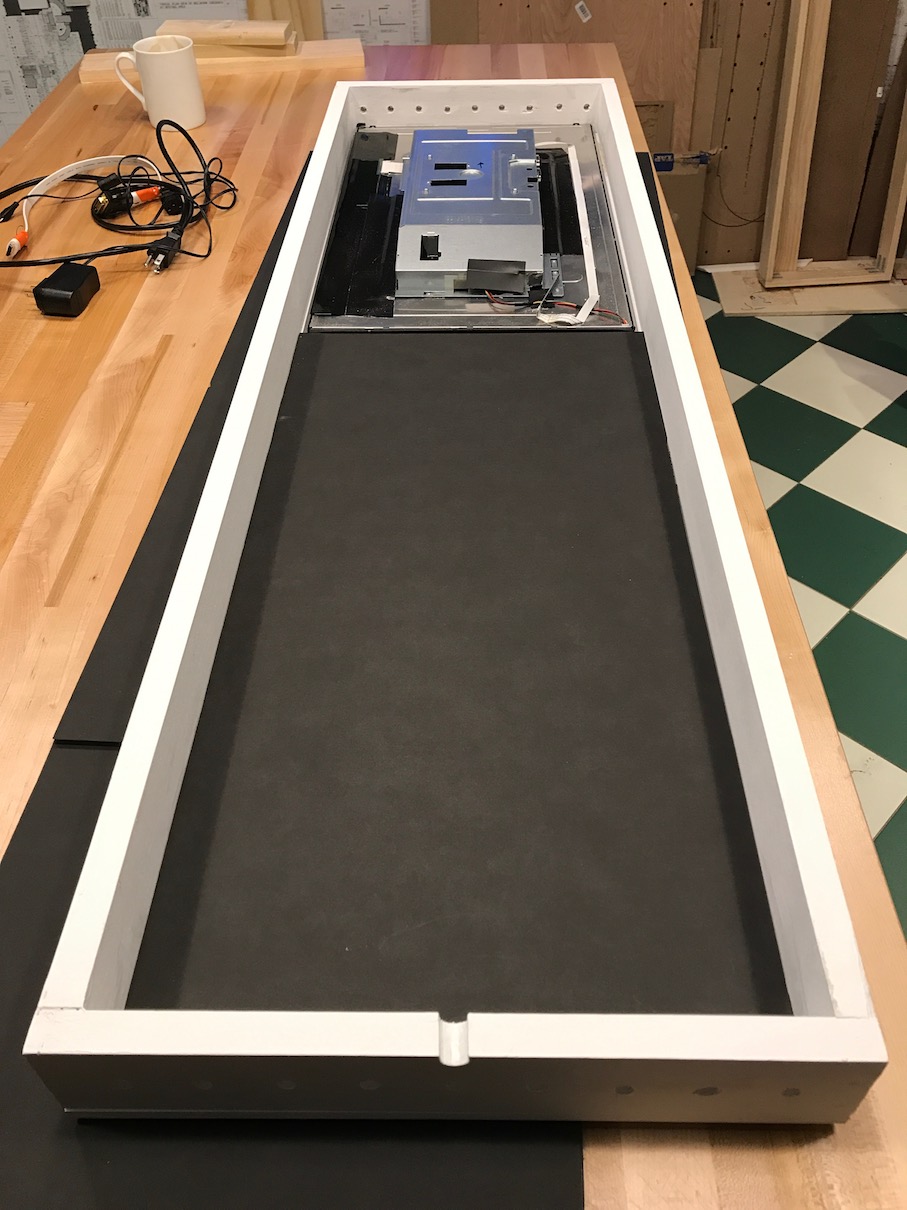
Here’s some mockups on how the monitor and RasPi were going to look in the final product.
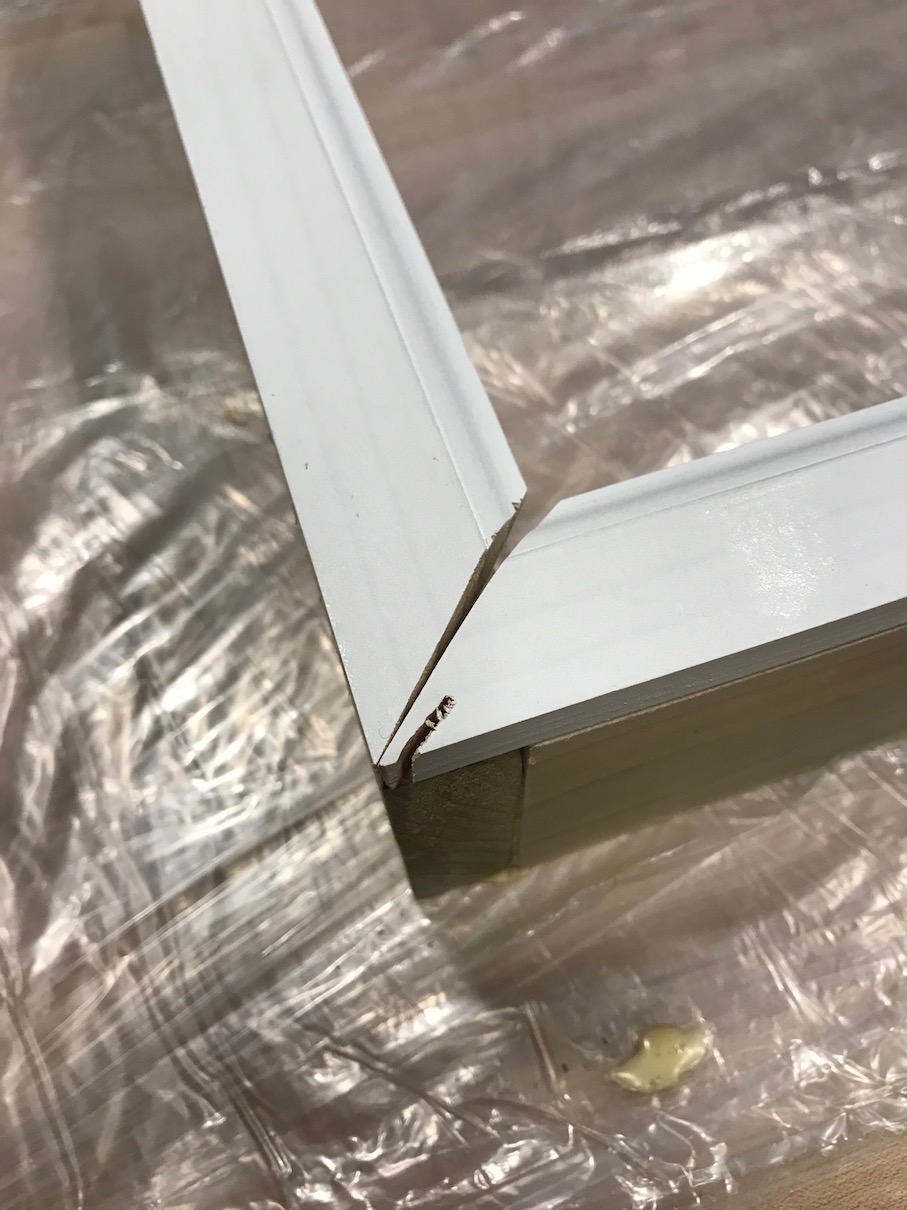
I wanted to make the outer frame myself and made a few mistakes with the 45deg angles but made sure to have plenty of extra framing so I could make better / more square cuts!
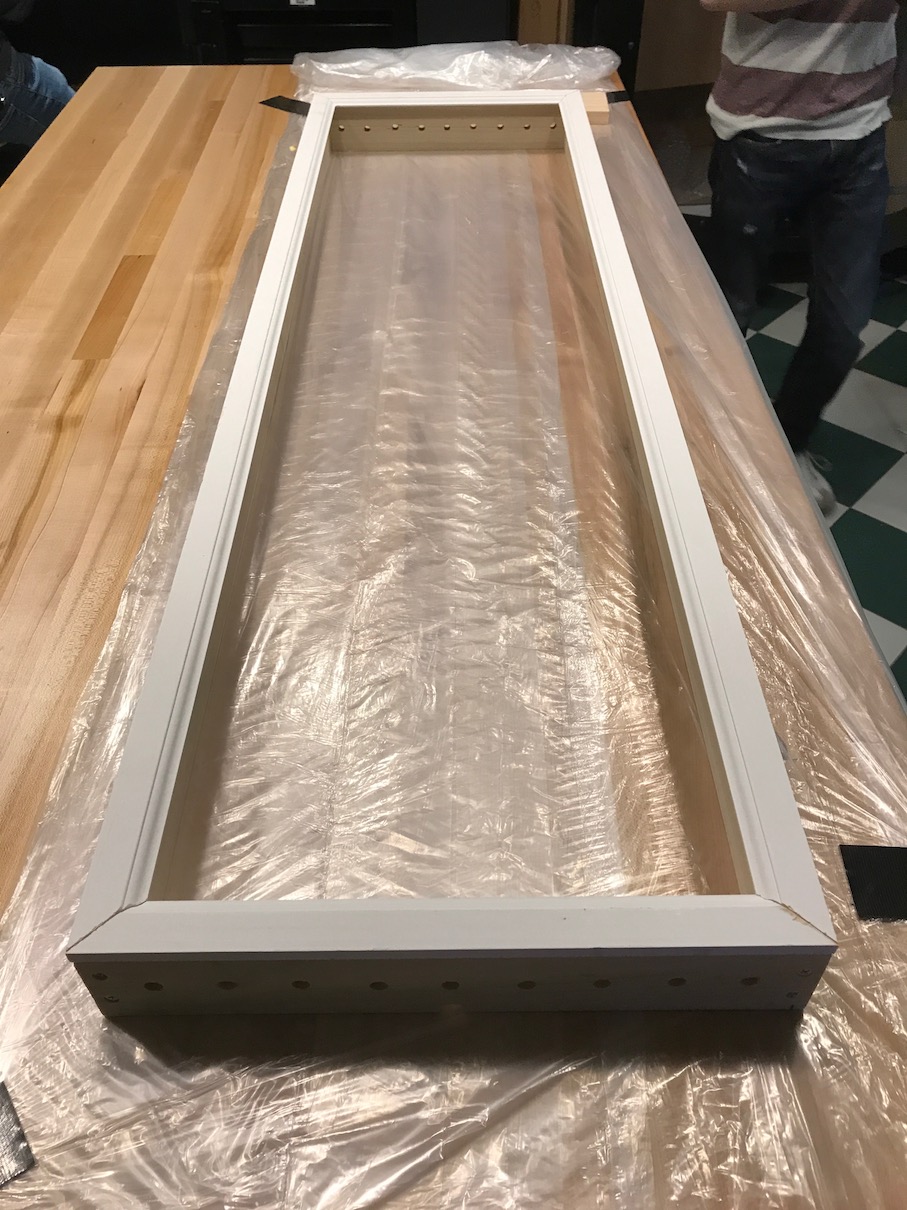
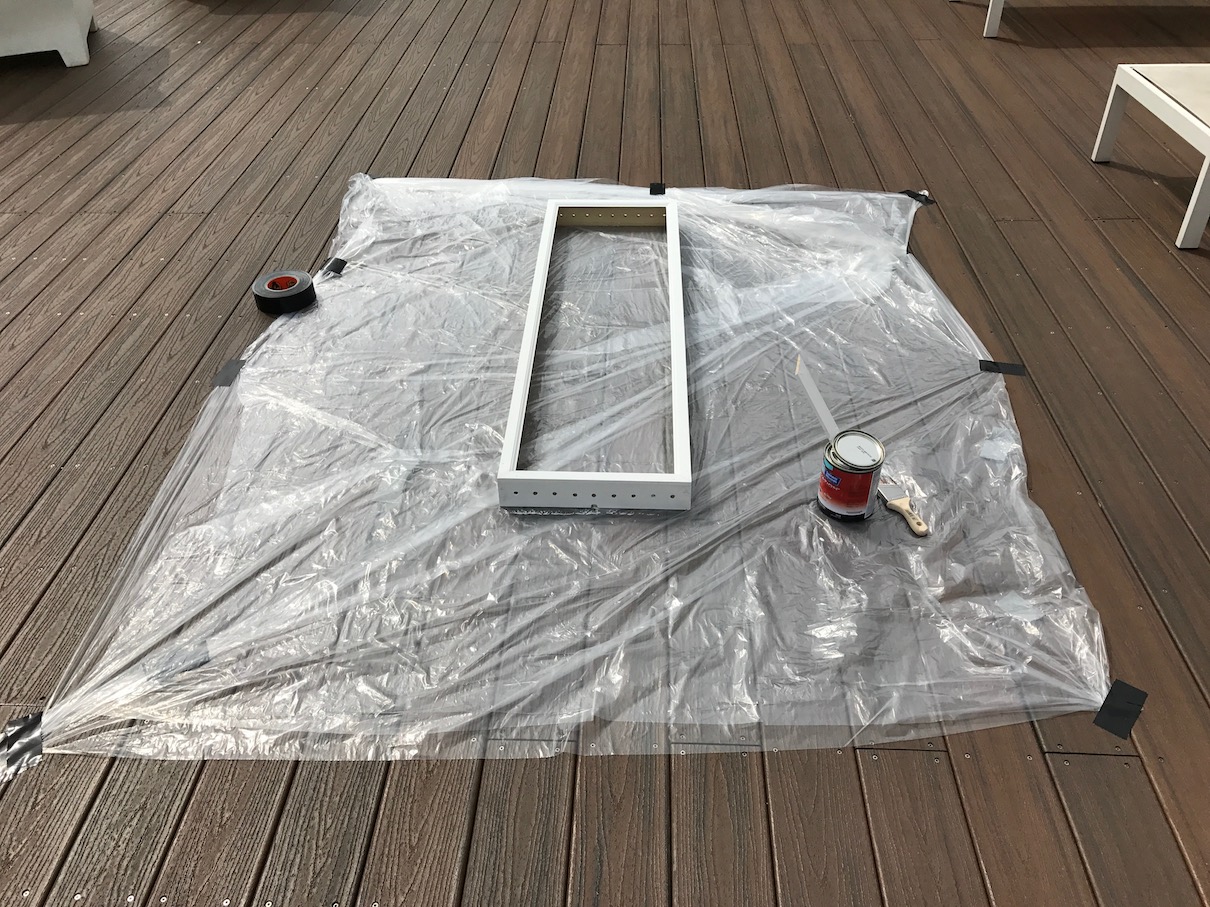
I gave it a few coats of a simple all-in-one primer and paint from Lowes (both inside and out).
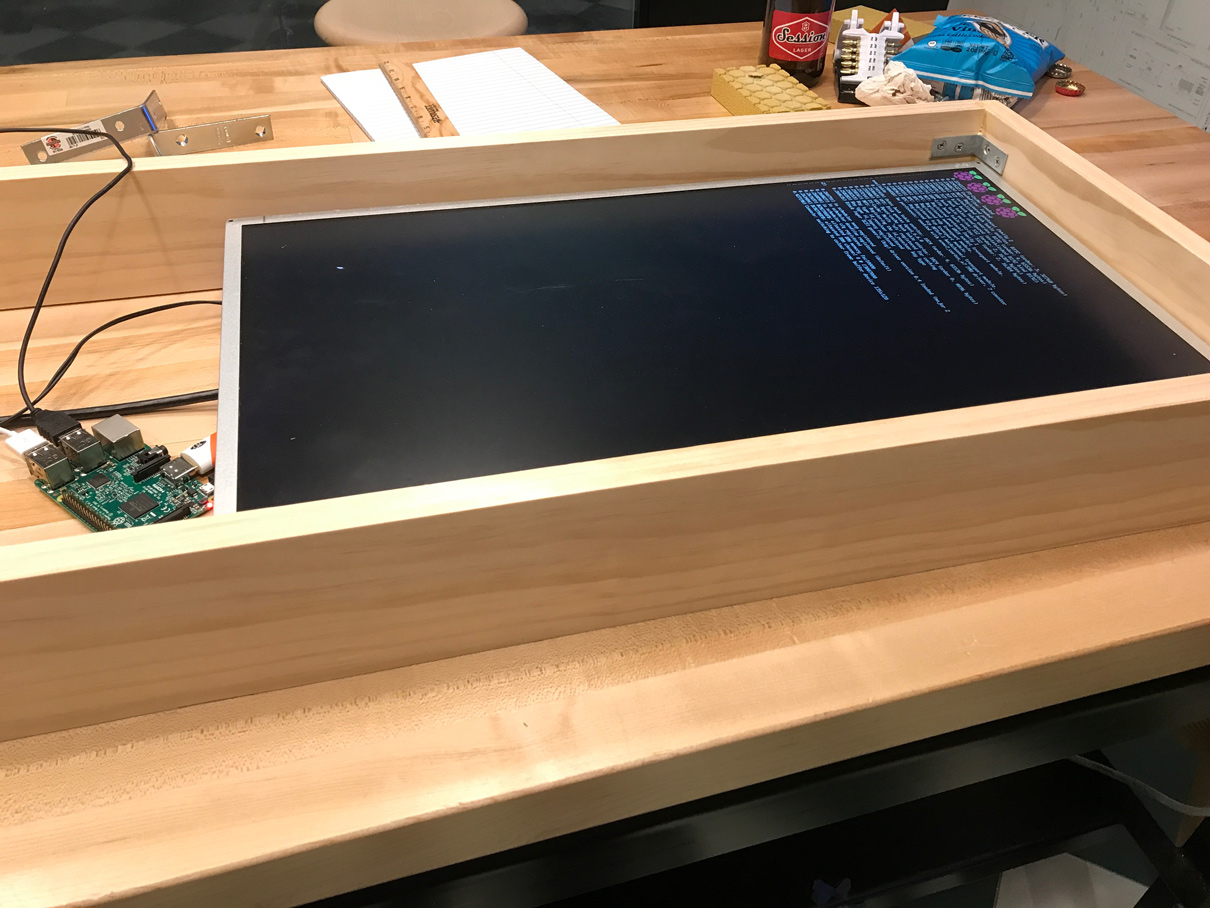
Here’s a mockup of a few “L” frame mounts I wanted to use for the bottom of the monitor (in case it wanted to fall randomly once we hung the mirror).
At this stage I had also used some black card (around 1/2 cm thick) to block out the bottom part of the mirror.
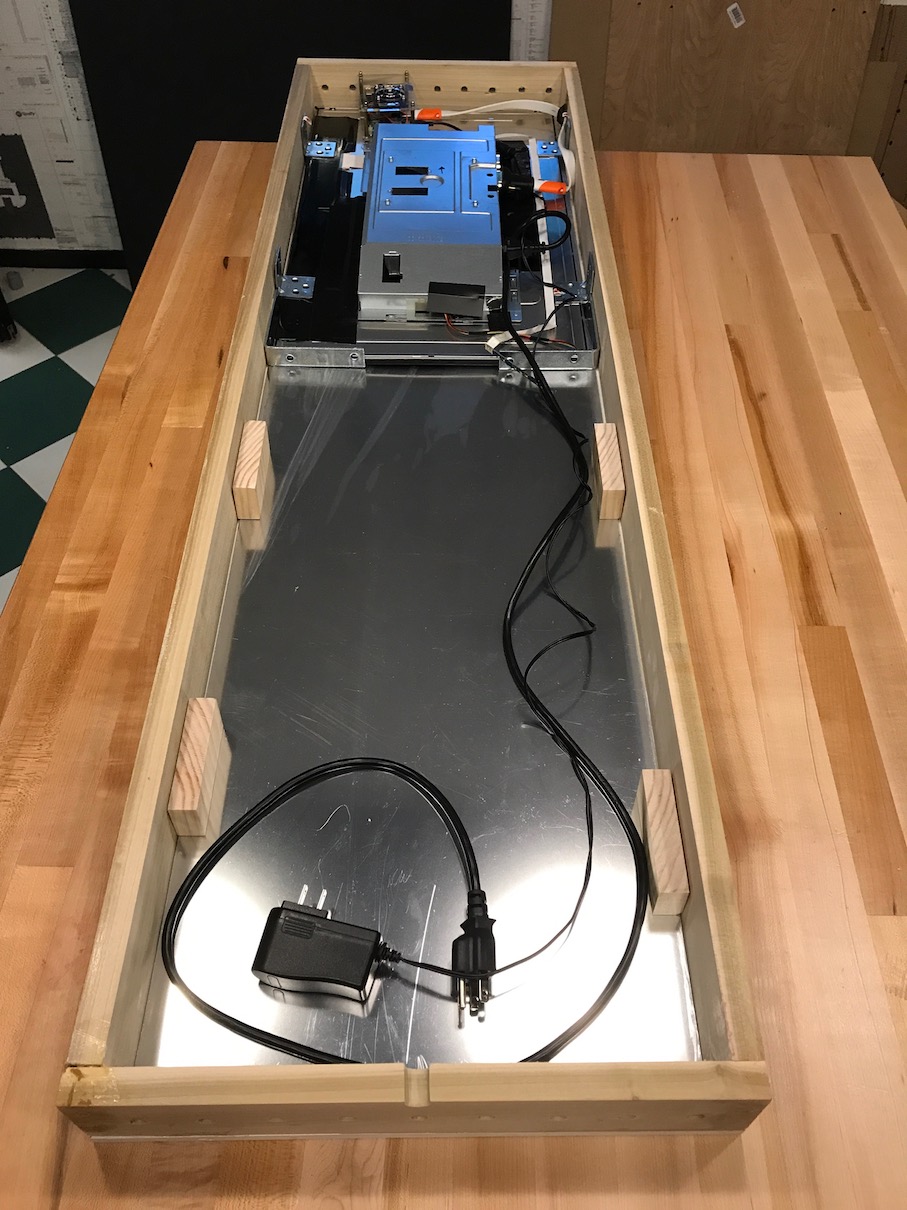
Assembly!
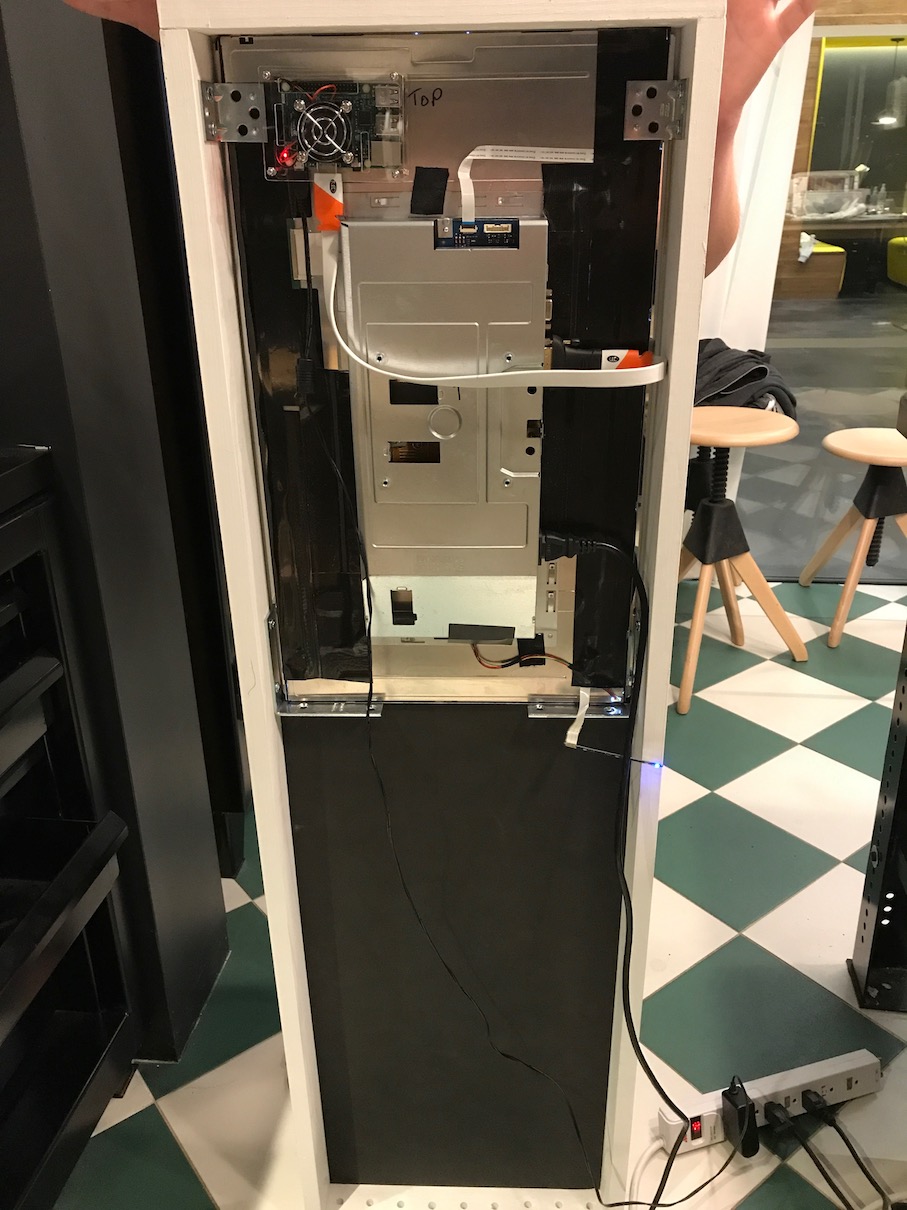
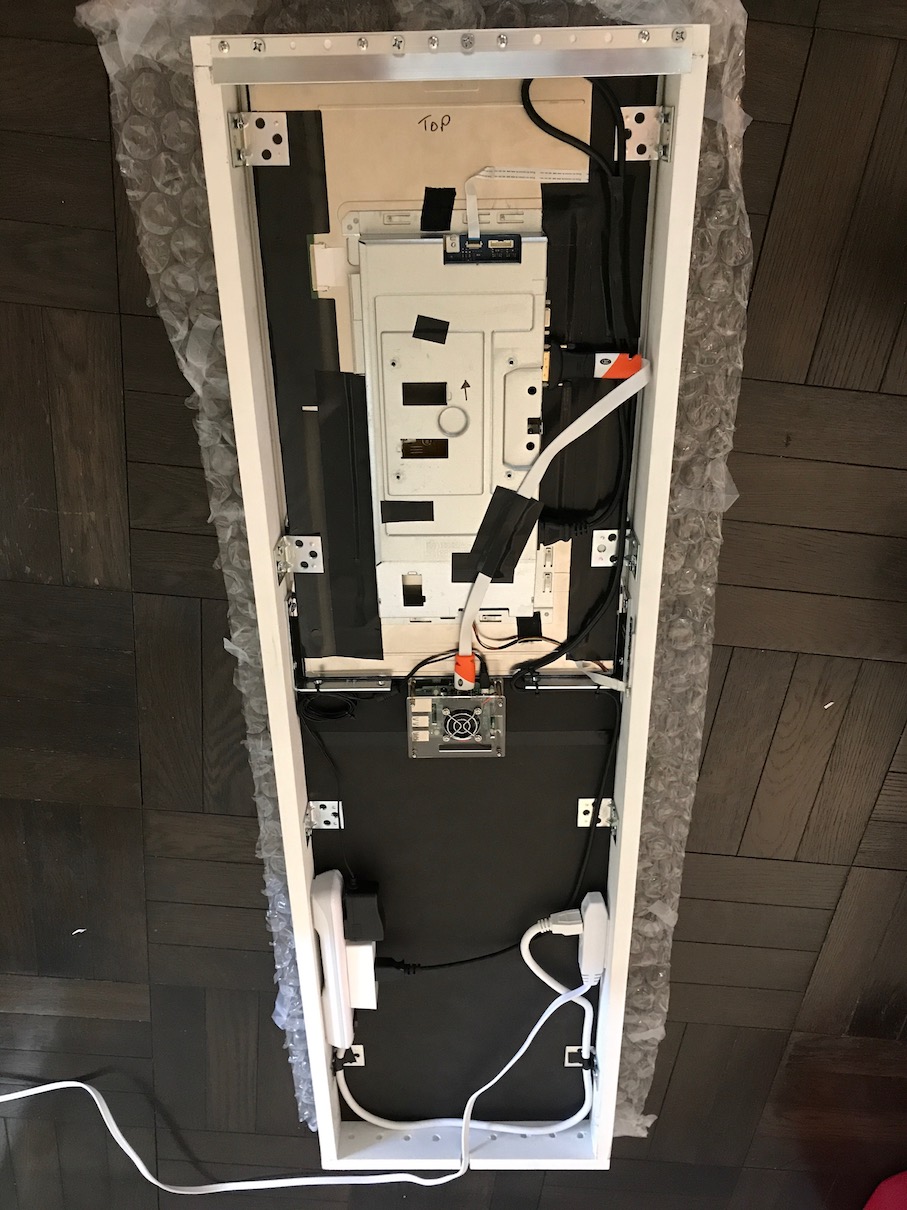
Once painted I started assembly all of the parts and added the French cleat frame to the top of the mirror.
Home time
I packaged the frame up at work (we have a workshop and I live in an apartment!) and took it home to start mounting.
I drilled some holes in our (concrete?) walls, added some anchors and then screwed the French cleat into place.
First problem!
My biggest issue with this build wouldn’t be realised until I mounted the mirror and walked at least 8m / 26ft away to the front door and looked back.
Fun house effect!
Unfortunately the acrylic needs to be absolutely 100% flat against the frame in order to avoid any distortion, warping or looking like the mirror belongs in a circus.
This was unfortunately a total game changer as the mirror looked terrible and was completely unusable. Also it was a giant eye sore as soon as you walked into the apartment :(
So, we moved the mirror to an alternate wall that’s only a few meters from it’s opposite wall and is more parallel with the hallway.
Final product
Here’s the screen itself showing all of the modules (listed below) that we find useful:
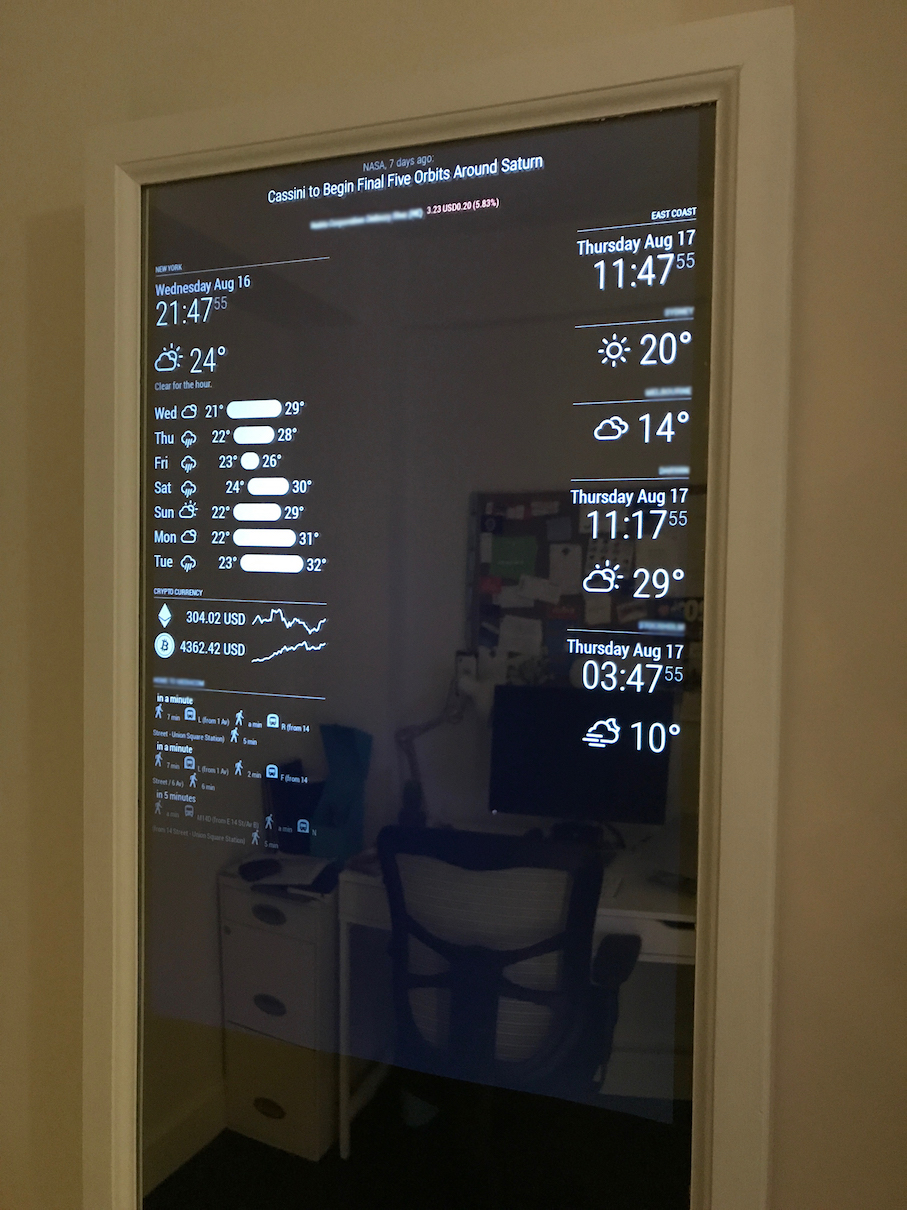
And here’s a full standing shot of the mirror (it’s around 50cm / 20" off the floor):

Lessons learned
For the next mirror I would definitely:
- Take my time with the frame build in general
- Consider completely frameless for a nicer look (or at least a metal frame)
- Potentially use a re-purposed laptop LCD with a driver board for a much lighter mirror
- Definitely use proper 2-way glass rather than acrylic
Todo
- Install a basic sensor to do some neat stuff with the RasPi
- Suspend the RasPi based on the sensor activity noted above
- Get some basic switches for the monitor controls
Feedback
Please let me know if you have any questions on the build! I’m so glad to have found this community and pored over all of the builds here before I started mine.