Read the statement by Michael Teeuw here.
Weatherstation using MagicMirror+Rasp3b+7inch touchscreen
-
Hi!
So, I’m using MagicMirror to power a basic Weather Station for the family and I thought I’d share the work and configs I’ve used. So, this is not a MagicMirror!
First, hardware: I’m using a Rasperry Pi 3b+ with a 7 inch touchscreen I bought off Amazon. I wanted the Weather Station to be able to show time, local current weather and the next ten to twelve hours.
I’m currently using four modules: The standard Clock, The standard Weather module set to “current”, The standard Weather module set to “forecast” and Eben Kouaos “SmartTouch”-module: https://github.com/EbenKouao/MMM-SmartTouch
(I have a fifth module that I think will replace the “current”-module: The CFenner Netatmo module (https://github.com/CFenner/MMM-Netatmo), but I had a bit of trouble getting it to work (but have succeeded now, so will implement it when I get the time). I really want to use my Netatmo hardware. )
I’ll add the code at the end of this write-up.
Customization
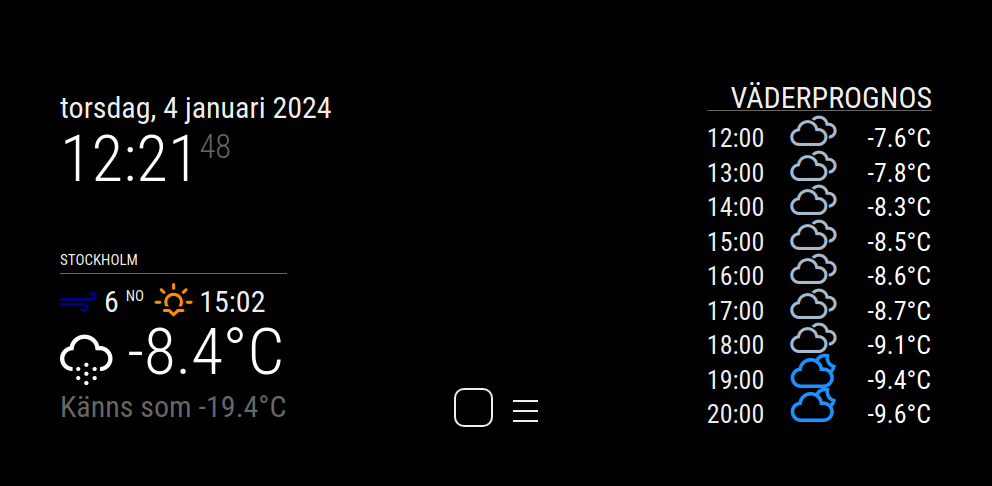
Since I’m not using it as a mirror I did a bit of configuring. First I found that having everything in shades of gray made it a bit dull. So first thing I did was to add color. And I should add here that I suck at coding, so I had ChatGPT do all the heavy lifting, including picking colors, because there are a gazillion icons to pick for. The icons are easy to find (https://erikflowers.github.io/weather-icons/), and then I just had ChatGPT suggest colors for each of them. It turned out beautiful, imho.Secondly the letters are a tad small on the tiny 7-inch screen, so after a bit of tinkering, I managed to enlarge both icons and text of the Weather module. This involed using the developer tools from Chrome to find the correct elements to change. I also changed the text from the standard gray, to more of a white shade.
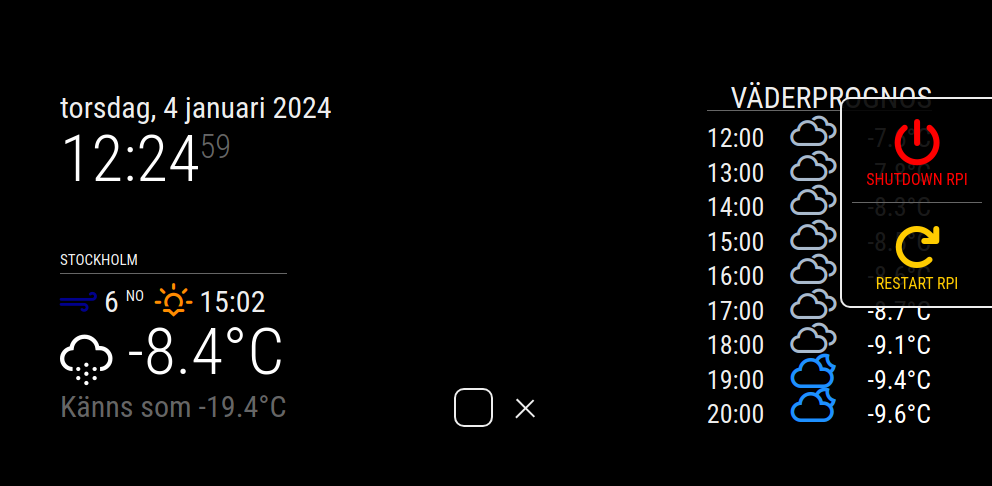
Third, I wanted the “Reboot” and “Shutdown” buttons from SmartTouch to be clearer, so I added colors to those too, red for “shutdown” and yellow for “reboot”.
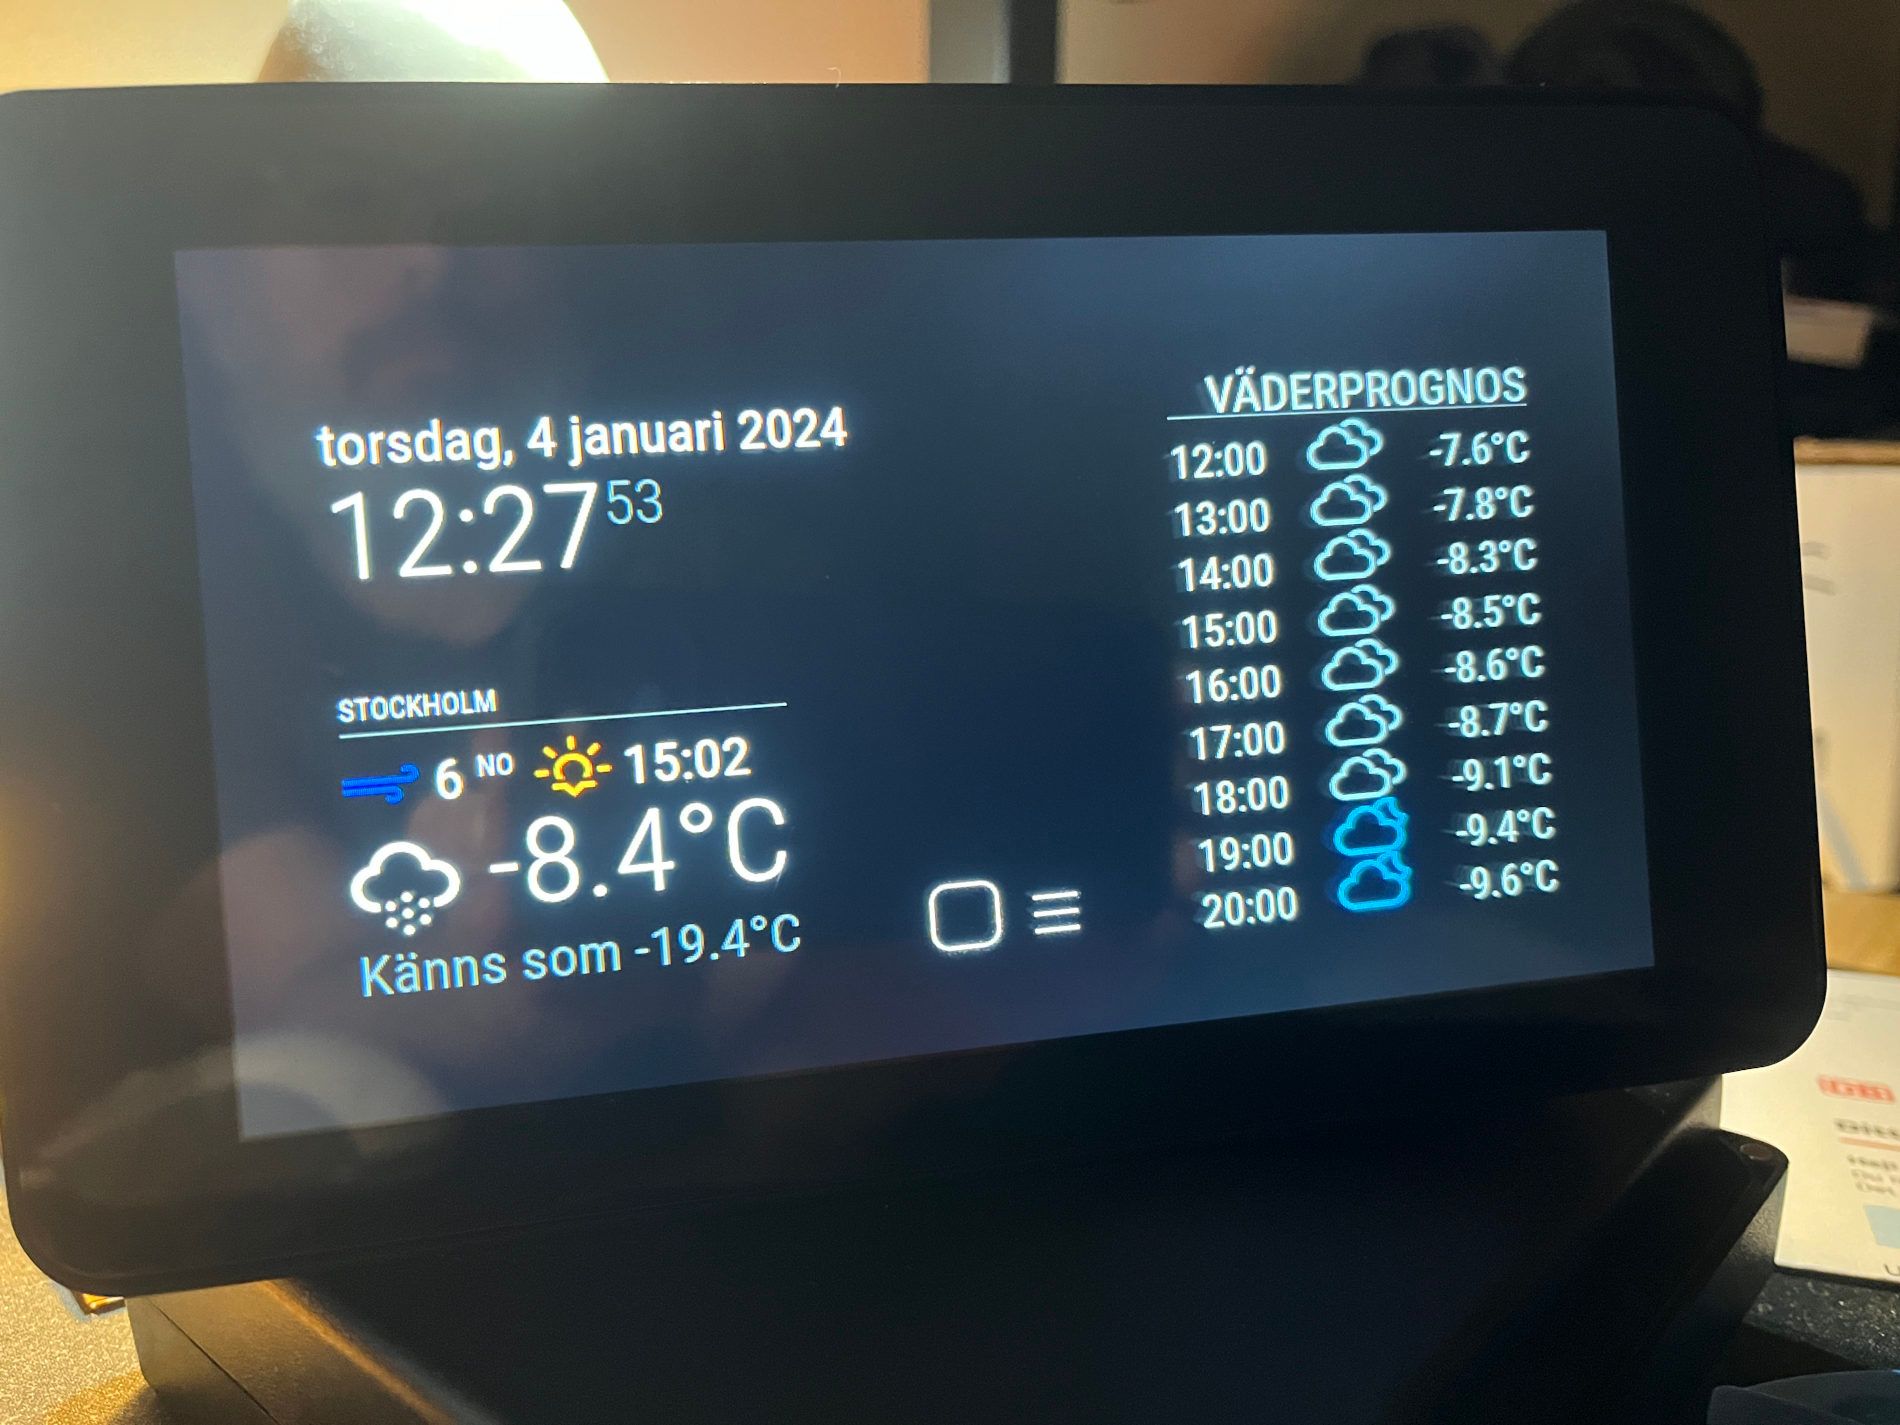
And here is the result(screenshot) (as you can see language is set to swedish) :
And of the entire frame with horrible glare and all:
I have a few more things I want to do: Replacing standard weather module with the Netatmo one, and I’d like the SmartTouch button for “hiding modules” to instead just dim the screen.
And code:
To change colors of icons (added in MagicMirrors “custom.css”):.wi-day-sunny { color: #FFD700; } /* Bright Yellow */ .wi-night-clear { color: #FFD27F; } /* Moon Yellow */ .wi-day-cloudy { color: #87CEEB; } /* Sky Blue */ .wi-night-alt-cloudy { color: #1E90FF; } /* Dark Blue */ .wi-day-cloudy-gusts { color: #A9BACD; } /* Gray Blue */ .wi-night-alt-cloudy-gusts { color: #4169E1; } /* Twilight Blue */ .wi-day-cloudy-windy { color: #ADD8E6; } /* Light Blue */ .wi-night-alt-cloudy-windy { color: #191970; } /* Midnight Blue */ .wi-day-fog { color: #D3D3D3; } /* Light Gray */ .wi-night-fog { color: #C0C0C0; } /* Silver */ .wi-day-hail { color: #ACE5EE; } /* Ice Blue */ .wi-night-hail { color: #4682B4; } /* Steel Blue */ .wi-day-lightning { color: #FFA500; } /* Bright Orange */ .wi-night-alt-lightning { color: #FFD700; } /* Gold */ .wi-day-rain { color: #0000FF; } /* Blue */ .wi-night-alt-rain { color: #483D8B; } /* Dark Slate Blue */ .wi-day-rain-mix { color: #6495ED; } /* Cornflower Blue */ .wi-night-alt-rain-mix { color: #4169E1; } /* Royal Blue */ .wi-day-rain-wind { color: #1E90FF; } /* Dodger Blue */ .wi-night-alt-rain-wind { color: #0000CD; } /* Medium Blue */ .wi-day-showers { color: #00BFFF; } /* Deep Sky Blue */ .wi-night-alt-showers { color: #6A5ACD; } /* Slate Blue */ .wi-day-sleet { color: #778899; } /* Light Slate Gray */ .wi-night-alt-sleet { color: #A9A9A9; } /* Dark Gray */ .wi-day-snow { color: #FFFFFF; } /* White */ .wi-night-alt-snow { color: #DCDCDC; } /* Gainsboro */ .wi-day-sprinkle { color: #B0C4DE; } /* Light Steel Blue */ .wi-night-alt-sprinkle { color: #ADD8E6; } /* Light Blue */ .wi-day-storm-showers { color: #FF8C00; } /* Dark Orange */ .wi-night-alt-storm-showers { color: #B8860B; } /* Dark Goldenrod */ .wi-day-sunny-overcast { color: #EEE8AA; } /* Pale Goldenrod */ .wi-night-alt-cloudy-high { color: #87CEFA; } /* Light Sky Blue */ .wi-day-light-wind { color: #B0E0E6; } /* Powder Blue */ .wi-night-alt-partly-cloudy { color: #00CED1; } /* Dark Turquoise */ .wi-cloudy { color: #ADD8E6; /* Light blue color */ } .wi-cloud { color: #D3D3D3; } /* Light Gray */ .wi-cloudy { color: #A9BACD; } /* Gray Blue */ .wi-cloudy-gusts { color: #4682B4; } /* Steel Blue */ .wi-cloudy-windy { color: #87CEEB; } /* Sky Blue */ .wi-fog { color: #C0C0C0; } /* Silver */ .wi-hail { color: #ACE5EE; } /* Ice Blue */ .wi-rain { color: #0000FF; } /* Blue */ .wi-rain-mix { color: #6495ED; } /* Cornflower Blue */ .wi-rain-wind { color: #1E90FF; } /* Dodger Blue */ .wi-showers { color: #00BFFF; } /* Deep Sky Blue */ .wi-sleet { color: #778899; } /* Light Slate Gray */ .wi-snow { color: #FFFFFF; } /* White */ .wi-sprinkle { color: #B0C4DE; } /* Light Steel Blue */ .wi-storm-showers { color: #FF8C00; } /* Dark Orange */ .wi-thunderstorm { color: #FFD700; } /* Gold */ .wi-snow-wind { color: #DCDCDC; } /* Gainsboro */ .wi-smog { color: #FFFFE0; } /* Light Yellow */ .wi-smoke { color: #BC8F8F; } /* Rosy Brown */ .wi-lightning { color: #FFA500; } /* Bright Orange */ .wi-raindrops { color: #5F9EA0; } /* Cadet Blue */ .wi-raindrop { color: #ADD8E6; } /* Light Blue */ .wi-dust { color: #F0E68C; } /* Khaki */ .wi-snowflake-cold { color: #F0FFFF; } /* Azure */ .wi-windy { color: #F08080; } /* Light Coral */ .wi-strong-wind { color: #00008B; } /* DarkBlue */ .wi-sunrise { color: #FFD700; } /* Bright Yellow */ .wi-sunset { color: #FF8C00; } /* Sunset Orange */To change color of the SmartTouch “Reboot” and “Standby” (added in "mmm-smarttouch.css):
/* Style for Shutdown button text and icon */
.st-container__main-menu > ul > li:nth-child(1),
.st-container__main-menu > ul > li:nth-child(1) .fa {
  color: red; /* Changes the text and icon color to red */
}

/* Style for Reboot button text and icon */
.st-container__main-menu > ul > li:nth-child(2),
.st-container__main-menu > ul > li:nth-child(2) .fa {
  color: #ffcc00; /* Changes the text and icon color to yellow */
}
To change color of text overall (edited into “custom.css”)
:root {
  --color-text: #EEEEEE; /* Almost white, but not as bright as pure white */
  --color-text-dimmed: #666;
  --color-text-bright: #fff;
  --color-background: #000;
  /* ... other variables ... */
}
To change size of text and icons in the weather module (added in the “custom.css” file):
/* Weather Icon Size */ #module_4_weather .weather-icon .wi { font-size: 40px; /* Adjust the icon size as needed */ } /* Temperature Text Size */ .weather .align-right.bright { font-size: 26px; } .weather .day { font-size: 26px !important; /* Forces the font size, overriding other rules */ } -
Great build! I like it!
-
Thats great,
Is it possible to share how you used Chat GPT to do the heavy lifting for you?
-
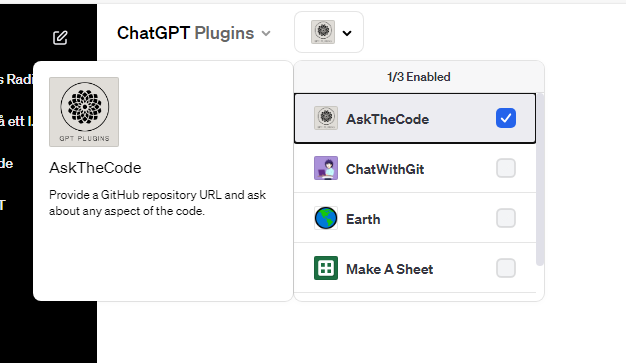
@Saabman Yes, absolutely! I use the pay-version of ChatGPT, and I’ve both just plain used the Chat+Browse the internet capabilities, and also Chat+“ChatwithGit”-plugin, which basically was a plugin that could directly access Git-repositories and learn how they work.
That plugin however has since been depricated, and replaced with AskTheCode, that I haven’t tried as much.
From there on it was a bit of trial and error. Sometimes ChatGPT got it right instantly, but often I needed to test various solutions. The GPT however was great at helping me know where to look, as I really can’t code myself.
For instance, this is how I found out why the “power off” button from SmartTouch didn’t work, how to fix it, and then how to change the colors of it: (abbreviated somewhat since its mostly just the code):
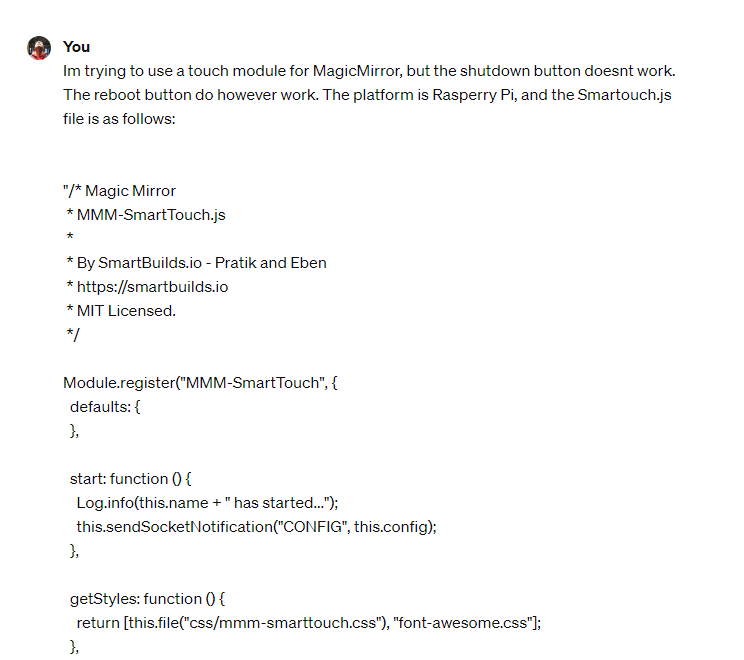
And the reply:
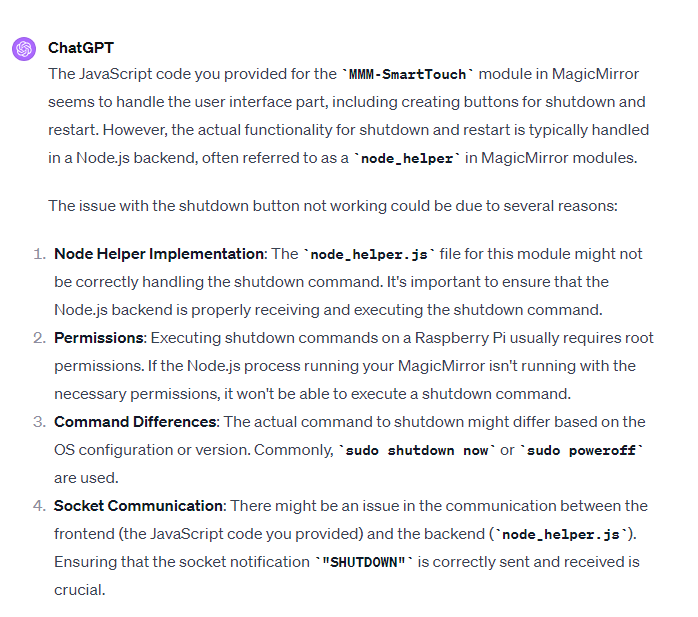
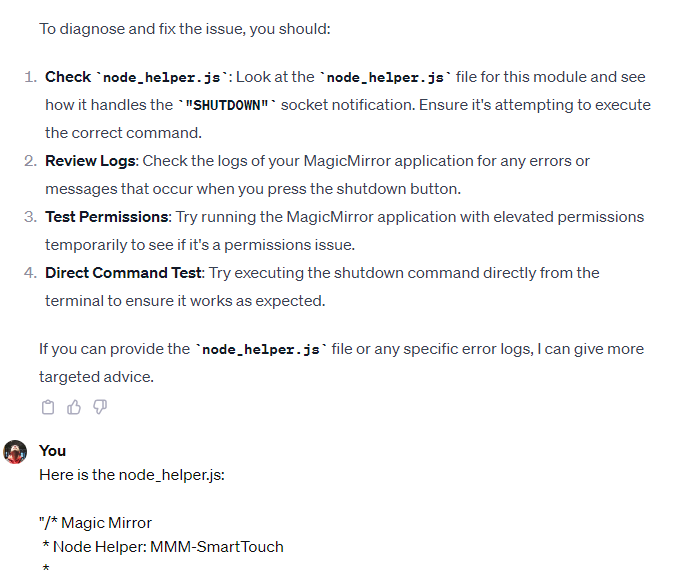
From there I got a few suggestions, and it helped me realise that the script probably missed a “sudo” command before it issued “shutdown”:

Which solved it.
It also helped me in a similar way finding how to change colors. I just asked it to help me change the colors of the buttons to red and yellow and got a:
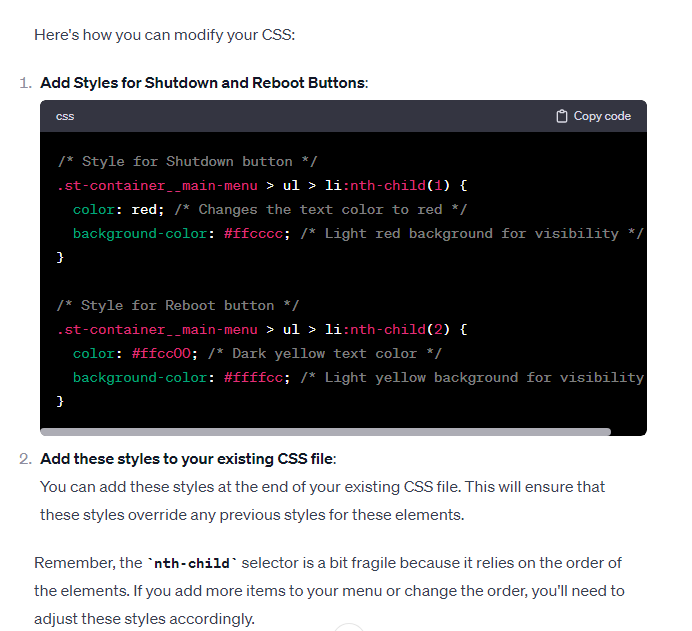
Or to summarize: I basically used it as a handy teacher to point me in the right direction, and/or give me the exact solutions. It often required me to either use the plugin “ChatwithGit”, or just pasting in the .js (or .css) files and have ChatGPT read them, and suggest changes based on what I wanted to achieve. It also could direct me to which files needed editing. And the best part is that ChatGPT reads material almost instantly. I can hit it with 100 pages of descriptions and code, and it can discuss it in detail within seconds.
And when it came to picking colors for the icons, there were a million of them that I really didn’t feel like doing one by one (Apart from the “Sun” icon being yellow and the “Sunset” icon being orange-yellow I really had little idea what to put where), so I just asked it to provide the code and gave it the link to the page with all the icons:
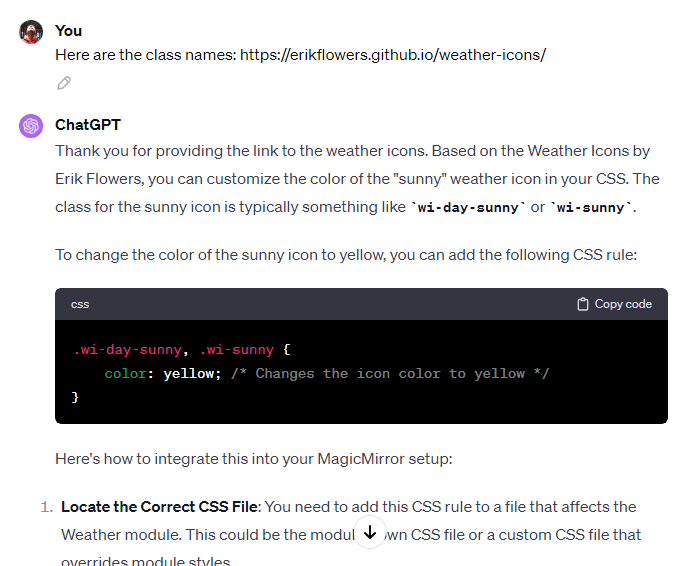
And then I found instructions of the custom.css and provided it to ChatGPT:
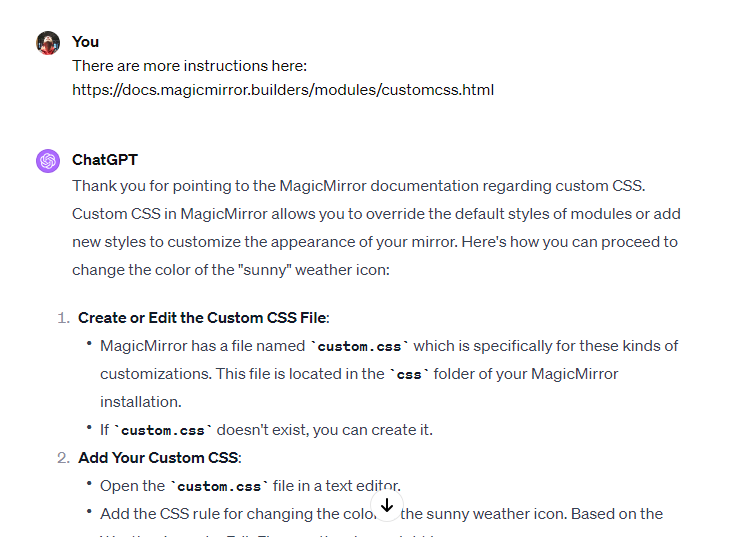
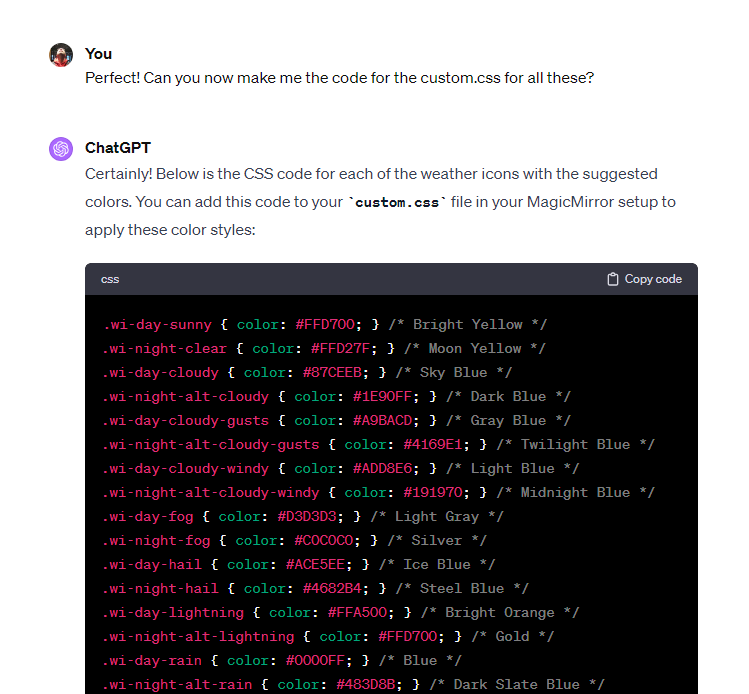
From there I really just had to paste all the lines into the custom.css. This was a time saver that would have worked for someone proficient in coding as well. It took ChatGPT a few seconds to pick colors and write codes for all the icons, which would have been extremely tedious work if done manually.
-
I have to admit Ive had my head stuck in the sand a bit re Chat GPT etc. wanting to try it but been afraid of it at the same.
That is the first example of it in action Ive seen I can see how it can be helpful to guide you to a solution but it appears it still requires the user to have a working knowledge and put in some effort to 1/ frame the request correctly then 2/ know enough to understand the result and how to deal with it.
Will it help us become smarter and enable us to learn more or dumb us down ;)
That was quiet enlightening
-
@Saabman I just want to stress, I know little to none coding. What ChatGPT helped with was to guide me where to look. And I must admit I did hit a few walls were I actually didn’t understand how to get the solution working. I’m still trying to figure out how to make the SmartTouch module dim the screen instead of just hiding the modules. ChatGPT gave me suggestions, but they were a tad to advanced for me. Or maybe I’ll figure it out when I get more time. ChatGPT is actually an excellent teacher, so you learn a lot in the process…
-
@cgillinger said in Weatherstation using MagicMirror+Rasp3b+7inch touchscreen:
I’m still trying to figure out how to make the SmartTouch module dim the screen instead of just hiding the modules
what do you mean ‘dim the screen’
maybe filter:brightness
if you use the developers console (ctrl-shift-i), elements tab, you can apply styles to elements to see the results… see here for operating the dev window elements
https://forum.magicmirror.builders/post/90135if you add
filter: brightness(0.5);to the top bar element, then everything in top bar will be reduced brightness
if you apply it to the body element same for all the body
-
@sdetweil Right now the left touch button in the “SmartTouch” module, just hides the other modules. The purpose obivously for a “true” MagicMirror to make more space for looking at yourself in the mirror.
But Im using it as a Weather station and right now its always bright. What I would like is really two things (and I’ve been experimenting with a few modules, but havent succeeded - somewhat due to time restrictions in my everday life):
-
Have the screen dim scheduled at night time, and then re-light at morning. This I think I can achieve. (for instance with this module: https://github.com/Fifteen15Studios/MMM-AutoDimmer ).
-
If the left button on SmartTouch is pressed, the schedule should be interrupted and the screen brighten. If pressed again, or not pressed for, say 30 mins, it should return to the schedule again.
I’ve got a few suggestions from ChatGPT, but so far haven’t made them work.
-
-
@Saabman I know coding, but not some flavors, like java script and json, as an example or even API usage, but with Chat GPT over the last couple of months I have done a lot and learned a lot. It is great for making a function, or a small script, and then you use them as building blocks for larger projects. Shoot I have found out about services I never knew about. For example a website (openstreetmap.org) that has an API, that if you feed it GPS coordinates, it returns the street address, county, Country, etc. Another website (timezonedb.com) that if you feed it GPS coordinates it gives you the timezone, and GMT Offset.
My ChatGPT request was something like “Write a bash script that uses GPS coordinates set in variables to get the timezone” and tada I learned something.
Or using crazy sed commands (I never was good at them) to push the GPS data into the config.js for MM
#sed -i ‘/^\s*header: “TimeZone-- /c'”${THREE_TABS}“'header: “TimeZone-- '”$TIMEZONEABB”’ --------- Altitude: ‘“$ALTITUDE_FEET”’",’ “$CONFIG_FILE”etc.
-
@jbat66 said in Weatherstation using MagicMirror+Rasp3b+7inch touchscreen:
Great build! I like it!
Thnx!
