Read the statement by Michael Teeuw here.
First attempt...
-
So here’s my first attempt at a smart mirror using MagicMirror. I’ve had it displayed on a monitor rotated 90º for about a month while I tweaked the modules and researched mirrors. Given that…
- it is my first attempt
- I’m not very handy with tools
- I wanted to get a feel for it quickly
- I wasn’t sure about final placement in my apartment
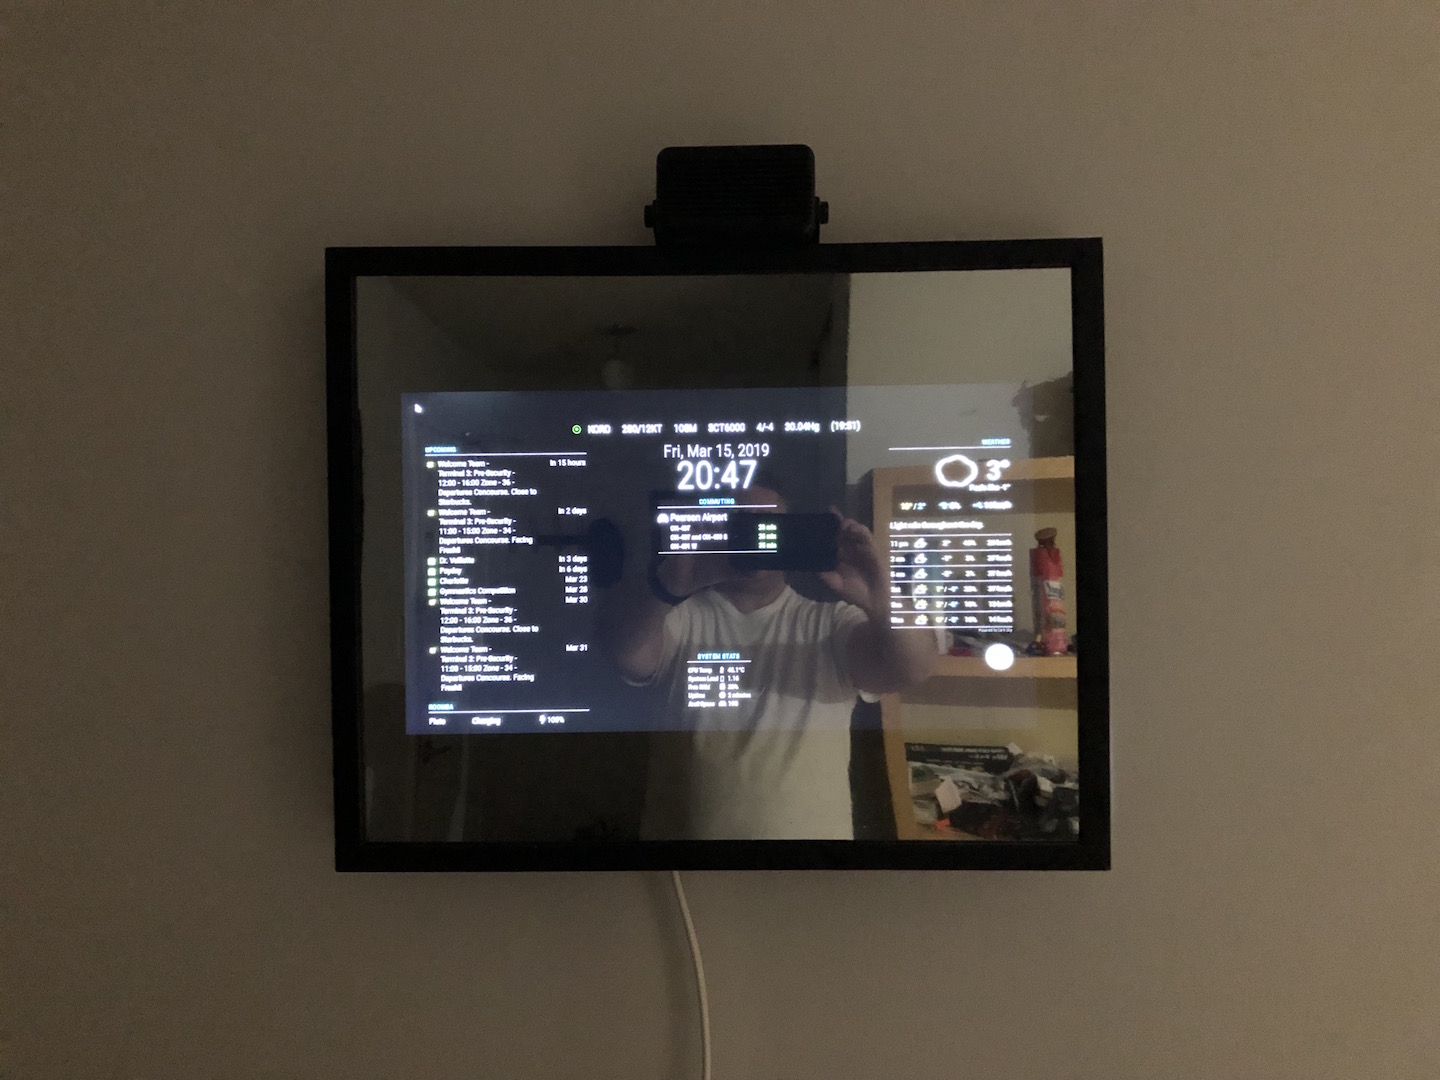
…I took the cheap route. I had an Ikea picture frame lying around that has a glass insert and used a small monitor that work was throwing away. I bought mirrored film and applied it to the back of the glass as the instructions indicated. This was by far the worst step. The sides of the film kept rolling up on me. It isn’t perfect, but I didn’t expect it to be the first time around (see bullet points above). I’m happy with how it functions, though, so building a better frame and using proper two-way glass next time will be my focus.
Lights off:
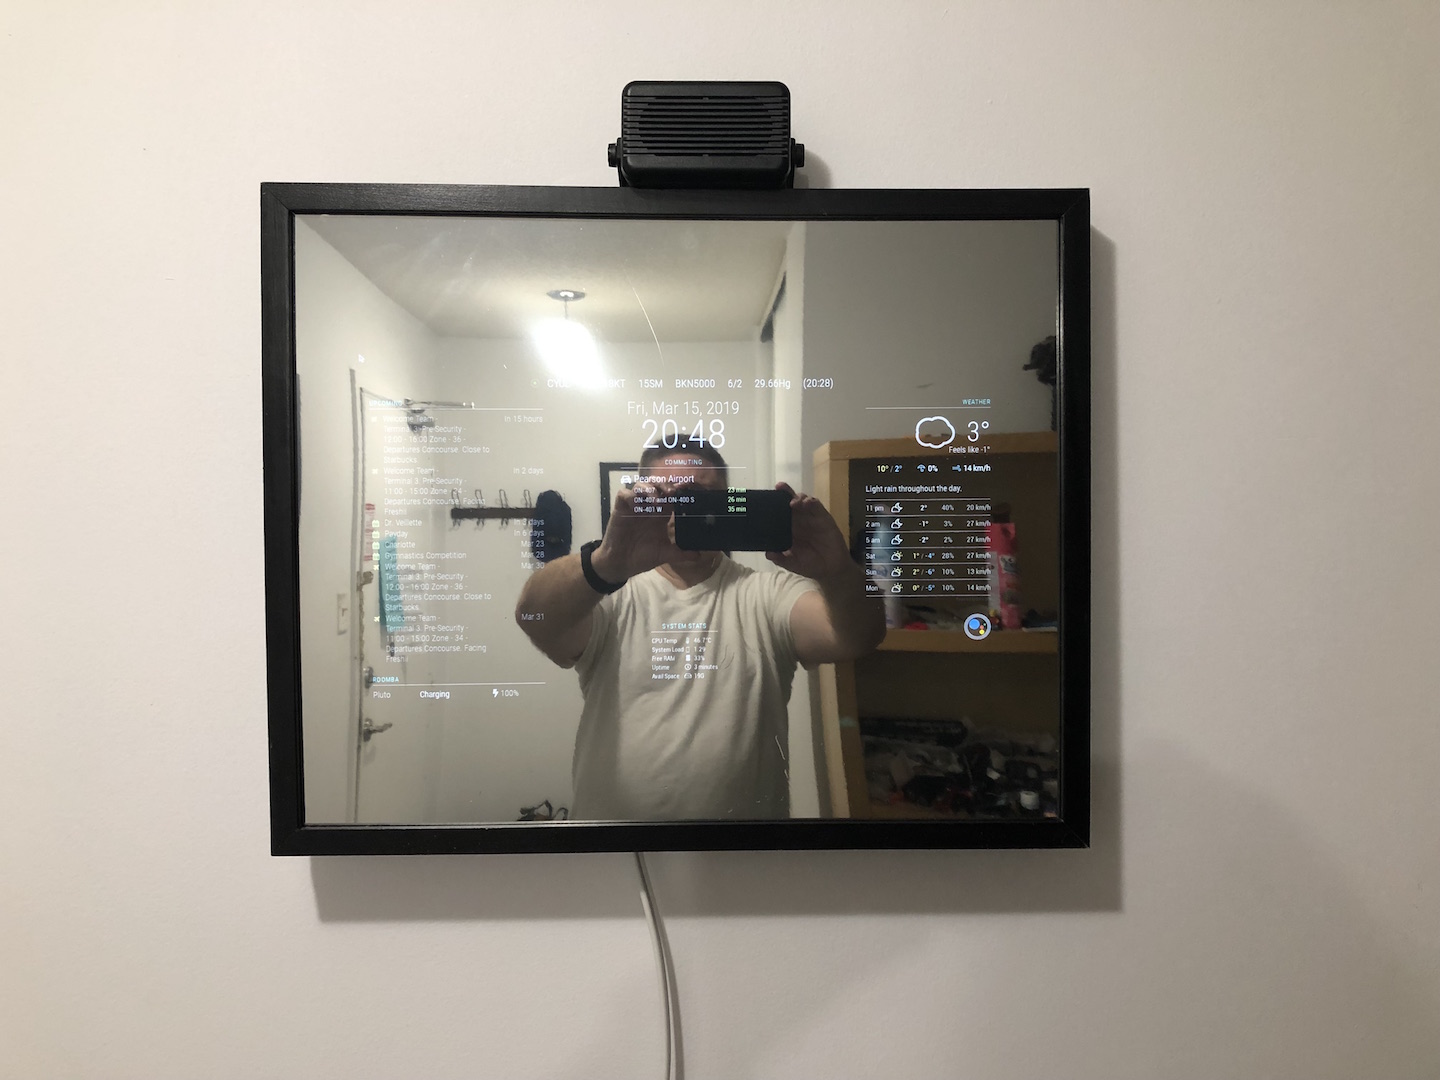
Lights on:
I need to get a usb-powered speaker so I can actually hear MMM-AssistantMk2, but the usb microphone plugged into the back of the monitor picks up my voice quite well.
Thoughts?
-
@sonicgoose Really like that you posted your experiments. I think that’s a great way to learn. What would you do differently the second time around?
-
@jcasman Good question! First, the frame: I’d reinforce the corners rather than running struts across the middle. I thought the struts would be dual-purpose, holding in the display as well as strengthening the frame, but as you can see in the pics the frame is bulging a little on the left side. I think I’d strengthen the corners and then just put a couple of blocks about 40% of the way down to hold the display in place. These would be screwed to the side of the frame rather than running the full width or depth across to the other side.
Second, I’d fully disassemble the display, taking the LCD controller and power circuitboard out of their metal housing, to decrease bulk and weight.
Third: shorter cables. Everything I’ve used for power, usb, etc on the back side is what came with each piece, so a full-length power cord, full-length USB, full-length HDMI… All of that adds bulk. I’d get the shortest versions possible next time.
Fourth: glass mirror. While the glass+mirrored film works, it was a pain to get the film to adhere properly, with bubbles or cat hair in between it and the glass, and took a long time to fully cure. The end result, as i said, works, and the text is quite legible through the film, but the mirror does have a bit of a funhouse effect (note top of door on the left).
All said and done, this gives me a great idea of how a finished version could look and it lets me move it around to try different positions, walls, rooms, etc. Doesn’t feel like I wasted any time and I’m not really out of pocket for any of the parts except the film.
-
@sonicgoose said in First attempt...:
Second, I’d fully disassemble the display, taking the LCD controller and power circuitboard out of their metal housing, to decrease bulk and weight.
This is super useful, thanks for all the details. I’ve been going back and forth about whether I should pull about the display, for the same reasons. The monitor I’m using would become lighter and smaller but I’d also have to deal with the LCD controller and other cables.
Was also waffling about doing mirrored film versus glass. Might go for glass even with v1.0.
Really appreciate it, thank you.
-
Looks good! Are you driving it with a Pi or something with more umph?
-
@bhepler RPi 3 B+
-
Hey! looks awesome!
Hello! It looks like you're interested in this conversation, but you don't have an account yet.
Getting fed up of having to scroll through the same posts each visit? When you register for an account, you'll always come back to exactly where you were before, and choose to be notified of new replies (either via email, or push notification). You'll also be able to save bookmarks and upvote posts to show your appreciation to other community members.
With your input, this post could be even better 💗
Register Login