Read the statement by Michael Teeuw here.
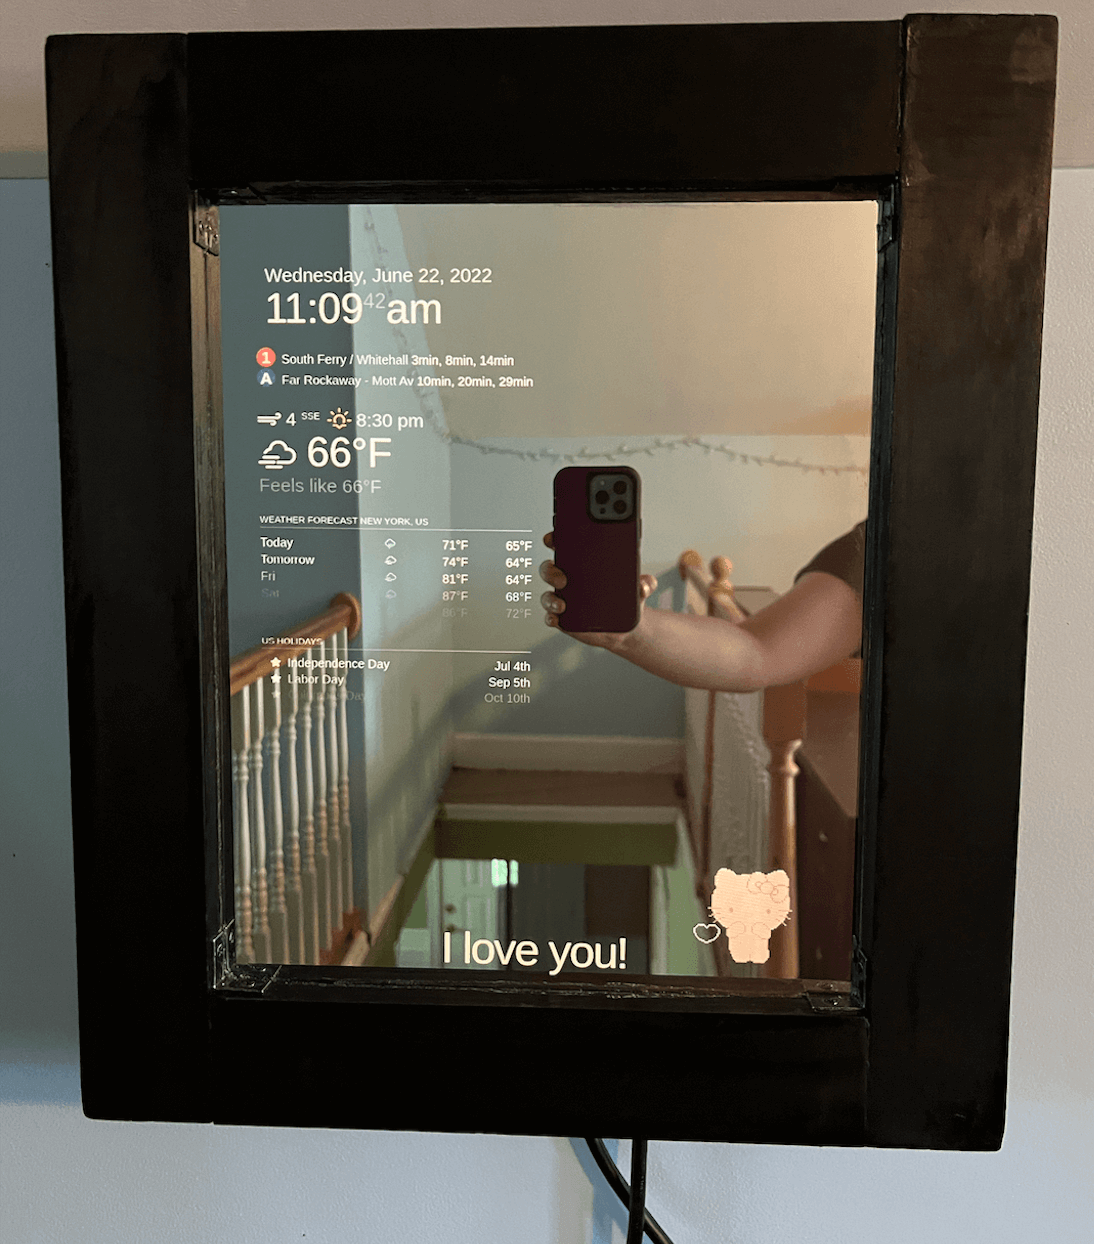
19'' Magic Mirror - How I Built The Frame
-
My first Magic Mirror build using a recycled 19’’ TFT monitor.
You can read a super detailed guide to building a Magic Mirror, including tips for setting up your JavaScript development environment, how I calculated the measurements for the different frame components, and even download my 3d modeling files for the mirror housing here:
https://fairhurst.dev/portfolio/mirror
You can view the configurations for my modules here:
https://github.com/fairhurst-dev/MagicMirror
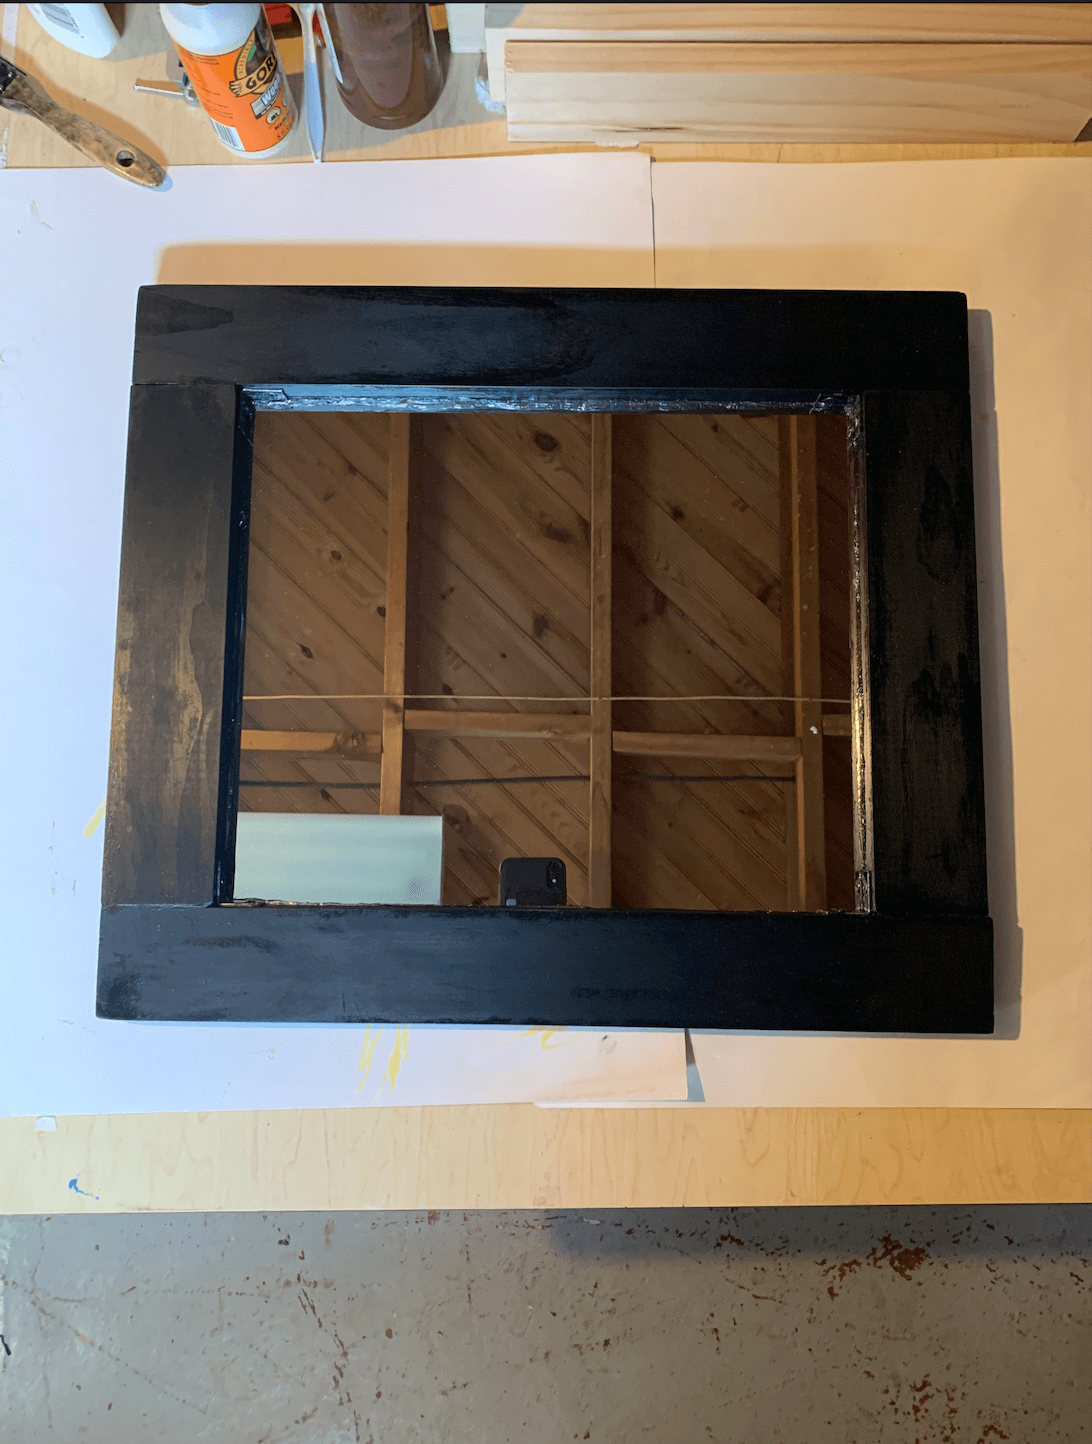
My housing design consisted of the frame, followed by the two-way glass and monitor stacked on top of each other. This stack was surrounded by the dummy box and finally a plywood back board was attached to the back.

I created a frame and dummy box using two 3-in x 6-ft pine boards. Then I attached the two-way glass to the back of the frame with silicone glue.
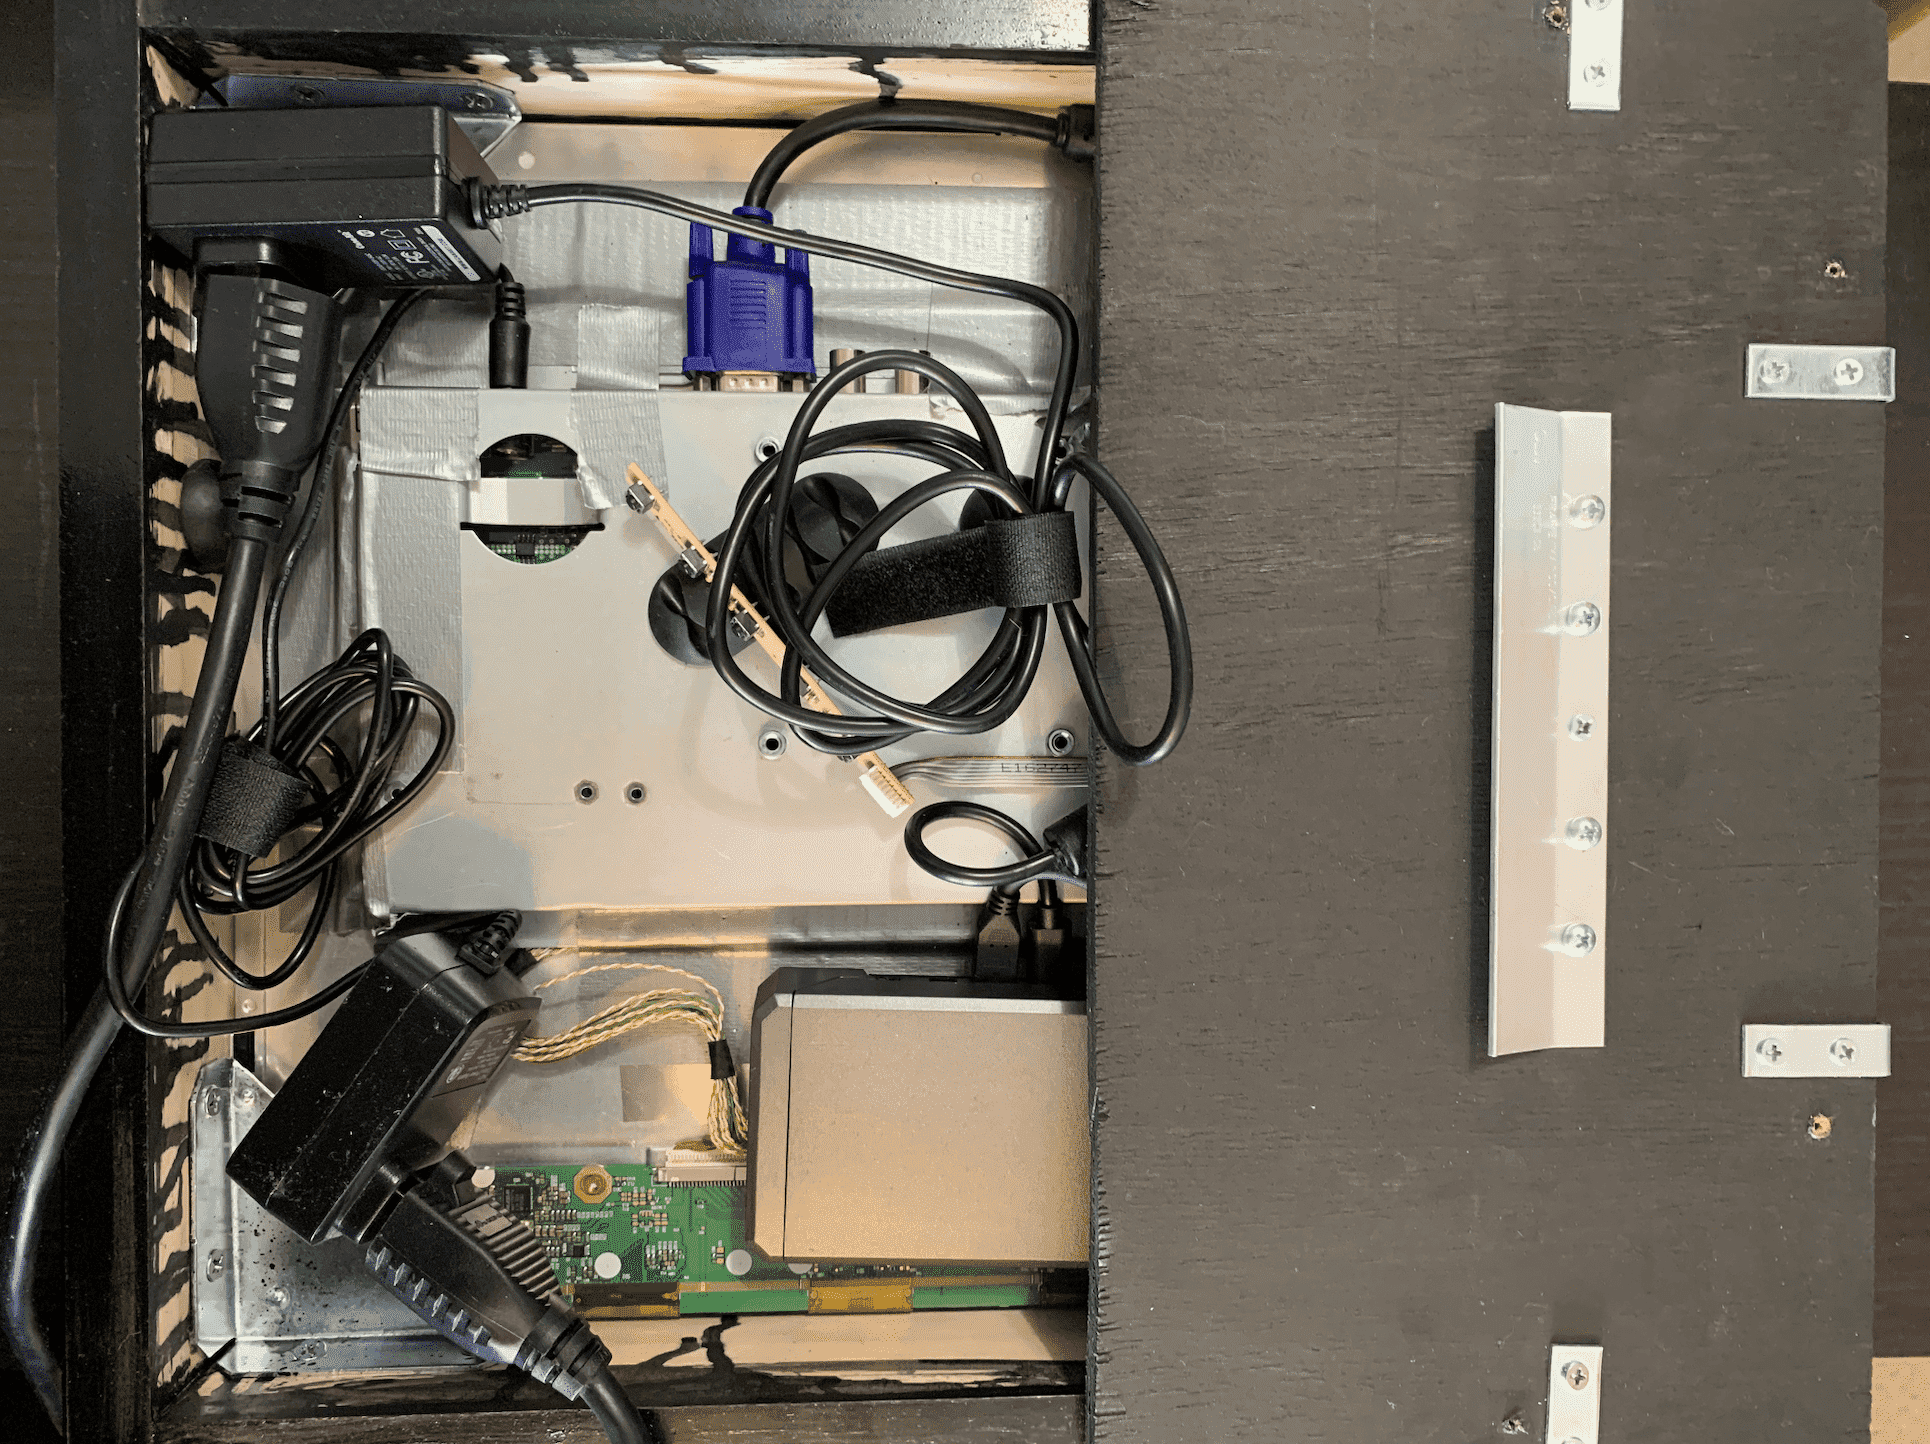
I secured the monitor inside the dummy box and flat against the glass using four 4-in corner braces.
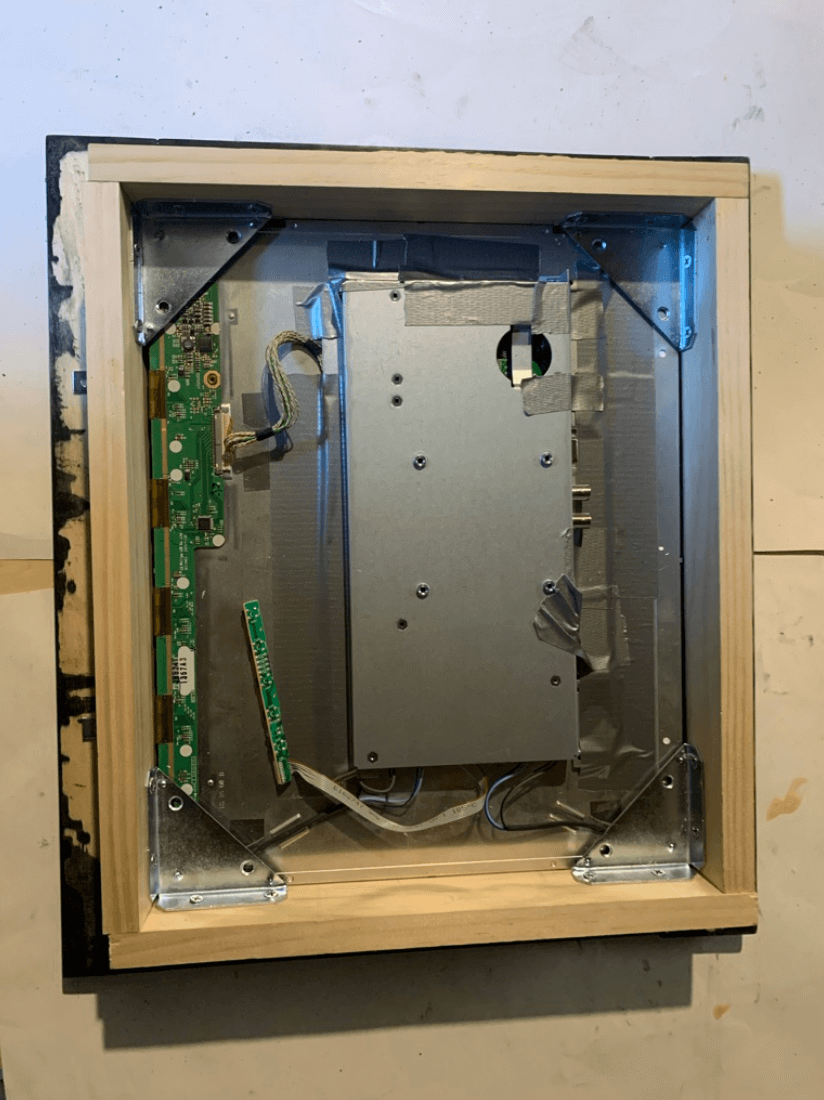
I attached the dummy box to the frame back using 1.5-in corner brackets.
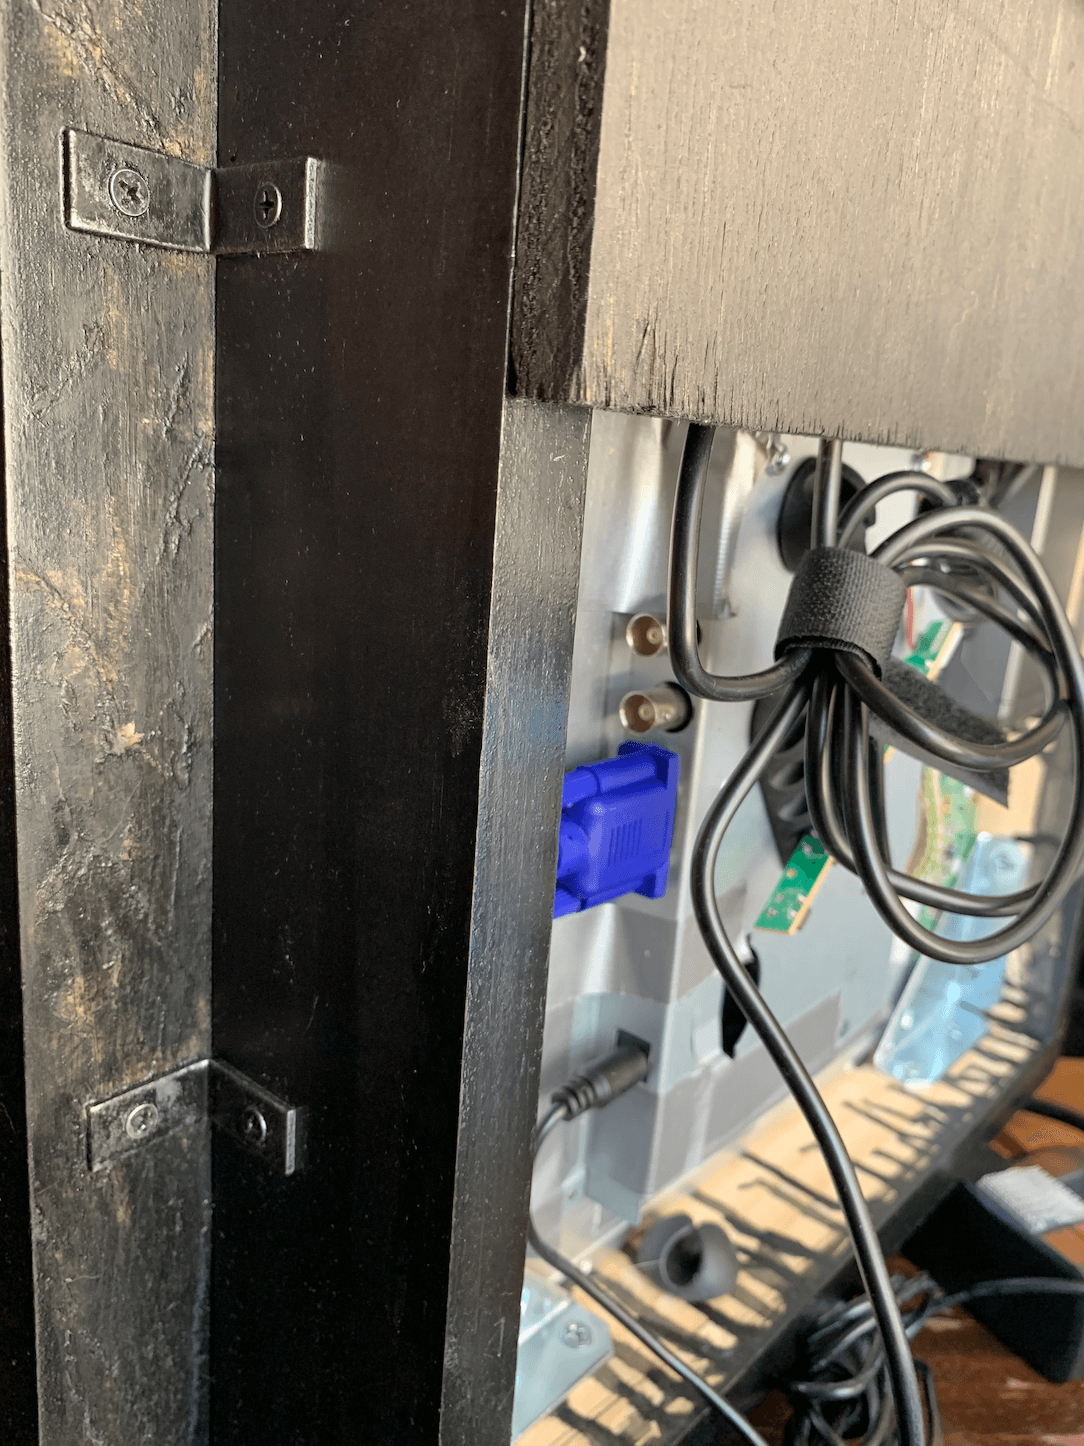
The plywood backboard was attached using 2-in corner brackets, followed by a French cleat to allow the entire unit to hang on the wall, no stud needed!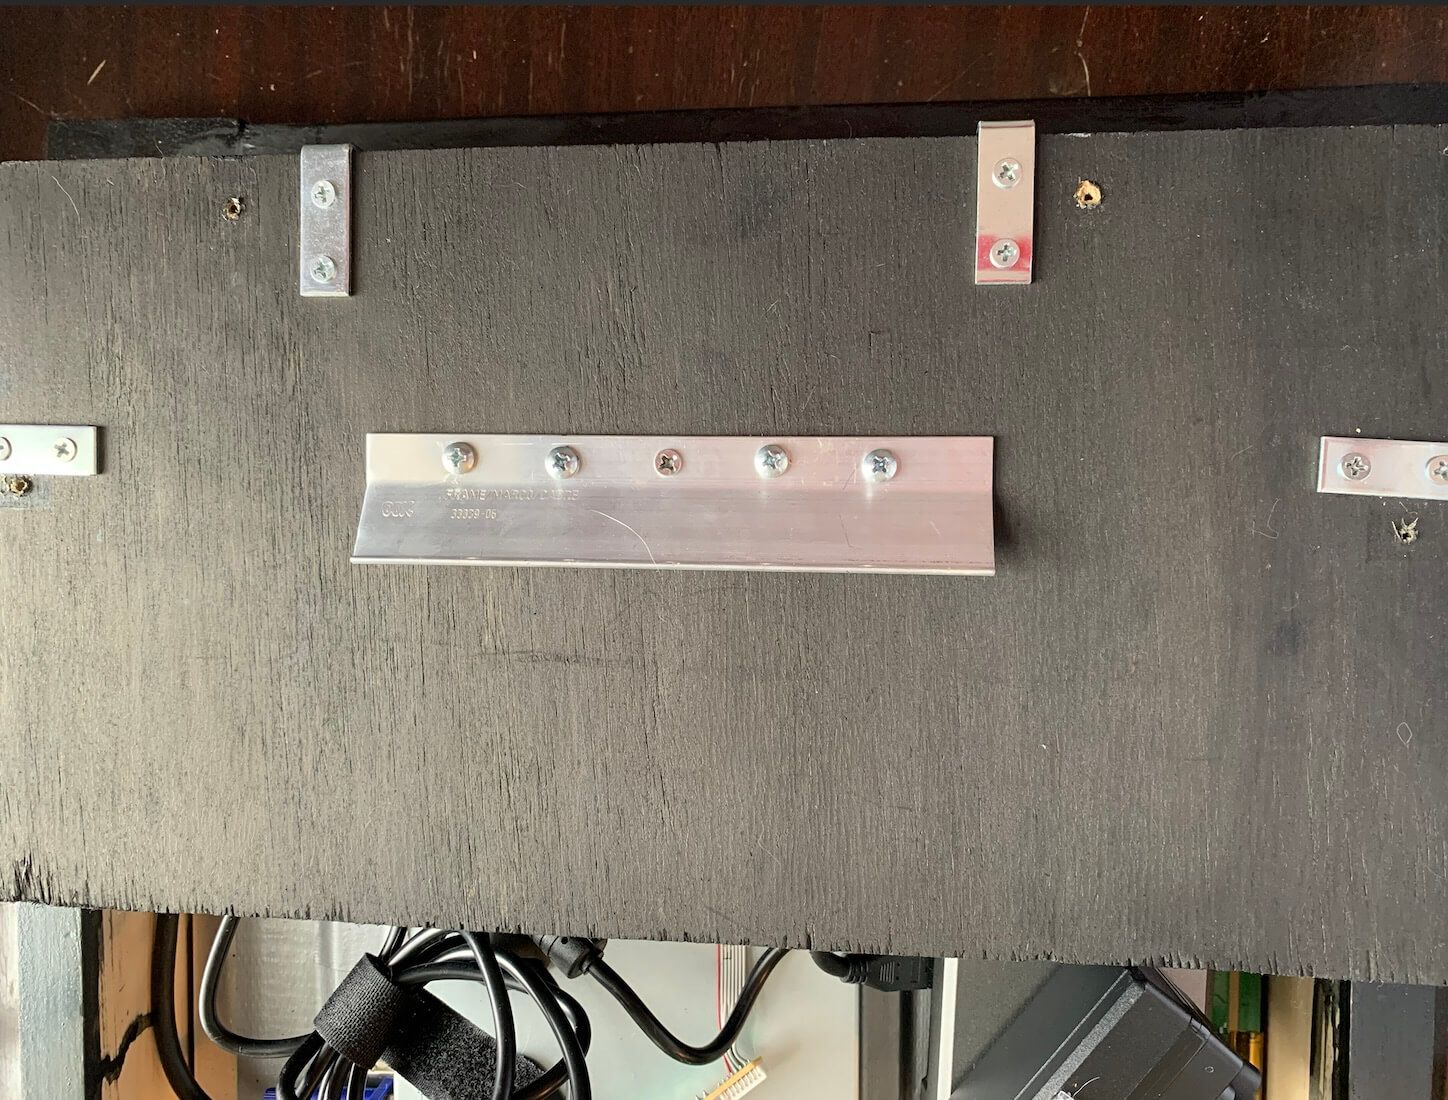
Lastly, I used cable ties to organize the cords behind the monitor and velcro squares to secure the power boxes and Raspberry Pi to the back of the monitor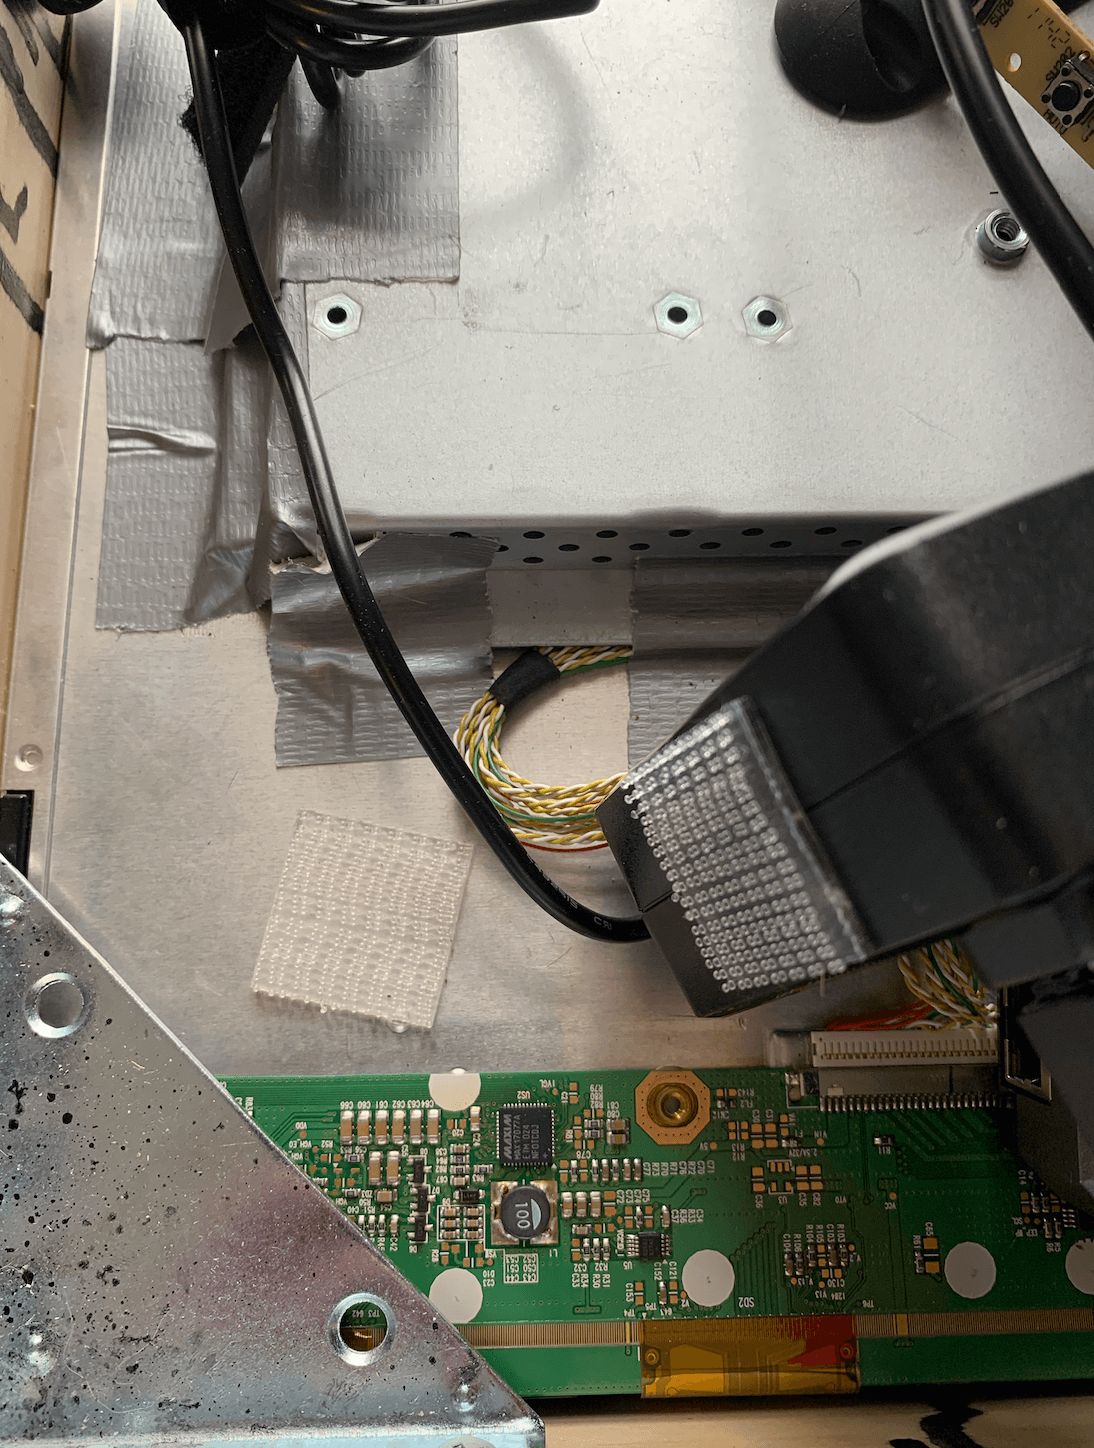
Enjoy the build, and please reach out with any questions!
https://fairhurst.dev
Hello! It looks like you're interested in this conversation, but you don't have an account yet.
Getting fed up of having to scroll through the same posts each visit? When you register for an account, you'll always come back to exactly where you were before, and choose to be notified of new replies (either via email, or push notification). You'll also be able to save bookmarks and upvote posts to show your appreciation to other community members.
With your input, this post could be even better 💗
Register Login