Read the statement by Michael Teeuw here.
Paul's second mirror :)
-
Dear fellow MM-builders,
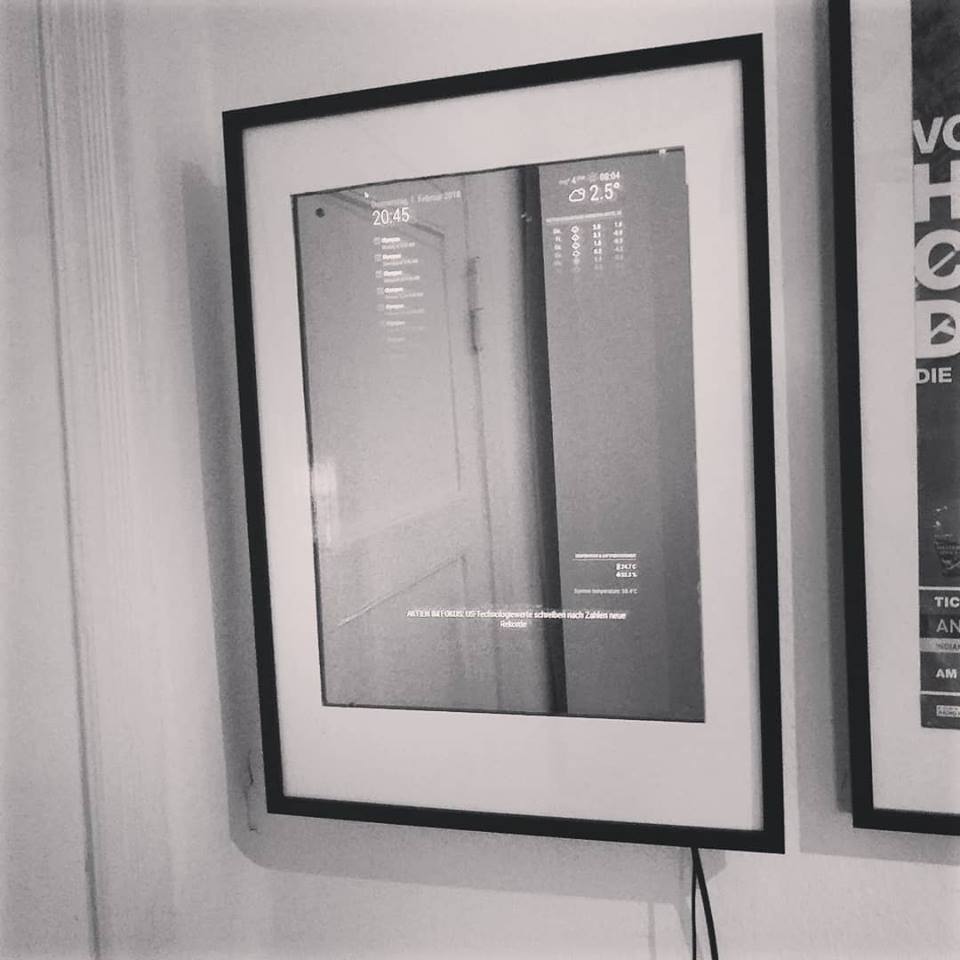
I would like to show you the build to my second MagicMirror.
Unfortunately the glas broke during a move to another city, so I decided that it was time for a second try.This time I used following parts:
-
picture frame Ribba from IKEA 50cm*70cm
–> it includes a neat passepartout which was useful to hide some of the cracks in the mirror
-24" monitor Acer KA241bid
–> a cheap monitor which is also very thin and has a HDMI output -
then I 've cut some of the parts of my old mirror which weren’t cracked
–> I used a glas cutting tool and watched a lot of DIY youtube videos on how to cut glas, because I not such a craftsman :-D -
If you want a more cheap solution instead of buying an actual mirror, you can use the Polycarbonat plat which is included in the Ribba frame from IKEA and use silver reflection folie
-
a short HDMI cable
-
for wifi connection I used the CSL - 300 Mbit/s USB 2.0 WLAN
–> you just have to install the software from CSL (raspberry Pi needs a LAN connection) after that its super easy :) -
wood from the local store as well as screws
-
male to female wires
-
a DHT22-Sensor as well as a PIR sensor
I was a lot of fun putting it all together and doing a little bit of programming by myself.
As always, you guys helped me a lot in doing so!Thank you very much :)
-
-
Great work Paul!
Good idea building it with a ribba and passepartout!2 questions:
- How does it look from the side / how is it mounted.
- And where is your PIR sensor?
-
Thank you very much :)
It it mounted on the wall via a wall mount which is connected to the screen.
The whole frame is connected to the screen through a frame made of wood.The DHT-22 as well as the PIR Sensor are located on the right, right behind the frame.
I did not find a good solution on how to “hide” the PIR Sensor, so I though I should hide it a little bit.
Hello! It looks like you're interested in this conversation, but you don't have an account yet.
Getting fed up of having to scroll through the same posts each visit? When you register for an account, you'll always come back to exactly where you were before, and choose to be notified of new replies (either via email, or push notification). You'll also be able to save bookmarks and upvote posts to show your appreciation to other community members.
With your input, this post could be even better 💗
Register Login