Read the statement by Michael Teeuw here.
I'm so bad at applying the reflective film! Any advice?
-
@boblazer
I tried this as well and failed the rendering was not good( at least to my taste )
I would recommend to go for a glass and apply the film on it.
My method:
Clean the glass with a window clearer product and use ( sorry for my english) a dedicated glass cleaner napkin to avoid dust at the maximum.
again to avoid any dust use a vacuum to have your glass 100% clean
Then with a sprayer, put inside some water and a drop of soap.
Spray on your glass and then apply the film starting at the bottom and evacuate the water while you progress developing the film.
you shouldn’t get any air bubble by doing this way .Note : do not cut the film on edge once it is done leave a few millimeters on each side and let it dry for a couple of days . Once dry you can cut the edge of the film to fit your glass.
Hope it helps .
Ejay
-
Allright, I’ll give this a go. I wonder if part of the problem is the acrylic flexing. …I’ll probably try it this weekend. I’ll post pictures.
-
Here are some pictures of my progress and current methodology. I’m getting better but the final results are still far from perfect.
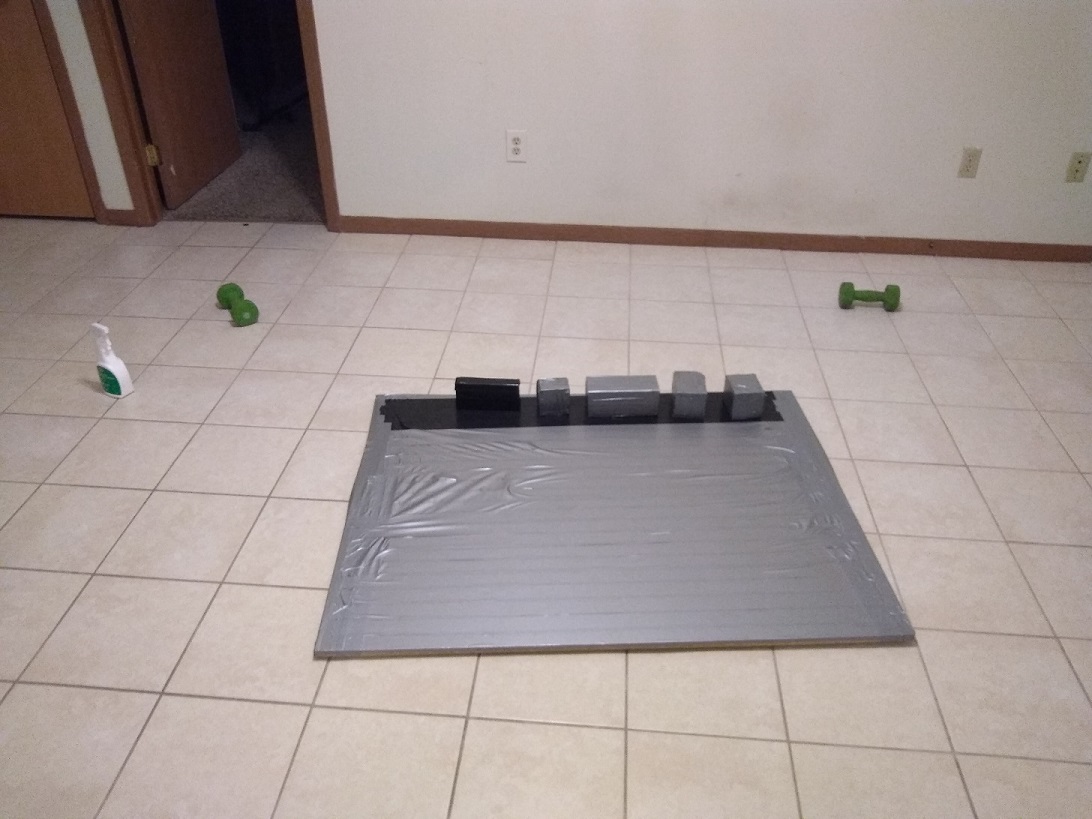
- The workspace (a rough cut piece of particle board covered in dukt tape):

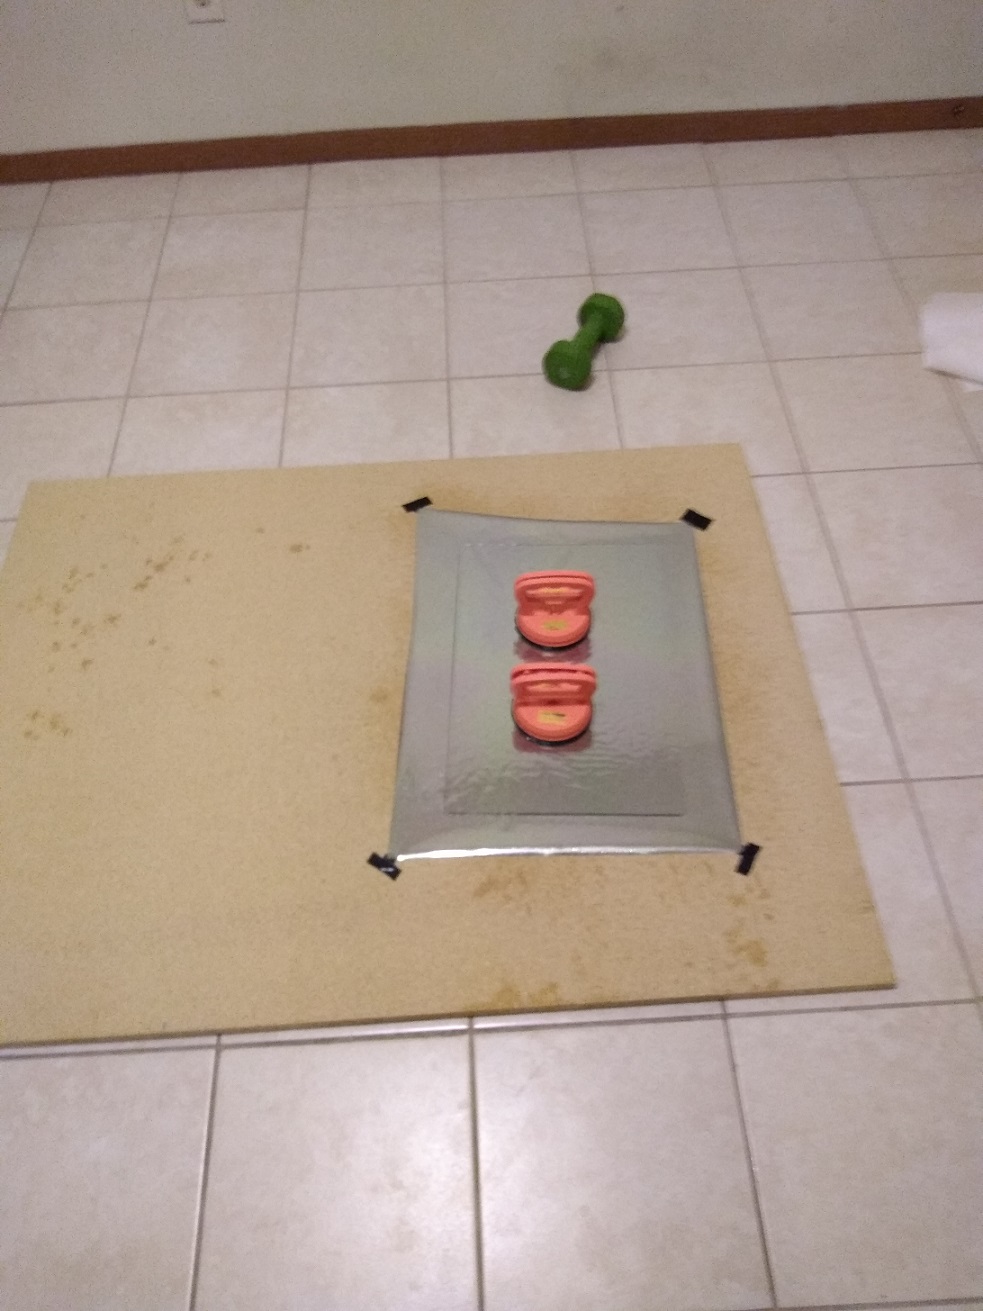
- Glass onto film (picture was taken the day before when I hadn’t dukt taped the particle board yet):

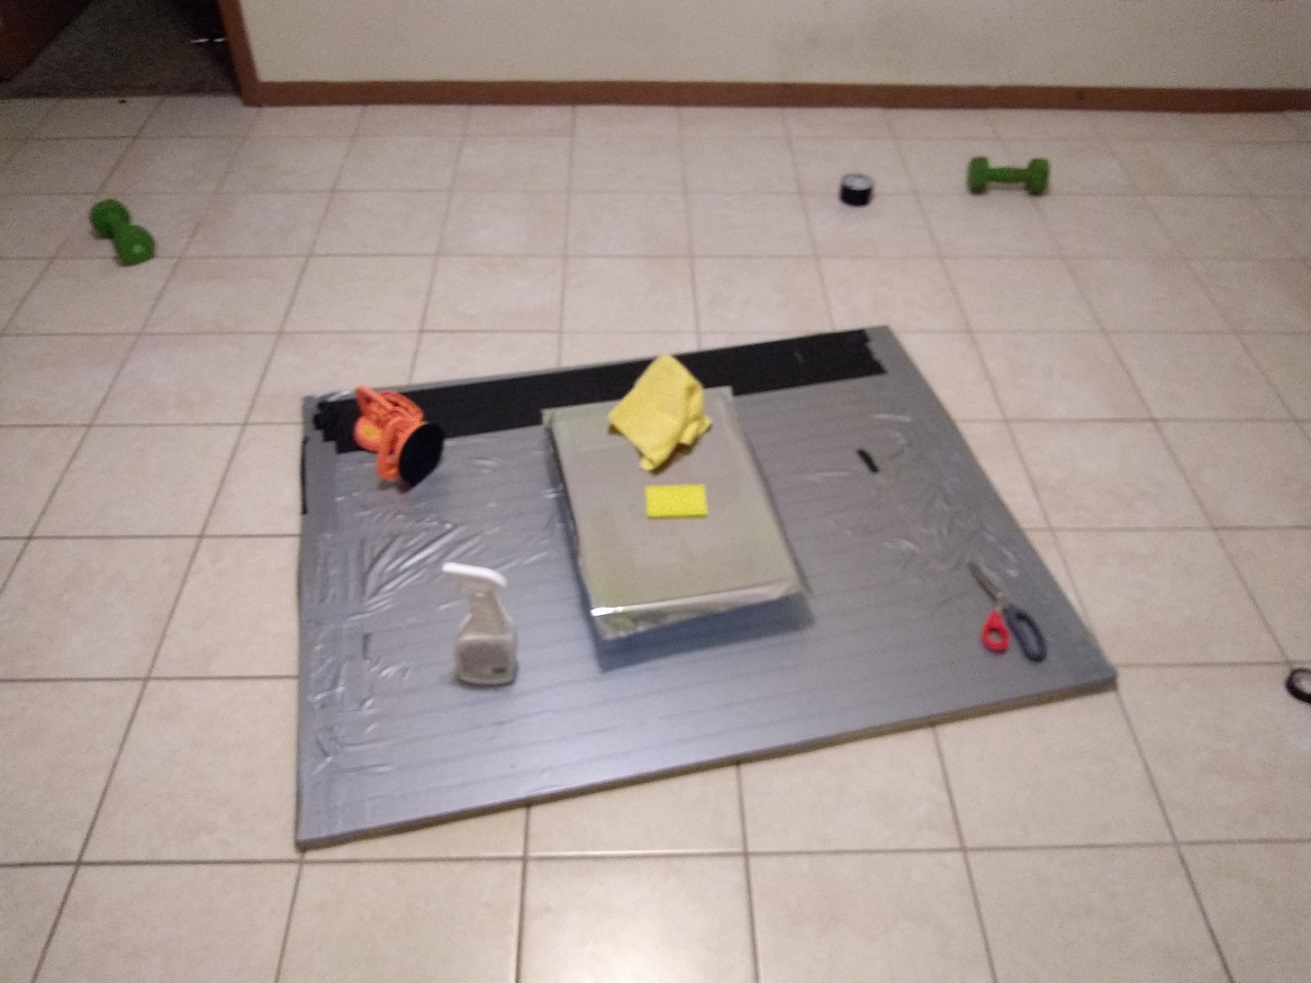
- Ready to start smoothing!

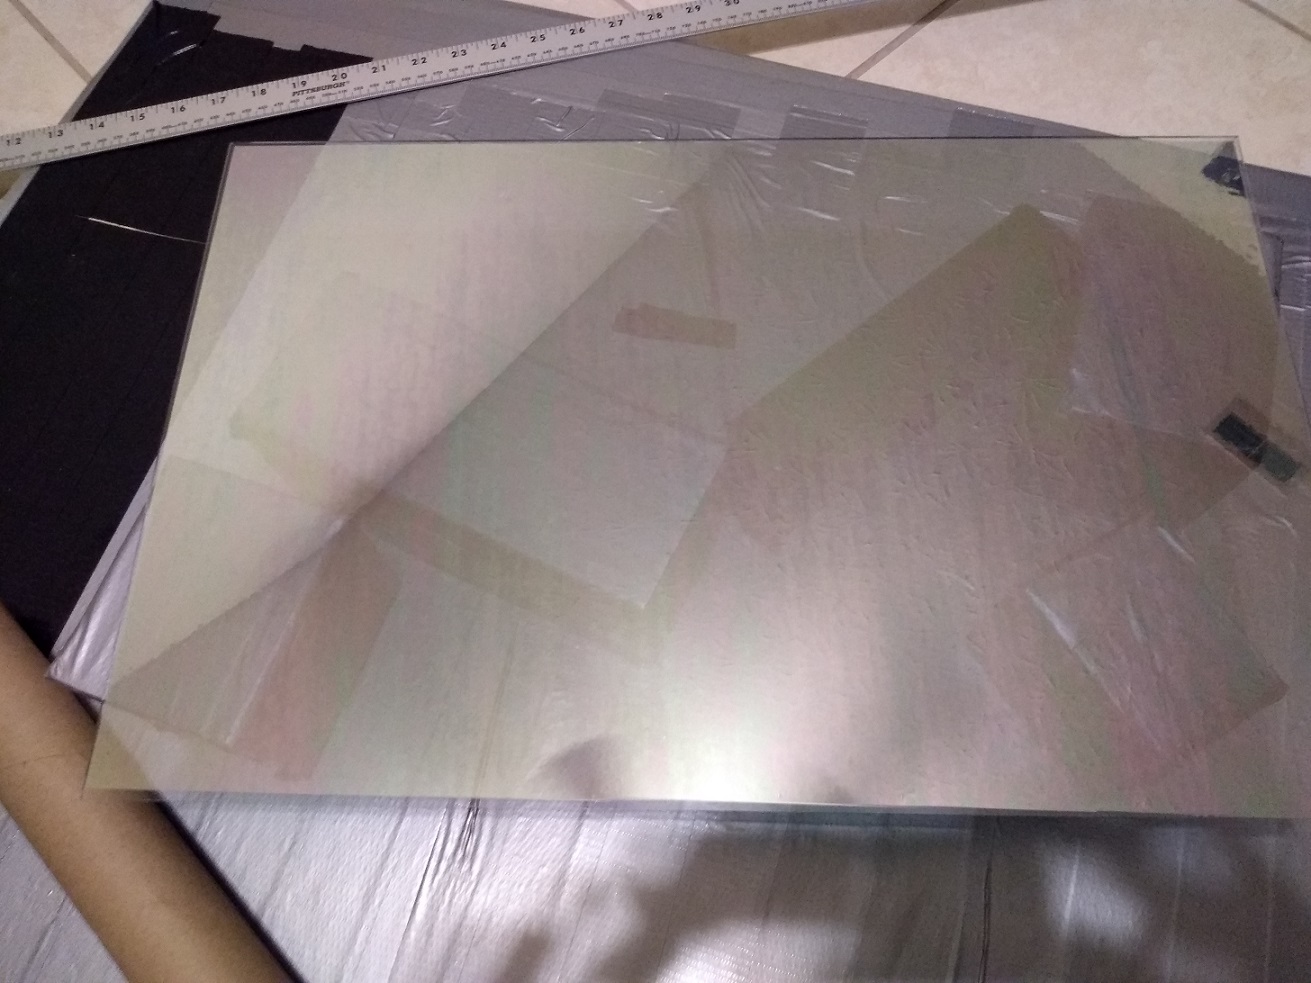
- Done (with flaws)

You can’t see it in the pictures but there are some flaws. Flaw type 1 is just regular air bubbles that you can press down on to eliminate. Flaw type 2 is a “hard” air bubble. I assume flaw type 2 is from a spec of dust but I don’t see any dust when I get my eye really close to it. …it just looks like an air bubble. Finally, flaw type 3 is the rainbow discoloration on the film. I had assumed this would go away when I wiped the mirror down with windex but it’s still there. You can actually see this a little bit in the picture. But in real life it’s unbearable, at least to me.
I have a USB microscope which I might use to try and get a better idea of what’s going on with flaw type 2. I will probably try poking the flaw type 2 that is on this mirror with a needle to see if I can remove it that way. But if/when that doesn’t work I guess I’m just going to keep trying?
I’m really not sure what to do if the problem is dust. I realized that when I was cutting the film around the glass that the exacto knife was digging into the particle board and probably bringing up some particles. So on this mirror I used scissors to avoid bringing up particles from the particle board. Also, if you’ll notice all my blocks are 4x4’s wrapped in dukt tape. Before I began working I thoroughly swept every surface and hit the whole area with compressed air. …of course I could be attracting dust in some way that I’m not considering. IDK. I just feel REALLY bad at this. Any words of advice encouragement?
btw, I have been looking on Amazon and they want a TON of money for this. As much as $100 for a 12x24" sheet of two way glass! Of course there are cheaper options but idk if they look good enough. I’m basically looking for perfection. That is, no flaws or warping or discoloration at all. You know, like a mirror.
-
I see you did a great job.
-
I applied two way film to both acrylic and glass and the glass had better results. The acrylic bubbled. I tried on several smaller pieces of acrylic with the same result. (Thought maybe it was me) That’s when I switched to glass. Much cleaner result. The last photo looks good.
-
I feel it’s pertinent to say that I’ve improved my process a little bit as somewhat detailed in my own answer to my question on stack exchange diy
here. I can’t seem to link to it because the automated system thinks it’s spam.My results doing it that way are pretty good but still not perfect. I’ve been holding off on updating this post until I get the process down right.
