Read the statement by Michael Teeuw here.
My new Magic Mirror
-
Hi Team,
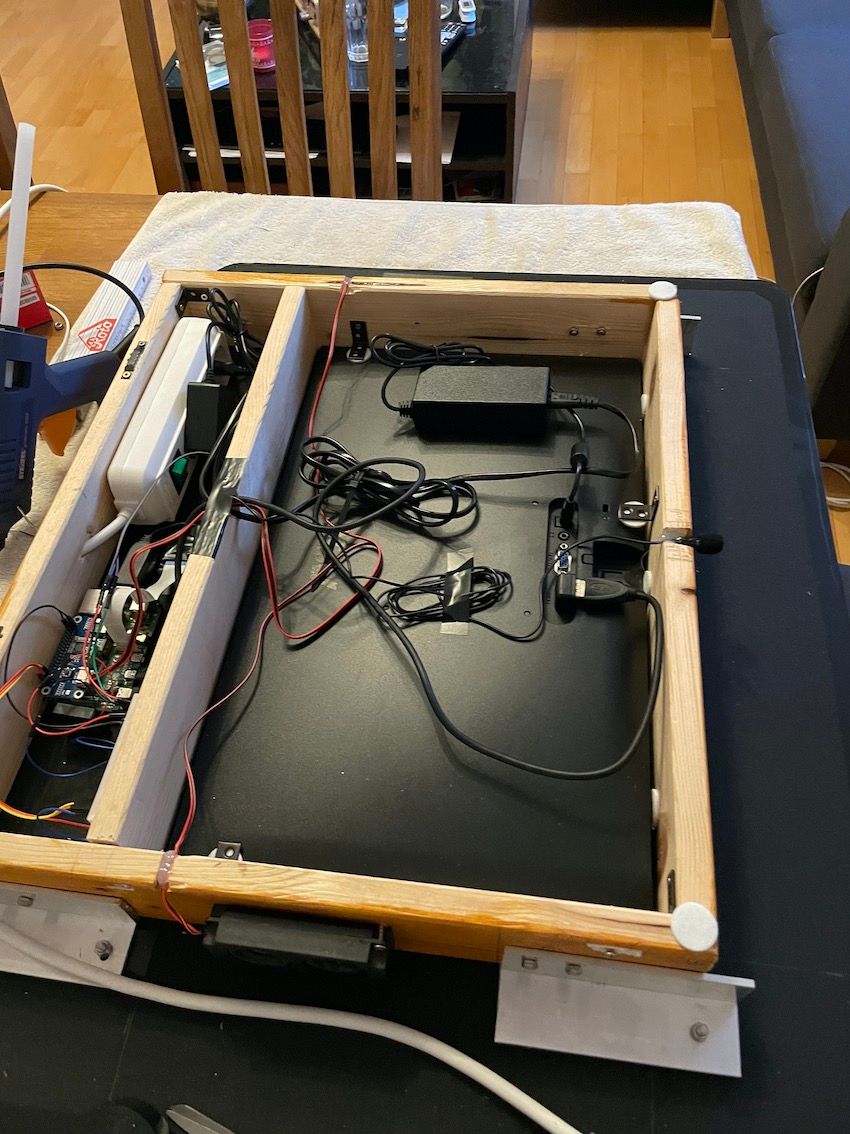
After a couple months of playing around and testing different setups. I can show you what I’ve managed to put together.
HW wise:
- Raspberry Pi 4
- Raspberry Camera
- USB Mic
- WM8960 Audio Board + speakers
- Fan
- Radar Sensor RCWL 0516 (movement to activate the display)
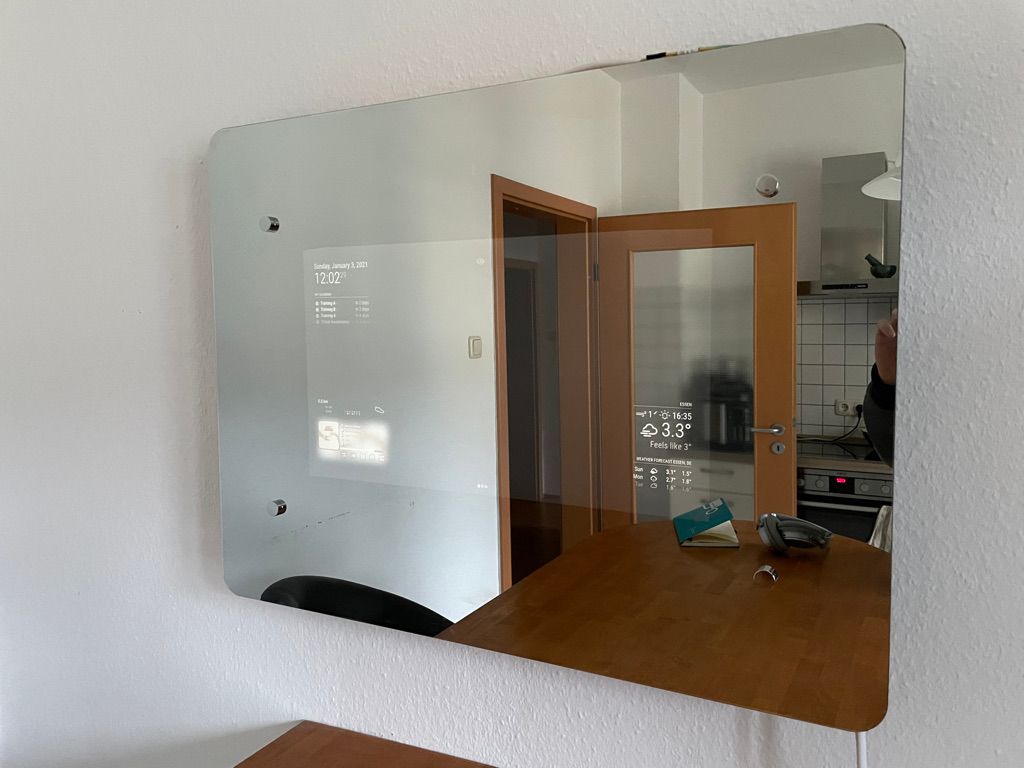
- AOC 22B2H screen
- MirrorView 4mm Glass from Glas-star.de
- Humidity/Temperature Sensor DHT-11 (to measure room temp/humidity)
Modules:
- MMM-Strava
- MMM-Face-Reco-DNN
- MMM-Spotify
- MMM-PIR-Sensor
- MMM-Carousel
- MMM-COVID19-AMPEL
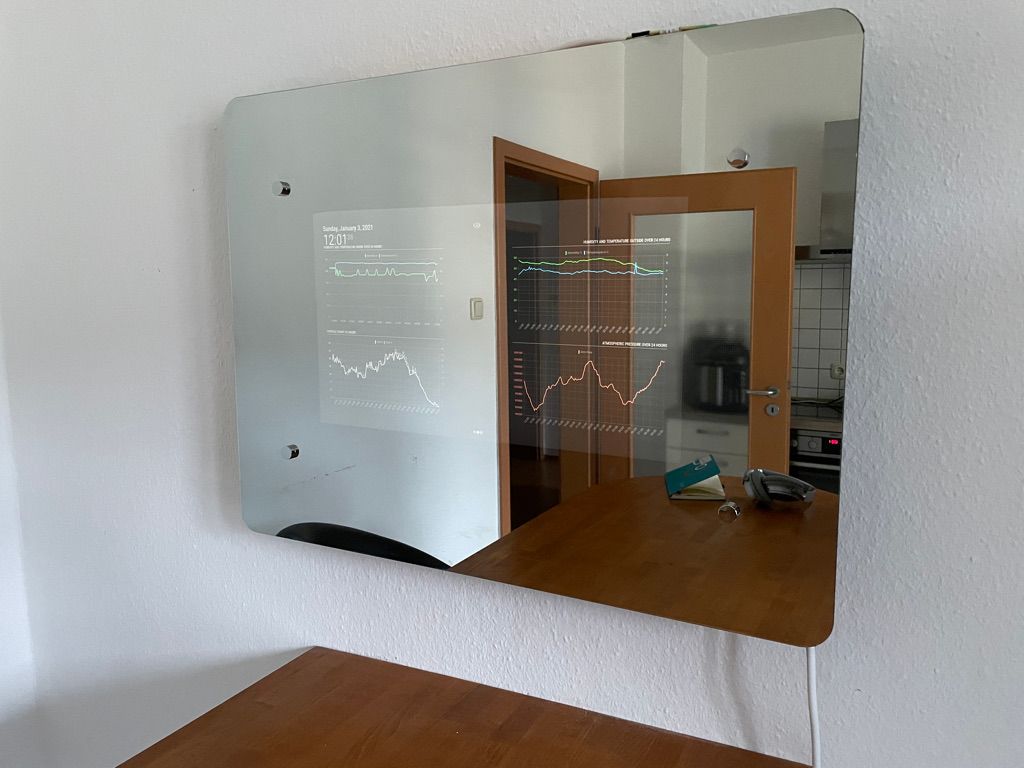
- MMM-Chart (data from http://opensensemap.org)
- MMM-GoogleAssistant
- MMM-MicVolume (mic deactivated until Face-Reco gets a positive detection, this disables the google assistant - for privacy)
- mmm-systemtemperature
- MMM-WiFiPassword
Extras
- Airplay
- pi-fan-controller
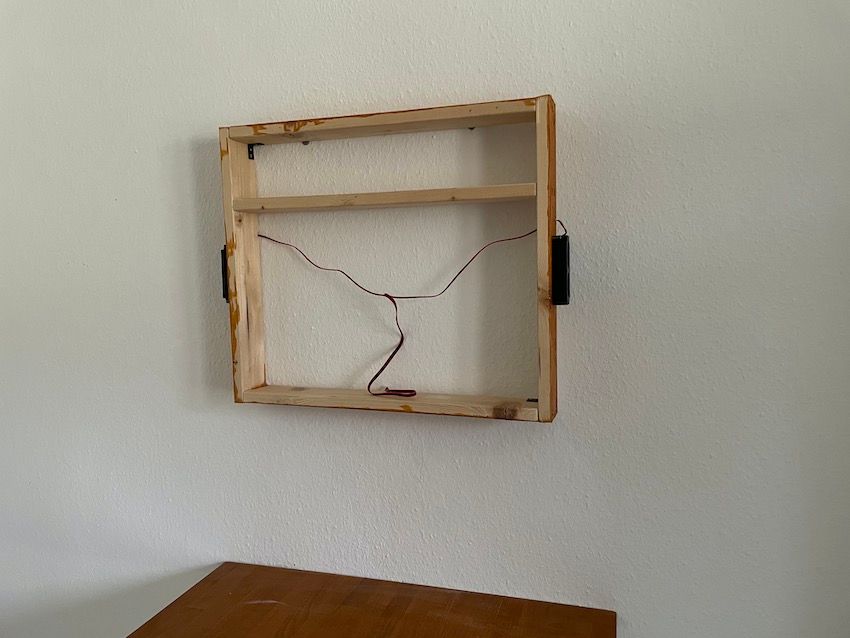
Here are a few pics:

Open issues:
The camera has problems recognising through the glass, the image is too dark. It works… but it requires to a lamp to be on. I haven’t found a way to play with the amount of time it takes for the photo to be taken. The raspistill command does it automatically, but the Face-Reco module doesn’t allow an option for it that I can tell -
Very well made.
I like that the mirror has no frame.
For the MMM chart, how did you integrate the data from opensensemap.org? Can you show us that part? -
Thanks @MyMirror
Sure, its a dirty hack as Im not a programmer, but it works.
- You need to download the data you want from a sensor, to do that, go to the site, select which sensor and data would you like to have and instead of clicking download, right click and copy the link, it would look something like this:
Options selected: 24hrs data, 10 Minute Value, Arithmetic average, Temperature sensor -> https://api.opensensemap.org//statistics/descriptive?boxid=5b1421ce4cd32e00193f0983&columns=lat,lon,boxName,boxId,unit&download=true&format=csv&from-date=2021-01-03T10:36:32.413Z&operation=arithmeticMean&phenomenon=Temperatur&to-date=2021-01-04T10:36:32.413Z&window=10m
You can later automate this process using wget and changing the date variables in that string
- The file is a csv file that needs to be changed to json in a format that looks like this:
[[“DateTime1”, Value1 ], [“DateTime2”, Value2], … ]
There is many python examples on how to do the conversion, but what I found is that they dont return the same format. For example: https://medium.com/@hannah15198/convert-csv-to-json-with-python-b8899c722f6d
The output looks instead something like this:
{
“DateTime1”: “Value1”,
“DateTime2”: “Value2”,
…
}- So I take that and apply some command line to replace, move, etc… WIth the above format, you could use this:
grep -v ‘“”’| sed ‘s/"temperatur_20/["20/g’ | sed ‘s/T/ /g’ | sed ‘s/Z"/"/g’ | sed ‘s/",/],/g’ |sed ‘s/": “/”, /g’ | sed ‘s/{/[/g’ | sed ‘s/}/]/g’ |grep 20 | head -c-3
Dont forget to add the first and last [ ]
- And then you need to enable apache and copy to a location where MMM-Chart can find it
This should do it. I hope it works for you!
Cheers
- You need to download the data you want from a sensor, to do that, go to the site, select which sensor and data would you like to have and instead of clicking download, right click and copy the link, it would look something like this:
-
@pablousavilla
Great - thanks for the detailed explanation.
I will have a closer look at the weekend.Have a nice day and stay healthy.
-
Looks great, I love the frameless look. Can you share the product you used for the mounting hardware?
-
Hi @drewski3420,
Thanks!
I didnt use any special product, it has a small wooden frame + nails and some aluminium L profiles.
When I ordered the mirror, I had added holes to the design so it would be easier to mount afterwards. You can see it in the pictures here: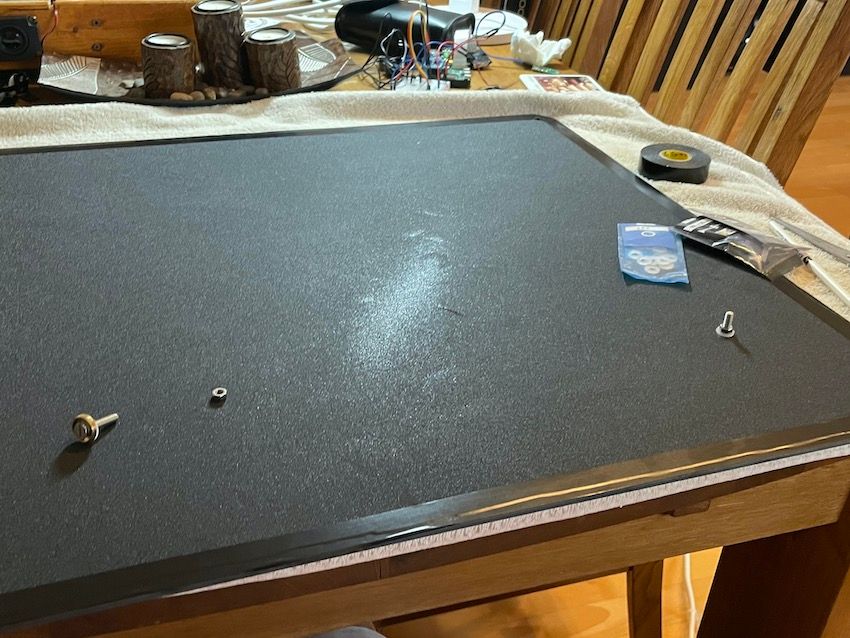
How that helps
Stay healthy!
Cheers -
Both thumbs up for the frameless design!
-
How did you get MMM-PIR-Sensor working? Can’t seem to get it working. I only get blank screen when starting up.
-
Hi @emagic,
To be honest, I just followed the instructions here:
https://github.com/paviro/MMM-PIR-Sensor
But something you could try is to turn it on and off in the command line just to make sure that the instruction is correct, as there are 2 possibilities:
/usr/bin/vcgencmd display_power 0
/usr/bin/vcgencmd display_power 1And
echo ‘standby 0’ | cec-client -s -d 1
echo ‘on 0’ | cec-client -s -d 1You can find them in the code: https://github.com/paviro/MMM-PIR-Sensor/blob/master/node_helper.js
Depending on that, you need to modify your config.js options
I hope that helps
-
@pablousavilla Not sure if you;re still having troubles with the camera, but I ran into the same thing. the one way mirror significantly darkens the image. In my case, the mirror has a frame so I drilled a tiny hole, painted it black, and routed out the back of the frame so the camera was flush to the frame face.
That helped, a lot, but in the dark, still wasn’t enough to recognize faces.
So I switched to the NOIR raspi camera, then added a couple of IR Leds. The image from the NOIR camera won’t win any awards, but that’s ok. it’s just for motion detection and face reco, and that works great now, regardless of whether the lights are on or off. just train it with a decent sample set.
With yours, since there’s no frame, it might be a bit trickier. I found that the one way mirror reflected a TON of IR light, too much to get a good picture from the camera if the camera was located behind the glass.
You might try some IR lights behind the glass and mount the camera below the bottom, tilted up. Or maybe replace one of the mount bolts with a “fake” that has a hole for the camera.
-
@emagic Ditto, have tried countless times and its sad as have kinda given up with my project as a result! 😩
-
@rachee who did u reply to?
Hello! It looks like you're interested in this conversation, but you don't have an account yet.
Getting fed up of having to scroll through the same posts each visit? When you register for an account, you'll always come back to exactly where you were before, and choose to be notified of new replies (either via email, or push notification). You'll also be able to save bookmarks and upvote posts to show your appreciation to other community members.
With your input, this post could be even better 💗
Register Login