Basically I rebuilt our Magic Mirror monitor in a very similar way like @MichMich. I did order the same 24" monitor at Amazon (thanks to @MichMich for the great instruction). The installation of the software on the raspi3 was really simple and showed great results on a test monitor.
What I could not imagine that it was nearly a nightmare to get a spy glass at a local glacier in Munich, however after many mails and phone calls, I was able to find a local glacier. (More details on this part of the story here.
As promised in this separate thread here are some pictures of my MagicMirror.
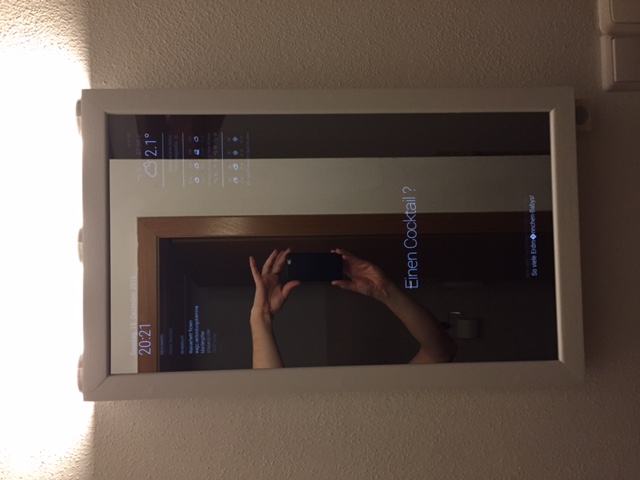
Let us start with the final result, and I am more than happy with it, the wife acceptance factor is great as well and especially my nine year old boy loves it, since he helped to do a lot of the assembly stuff together with me :).

You can see at the right bottom a small IR sensor, since I do not have a 3D printer, I have sawn the casing yesterday manually, it still needs to be painted, currently I am testing it and trying to get the module running.
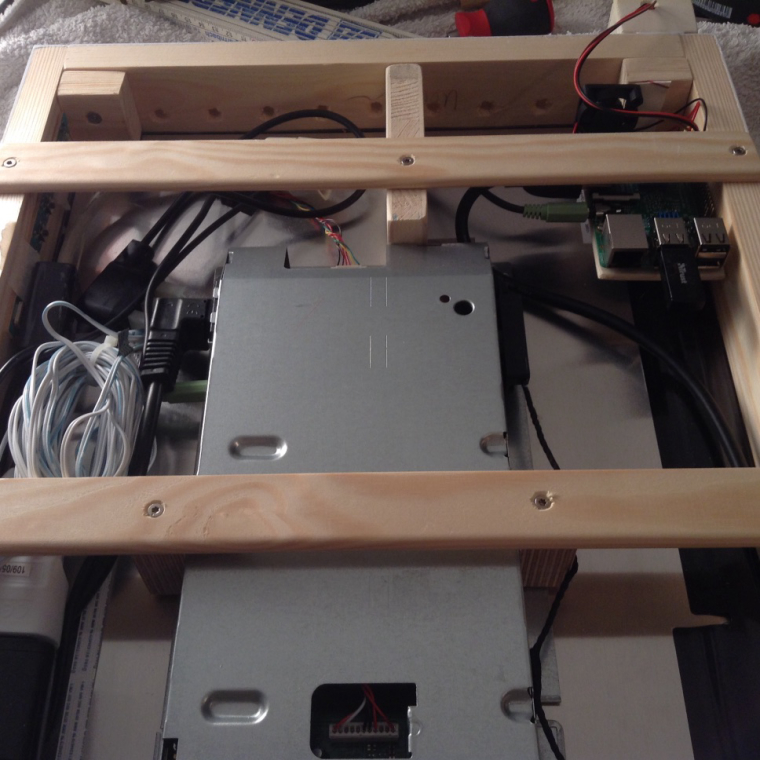
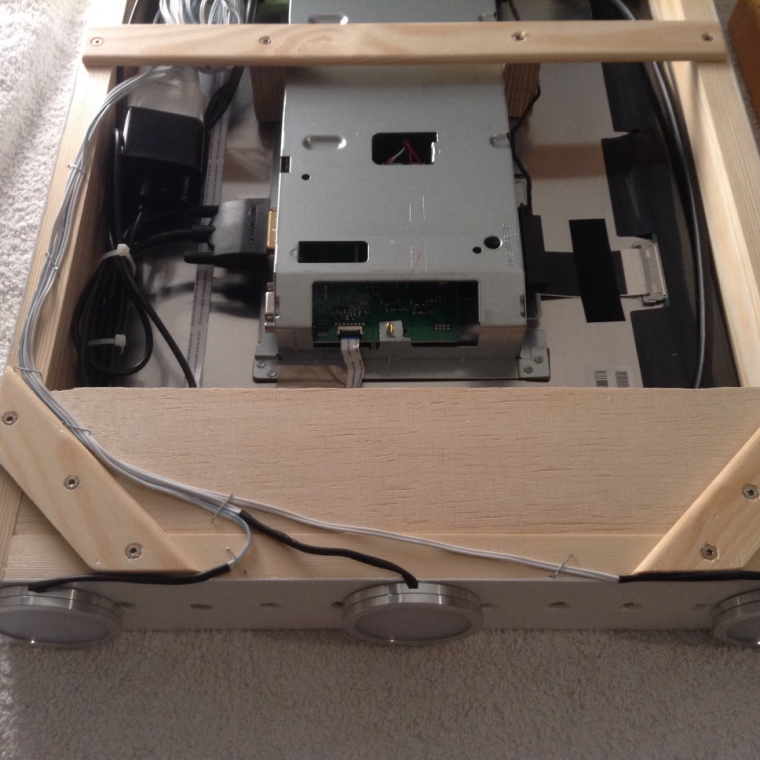
What I did differently is the way to mount the mirror. I am using two pieces of wood cut in 45° angle enforcing a direct fit and very reliable and stable mounting position of the MagicMirror. Details you can see in the following pictures. Note: If you are wondering about the power supply, I simply drilled a hole through the wall, since a power plug was much nearer that at the mounting position.


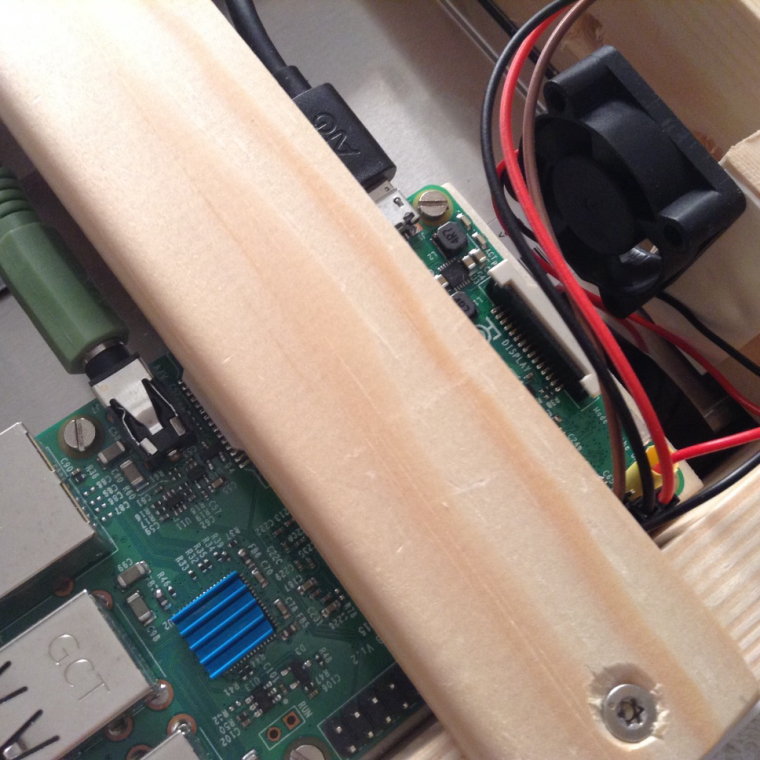
The interior looks like this:

There is one thing I am unsure about. I have noticed that the controller unit (inverter/ controller) of the monitor has slightly shifted. Maybe I “pressed” the HDMI cable too much and therefore it got dislocated. You can see this in the last picture.
Did anyone of you observe this as well ? I am considering to stabilize it again mechanically by construction something in wood.
In case you have questions do not hesitate :).
Regards
Stefan

