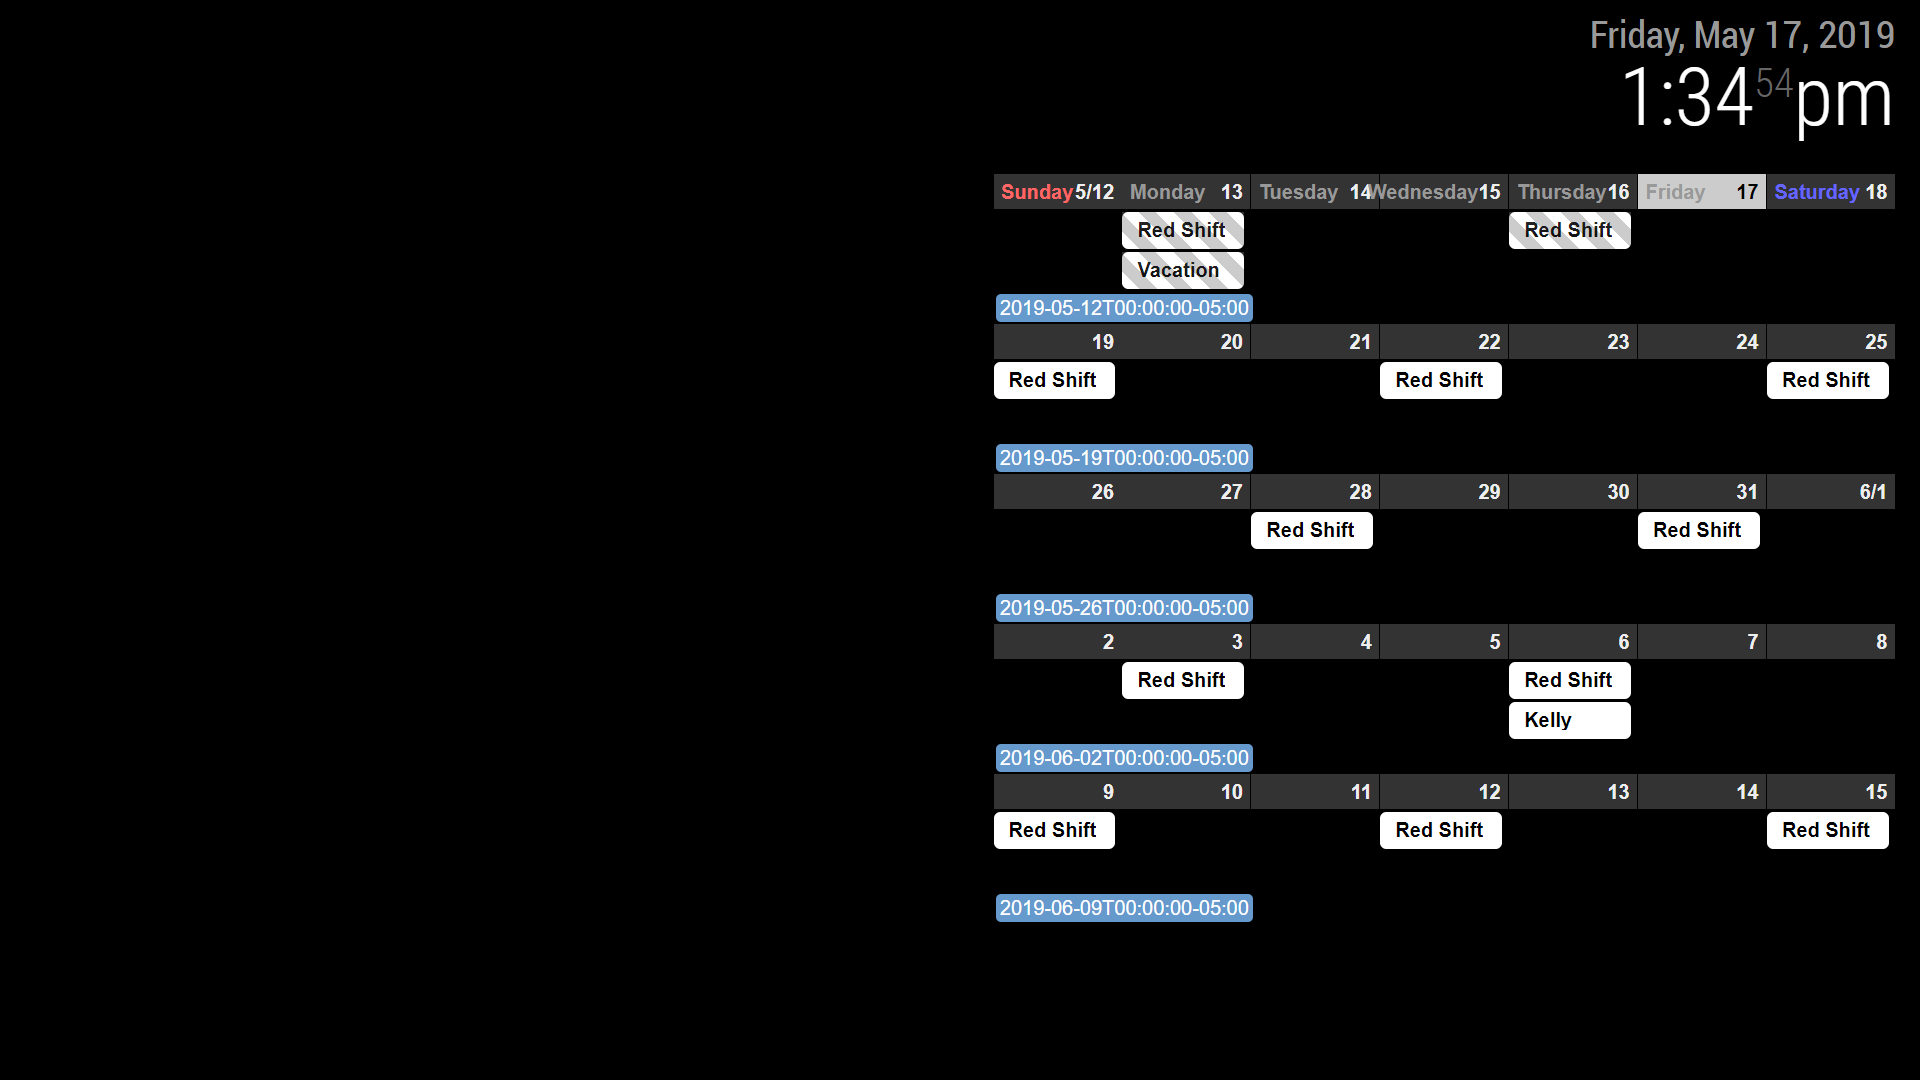
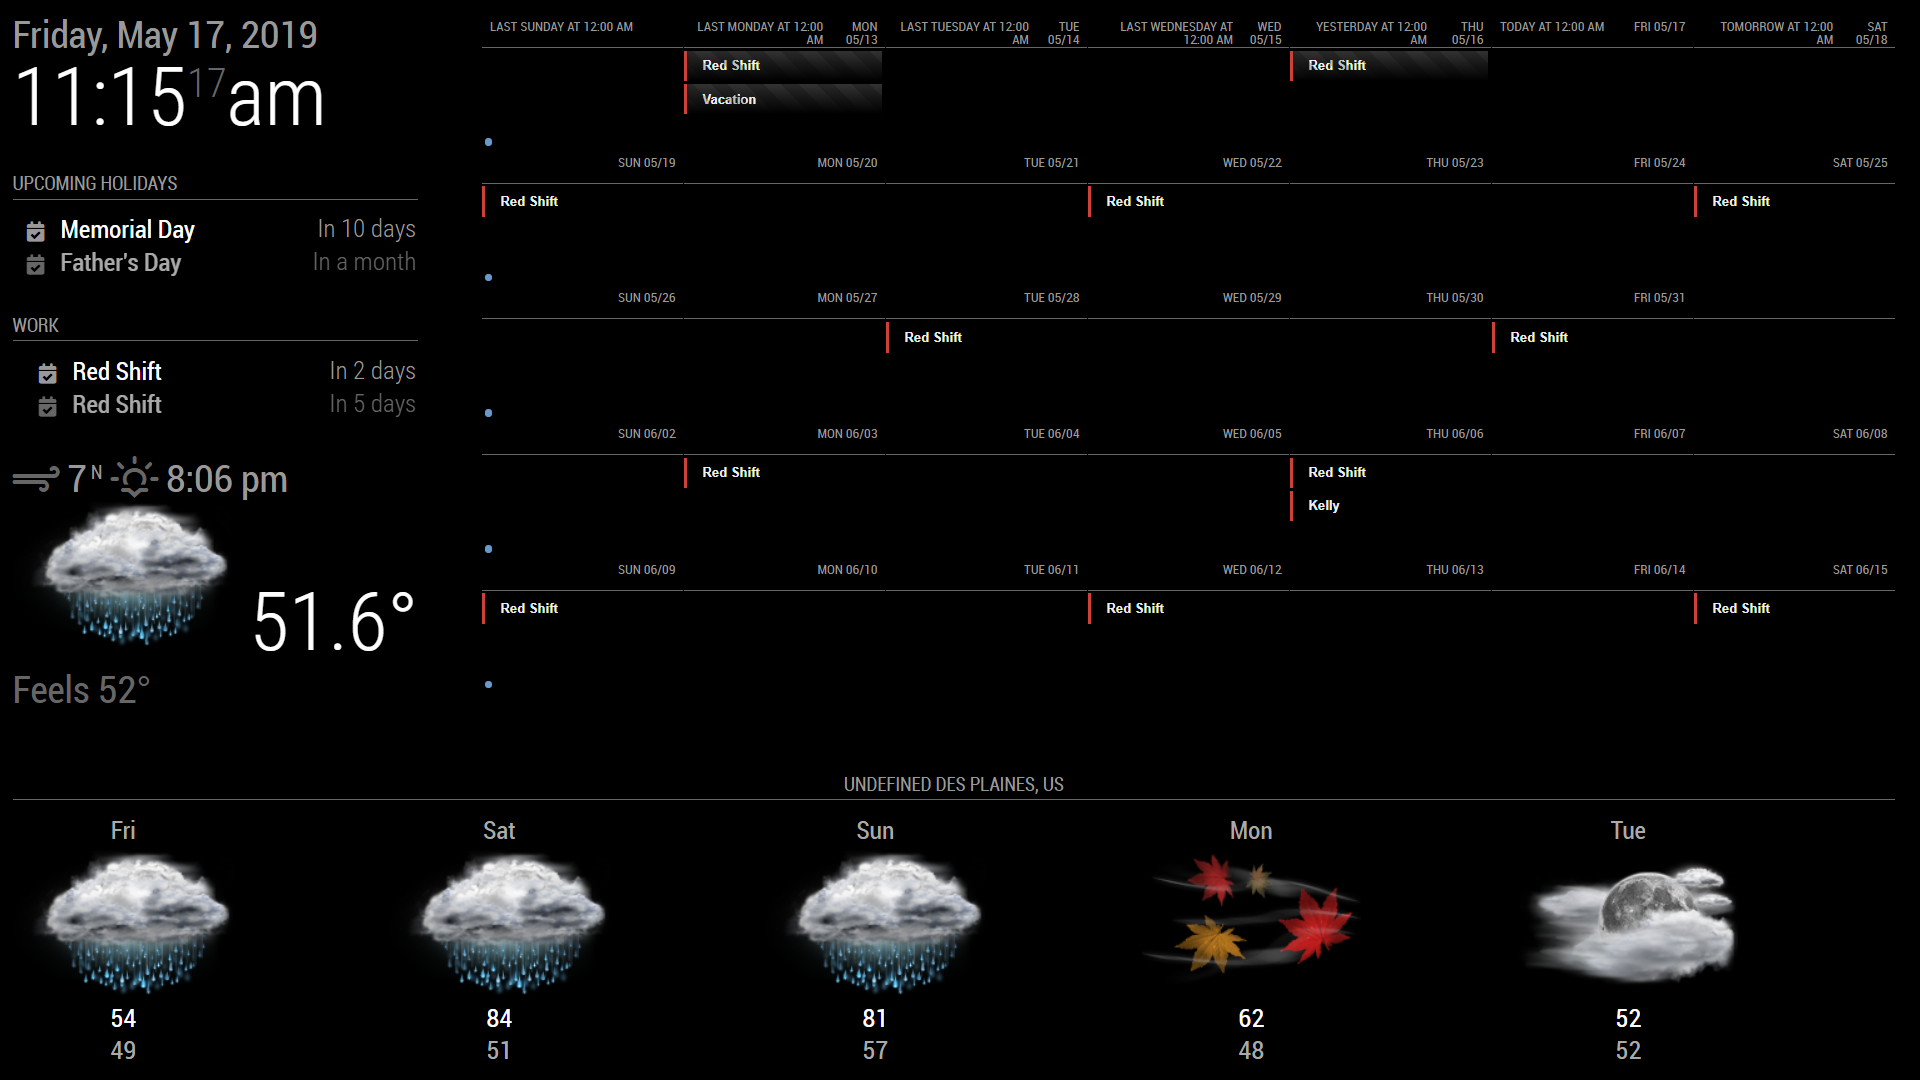
well I got it to work. I ended up having to set the left border to 50% in the css.
Read the statement by Michael Teeuw here.
Posts
-
RE: centering image with a colspan = 2
-
RE: centering image with a colspan = 2
Here is what I added…
var iconCell = document.createElement("tr");
				iconCell.colSpan = 2;
				iconCell.style.textAlign = "center";
				iconCell.className = "bright-weather-icon";
                                row.appendChild(iconCell);


				var icon = document.createElement("span");
				icon.colSpan = 2;
				icon.style.textAlign = "center";
				icon.className = "wi-weathericon" + forecast.icon;
				iconCell.appendChild(icon);

				var i=document.createElement("img");
				i.src = "wi-weathericon " + forecast.icon;
				iconCell.appendChild(i);
that shows up with an empty square below the current left aligned image. I tried deleting the var icon and got just a blank sqaure…here is the code plus element from chrome.
                                var iconCell = document.createElement("tr");
				iconCell.colSpan = 2;
				iconCell.style.textAlign = "center";
				iconCell.className = "bright-weather-icon";
				row.appendChild(iconCell);

                                var i=document.createElement("img");
				i.src = "wi-weathericon " + forecast.icon;
				iconCell.appendChild(i);
chrome inspector shows this:
< tr class="bright-weather-icon" style="text-align: center;">< img src="wi-weathericon night-rain">< /tr>and then the css shows this:
.night-rain{
	content: "";
	height:70px;
	width:105px;
	display: block;
	background-image : url("/css/icon/45.png");
	background-size: 105px 70px;
	background-position: center;
	text-align: center;
}
so I need that to be the class so it replaces it with the correct image…but still don’t know how to center that
-
RE: centering image with a colspan = 2
Sorry, I’m pretty new at this. I took a basic web design class with very basic css about 15 years ago. I guess what I’m asking is how do I source an image? I want to display the weather image based on the api response. My assumption of why it is not working is because currently the image is being called by the class name. When I inspect the cell in chrome inspector I see this:
(span class=“wi-weathericon rains” style=“text-align: center;”) (/span)
The code calls for (icon.className = "wi-weathericon " + forecast.icon;)
When I change it to imgSrc = "wi-weathericon " + forecast.icon; I get an empty sqaure displayed. I tried imgSrc = /modules/icon/"wi-weathericon " + forecast.icon; and that makes the module not show up.
-
RE: centering image with a colspan = 2
So, I got it to load. There was a capitalization mistake. It still won’t center. Looking at it in the inspector I noticed that the class name is the cell image I want to display. How would I get the class to be standardized and the source html to change based on the weather? So there is basicall nothing in the cell for it to center. The colspan attribute does not show up as well.
<tr class= "bright-weather-icon" style="text-align: center;"> <div> <tr class="wi-weathericon night-cloudy" style="text-align: center;"> </tr> </div> </tr> -
RE: centering image with a colspan = 2
@sdetweil that does not load anything. I copied and pasted it as you wrote it. It just says “Loading…”
-
RE: centering image with a colspan = 2
How exactly would I do that? I’m still trying to learn javascript. I’ve watched several videos and most of it has not clicked yet.
-
centering image with a colspan = 2
Hello,
I’m trying to modify someones weather app to make it span across the bottom of the right side of the page. The initial module looks like it was just copy pasted from the default weather forecast module. It is the MMM-weatherforecast by jharttech. I’ve reach out to him with no response, so I’m asking here. What I want is basically 3 rows by 2 cells with the first row being the day spanning 2 cells, second being a weather icon spanning 2 cells, and the third row being the hi and low temperature. I’ve got almost everything figured out except getting the icon centered between the two cells. If I take out the code he added and add test text the text is centered between two cells. I cannot figure this out. I’ve tried colspan, changing them between tr, td, and span. Nothing I am doing seems to be working right.
var table = document.createElement("table"); table.className = this.config.tableClass; switch (this.config.layout){ case "horizontal": for (var f in this.forecast) { var forecast = this.forecast[f]; var row = document.createElement("td"); if (this.config.colored) { row.className = "colored"; } table.appendChild(row); var dayCell = document.createElement("td"); dayCell.colSpan = 2; dayCell.className = "day"; dayCell.innerHTML = forecast.day; row.appendChild(dayCell); var iconCell = document.createElement("tr"); iconCell.colSpan = 2; iconCell.style.textAlign = "center"; iconCell.className = "bright-weather-icon"; row.appendChild(iconCell); var icon = document.createElement("span"); icon.colSpan = 2; icon.style.textAlign = "center"; icon.className = "wi-weathericon " + forecast.icon; iconCell.appendChild(icon); var degreeLabel = "°"; if(this.config.scale) { switch(this.config.units) { case "metric": degreeLabel += " C"; break; case "imperial": degreeLabel += " F"; break; case "default": degreeLabel = "K"; break; } } if (this.config.decimalSymbol === "" || this.config.decimalSymbol === " ") { this.config.decimalSymbol = "."; } var maxTempCell = document.createElement("td"); maxTempCell.innerHTML = "Hi:" + forecast.maxTemp.replace(".", this.config.decimalSymbol) + degreeLabel; maxTempCell.className = "max-temp"; row.appendChild(maxTempCell); var minTempCell = document.createElement("td"); minTempCell.innerHTML = "Lo:" + forecast.minTemp.replace(".", this.config.decimalSymbol) + degreeLabel; minTempCell.className = "min-temp"; row.appendChild(minTempCell); if (this.config.showRainAmount) { var rainCell = document.createElement("td"); if (isNaN(forecast.rain)) { rainCell.innerHTML = ""; } else { if(config.units !== "imperial") { rainCell.innerHTML = parseFloat(forecast.rain).toFixed(1) + " mm"; } else { rainCell.innerHTML = (parseFloat(forecast.rain) / 25.4).toFixed(2) + " in"; } } rainCell.className = "align-right bright rain"; row.appendChild(rainCell); } -
RE: MMM-CalendarExt2
I emailed you my whole set up earlier. I think there is something, somewhere in another folder I must have messed with. I deleted everything but my clock and pasted just the calendar and it is showing up as pictured. Maybe a fresh install of MM or MMM-calendarext2.

-
RE: MMM-CalendarExt2
I guess what is confusing me the most is where to actually put each piece. I have that in currently and I am still seeing the “last, next today…”
module: 'MMM-CalendarExt2',
	config: {
		scenes:[
			{
				name: "DEFAULT",
				views: ["Monthly"],
			},
		],
		views:[
			{
				name: "Monthly",
				mode: "Month",
				position: "top_right",
				locale: "en",
				slotMaxHeight: "70px",
				dateFormat: "M/D",
				weeksFormat: " ",
				slotSubTitle:"ddd",
				slotTitleFormat: "D",
				slotSubTitle:"",
				dateTimeFormat: "ddd mm/dd",
				timeFormat:"h:mm A",
				slotCount: 5,
				showWeekends: true,
				hideOverflow: true,
				filterPassedEvent: false,
				calendars: ["Work"],
			},
		],
And I guess I’m asking if in general there is a way to scale the whole module so I can have a whole calendar fit into the open space. Thank you for all the help so far. This is my 3rd “day” working with magicmirror.
-
RE: MMM-CalendarExt2
Yep, that worked. Thank you. I tried that, but I had it in the wrong spot. Its been trial and error trying to learn which values effect what on the main screen. If any one knows, is there a way to make the calendar not try to take up the full screen with the normal size text? Maybe use the % somewhere? I also have not been able to figure out how to get rid of the week number, I’m somehow missing a day, and I can’t figure out a way to get rid of the “last tuesday, Yesterday, today”. I’d also like to make that bottom weather “shorter”.
Im just not sure how or where to edit these values. Is there maybe a tutorial or video to learn how to “edit” magicmirror and modules?
