Read the statement by Michael Teeuw here.
MagicMirror² made as Picture In frame
-
My first running MagicMirror² is not a mirror but a Picture In Frame.
It is based on an old IKEA frame (RIBBA 30x40 cm) with real glass, not plastic :hugging_face:.
I use a small LCD (ca. 30x23 cm), therefore I added a matt (passe-partout) infront, so it looks like a nice picture.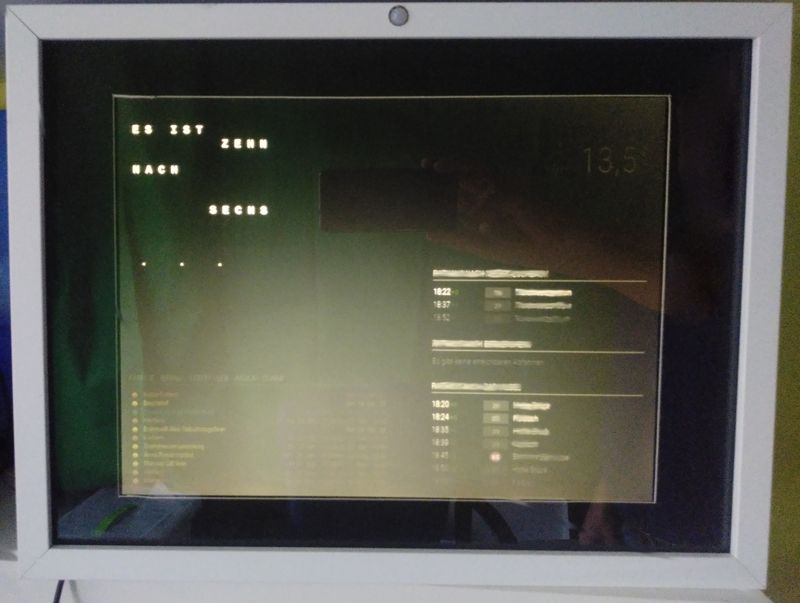
At this time the MM is based on Raspberry 3, Rev. 02 (gaol is to use Paspberry Zero) with 1024MB and 32GB microSD-Card.
Software-base is Raspian Buster with desktop, version: July 2019, Release date: 2019-07-10
I made all updates and upgrades as descriped in MagicMirror-guides.At this point I installed from GitHub the verry great MagicMirror²-software from @MichMich Michael Teeuw :thumbs_up: excelent job :clapping_hands:
bash -c "$(curl -sL https://raw.githubusercontent.com/MichMich/MagicMirror/master/installers/raspberry.sh)"Just updated to MM v2.9.0 with great help from @sdetweil :clapping_hands:
I use following 3rd Party modules
MMM-bernwordclock
MMM-Carousel
MMM-PublicTransportHafas
MMM-weatherforecast
Default modules “updatenotification” and “alert” I use untouched.
Region top_left I have an customized (If I understand how to provide to GitHub I will do) bernwordclock to show the time in words.
Region top_right I show default clock, currentweather and 3rd Party Module weatherforecast rotating by 3rd Party Module carousel.
Region bottom_left I show my calendar-entries using default calendar module configured to show different pages for holidays, birthdays, privat-calendars…
Region bottom_right I show with 3rd Party Module PublicTransportHafas
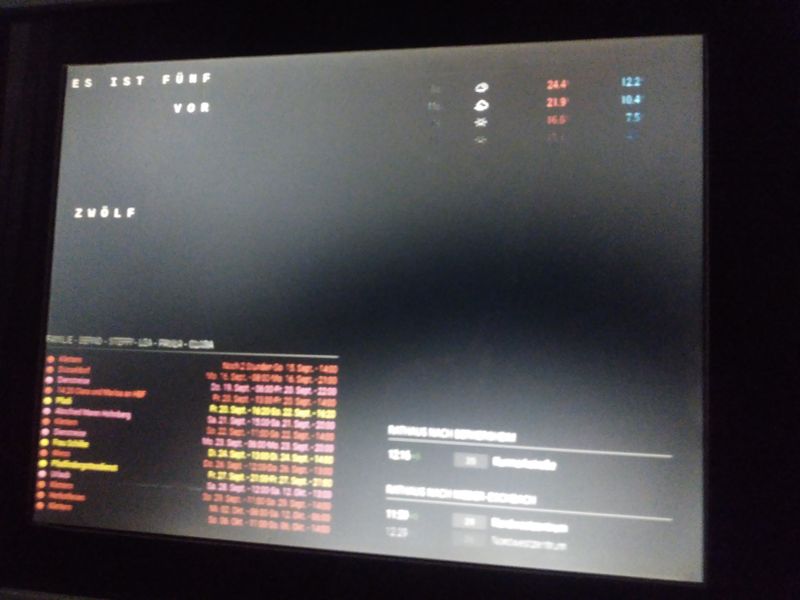
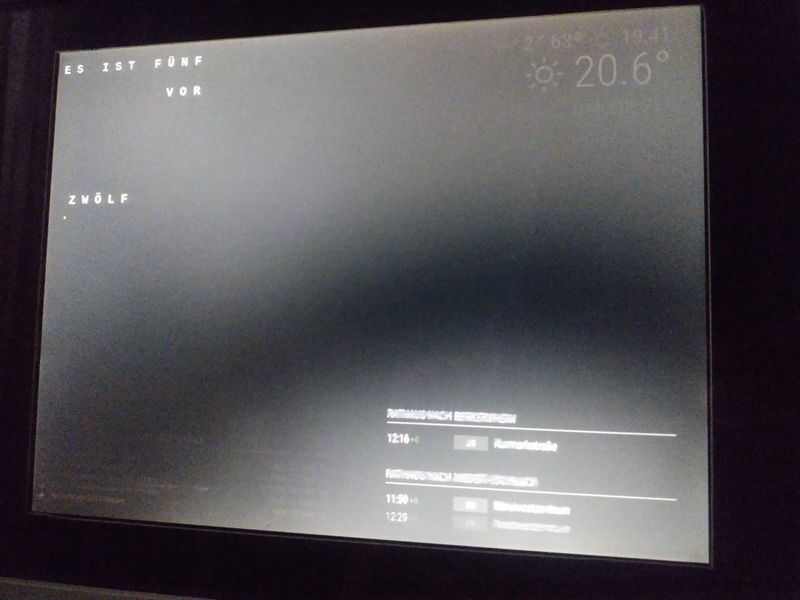
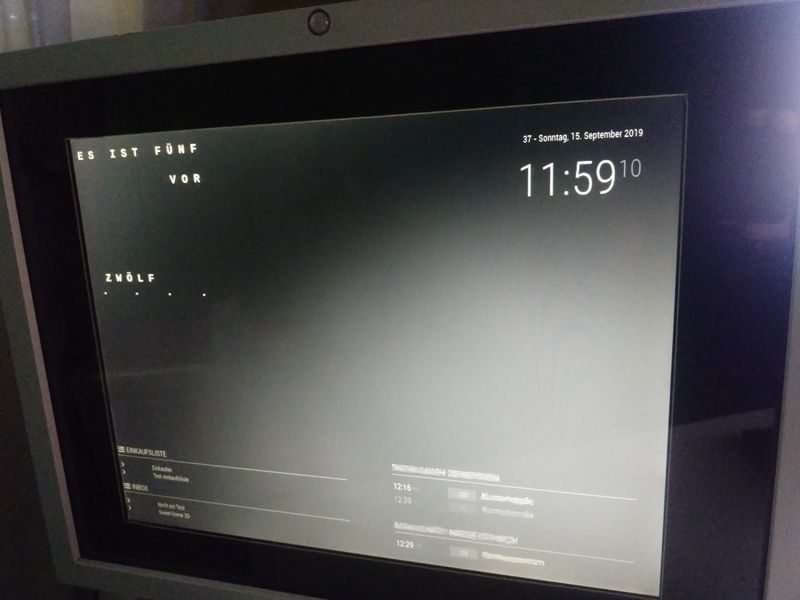
3rd Party Modules carousel is THE win getting all information I want to have on my small screen.
{
	module: 'MMM-Carousel',
    config: {
        transitionInterval: 10000,
        mode: 'positional',
        top_right: {enabled: true, ignoreModules: []},
        bottom_left: {enabled: true, ignoreModules: []},
    }
},
And I made some changes to custom.css changing font-size
 body {
  margin: 20px;
  height: calc(100% - 40px);
  width: calc(100% - 40px);
 }

 .clock .time {
	margin: 10px;
	font-size 20px;
	color: grey;
 }
 .clock .date {
        margin: 10px;
	font-size: 12px;
 }

 .calendar {
	width:500px;
 }

 .calendar .small {
	font-size: 13px;
	line-height: 15px;
 }

 .weatherforecast {
        width:400px;
 }

 .weatherforecast .small {
        font-size: 15px;
 }


 .MMM-PublicTransportHafas {
        width:400px;
	text-align: left;
}

 .MMM-PublicTransportHafas .small {
        font-size: 15px;
        line-height: 20px;
 }

 .MMM-bernwordclock {
        font-size: 20px;
	line-height: 25px;
        width:400px;
 }

 .currentweather {
        width:400px;
 }
As you can see on my pictures I have already prepared PIR-Sensor, but it’s not running at the moment. Will work on it.
Here you are some impressions on what is behind…
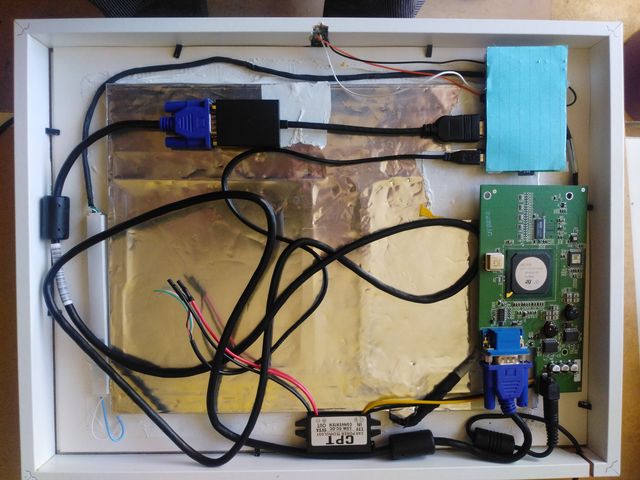
here you can see the LCD glued to the matt and all components on it.
As we have the Raspberry at the top right connected to the PIR-Sensor in the top middle, to the HDMI to VGA converter and to the Powerconverter, which converts the Power for the LVDS Interface also to the needed 5V for the Raspberry.
That means, I need only 1 powercord into the frame :nerd_face:
The Powercord comes in the bottom richt direct into the LVDS Interface.
The LVDS Interface is connected to the power as I said, to the backlight and the yellow/plack cables going to the Powerconverter.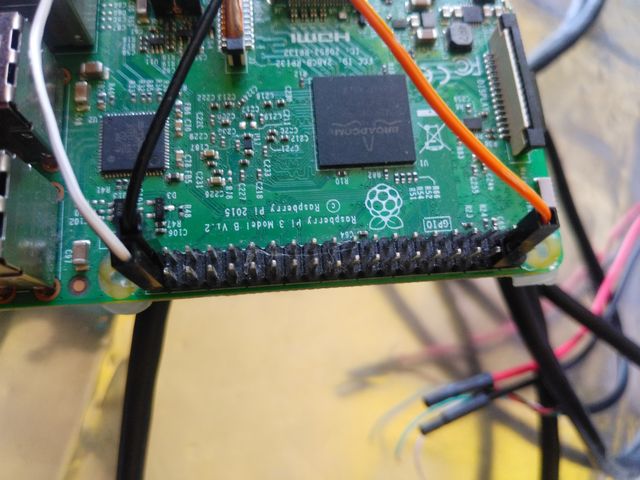 Here are the 3 GPIO-PINs connected to PIR-Sensor.
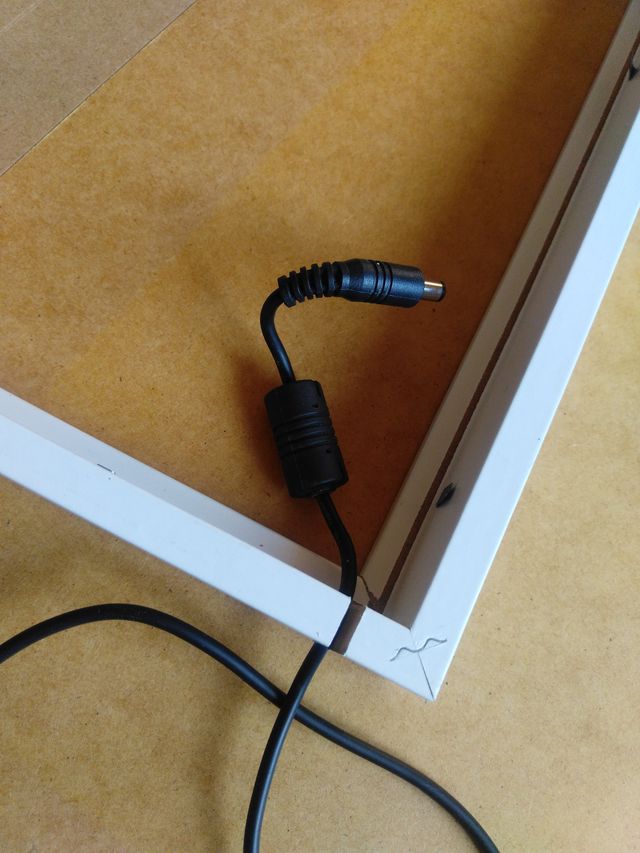
Here I made a small cut for the powercable.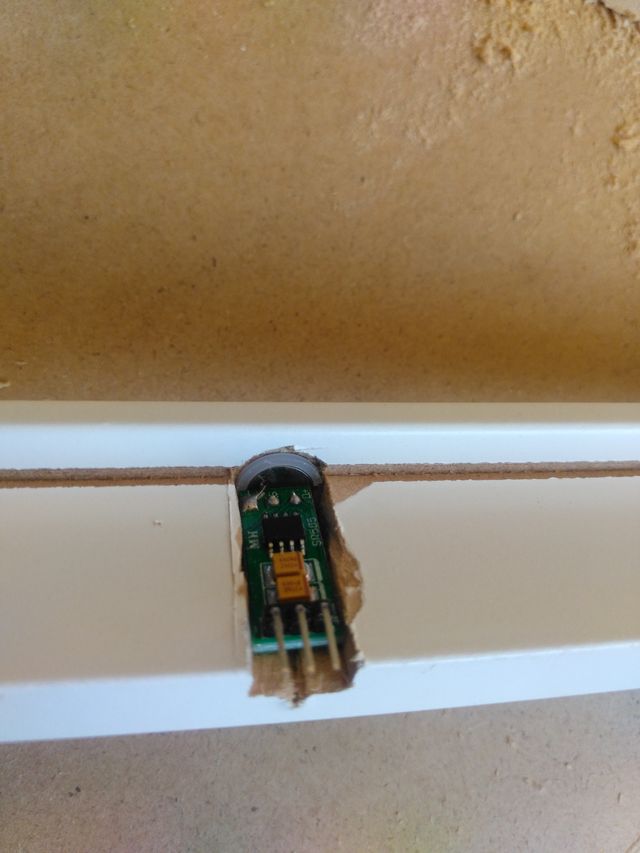
Here you see the PIR-Sensor placed in the frame, what was a little challenging getting it placed not demolishing the frame and have the PIR-board infront of the glass. -
@bdream Nice work!
-
Great! I like the “Picture In Frame” idea! :thumbsup:
-
Very nice work!
