Read the statement by Michael Teeuw here.
Quick question, is there a way to edit stuff on your pi without being on your pi?
-
I only have 1 keyboard and mouse, and its kind of annoying plugging and unplugging them into different devices while trying to play with the pi.
-
@heiswinston sure, use the bisvise ssh client, (free) it will give you a file manager view of the pi files, on your pc, and then you can double click to edit like always…
i use notepad++ as my windows text editor
-
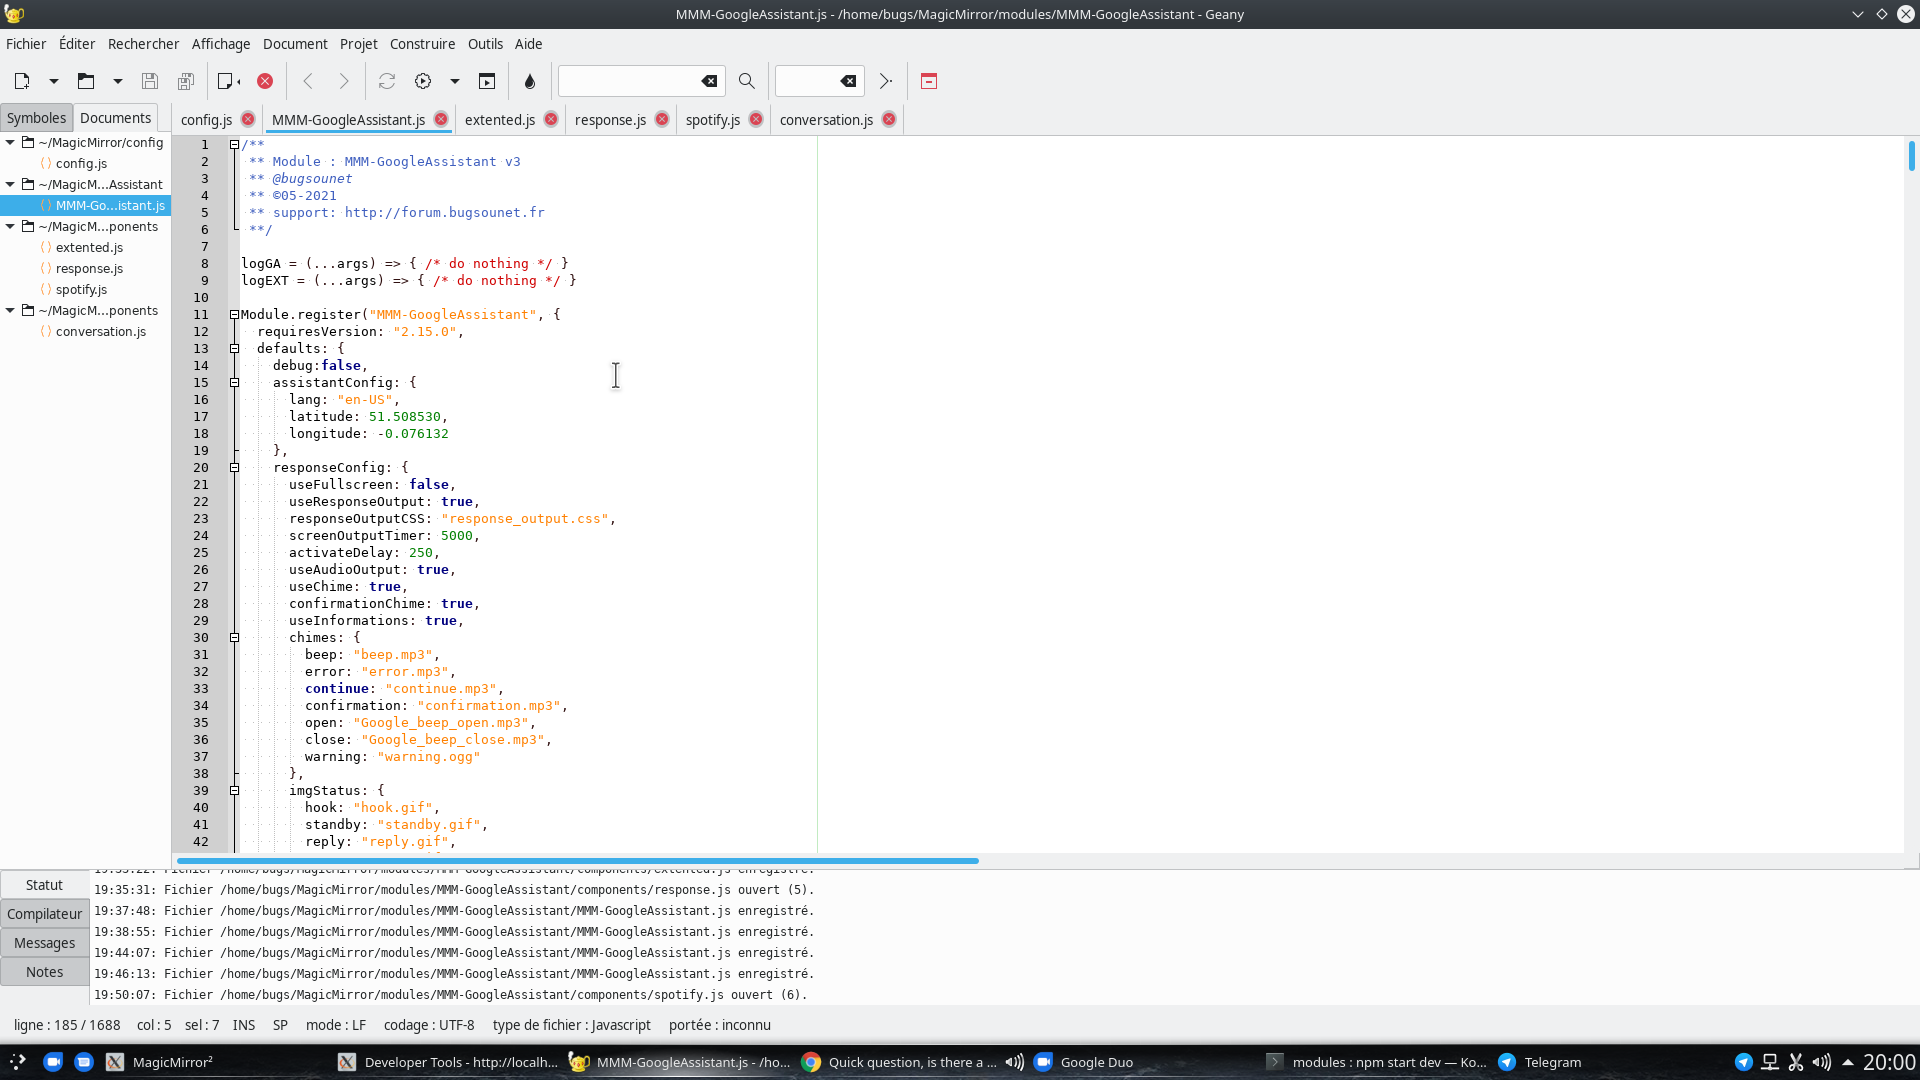
or use Geany on your pi
-
@bugsounet i don’t have keyboard or mouse on my pi…
-
@sdetweil use VNC ;)
-
sample with VNC:

and keybord / mouse / copy / past works :)
-
@bugsounet i use bitvise, hate VNC
-
@sdetweil I says VNC because it’s embed on the pi
-
@bugsounet and the poster asked FROM HIS PC
anyhow, to each their own…
i use one keyboard, mouse and editor for everything at the same time…
-
@bugsounet said in Quick question, is there a way to edit stuff on your pi without being on your pi?:
sample with VNC:
and keybord / mouse / copy / past works :)
it’s from my pc :)
-
WinSCP/Notepad++ to see and maintain all the files
KITTY to use SSH
Remote Desktop to see the GUI -
@heiswinston Hook up a keyboard and mouse to the pi so you can access config, turn on SSH and VNC. Then move keyboard and mouse back to main computer.
Then you can use VNC and a SSH client to access your pi completely.
https://www.raspberrypistarterkits.com/how-to/enable-ssh-raspberry-pi/
-
… or he can share a directory and mount it on the PC. I also do this with the MMM-MyWastePickup to edit the new entries in the “schedule_custom.csv” with Excel.
-
@mymirror That’s another idea, too - on my mirrors I do samba as well - one for direct editing of files from Windows programs, the other because I’m accessing a common directory for the slideshow it’s running.
-
@heiswinston
Bitvise has already been mentioned and if you have an Android SmartPhone or tablet, then the RaspController is a great tool
https://play.google.com/store/apps/details?id=it.Ettore.raspcontroller
Beside file explorer, editor etc. also some GPIO ports are controllable or queryable. A camera (PiCamera or USB camera) can be queried and displayed directly. And a few sensors (e.g. climate) are already integrated and can be queried. And some more -
These are the questions and answers I really don’t like.
The question is vague, unbounded and without context
The answers are equally the same and quickly develop into “my preference for X piece of software is best”"You want a way to “edit stuff on the pi”
- Do you want a command shell?
- Do you want to copy files off, work off line and return to the Pi?
- Do you want remote control of the Pi?
- Do you have a PC/laptop/Mac/tablet etc on the same network as the Pi to perform these actions?
- Do you want to perform this work when away from home, or off the same network as the Pi?
First thing you need is the IP address of the Pi
Use the monitor, keyboard and mouse and determine the IP address of the PI, we will assume the IP address does not change
Easiest is to open a command shell/terminal session and type “ifconfig” (without the quotes" ")The IP address, if on a home network will probably be something like a 10.x.x.x or 192.x.x.x address, lets assume for the sake of argument its 192.168.0.11
Check if you have SSH installed and running
Almost all your access will be via or through Secure Shell (SSH), unless you use a 3rd party remote control product, so you need to make sure it’s installed
From the command line type
ssh pi@127.0.0.1
You should get something like this*pi@Pi4:~ $ ssh pi@127.0.0.1
***pi@127.0.0.1’s password:
Linux Pi4 5.10.17-v7l+ #1403 SMP Mon Feb 22 11:33:35 GMT 2021 armv7lThe programs included with the Debian GNU/Linux system are free software;
the exact distribution terms for each program are described in the
individual files in /usr/share/doc/*/copyright.Debian GNU/Linux comes with ABSOLUTELY NO WARRANTY, to the extent
permitted by applicable law.
Last login: Sun May 30 09:38:45 2021 from 127.0.0.1
-bash: warning: setlocale: LC_ALL: cannot change locale (en_US.UTF-8)
pi@Pi4:~ $*Two things to note,
If this is the first time you are running this you will be asked if you wish to proceed, say YES
If successful, you will see that the machine name, in this case “pi@Pi4” is the same.SSH is working
If it does NOT work, install SSH, via the raspi-config application from the command line
Type “sudo raspi-config”, returnA window will open called “Raspberry Pi Software Configuration tool”
Use the down arrow key on yiur keyboard and select option 3 “Interrface options”
Select SSH
Select Yes
When completed you will see “The SSH server is enabled”, hit return
Use the TAB key to select “Finish”, returnRetest as above with “ssh pi@127.0.0.1”
Congratulations you have SSH enabled, now you need to use it, disconnect your keyboard, mouse etc, no longer required
Access to command shell
I will assume the machine you will be accessing the Pi from is a PC, for Mac IOS and Android devices use the equivalent applications from the app store of choice.
Download an SSH client, there are a mass out there, as mentioned by another poster, my preference is Bitvise, Google it and download it from the source
Install on your PC, open the app
To connect, enter your PI’s IP address (such as 192.168.0.11) and the credentials in Username and Password, press “Log In” button
If successful the default logon session settings will open up an SFTP, file manager screen and a command line screen.
If not click on them…The File Manager window will allow you to copy files backwards and forwards to the and from the Pi to and from the Pc and you can edit the files on your PC and then copy them back to the Pi
The Command shell will allow you to run any command as if at the Pi
Remote Control
If what you want is REMOTE CONTROL of the Pi, assuming you have have the full GUI enabled on the PI. I suggest you use VNC which again can be enabled from the command line, Raspi-Config, Option 3 (Interfaces), VNC. Others opinion may differ however this is the simplest option.
Once installed, download a VNC application for your PC, my preference is “VNC Viewer”
This will, assuming you have a full GUI enabled on the Pi full remote control of the PI through the screen, keyboard and mouse
ASSUMPTIONS
You and your PC are on the same network as your Pi
Want to work on these when away from the home network?
You can subscribe to any number or remote access products as mentioned in the earlier posts however if you want to use the Pi for it’s potential and keep it fully under your control I would suggest one or both of two options
VPN
A VPN (Virtual Private Network) will allow you to securely connect to the Pi, from anywhere you are connected on the Internet (China and certain other countries that restrict use of VPN’s excepted). Once you are connected to the VPN it will be as if you are at the Pi’s home network and access to the shell and remote access will be securely available to you.
To set this up on the Pi is remarkable easy, I recommend going to the PIVP.io site and following the instructions there that will do all the heavy lifting for you. It will give you the option of installing either an OpenVPN or WireGuard VPN server, in general I would suggest the OpenVPN one for the new user.
The two issues with this are
- It assumes you have access to the home router and it allows you set “open the UDP port 1194 to the IP address of your VPN machine”. This is usually in the web browser access tool to the home router, admin area or security area. usually called “Port forwarding” and you need to set up usually “Create a new rule” something like
IP address Port range Port range Protocol Enabled
192.168.0.11 1194-1194 1194-1194 UDP X- It assumes that your ISP DOESN’T change your routers internet IP address on a whim
If either of these are NOT available to you, then cheat…
Use TOR to connect to your Pi
Oooooh spooky, we’re going to use “THE DARK WEBZZZZZ!!!”
Specifically we are going to create a “hidden service” on the TOR network that means you don’t need to make any changes to your home router, don’t care if your ISP changes the IP address on a whim and provides encrypted. anonymous connectivity to your Pi from your remote PC.
1. Install tor on your Pi.
From the command line type
“sudo apt update” return
“sudo apt upgrade” return, say yes
(you have now updated your Pi’s software)
“sudo apt install nano” (checks and if not there installs an easy to use command line text editor
OPTIONAL “sudo apt install unattended-upgrades” (this sets your Pi to automatically apply and update security and critical patches without user intervention“sudo apt install tor” return (accept any other linked packages if it asks you
“sudo apt reboot”…wait about 30 seconds then re-open the command shell2. Check it’s installed and configure Tor
“cd /etc/tor” (changes to the directory where the tor configuration files is)
ls (list, check there is a file there named “torrc”
“sudo nano torrc” return (edit the file)
Arrow down to the section marked “This section is just for location-hidden services”Type in this section (no #'s as this comments out the line and makes it inactive)
HiddenServiceDir /var/lib/tor/hidden_service/
HiddenServicePort 22 127.0.0.1:22
HiddenServicePort 5900 127.0.0.1:5900Type “Ctrl X” (Do you want to save?)
“y” (this will immediately save the changed file)
“File name to Write : torrc”
Press enterYou have now created as “Hidden Service” that allows you (with the right key and credentials) to connect to the SSH service on the Pi and VNC in all via the “Dark Web”…
3. Restart the service and get the key
Type “sudo service tor restart” (the Tor service restarts and picks up the changes you have just made)
“sudo su” (you need to be root to see the details"
“cd /var/lib/tor” (change to the tor secret squirrel directory)
ls (list the contents of the directory, look for a directory called “hidden_service”
“cd hidden_service”
“ls” look for a file called hostname"
“cat hostname” (types out the contents of the fileYou should see a long random alphanumeric string ending in “.onion”
Highlight and copy that string and paste it somewhere you can keep itRight, you now have the key…what next…?
4. Install the Tor browser on the PC
The Tor browser does two things, its gives you an anonymized, secure browser that uses the Tor network over the internet. Second, when it’s running it runs a proxy server you can use to connect to hidden services.
Google for Tor Browser, and go to the OFFICIAL site, download and install.
Once installed start the browser and when, on first use it asks “Connect or Configure” pick connect unless you are in countries that think governments controlling your access is a good thing.After about 30 seconds, as it sets up, you will have a secure browser, based on Firefox.
Minimise it, DO NOT CLOSE IT until you are finished
Go to your Bitvise SSH console (see I recommended it), click on new profile, and name it whatever you want, lets say…“testie”
Where it says “hostname” paste in the long text string ending in .onion
Where its says “port” enter “22”
Username…whatever your Pi’s username is…probably pi…
Initial method … “password”
Click “Store encrypted password in profile”, enter your Pi’s password
Click on “Proxy Settings”, “use Proxy”
Proxy Type “Socks 5”
Server “127.0.0.1”
Port 5190
Click “OK”
Click on “Options” tab and if not filled in select "On login Open Terminal and Open SFTP
Click “Save Profile”5. Connection time
So, you have the Tor browser open…don’t you…? You’ve opened the “testie” profile…?
Click on login…now, since the Tor network bounces around from location to exit point etc to obscure where it’s coming from and going to it can be a little slow sometimes to connect.
You should see, in the Bitvise log screen stuff like “Connecting to SSH server”…“Connection established”…“First key exchange started” etc then a screen popping up asking if you want to accept the Host Key. This is the encryption key from your Pi SSH server. I would usually say “accept and save”
Your session will, once connected open up a command shell and the SFTP client
What about VNC and remote control…?
First option, you have already set up the Hidden Service to accept the VNC port, so
Open up VNC Viewer
Paste the long .onion address into the top address bar of the application
Click on “File”, “Preferences”, “Proxy”, Use these proxy settings"Server 127.0.0.1:9150
Type Socks 5
User name Whatever your Pi user name is
Password Whatever your Pi user password is
Click on “Apply”
Start the connectionA screen will pop up asking to authenticate to the VNC server, enter your Pi username and password. You can save these if you want.
Done…
(if the VNC screen is a strangely sized kill the session, right click on the session settings in the VNC window, click on “Properties”, Options" and play around with scaling and aspect ratio
Extra crunchy goodness
One of the extra useful pieces of SSH is the miracle of port re-direction. Basically it means you get to tunnel any IP port you want through the secured SSH port 22. So…want to access a random application on your Pi that uses port XXXX, no need to add that port to your Hidden_Service list.
On your Bitvise application, click on the tab labelled C2S, (Client to Server), click on add and fill in list and destination ports. so for example for VNC it would be 5900.
When added, stop and start the session on Bitvise and when successfully connected open up VNC, makes sure to turn OFF the Proxy settings as above and now enter the address as 127.0.0.1
Your VNC connection is now automatically tunneled through the SSH connection, which is in turn is tunneled over the TOR network…
Lots of useful stuff to assist in managing your Pi…
-
@everalm
@HeisWinston asked a “quick question” and he got “quick answers”, so the request was fulfilled. Any additionally information how to use the tools are not direct related to MM.
Hello! It looks like you're interested in this conversation, but you don't have an account yet.
Getting fed up of having to scroll through the same posts each visit? When you register for an account, you'll always come back to exactly where you were before, and choose to be notified of new replies (either via email, or push notification). You'll also be able to save bookmarks and upvote posts to show your appreciation to other community members.
With your input, this post could be even better 💗
Register Login