@jonspraggins it should be \n and not /n
Best posts made by ashishtank
-
RE: /n not respected in mmm-compliments
-
RE: Two way mirror shop in Netherlands (near Leiden)
@George Thank you for mentioning it might helpful to others. Mine was cheaper while bigger in size. I paid ~80 euro for 72.5X42 cm mirror with smoothen(not polished) edges.
-
RE: Force a module refresh - not the entire page
@majdzik84 If I understood you correctly, you want to send message to Magic Mirror when sensor value change in home assistant and it should refresh the MMM-HomeAssistant-Sensors module, so you see updated value of sensor over there ?
It should be doable with MMM-Remove-control same way as you are sending alert. I have not installed the remote control module and MMM-HomeAssistant-Sensors so can’t test the code my self but you can do below.
- Add below code in MMM-homeassistant-sensors.js
notificationReceived: function (notification, payload, sender) { if (notification === "REFRESHHOMEASSISTANT") { this.getStats(); } },
- Do not forget the , after } in last line else it will break the module
- Restart the mirror
- From your browser open http://192.168.2.200:8080/api/module/MMM-homeassistant-sensors or http://192.168.2.200:8080/api/module/homeassistantsensors if first url does not work
- If you see REFRESHHOMEASSISTANT in response then remote control knows new action on HA module
- Now you can send command from HA to refresh the module using http://192.168.2.200:8080/api/module/homeassistantsensors/refreshhomeassistant (url should be in lowercase and also MMM- and - are removed in api path)
As I can not test it and things I have suggested above are based on my code review of both the modules. you might need to adjust one or more things. but in theory it should work.
Let me know how (or if) it works.
-
RE: How to add modules. For absolute beginners.
@fsne04 if you check the code of MMM-Screent cast @ https://github.com/kevinatown/MMM-Screencast/blob/master/constants.js then there is no position which supports fullscreen_below.
you need to set one of the below value as per documentation of the module
const POSITIONS = { bottomRight: 'bottomRight', bottomCenter: 'bottomCenter', bottomLeft: 'bottomLeft', center: 'center', topRight: 'topRight', topCenter: 'topCenter', topLeft: 'topLeft', top_bar: 'topRight', top_left: 'topLeft', top_center: 'topCenter', top_right: 'topRight', upper_third: 'topRight', middle_center: 'center', lower_third: 'bottomCenter', bottom_left: 'bottomLeft', bottom_center: 'bottomCenter', bottom_right: 'bottomRight', bottom_bar: 'bottomCenter' };
-
RE: default compliments
@MrDondoT said in default compliments:
< font color=‘red’ >hello sweety< font >
It is possible but you need to change the current module code as well, right now it is creating text node but to support html text code needs to be changed as below
for (var part of parts) { // create a text element for each part //compliment.appendChild(document.createTextNode(part)); //Comment this line compliment.innerHTML += part; //Add this line // add a break ` compliment.appendChild(document.createElement("BR")); }
Result should be as below if your compliments are like below
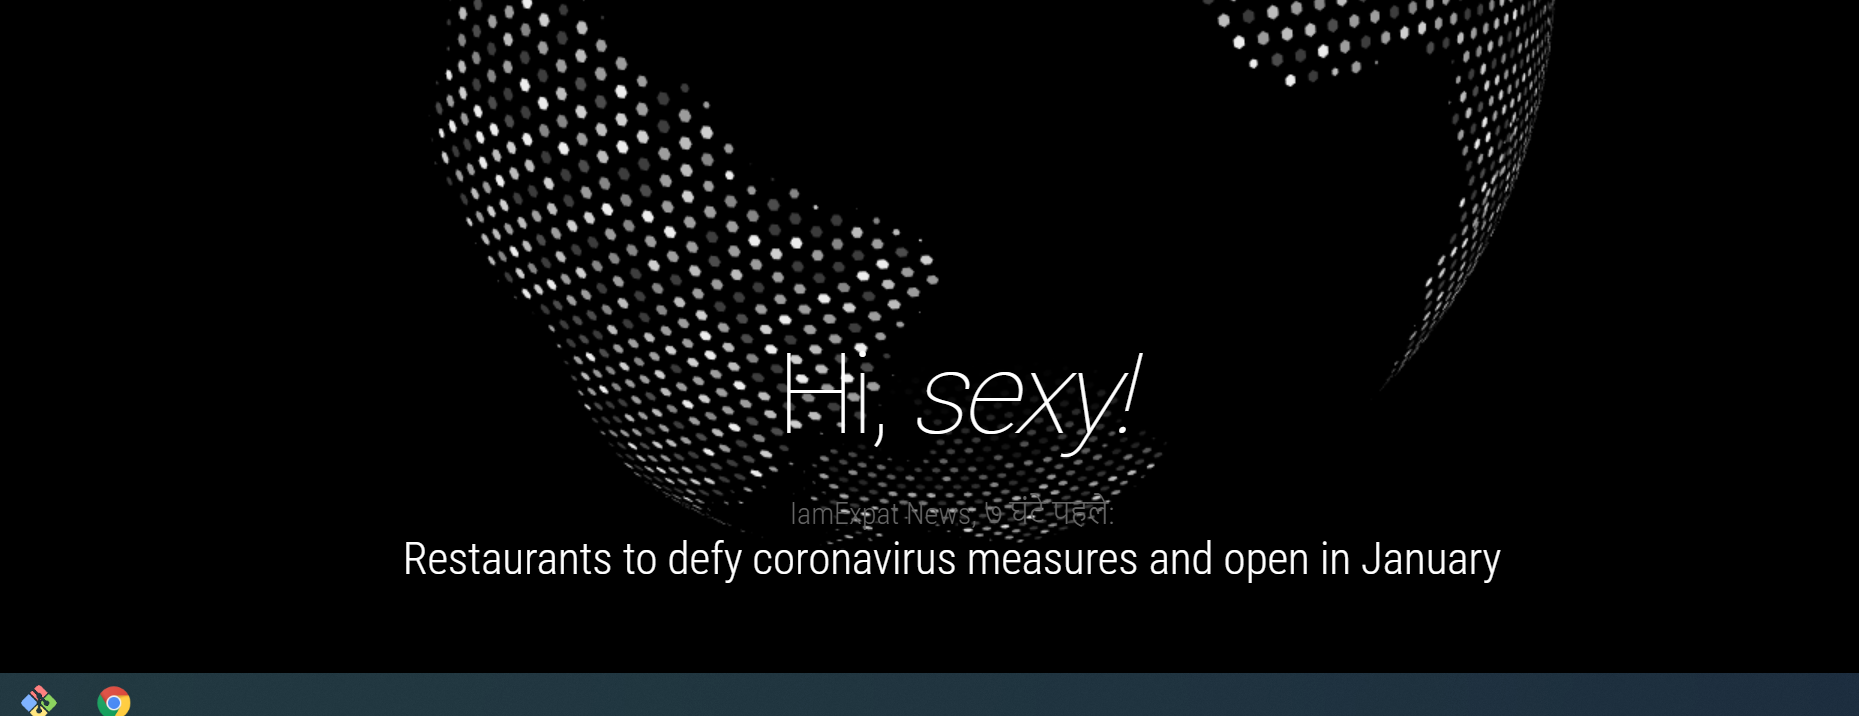
evening: ["Wow, you look hot!", "You look nice!", "Hi, <i>sexy!</i>","< font color='red'>hello sweety< /font>"],
–
Ashish -
RE: Display a Picture from a website
@rxlDavid many modules are doing it. I am using MMM-EyeCandy for the same.
-
RE: Margin on the x side of the screen only
@Morganga It’s not working because width is calculated dynamically and affecting the margin. You can changed the width offset to adjust it using custom.css. See below.
body { width: calc(100% - 250px); }
Adjust the value of 250px for your need.
-
RE: Need help on monitor power
@shalumov Powering off the raspberry pi directly from power strip is not recommended as it might corrupt the SD card. Your monitor is not switching on after powering on but stays in stand by can be solved using Raspberry pi itself. check Remote-control or other modules/scripts in this forum who supports it. If you monitor support CEC or other standard then it is doable with raspberry pi and you do not need to use Monitor/TV remote or button.