Read the statement by Michael Teeuw here.
First MagicMirror
-
@bhepler
thank you for this reminder :smiling_face_with_open_mouth_cold_sweat:
i’ve edited my post ! -
@flodus thanks for the comments, sorry for the wait in reply :)
I’m using the Weather Icons class names for the DarkSky API (formerly Forecast.io), so you can add a CSS color rule for each of these icon classes (this listed taken from the API here):
wi-forecast-io-clear-day: day-sunny
wi-forecast-io-clear-night: night-clear
wi-forecast-io-rain: rain
wi-forecast-io-snow: snow
wi-forecast-io-sleet: sleet
wi-forecast-io-wind: strong-wind
wi-forecast-io-fog: fog
wi-forecast-io-cloudy: cloudy
wi-forecast-io-partly-cloudy-day: day-cloudy
wi-forecast-io-partly-cloudy-night: night-cloudy
wi-forecast-io-hail: hail
wi-forecast-io-thunderstorm: thunderstorm
wi-forecast-io-tornado: tornado
So for example, if you wanted to change the sunny day icon color you would add the following rule to your custom.css file:
.wi-forecast-io-clear-day {
  color: #ffff00;
}
If you want to target the forecast sunny day icon specifically you would add .forecast before the icon class name like this:
.forecast .wi-forecast-io-clear-day {
  color: #ffff00;
}
And if you want to target the current day’s sunny day icon specifically you would add .current__temperature before the icon class name like this:
.current__temperature .wi-forecast-io-clear-day {
  color: #ffff00;
}
Hope this helps!
-
This is really nice…
-
@WILLIAM_WANDIE Thanks a ton :D
-
Hi. Great look.
By any change you took pics while mounting?
Looking for ideias for the frame and how to put all together and secure…
thanks -
@pnobrega Thanks, I did a couple of blog posts about the monitor tear down and the framing process which show some pics.
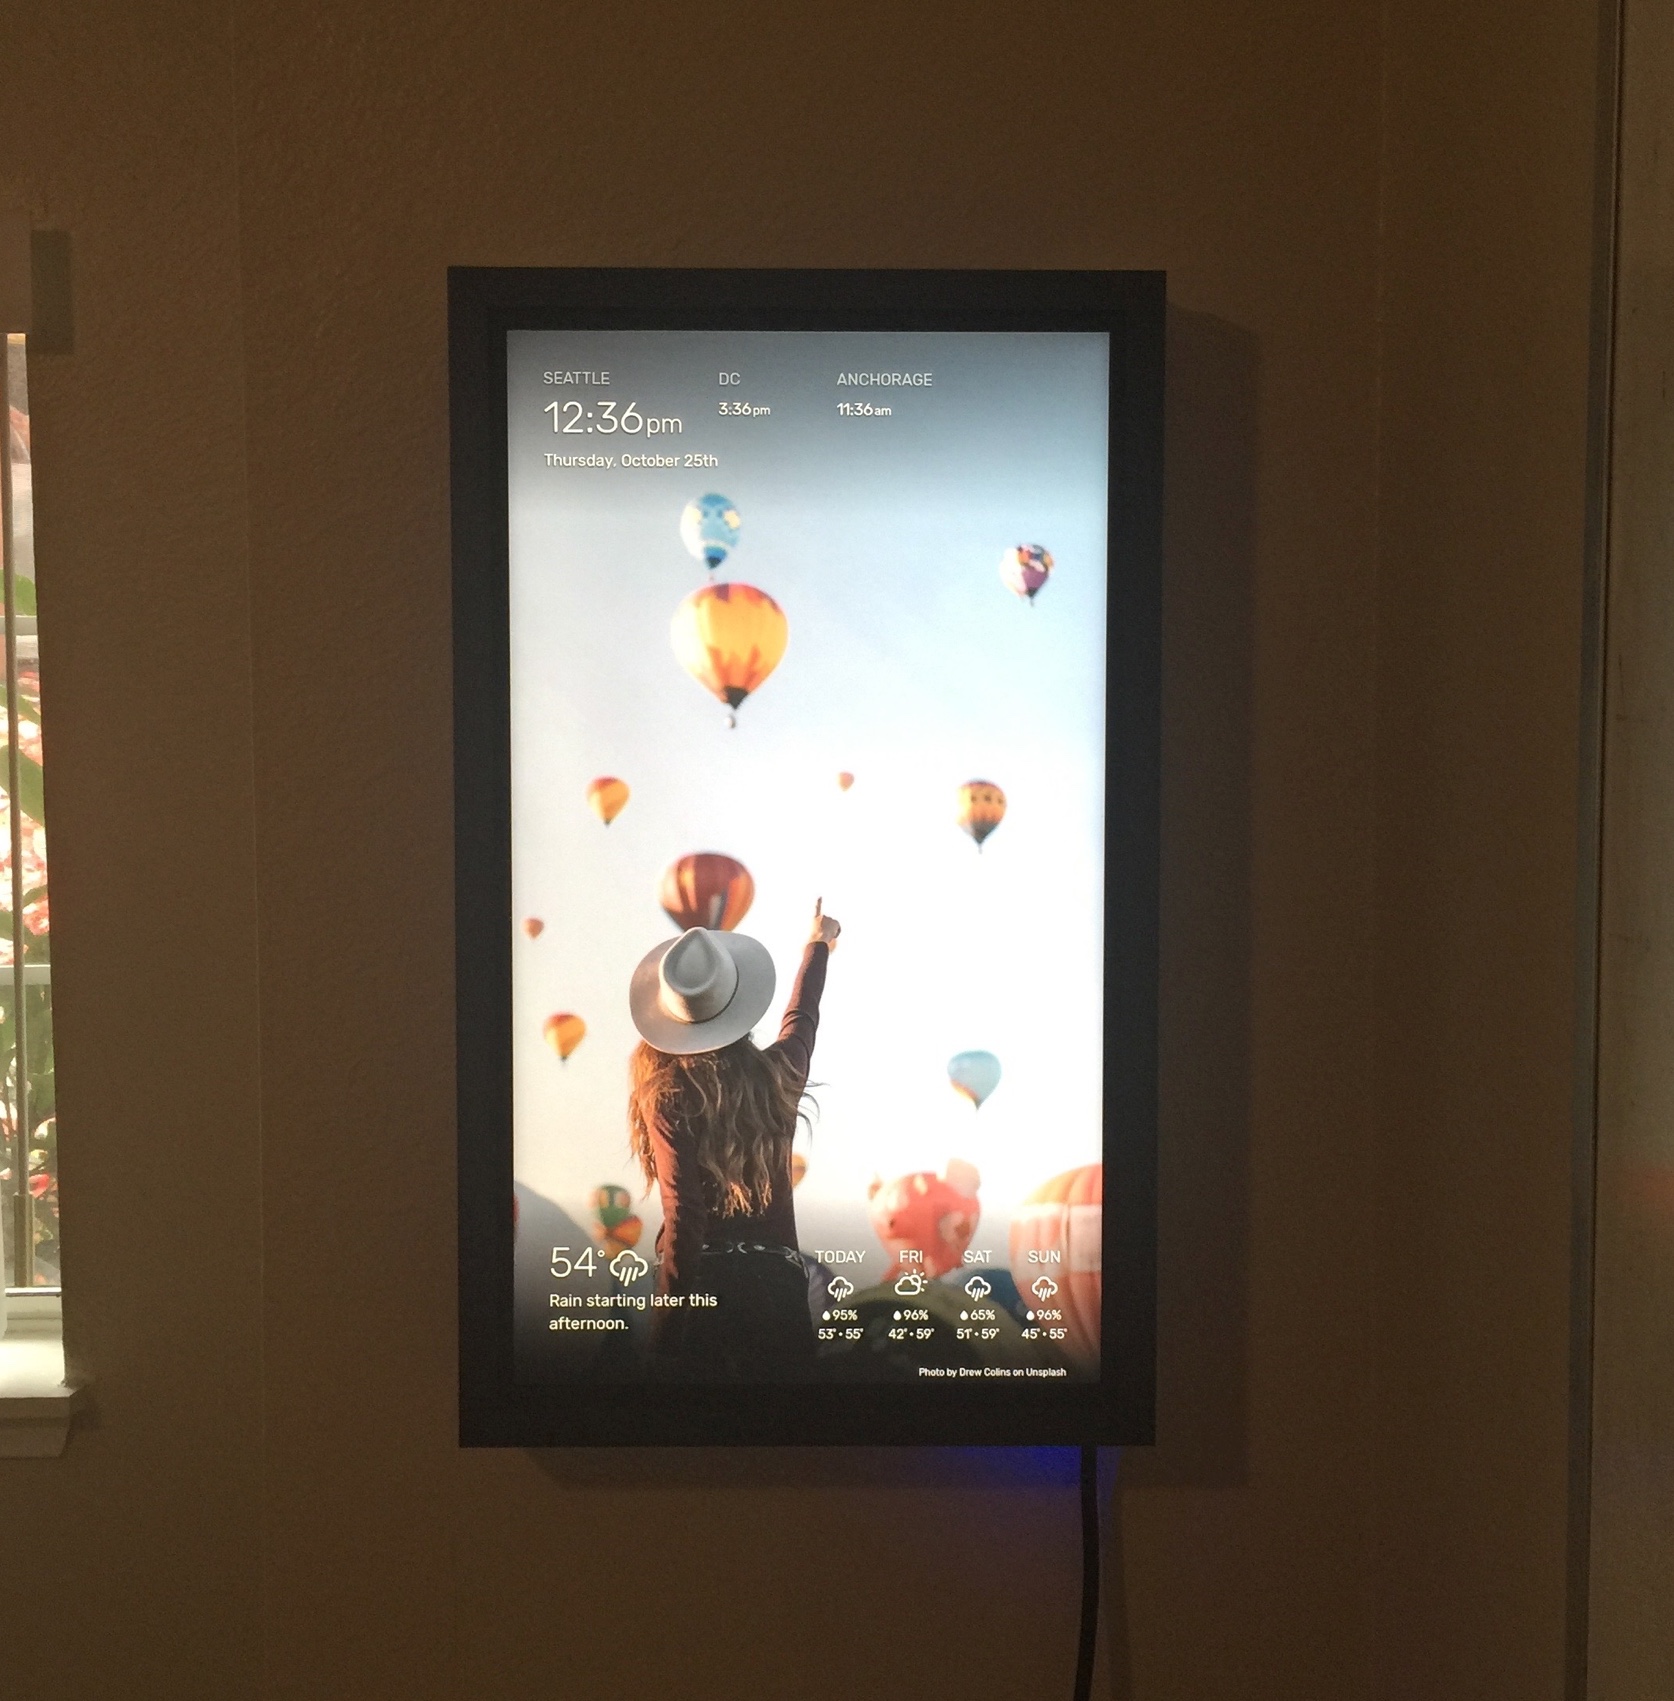
This version of Wallberry is mostly a prototype held together with hope and electrical tape, so I don’t know how great a model it will be for you (others have done it much better with better tools), but it’s a fun example of doing a wall display with few resources.
-
well done…liked your work…i m interested to build this mirror but really don’t know how to start???from where should i start???any help???
-
@HayyatAli
In my opinion, get a Pi 3 B+, download the software and follow the instructions to install. Then play around with some of the modules and see how far you get. Took me only a few hours to get mine up an running and I explore different modules as often as I can. -
@HayyatAli thanks!
Breaking the project into small steps is a good idea and @mumblebaj has really good advice in starting with the raspberry pi. If you don’t already have one I recommend taking a look at Adafruit. Once you have your pi set up you can look at getting a monitor, then you can decide how you want to frame it.

