Read the statement by Michael Teeuw here.
My mirror finally finished and installed
-
So, my mirror project has been going on for quite a while now. First plans date back more than 3 years, and work on it has been very fragmented. Now that it is finally complete and installed properly, I thought it’d be good to show it off here.
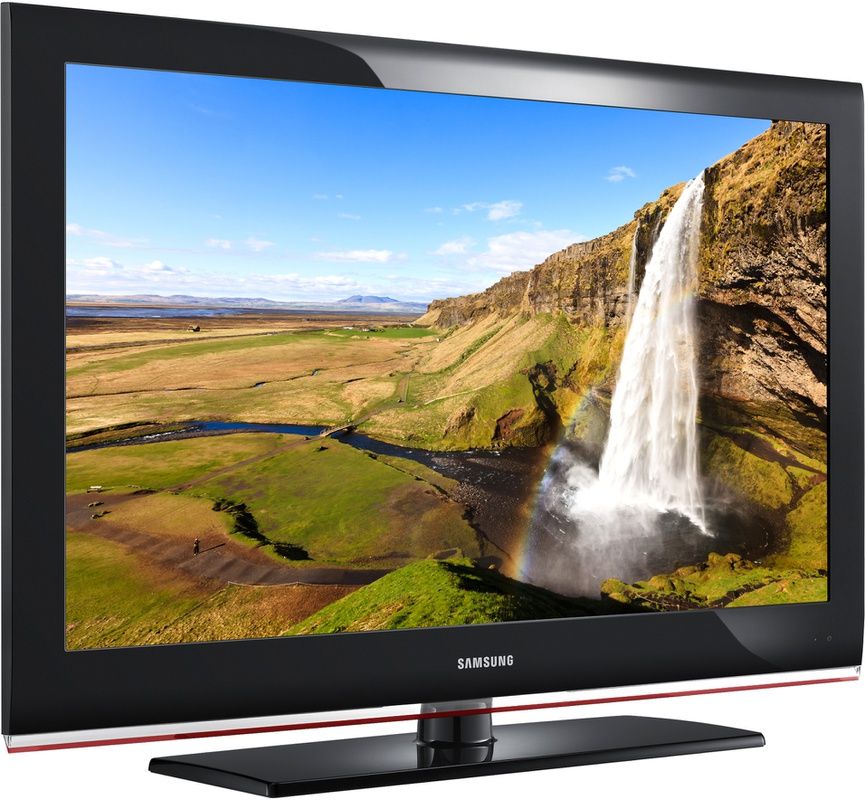
The panel is taken from a Samsung LE32B530 TV that I could buy 2nd hand for cheap because of a defect with the buttons:
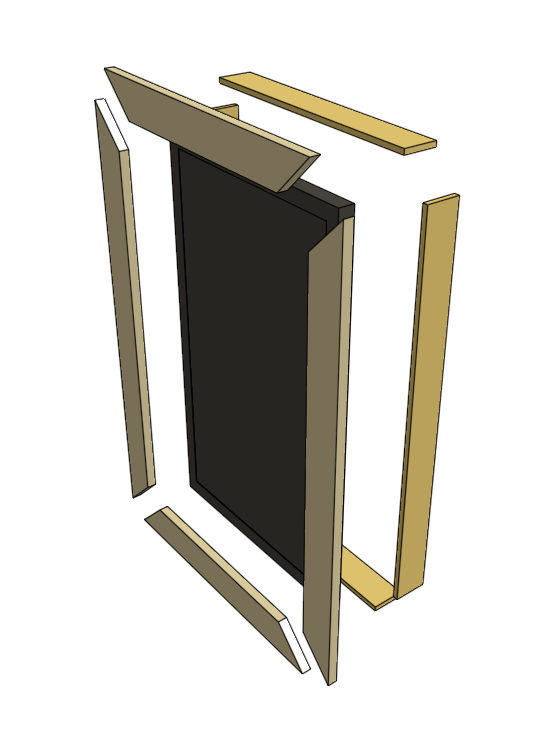
As I was aiming for a convetional mirror design, I moddeled a wooden frame around the LCD panel with the front bezel overlapping to ‘hide’ the thickness of the final assembly:
The hardware setup on the back of the back of the panel looks like a lot of the mirrors out here:
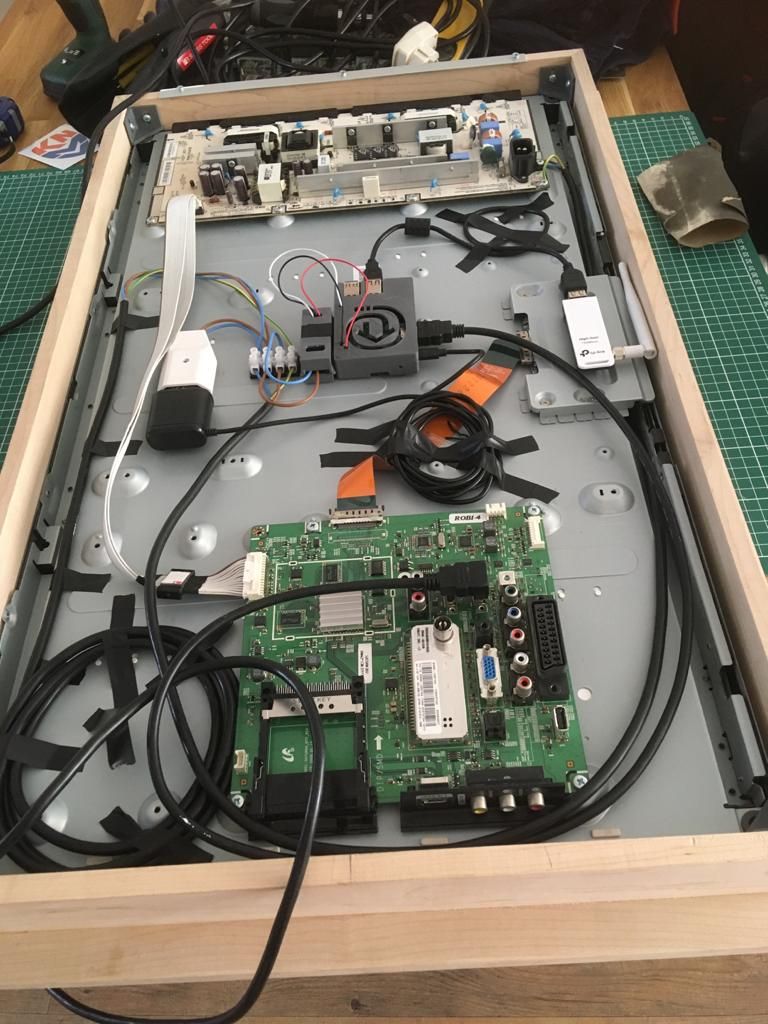
The PCBs on top and bottom are from the panel. All the magic is happening in the middle, where a RPi3 and a relay reside. The relay is controlled via MQTT to remotely turn the panel on/off. To make the assembly as flat as possible, the mains was soldered to the back of the mains connector on the top PCB. Also, the HDMI connector connnected to the lower PCB is a 90 degree version. Finally an external wifi dongle was added, because during initial test it turned out that the internal wifi antenna of the RPi3 wasn’t coping very well being sandwiched between the panel and a reinforced concrete wall.
For the wooden frame I was fortunate to have a professional wood-worker in my family. She has done a great job realizing a milimeter precise frame according to my design.
There are also some 3D printed parts involved, where the corner brackets and relay housing are from my own design. The RPi3 housing was printed from an existing design on Thingyverse.
The actual two-way acrylic mirror comes from Pyrasied, but even though it is mounted properly, it still giving a very distorted mirror image. Once I’ve found a proper supplier, I’ll probably replace it with a real glass two-way mirror (suggestions with shipment to The Netherlands are more than welcome).
So without further ado, I present to you my magic mirror:

There are the regular modules running for time, calendar and weather, but I did spend some time developping my own module as seen on the left bottom. It is displaying the current departures from the nearest bus stop, which I’m scraping from the a Dutch website for public transport (9292ov). It was the first time messing around with NodeJS for me, which was quite an educational experience. Not much later I found out someone already developped a module based on the Dutch public transport API :winking_face:
All that’s left to do now is to install a PIR sensor to provide a trigger turning on the screen (with a 15 min. delay or something). Since I can already control the relay via MQTT, the PIR will be hooked up externally to an ESP8266 module, hidden in the housing of my existing doorbell.
-
That’s a great looking mirror. I especially like the cable channel underneath!
-
Thanks @Srcodesalittle! :thumbs_up_light_skin_tone:
Of course I’d prefer to have no channel visible at all, but this is as good as it gets without having to open up the wall :winking_face:
-
@supersook Fantastic build! Congratulations! You should really switch to glass, as the distortion comes out nasty on that beatyfully crafted frame.
I ordered my mirror from here in Germany. That shop had the best price incl. shipment at that time. From their website I see that they also ship to NL. -
Thanks @Fozi!
Yeah, if I had known the acrylic would be so difficult to get right, I would have gone for the glass right away. Thanks for suggesting a supplier!
-
@supersook Nice job on your mirror!
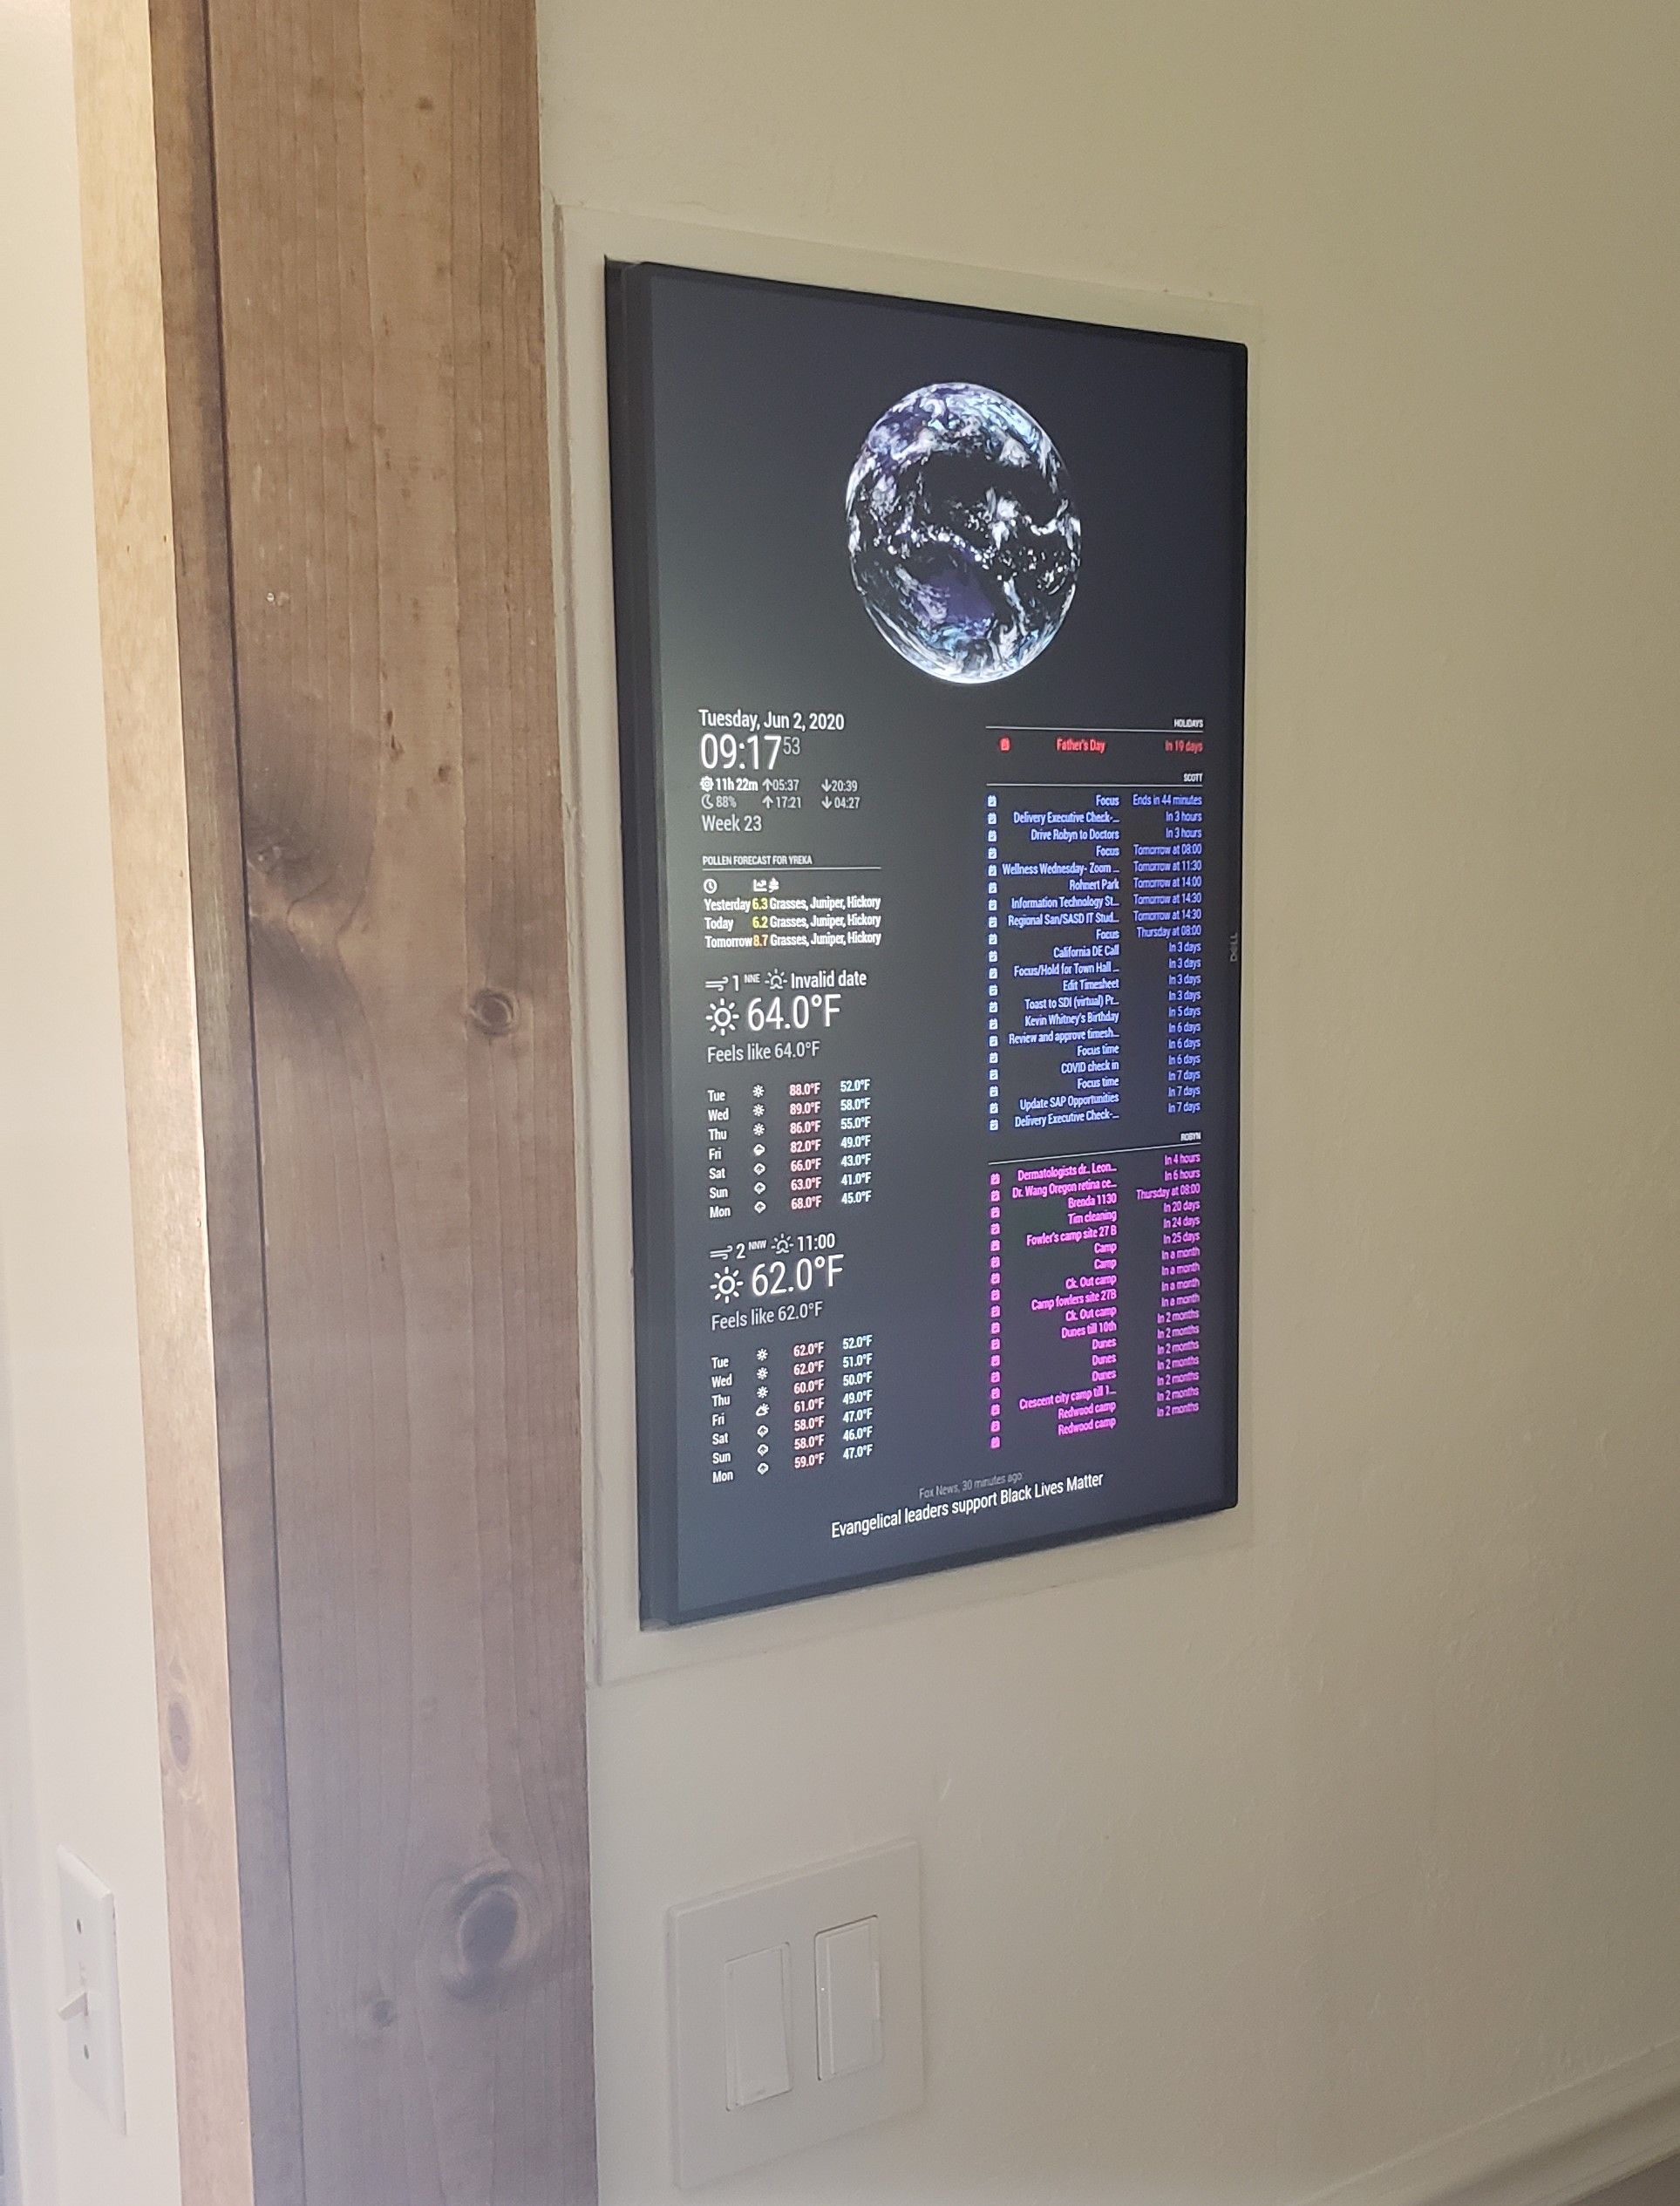
The cost of one-way glass made us consider alternatives. As we recently remodeled our family room, we decided to mount the monitor inside a frame on the wall. I was able to route power and install an outlet inside the open wall and frame. We added a monitor arm and use the Dell monitor USB to power the Raspberry Pi 4. It is physically located on the wall by our kitchen, so it is convenient and easy to reference. It is also quite a conversation starter!
Scott
-
@Jarhead96097
Looks great!What modules are you using?
-
@supersook said in My mirror finally finished and installed:
Thanks @Fozi!
Yeah, if I had known the acrylic would be so difficult to get right, I would have gone for the glass right away. Thanks for suggesting a supplier!
@supersook Great mirror.
If you need a real two way mirror, I still have one to sell that I can cut with your prefered mesured.
It was never used (and also sold from the same supplier as mentioned by @Fozi) but at a much cheaper price (the mirror is new).
I m in Belgium so even for the delivery, it could be very easy.
For more details PM me or check:https://forum.magicmirror.builders/topic/12921/new-mirropane-chrome-spy-6mm-mirror-to-sell
-
@supersook - Your mirror looks great! Nice work.
In my experience, the wood tends to expand a bit after you cut it, so it tends to push on the outside of the acrylic. While glass would be a better choice, you may wish to try opening up your tolerance by a hair. If you can get the acrylic to rest easily in the mirror, you may eliminate most of your distortion.
Although it looks like you don’t have a lot of distortion going on. You’re most of the way there.
-
@Jayh391 Thank you! I’m using the MMM-ModuleScheduler to dim everything except for the clock between 2130 and 0600 each day. The MMM-Globe module pulls a fresh satellite image every ten minutes using the geoColor source. I’ve got the local pollen forecast just below the clock, with three instances of the calendar running down the right side (US holidays, my calendar and my wife’s/family calendar at the bottom since she’s vertically challenged). I’m using the new default weather module to provide both current conditions and seven day forecasts for two different locations along the left side. Finally, I’m running the newsfeed module to provide headlines along the bottom bar. It’s been fun, but I’m still trying to troubleshoot the “Invalid date” error for the first current weather instance. I’m wondering if it isn’t bad data from the local weather forecast station.
-
@Jarhead96097 Nice JOB!
Thanks for the reply
-
Very nice approach on how to use the MagicMirror without a mirror @Jarhead96097 :thumbs_up_light_skin_tone:
-
You’re right @bhepler, the tolerances are a little too tight in hindsight. After having it hanging for a week now, it did even out a bit more, so it seems the wood is shrinking/expanding depending on the humidity.
Does anyone have a good suggestion on how to cut a few mills of the long and short side of an acrylic mirror sheet? This would free up some necessary ‘working’ space between the frame and sheet.
-
Thanks for the offer @djdocta, but the 6mm seems a little on the heavy side for this project :thinking_face:
-
@supersook OK. Your are welcome.
-
@supersook - There are a few tools that can do this. I would recommend a router with a flush trim bit.
Pull the acrylic out and very carefully lay it along the edge of a scrap piece of wood (a sheet of something would be ideal). The amount you want to remove from the acrylic should overhand the support sheet. Clamp it down good & hard.
Set the depth so that the bearing rides along the support sheet and the bit trims the acrylic. Go fairly briskly as acrylic likes quick cuts. Slow cuts will have the bit rub against the acrylic and melt it. You may wish to practice on scrap a couple times first.
Hello! It looks like you're interested in this conversation, but you don't have an account yet.
Getting fed up of having to scroll through the same posts each visit? When you register for an account, you'll always come back to exactly where you were before, and choose to be notified of new replies (either via email, or push notification). You'll also be able to save bookmarks and upvote posts to show your appreciation to other community members.
With your input, this post could be even better 💗
Register Login