Read the statement by Michael Teeuw here.
Trouble getting it to start
-
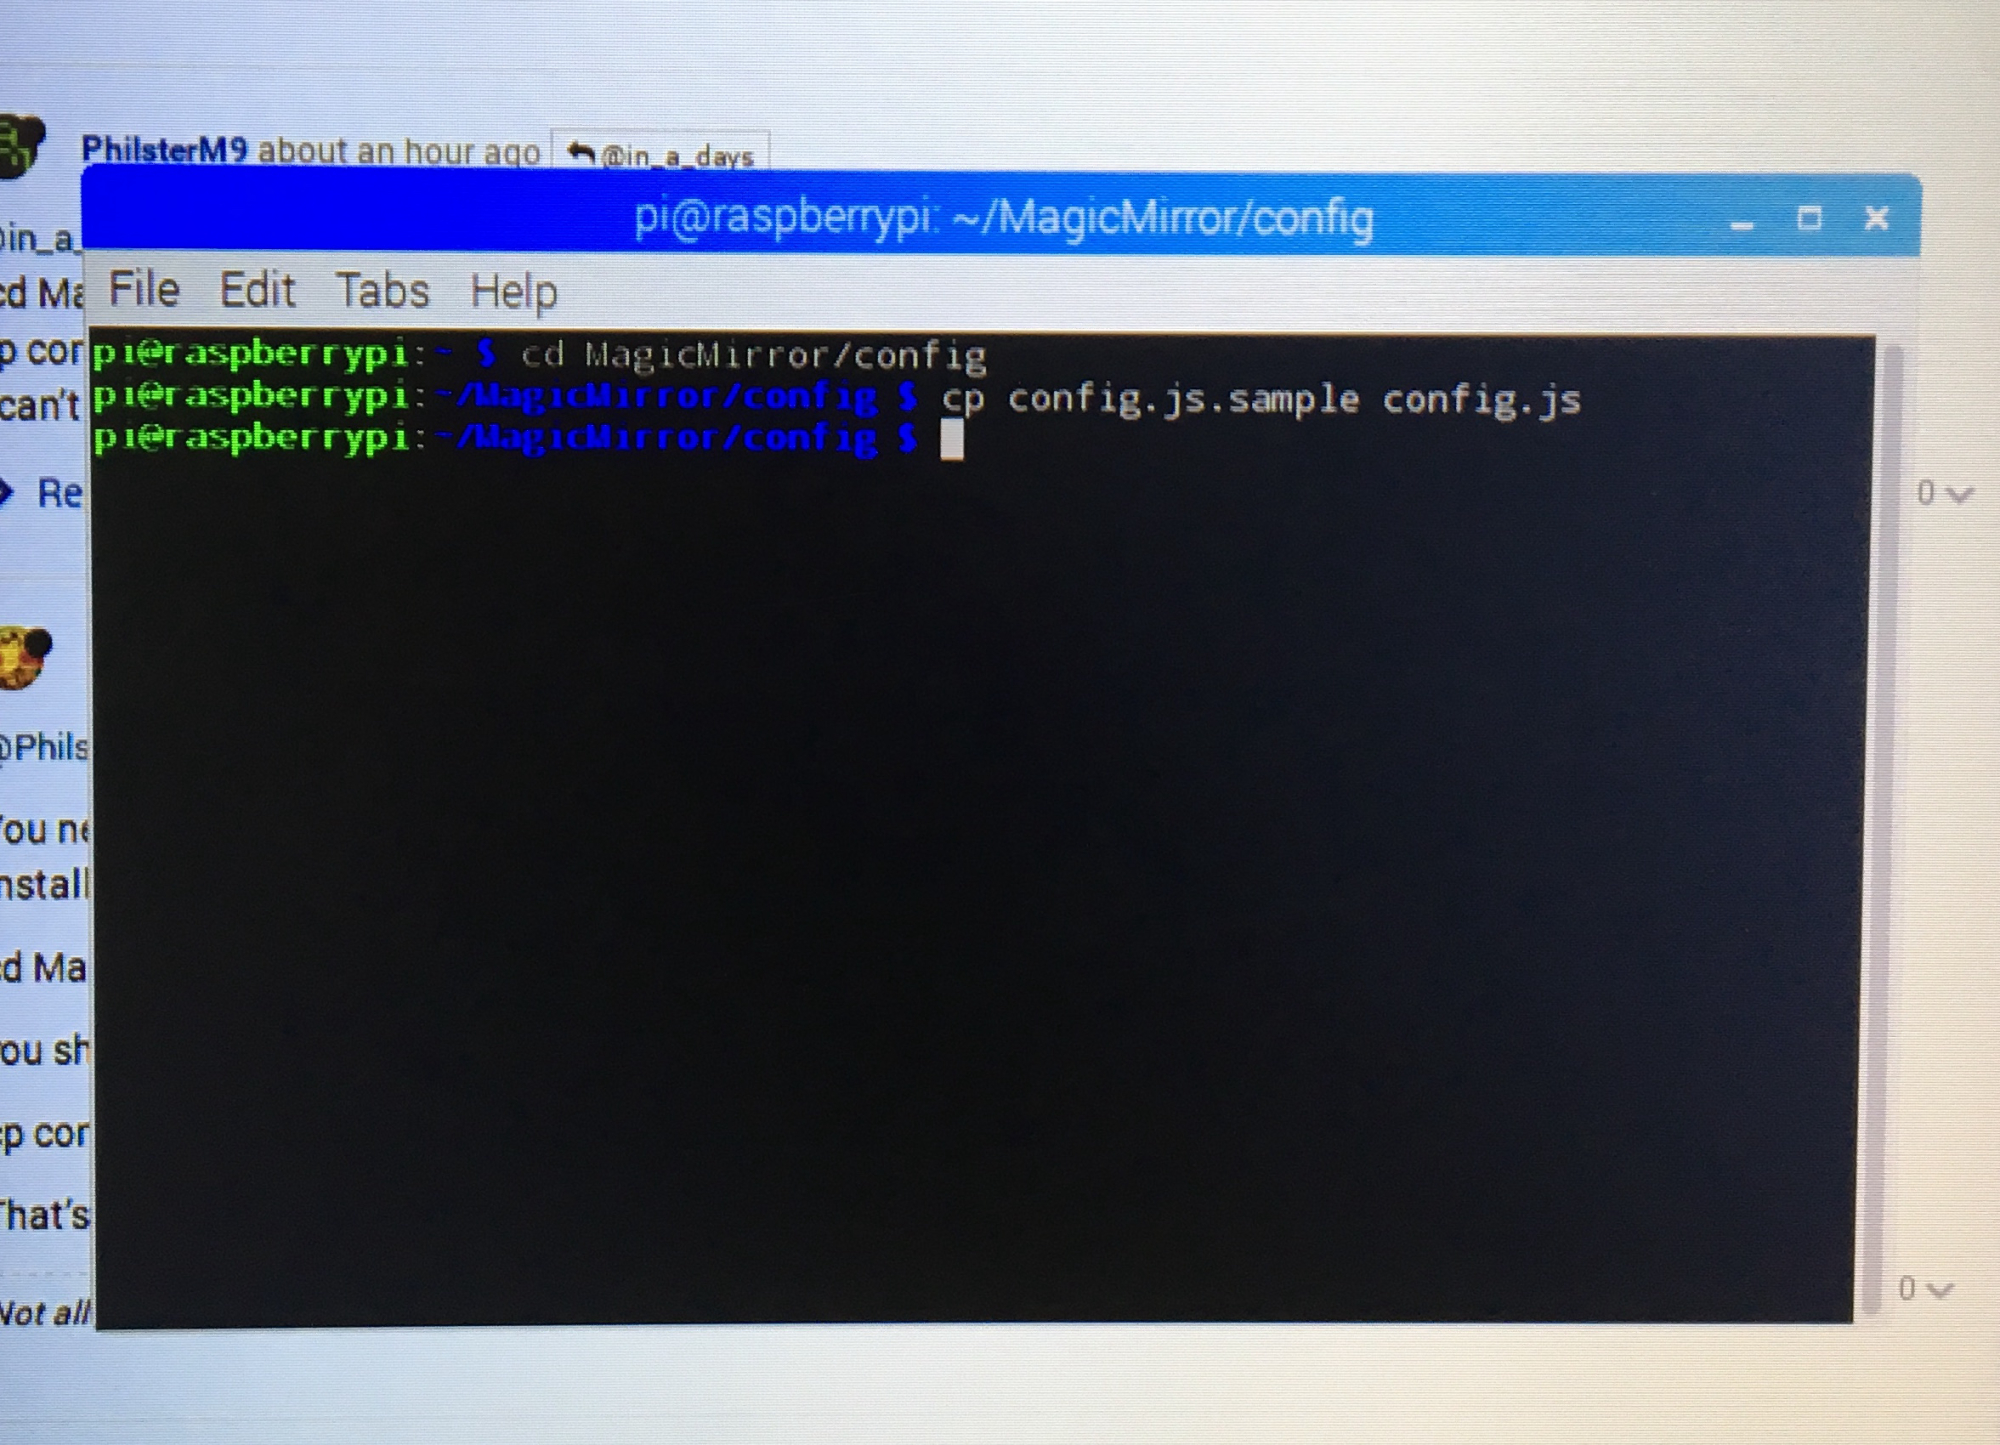
@in_a_days As I did as you said, this is what happened which I am not sure if it is supposed to happen

-
Yes! From that screen type:
cd ..So you see
pi@raspberrypi: /MagicMirror $
then type
DISPLAY=:0 npm start
-
@PhilsterM9 said in Trouble getting it to start:
I am not sure if it is supposed to happen!
Just as a side note: This is linux. No news is good news. By default there is no feedback like “1 file copied”.
If you don’t feel comfortable with the shell you can work on your raspberry directly using the file explorer -
@in_a_days I tried it and it turned on. But when I reboot it, it doesn’t open the magic mirror like it should, even though I did all the pm2 steps. Also how do I change some of the settings of the magic mirror? (eg. timezone etc.)
-
That is weird! If you are able to launch the mirror software with
DISPLAY=:0 npm start
PM2 should definitely work :(
If you want to modify system settings like timezone, go to your terminal command line and
sudo raspi-config
This will allow you modify a LOT of system settings including time zone and keyboard layout. If you’re looking to modify the configuration of modules on your mirror software you need to edit your config.js file. In a new Terminal session:
cd MagicMirror/config
nano config.jsThis will allow you to edit your MM config file which holds the specific configuration options for your MM modules.
-
That is weird! If you are able to launch the mirror software with
DISPLAY=:0 npm start
PM2 should definitely work :(Don’t forget, you told him to re-flash his SD card. That would have wiped the PM2 installation.
@PhilsterM9 You’re almost there. Your original mistake was that you told PM2 to run the
mm.shscript twice (and then 3 times). Let’s make sure that you have PM2 installed, now that you’ve reflashed your SD card.Run this:
pm2 status. If you get the table, great. Let us know how many entries are in it. If you get theNo command 'pm2' found, did you mean:line, go back to the tutorial and follow the steps again, starting withsudo npm install -g pm2.If you do have more than one line in the table when you check PM2 status, you’ll want to remove all of the extraneous ones.
pm2 delete 1and possiblypm2 delete 2if there are three entries. Get it to where there is only one entry in the list when you runpm2 status. Then save the pm2 state:pm2 save.Okay, once you have saved the pm2 configuration, pm2 will make sure that your mirror is running. You don’t need to tell it start ever again. Hopefully. You should be able to reboot your Pi and then run
pm2 statusand see that themmprocess is running all by itself. -
Most definitely! I inferred from
“even though I did all the pm2 steps”
that @PhilsterM9 had gone through the pm2 install process after re-flash - but your directions should definitely help cross the finish line.
-
@in_a_days So I did what @bhepler had written and now works on boot! Now I can’t access the terminal to add some configurations? How do I get around this?
-
@PhilsterM9 press the alt key. It will bring up the menu. Hit file, quit then open terminal and enter pm2 stop mm. Sometimes it takes more than once to get it typed in and hit enter before mm starts up again
-
If you have a keyboard plugged into your Pi you should be able to use the ‘Windows’ key to pull the start menu up on top of MM, from which you can select Accessories > Terminal. Not sure what the equivalent key would be for a non-Windows system keyboard. You can also Alt + F4 to close the MM program - but you’ll have to act fast because the pm2 software is going to automatically re-load it. Either method should allow you to get into the Terminal.
After that, as previously suggested
pm2 stop mm
will shut down the MM program and stop it from re-loading until your next boot up.
I suspect most people prefer to access their Terminal over SSH from a different system. It’s pretty easy to enable on your Pi, and though the process varies depending on your OS, it’s pretty easy to figure out. I can give some pointers if you can’t figure it out from available documentation.
