Hi, great module. Is it possible to change the white between temperatures to f.e. “/” ?
also is it possible to add “C” to temperature ? so it will show °C
Hi, great module. Is it possible to change the white between temperatures to f.e. “/” ?
also is it possible to add “C” to temperature ? so it will show °C
Is it possible to add to this API from Helium network ? so i will be able to see current amount in my helium wallet ?
I don’t want to manually write amount as this is changing.
I tried to search modules but i don’t see any suitable module.
Maybe edit MMM-Coinbase module to show only Helium wallet from (explorer.helium.com)
Hello,
Can someone help how to create module that will take few informations from explorer.helium.com site ?
Show information
Number of hotspots owned by owner
Name of hotspot
Sync status
Total amount of HNT
24h earnings
Witnessed
Beacons
It should be easy for someone :) maybe someone will find some time to code this :)
please post your changes maybe there is just mistype
@huso15 you can choose what is better.
try cut lines and if it will be not acceptable you can try second option.
You can do it with configuration options mentioned in readme.
Cut to more lines or select how many leathers can be displayed
https://github.com/MichMich/MagicMirror/blob/master/modules/default/newsfeed/README.md
how you can remove the silver layer without destroying the mirror ?
if you remove silver layer you get normal glass no ?
what i’ve done :
.MMM-darksky-hourly {
}

.MMM-darksky-hourly .big-icon {
  font-size: 70%;
  line-height: 65px;
  display: inline-block;
  -ms-transform: translate(0, -3px); /* IE 9 */
  -webkit-transform: translate(0, -3px); /* Safari */
  transform: translate(0, -3px);
  width: 140px;
}

.MMM-darksky-hourly .summary {
  width: 400px;
}

.MMM-darksky-hourly .forecast {
  text-align: left;
  min-width: 400px;
  margin-top: 0.05ex;
}

.MMM-darksky-hourly .forecast-row {
}

.MMM-darksky-hourly .forecast-row>span {
  display: table-cell;
  width: 60px;
}

.MMM-darksky-hourly .forecast-row .forecast-day {
  text-align: center;
  padding-right: 0.5em;
}

.MMM-darksky-hourly .forecast-row .forecast-hour {
  text-align: right;
  padding-right: 0.6em;
}

.MMM-darksky-hourly .forecast-row .weathericon {
  text-align: center;
  padding-right: 0.5em;
}

.MMM-darksky-hourly .forecast-bar {
  display: table;
  overflow: hidden;
}

.MMM-darksky-hourly .forecast-bar>span {
  display: table-cell;
  text-align: left;
}

.MMM-darksky-hourly .forecast-bar .bar {
  background-color: #aaa;
  line-height: 0.1em;
  border-radius: 0.1em;
  border: 0.5ex transparent solid;
  background-clip: padding-box;
  color: black;
}

.small.MMM-darksky-hourly .forecast {
  min-width: 200px;
  max-width: 300px;
}

.small.MMM-darksky-hourly .summary {
  width: 300px;
}
.MMM-darksky-hourly .wi-day-sunny {
content: url("/css/icons/day.svg");
}

.MMM-darksky-hourly .wi-day-cloudy {
content: url("/css/icons/cloudy-day-1.svg");
}

.MMM-darksky-hourly .wi-rain {
content: url("/css/icons/rainy-6.svg");
}

.MMM-darksky-hourly .wi-night-clear {
content: url("/css/icons/night.svg");
}

.MMM-darksky-hourly .wi-night-alt-cloudy {
content: url("/css/icons/cloudy-night-2.svg");
}

.MMM-darksky-hourly .wi-cloudy {
content: url("/css/icons/cloudy.svg");
}

.MMM-darksky-hourly .wi-hail {
content: url("/css/icons/rainy-7.svg");
}

.MMM-darksky-hourly .wi-thunderstorm {
content: url("/css/icons/thunder.svg");
}

.MMM-darksky-hourly .wi-snow {
content: url("/css/icons/snowy-6.svg");
}

.MMM-darksky-hourly .wi-cloudy-gusts {
content: url("/css/icons/cloudy-day-3.svg");
}

.MMM-darksky-hourly .wi-fog {
content: url("/css/icons/cloudy.svg");
}
     12   margin: 30px;
     14   height: calc(100% - 60px);
     15   width: calc(100% - 60px);
maybe this will help someone :)
Thank you :) i mean depth of the frame after mirror is installed
I want to know if everything from my setup will have enough space
looks great :) can you please tell me how thick is your mirror ?
And also the frame itself on ikea page i found it’s 4,5cm but after you put there glass how much real space left ?
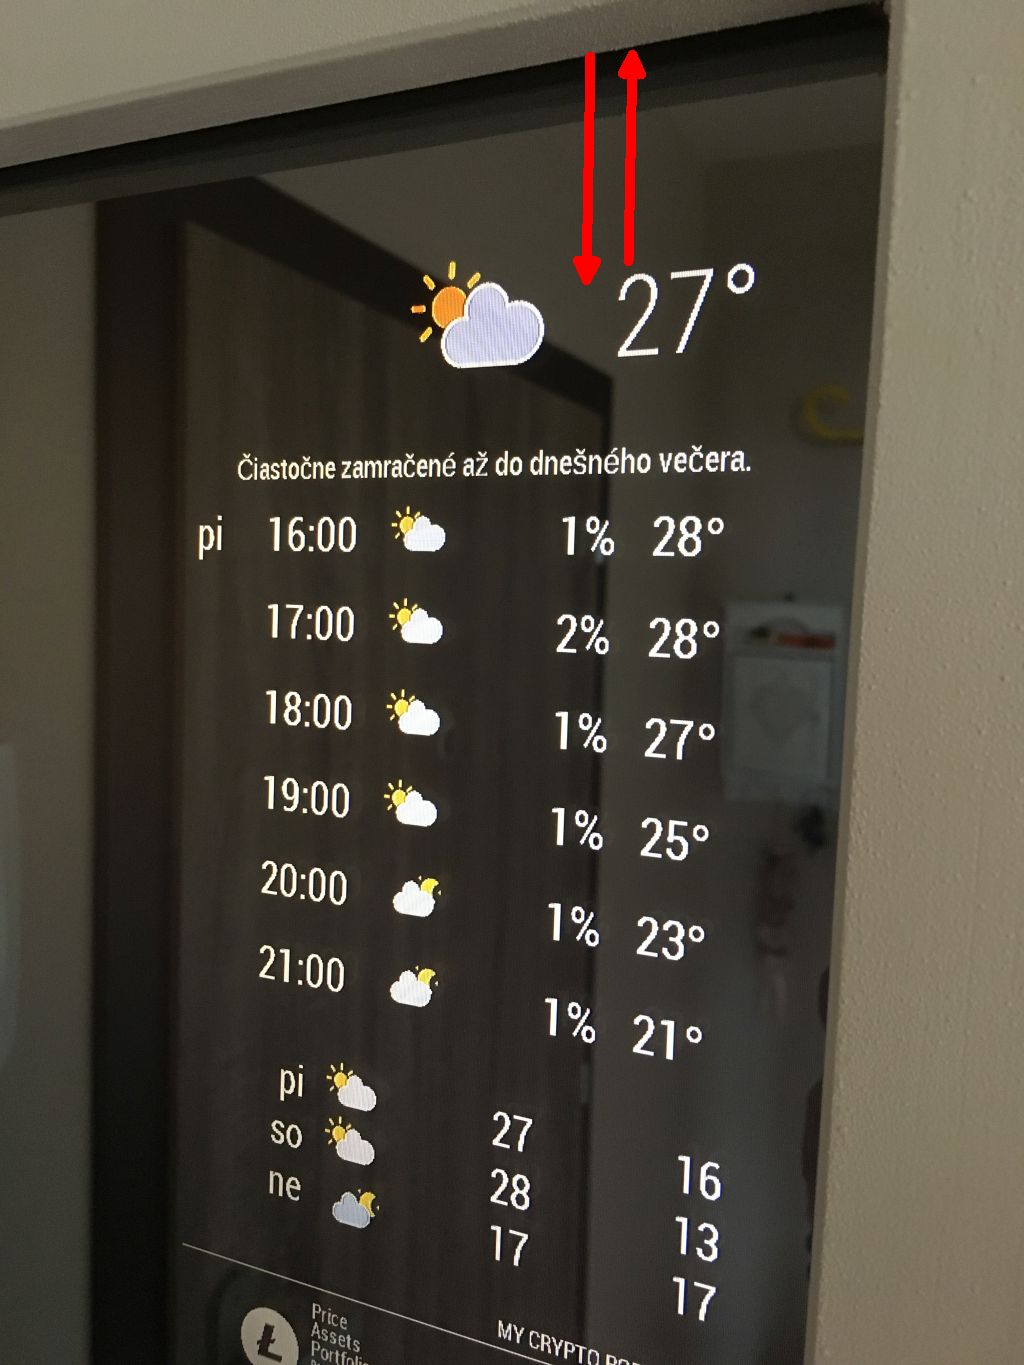
finally i did it :) One thing i’m not able to to is to decrease the gap on the top (red arrows) Can someone help me what parameter needs to be set in CSS to set this space how big it should stay ?
looks very nice let us updated about progress :)
how do you remove and reinstall screen saver ? can you give me commands ?
i’ve tried
sudo apt-get remove xscreensaver
but it just gives me that no xscreensaver isn’t installed.
noone ? i’ve tried just to add one icon to custom.css :
.MMM-darksky-hourly .wi-day-sunny {
content: url("/css/icons/day.svg");
}
but only top icon was replaced correctly other in timplan were replaced as before only one column is shown :(
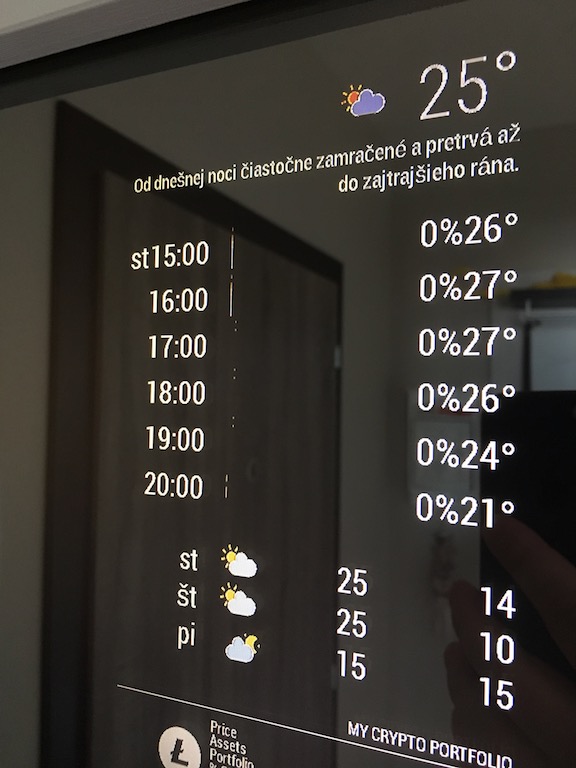
i’ve tried to change icons via custom.css but i’m able to change only to main icon (on top) other icons disappear can someone help me what i need to change to see them ? there is only on line as you can see in picture attached.
i’ve added this to custom.css
.MMM-darksky-hourly .weathericon {
  position: absolute;
  left: 35px;
  z-index: 1;
  margin-top: -30px;
  height: 100px;
}

.MMM-darksky-hourly .wi-day-sunny {
content: url("/css/icons/day.svg");
padding-left: 6px;
padding-top: 5px;
height: 50px;
}

.MMM-darksky-hourly .wi-day-cloudy {
content: url("/css/icons/cloudy-day-1.svg");
}

.MMM-darksky-hourly .wi-rain {
content: url("/css/icons/rainy-6.svg");
padding-left: 8px;
padding-top: 5px;
height: 45px;
}

.MMM-darksky-hourly .wi-night-clear {
content: url("/css/icons/night.svg");
}

.MMM-darksky-hourly .wi-night-cloudy {
content: url("/css/icons/cloudy-night-2.svg");
height: 50px;
padding-left: 5px;
padding-top: 7px;
}

.MMM-darksky-hourly .wi-cloudy {
content: url("/css/icons/cloudy.svg");
}

.MMM-darksky-hourly .wi-showers {
content: url("/css/icons/rainy-7.svg");
}

.MMM-darksky-hourly .wi-thunderstorm {
content: url("/css/icons/thunder.svg");
}

.MMM-darksky-hourly .wi-snow {
content: url("/css/icons/snowy-6.svg");
}

.MMM-darksky-hourly .wi-cloudy-windy {
content: url("/css/icons/cloudy-day-3.svg");
height: 45px;
padding-left: 8px;
padding-top: 7px;
}

.MMM-darksky-hourly .wi-night-rain {
content: url("/css/icons/rainy-6.svg");
padding-left: 8px;
padding-top: 5px;
height: 45px;
}

.MMM-darksky-hourly .wi-night-snow {
content: url("/css/icons/snowy-6.svg");
}

.MMM-darksky-hourly .wi-night-thunderstorm {
content: url("/css/icons/thunder.svg");
}

.MMM-darksky-hourly .wi-night-showers {
content: url("/css/icons/rainy-7.svg");
}

.MMM-darksky-hourly .wi-fog {
content: url("/css/icons/cloudy.svg");
}

.MMM-darksky-hourly .wi-night-alt-cloudy-windy {
content: url("/css/icons/cloudy-night-1.svg");
height: 50px;
padding-left: 5px;
padding-top: 7px;
}
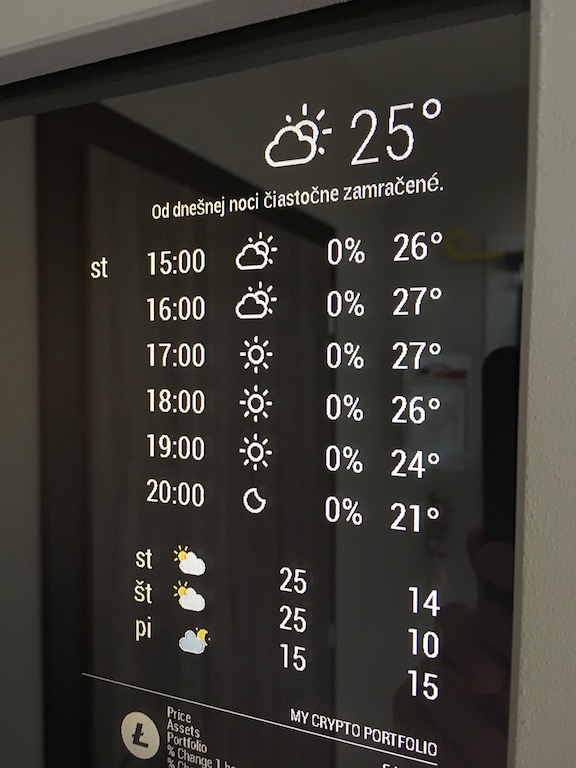
also rain possibility moved closer to temperature as you can see. With default icons it looks different
is it possible to show in weatherforecast units ?
it’s still showing just number f.e. 22
but i want to see 22°C
i tried to add units and also decimalSymbol but it still only numbers no sign of Celsius.
everything is working after disabling module :)
just one remark there is needed to add also to crontab to turn off monitor at f.e. 21:02 because if there will be movement in last seconds before pir.py will be killed monitor will stay on :)
is there possibility to easily change default icons to animated :
https://www.amcharts.com/free-animated-svg-weather-icons/
i’ve tried to edit custom.css but it looks like it’s not so easy. after changing and restarting MM icons disappear and i’m not able to find what sizes should have new icons.
can someone help me ?
this is perfect weather module for me but i would like to make it more colourful and animated little bit
i’ve removed line from rc.local and mirror is still working as should (turn on when there is movement and turn off after 30s as set up in MMM-PIR module)
Yes i’ve active mmm-pir module.
I’ll try your solution and let you know
Thank you ;)