I always wanted to try building a magic mirror for myself, but I really started the journey about 6 months ago. The goal for this build was to have something simple and minimalist.
My first step was to sort out the software part (easier for me as I am a software engineer during daylight) then move on to the hardware.
Software
I have a couple of raspberry pis lying around at home. I took one and installed MagicMirror on it without any troubles. I also started to look at modules that were available: weather, calendar and clock were of course in the final bracket. But I wanted something beyond that.
I’m living in Edinburgh and commuting by bus, so a module to display the live time data from the bus stops around the house was a must-have. It didn’t exist so I created MMM-LothianBuses.
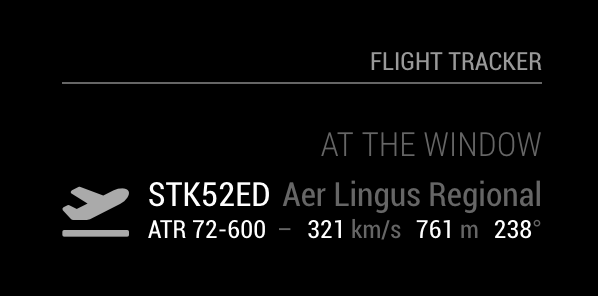
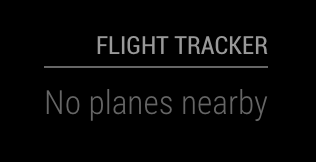
I can see planes from the kitchen windows. As my wife is really curious, she always wants to know what planes they are so I built MMM-FlighTracker module which does exactly that.
A late addition to the the curated list of modules I’m running was to know what current song is playing on my Sonos network. In the spirit of having a minimalist setup I also created another MMM-Sonos module as the other one didn’t suit my needs.

Hardware
With the software out of the way, I started to build the frame for my mirror. I bought an old 21’’ monitor from which I took all my measurements. The plan was to enclose this screen into a wooden frame, sandwiched between the mirror and angle brackets to secure it in place. I have a wood recycling center close-by home, went there and bought a 1.8cm plywood sheet from which I cut strips to do the frame. I used dove-tail joints to provide enough mechanical strength to support the weight of the final product.
Initially, I wanted to keep the frame bare with a light stain, as the plywood layers give a nice feature. But I did sort of a mess when I cut the strips, and the plywood shipped quite a bit. At the end, I had to use some filler + paint to have an nice finish. Next, I made a channel with my router on each strip to slide the mirror in. This provides a nice look but it also means that once glued, the mirror cannot be extracted or changed without breaking the frame.


After the assembly of the frame + mirror, I did a couple of coats of filler, then paint. I pushed down the screen against the mirror and secured it with 3D printed angled brackets. I also soldered power leads to have a nice 3 pins IEC connector at the bottom of the screen. That way, I have a nice single unit that I can plug anywhere (bonus point of my screen is that the 2 USB ports are always delivering 5V even though the screen is “off”, so the raspberry pi can be plugged there directly rather then needed an external power source)


To hanged the mirror, I used a very simple french cleat within the frame which makes the mirror completely flushed with the wall. Here is the result!


After thoughts
I’m super happy with the way it turned out, and it gave me so much satisfaction when I finished the project. However there a couple of things that I might do differently if I had to do it again:
- not using the channel to slide the mirror in, for reasons explained above. I would rather do a simpler design for the frame.
- use a glass mirror. I have a pretty decent acrylic mirror. It looks good but unfortunately, it:
- wrapped a bit.
- reduces the brightness of the text quite a lot.
- reduces the viewing angles significantly.
- spend more time onto the smaller details like “externalised” the screen buttons (I have all the hardware but need to wire them up) + do a an integrated on/off and reset buttons for the raspberry pi. Although this can be added later on.