Read the statement by Michael Teeuw here.
Upgrading Mirror Mark II
-
The 2nd mirror I made was for my office using a really wide piece of one-way mirror that I had fall into my lap. After a lot of tribulations, I got it done. But I was never really happy with it. The mounting system was clunky, it hung away from the wall a lot, there was a huge dead space in the middle, I used two different processors for the monitors, power was via a concealed power strip mounted on the wall, etc.
I just finished upgrading the double-wide mirror to a triple-monitor setup. New frame, new facing, better mounting and a power plug that I highly recommend to anyone.
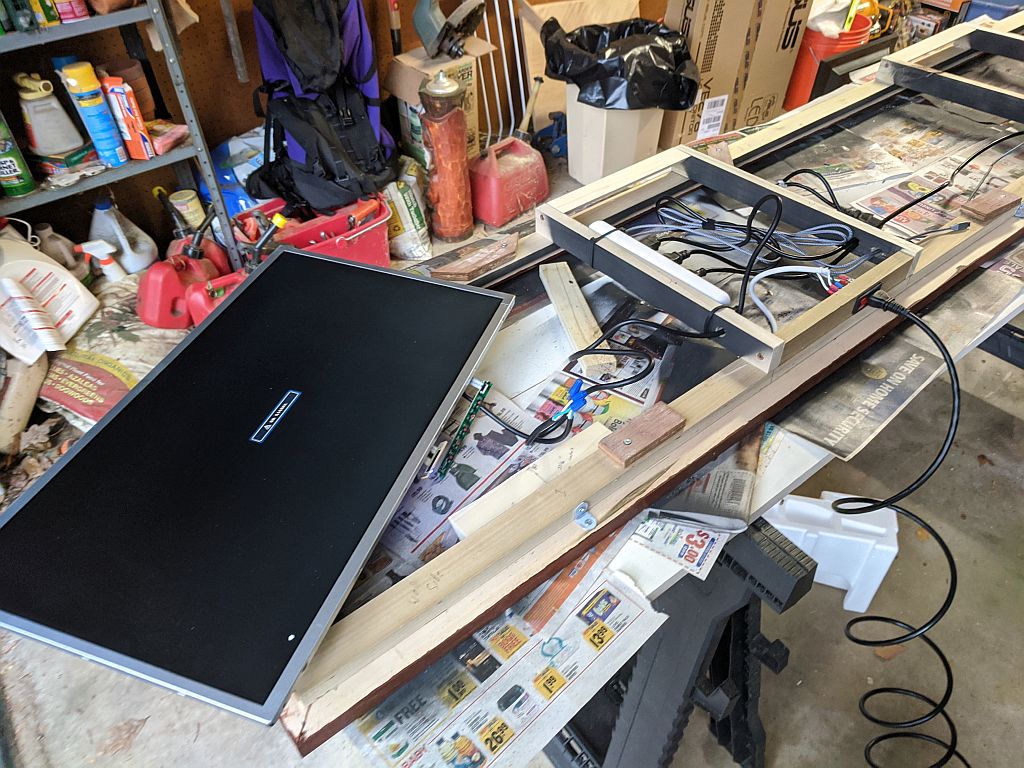
First, I build the support frame. I added a rabbit around the inside to hold the glass.
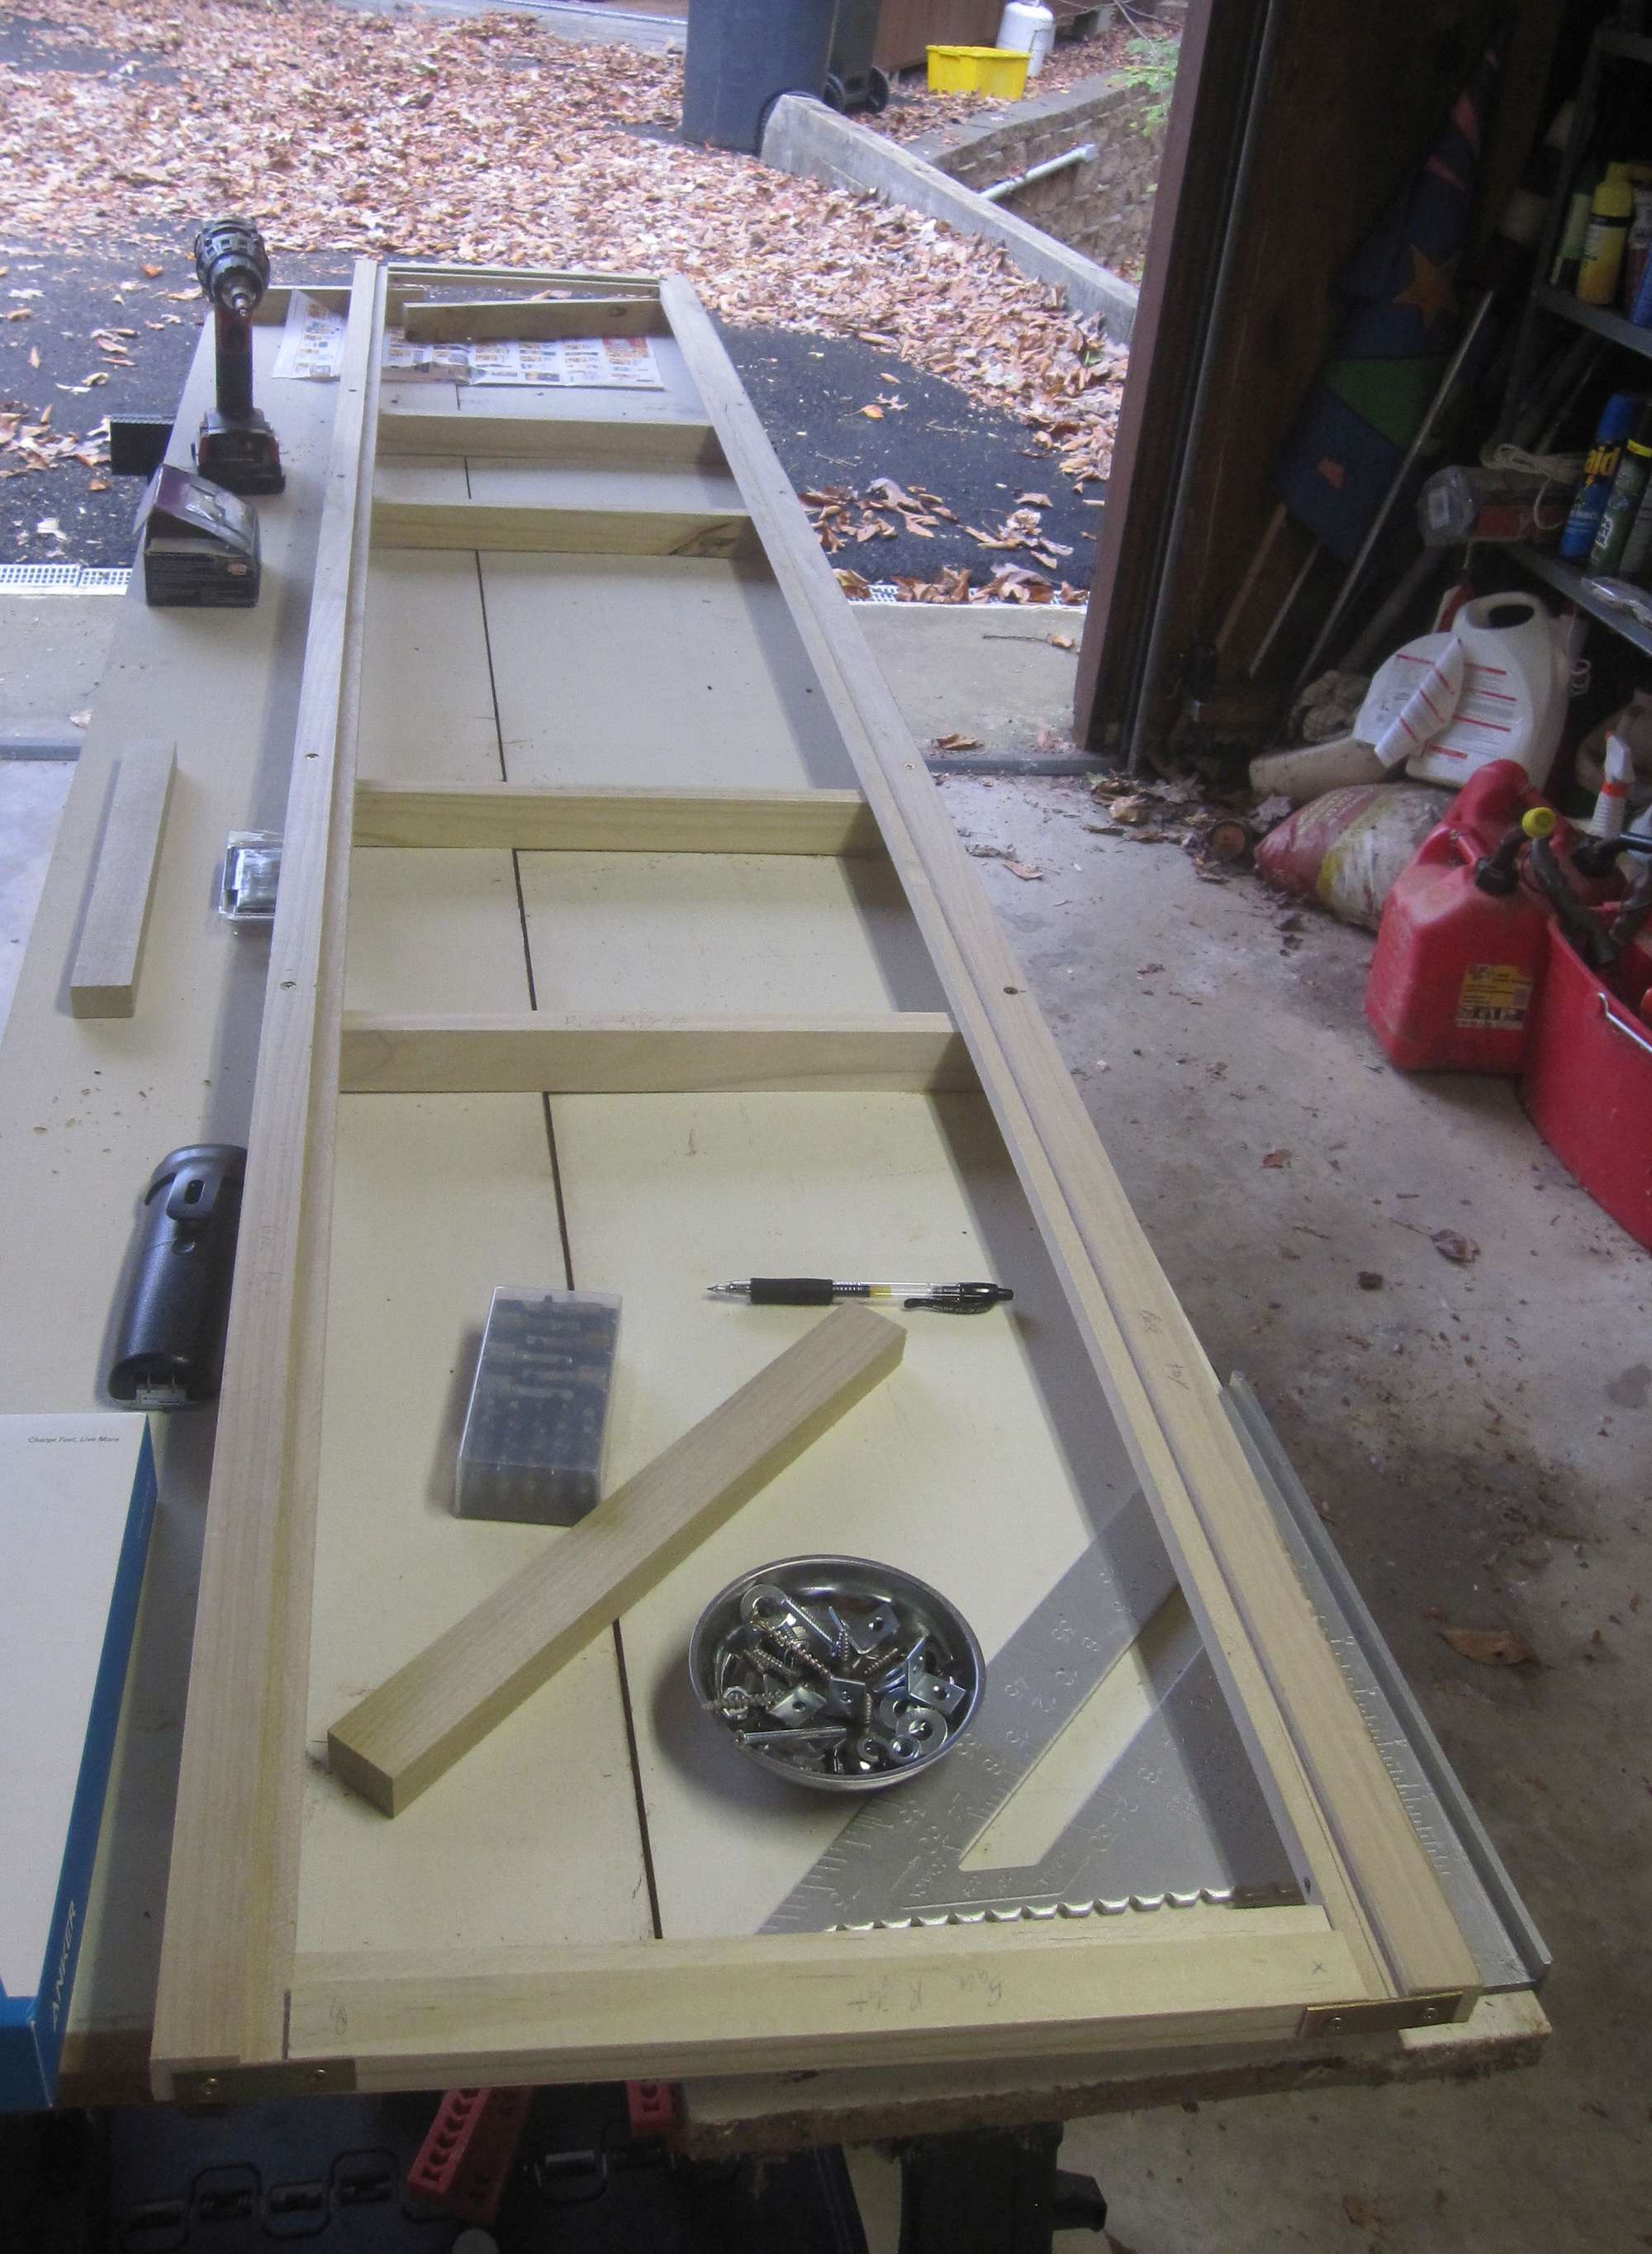
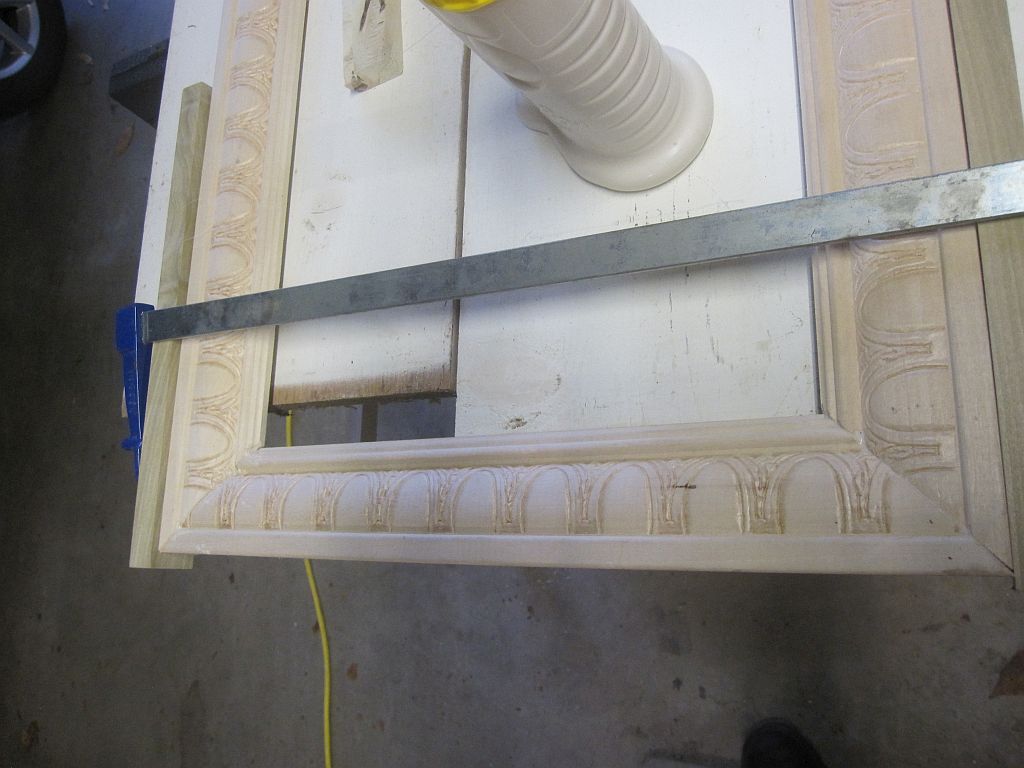
Next I built the facing out of chair rail molding. This is the same material as previous (the boss likes it).
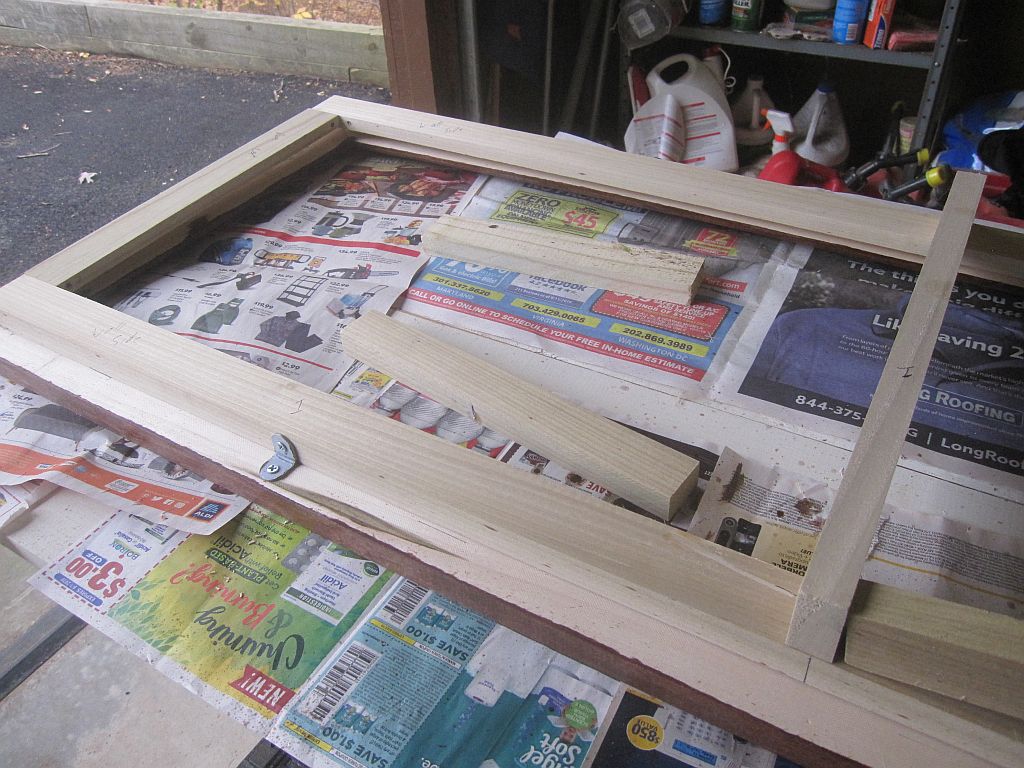
After staining the facing, I joined the support frame to the facing. Eventually, the glass will sandwich between these two pieces. The metal L brackets are screwed in so that I can transport the entire thing as a unit and detach the pieces when it’s time to migrate the glass from the existing mirror to the new frame.
Next, I cut a hole for the power plug. I found these on Amazon. I did have to wait a couple weeks while they shipped from China, but I think they were worth the wait. No more inline switches on power cords!
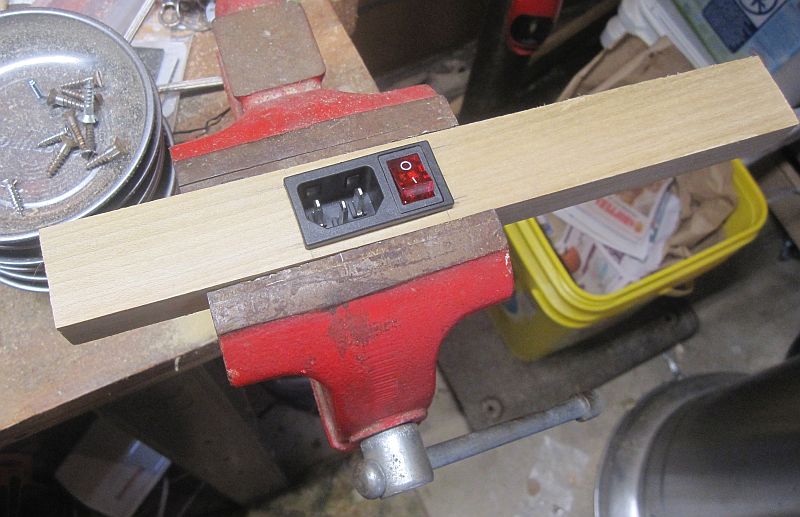
The power port is wired into a power strip that I also bought off of Amazon. This will provide a place for the monitors and Pi to plug in. It just has enough slots. I’m using every AC and USB socket on this thing. I tried glueing it to the support frame but it didn’t work. I ended up zip tying it in place.
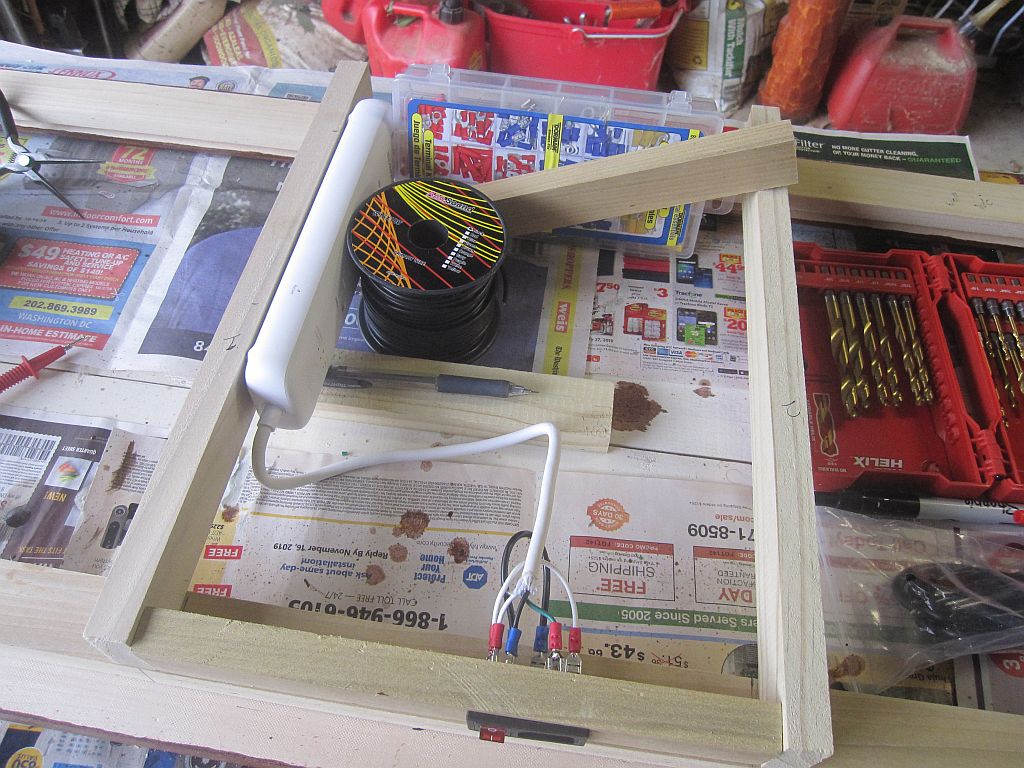
Quick testing to make sure I didn’t miswire anything. You can see some other steps here: the support frame has been painted black so it won’t show through the one way glass. The holes in the support frame for the power cords and USB cords have been drilled and the cords are threaded. The power cords were snipped in order to make it through the holes, so I reconnected those with some wire nuts. There are some pieces of scrap wood on the support frame that are screwed in with one screw. Those hold the monitor up against the glass so the monitor doesn’t slide out due to gravity. They’ll rotate into place one the monitors are in position up against the glass.
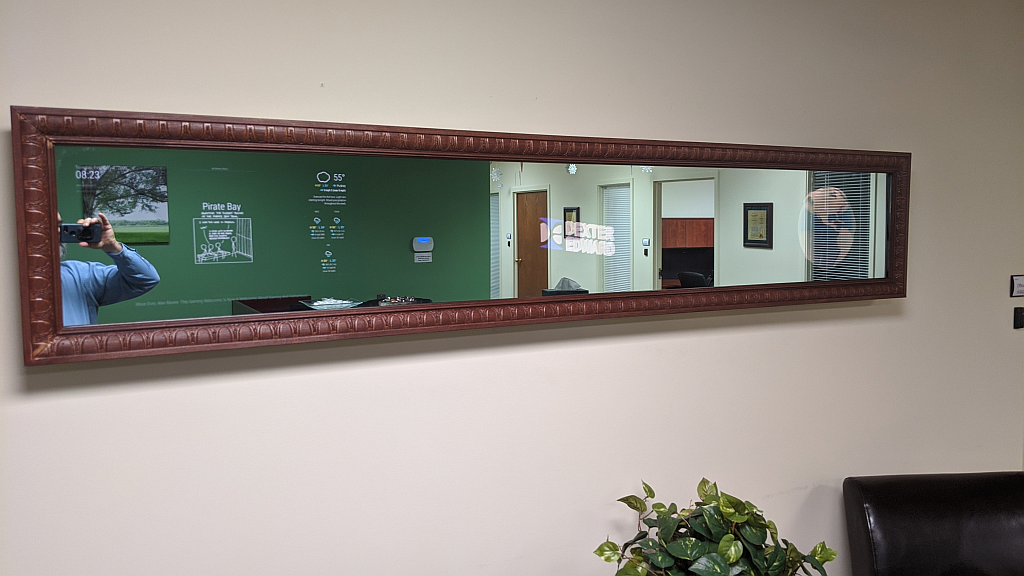
After testing, I took it to work and installed in over about 3 hours. I had someone in the office help me which was a lifesaver. It’s heavy! We took down the old mirror, disassembled it, moved the glass over to the new frame, screwed the facing on, flipped it over, removed the monitors from the old mirror, took off the bezels, installed them in the new mirror, took down the old VESA mounts, put up the new French cleats and then finally hung the mirror.
I went back today to configure it. I think it turned out really well!
https://youtu.be/A4nr88bGblI -
5 star! I commented on the youtube page. :thumbsup:
-
Thats a monster Magic Mirror!
Its looks great!
Fantastic job!
I would recommend placing heat shrink tubing over the female spade connectors that you route to the internal power strip when you revise it again. Less chance of short that way. -
@BD0G - Yeah, that’s a good idea. Right now, so long as nobody bumps it, it should be okay. The spade connectors include a little bit of insulation at the joint where you crimp them down. The plug really is a nifty little addition.
-
@bhepler Yes , but the ends that plug into the Male Spades are at full AC potential. 110 V AC assuming you are in the states. Small strips of shrink tubing fit over the end of the plugs and heated to shrink down onto the exposed ends would be a nice addition.
As long as you dont send this in to Underwriters Labratorories to have it certified as UL listed you may be fine for now.I built a plug just like that into the base I built for my 3 D printer and it works amazing!
-
Wow, what a massive piece of mirror! I love the triple display setup. And regarding the reworked cabeling I have now some good inspirations for my own make over. Thanks!
Btw, which module do you use for the spinning globe? -
@Fozi Just so you know. Others have reported that the spinning globe is very processor intensive and a standard Raspberry Pi can struggle with displaying it without stutters or hang ups.
-
@bhepler please show us how change the globe for looking like your globe…
-
@BD0G thanks for the info, it’s good to know!
-
Awesome mirror!
Awesome beard too, btw ;)
-
@Fozi On his YT page he mentions this is a video on a loop, not a MagicMirror module.
-
Whats the globe code and the rotating text? I like that a lot.
-
Oke thanks.
-
Yeah, I don’t know how I keep missing notifications for this thread. The globe is just a video clip that the company purchased through the marketing department. It’s all of 60 seconds long and is playing through VLC. The Magic Mirror software isn’t running on the center and right displays.
I worked out the command to play the video on a loop and with a borderless configuration and used a cron job to play it after boot.
-
@Alphons - The rotating text is the company logo. I used Blender to add some 3D to it and then animate the spin. Once I had a full rotation, I exported it to MP4 and then used a video editor to create a 5 minute MP4 with just the rotation on loop.
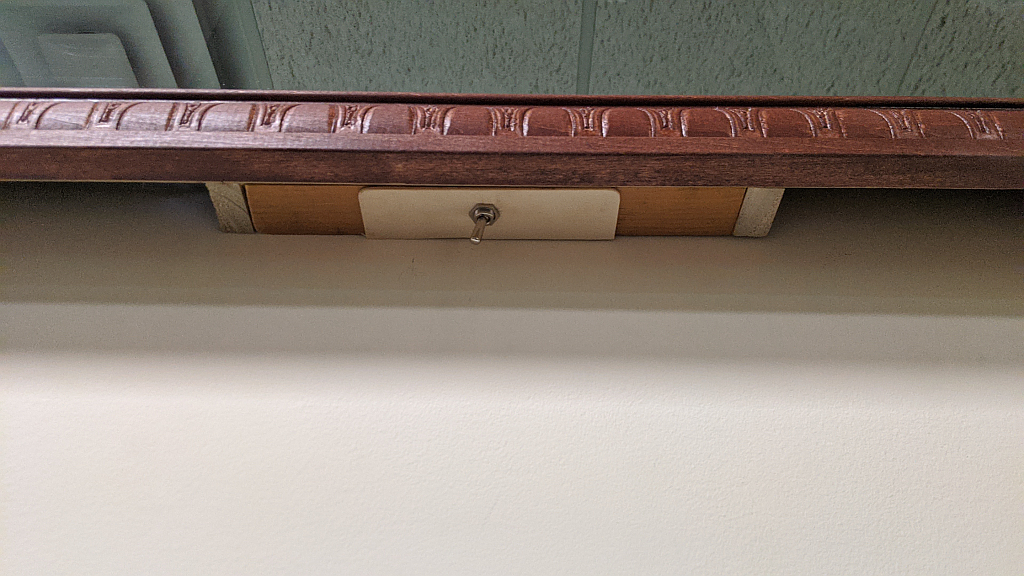
And @BD0G will be happy to know that the electrician put an outlet on the wall behind the mirror. So I’ll be reworking the power plug & switch so they aren’t visible. I’ll put a simple switch with a Molly lock on it because I have some available.
-
Well, the mirror has been refreshed with an internal power cable to an electrical outlet behind the mirror. It looks much more professional now. The forum isn’t letting me upload images right now, but I’ll circle back here and post them eventually.
-
Now that photos are working again, here are some photos of the refreshed Magic Mirror Mark II. All three screens are active and the look is much cleaner.
And a close up of the switch.
-
That is the bomb! :thumbsup:
-
@bhepler That’s Cool
Where have you bought the mirror and is that glass or acrylic?
-
@Stoffbeuteluwe - It’s glass and it came from www.twowaymirrors.com. They have a rep who floats around here every so often. Ah, here they are: @twowaymirrors
I had a great experience with them and they’ve supplied the glass for four out of my five mirrors. This one was a special case and they boxed it up in a custom crate for me. Excellent stuff.
Hello! It looks like you're interested in this conversation, but you don't have an account yet.
Getting fed up of having to scroll through the same posts each visit? When you register for an account, you'll always come back to exactly where you were before, and choose to be notified of new replies (either via email, or push notification). You'll also be able to save bookmarks and upvote posts to show your appreciation to other community members.
With your input, this post could be even better 💗
Register Login