Read the statement by Michael Teeuw here.
Ornate Awesomeness
-
This has been a really fun project! I saw the first version a while back and wanted to make one. Christmas is coming up, so this is my girlfriend’s present!
I found the frame in a thrift store for $20. Seeing the frame made me jump on the project. That thing is incredible…plastic…but incredible…
For the glass, I look around a lot and compared pictures and whatnot and decided to go with actual smart mirror glass from Two Way Mirrors. I’m really happy with the reflection/allowance ratio. It looks great! That being said, the glass was the most expensive part of the project.
I sourced a 32" TV from a pawn shop. Well, two of them. Ever opened up an LED TV? Yeah…maybe don’t. The first one became a great set of LED strips and some sweet thin speakers for another project. Second one I pulled off everything I could while keeping the housing intact, and it made it to the finish line.
I lucked out with the frame having preexisting holes that the old glass was mounted with. I created a set of rails to use the holes, then built a wall on those rails to secure a backing to.
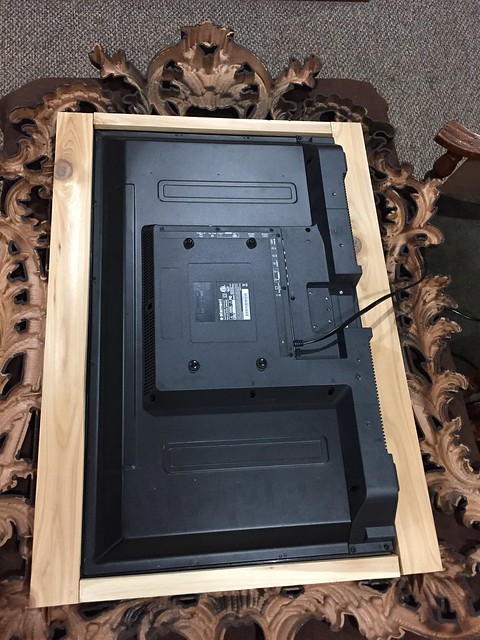
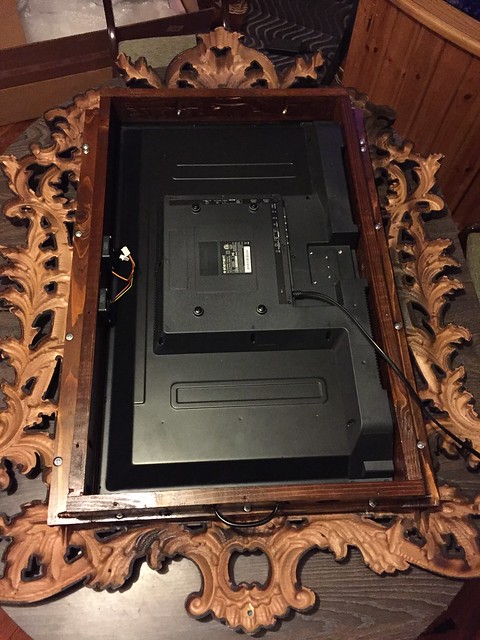
The light wood shows through the glass, as well as the TV logo and vol/ch button text, so I ended up painting the front of the wood black and masking the logo/text with electrical tape.
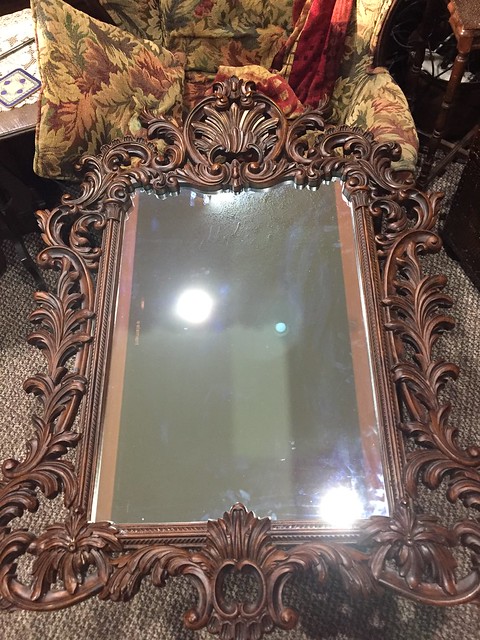
I added fans into the side of the backing I made to get airflow into the TV. They are kind of noisy, so I might flip them out with silent ones before I give it to her.
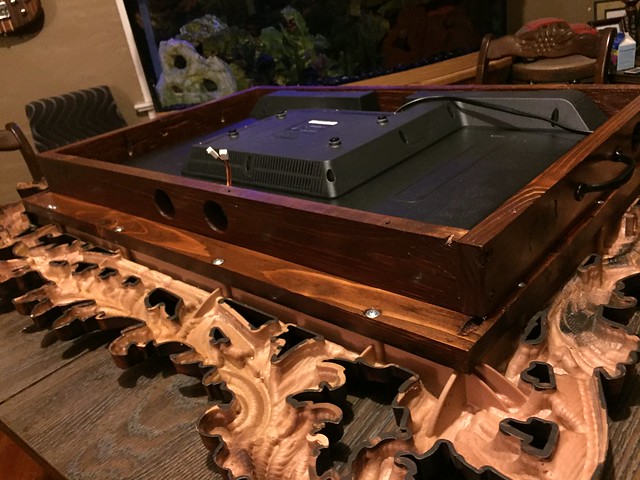
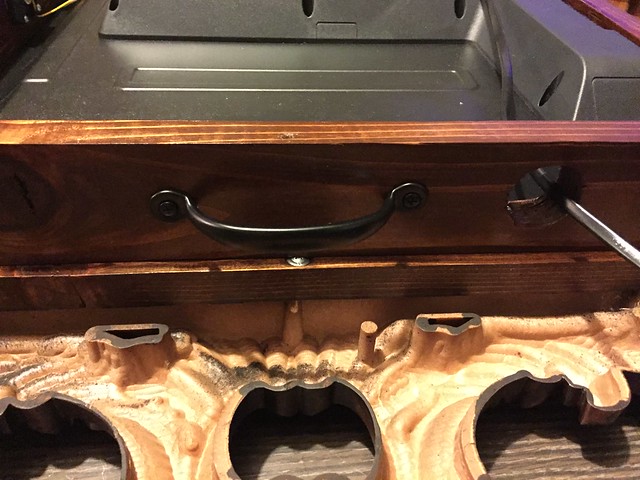
This thing is a beast and hard to carry around, so I installed some handles for the top and bottom of the frame. That worked really well!
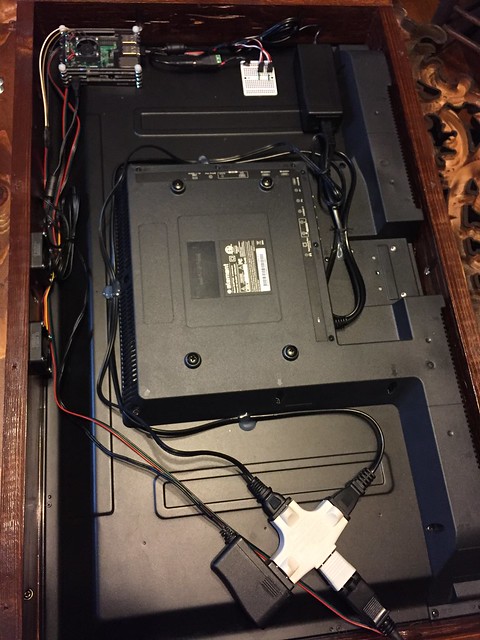
Here is everything inside. I opted for a RPi case with a fan because it will be locked in there. I haven’t seen issues with temperature yet, but I haven’t had it running for extended periods yet. I ran power connectors for the fans through a protoboard, but I’m sure that could have been tidied up a bit with direct wiring.
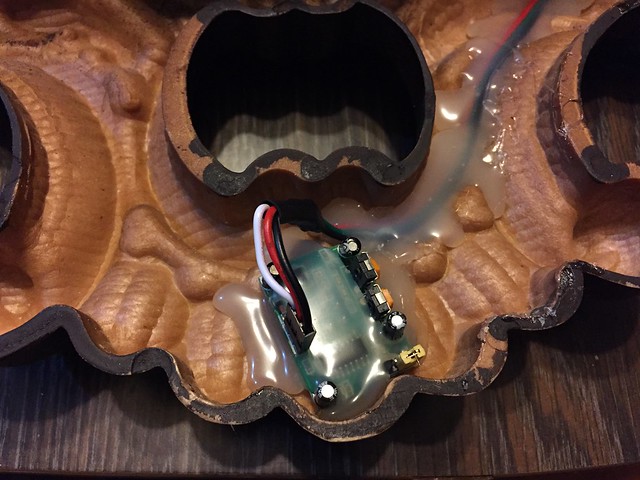
I put a PIR sensor at the base of the frame. The TV I have in currently doesn’t support sleep mode, so I’m still working through how that will actually function when the dust settles.
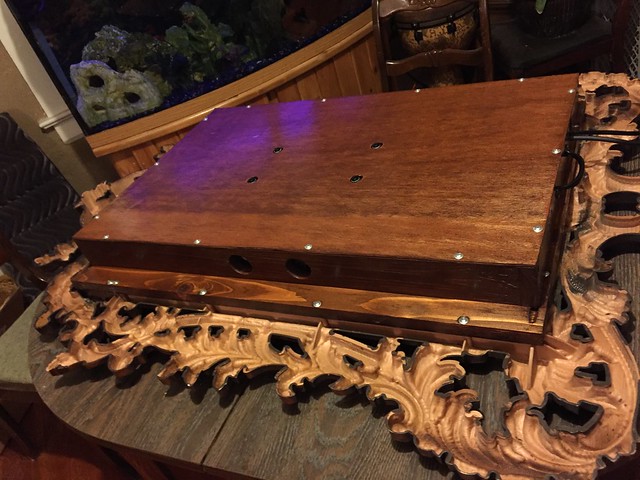
Here it is closed up from the back. I drilled holes for the existing TV mounts. I think that will be the way to hang this. I thought about a French cleat too, but not sure yet. Also kicking around the idea of building an easel for it!
Here it is turned on! The only visible module you can’t see is an iframe in the middle of the screen that points to a page on my personal website. That way I can push randomness to it remotely, which is either creepy or fun.
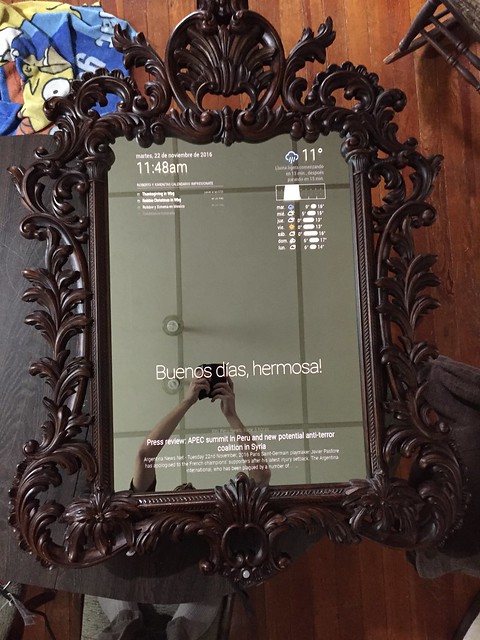
Current Modules:
- Time/date
- Google Calendar
- MMM-forecast-io
- Compliments
- News Feed
- WatchDog
- MMM-Remote-Control
- MMM-PIR-Sensor (will probably pull due to the previously referenced issues)
-
Wow, such a crazy frame. Well done!
-
Fantastic work. Great job on sourcing the parts.
-
Nice work. But… what is WatchDog…?
-
[card:MichMich/MMM-WatchDog]
-
Ah thanks @strawberry-3-141… I know, that I read about in a few times ago
-
Thanks for the kudos!
Here is an updated module that fixed the referenced PIR Sensor issue:
https://github.com/phrazelle/mm-pir-hide-all -
What is this for a news feed in the bottom bar?
Because it shows small and bigger fonts… -
@fox That is the standard News Feed module. The larger font is the RSS feed title, and the smaller font is the description.
-
