Read the statement by Michael Teeuw here.
-=]!Show Your Module Setup![=-
-
@michael24h said in -=]!Show Your Module Setup![=-:
My little mirror 11 inch
Yo, dude, that’s awesome! Now, lets hear the story behind the build. Why you built it. How you built it. What you used, hardware and software. Pictures, if you have them, of the progress from start to finish
-
will do, later on this afternoone. with more pic.
Thanks -
My little Clock story.
One day come across a youtube movie about the magicmirror projects. I thought I’ll give shot, starting to thinking how to start, what I will need to build my own miagicmirror and also cost of project.
Then came the time for little digging in google which took me to the magicmirror.builder forum and other great sites, different sources of information and very helpfully members.
That then took me to the Michael Teeuw’s github page. Very cool fella with other cool projects.So lets get to project
Hardware.I’ve been given a broken Apple iPad first get, which fixed last year. But I’m this tablet is to old to be somewhat useful device. So tablet ended up in the bottom of a drawer in the cupboard for quite some time. I wasn’t too sure what to do with it. I thought it will perfect for my little clock project.
First step will be to order two way mirror glass about 11 inch size for £20, with out magic glass we can’t talk about magicmirror. When I picked up the glass I took it straight to the frame shop. I ordered a picture frame for about £25, deep enough so it would accommodate 6mm glass, iPad screen, RaspberryPi board and a step down power module which can be found on ebay for a little as £2 to £5. Simple reason for adding the step down power module is the Raspberry Pi and iPad screen work on two different power supplies, different voltages and also different amperage. RaspberryPi 3 uses 5v 2.5A whereas the iPad screen needs only 3.3 volts in order to power on, but the lcd board normally takes about 6v to 12volts. So either way I will need to power both devices on one power pack (just to make it simple and easy).
I also purchased a RaspberryPi Camera and motion detector from ModMyPi.
Then I ordered power pack from ebay for about £5, which should handle RaspberryPi 3 and iPad screen, necessary voltage and amperage
My raspberryPi uses micro sd 32gb which is way more than what is needed for this project.
I followed installation steps to install magicmirror on to my clock and then start installing modules.Modules.
Default magicmirror come pre install with some modules like: alert, calendar, clock, compliments, currentwether, helloworld, and few others.
I had some fun time playing around with this. But that wasn’t enough to call my clock a smart clock.
So I start adding other modules, some successfully and then some I couldn’t get to work. Then came the realy fun time to make these modules work.
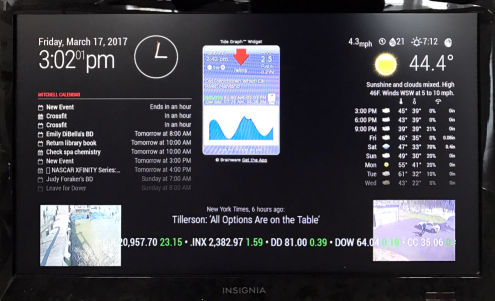
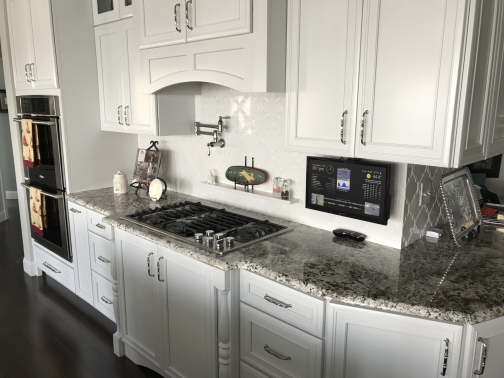
The project isn’t completely finished yet but I can show you guys how far I got to now.mm-clock My Setup Click Here
Alexa Click Here
-
@michael24h said in -=]!Show Your Module Setup![=-:
The project isn’t completely finished yet but I can show you guys how far I got to now.
Nice, real nice! :thumbsup_tone2:
So, you have MM on the Pi. How did you connect the Pi to use the iPad screen? The LCD board? I have an old iPad that might become useful again
-
two way to do ths
- pourches Driver Controller Board Kit
- try find old pc screen which you will be able push in to drive for your screen. iPad first gen use samsung screens.
-
If I’m right my first attempt was with IBM screen board. screen was probably 8 to 10 years old :-)))
-
@michael24h thanks for the info
-
@michael24h said in -=]!Show Your Module Setup![=-:
try find old pc screen which
Also I did use iPad screen with little retro pi project
-
@michael24h said in -=]!Show Your Module Setup![=-:
Also I did use iPad screen with little retro pi project
Ohhhh, that’s hot! I want one! :thumbsup_tone2:
-
This post is deleted!