Hi there,
I would like to present you my MagicMirror2
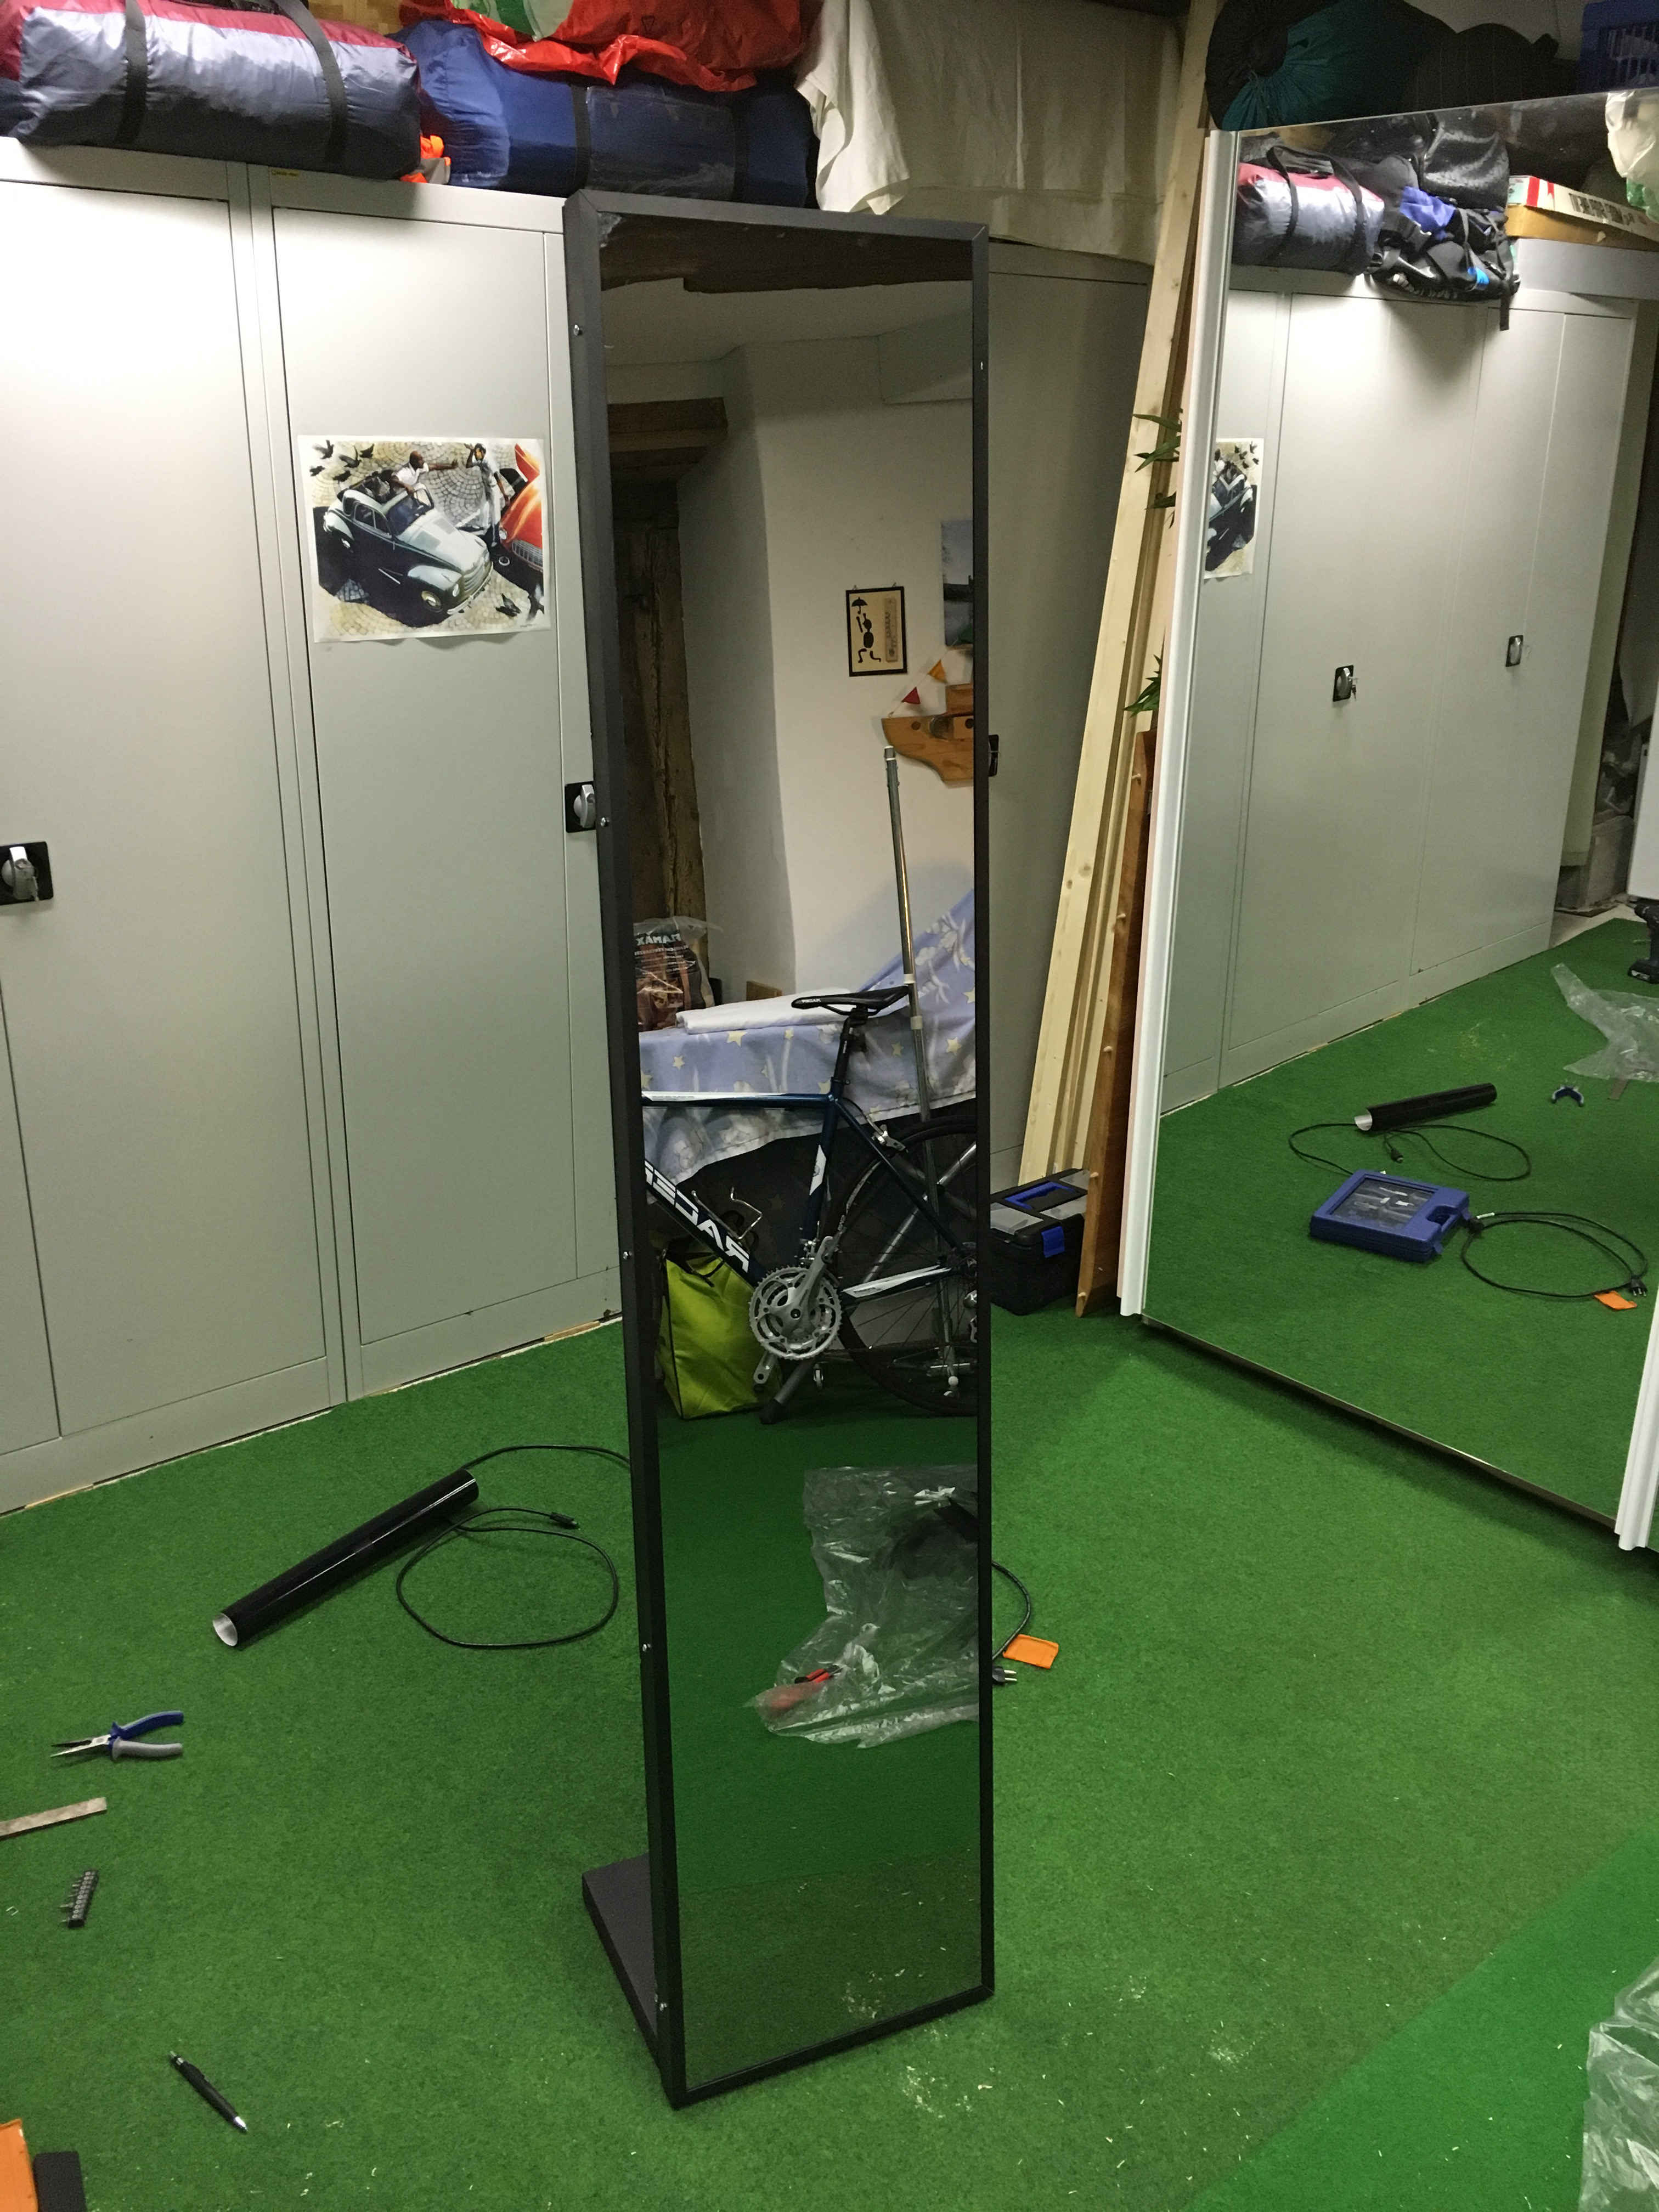
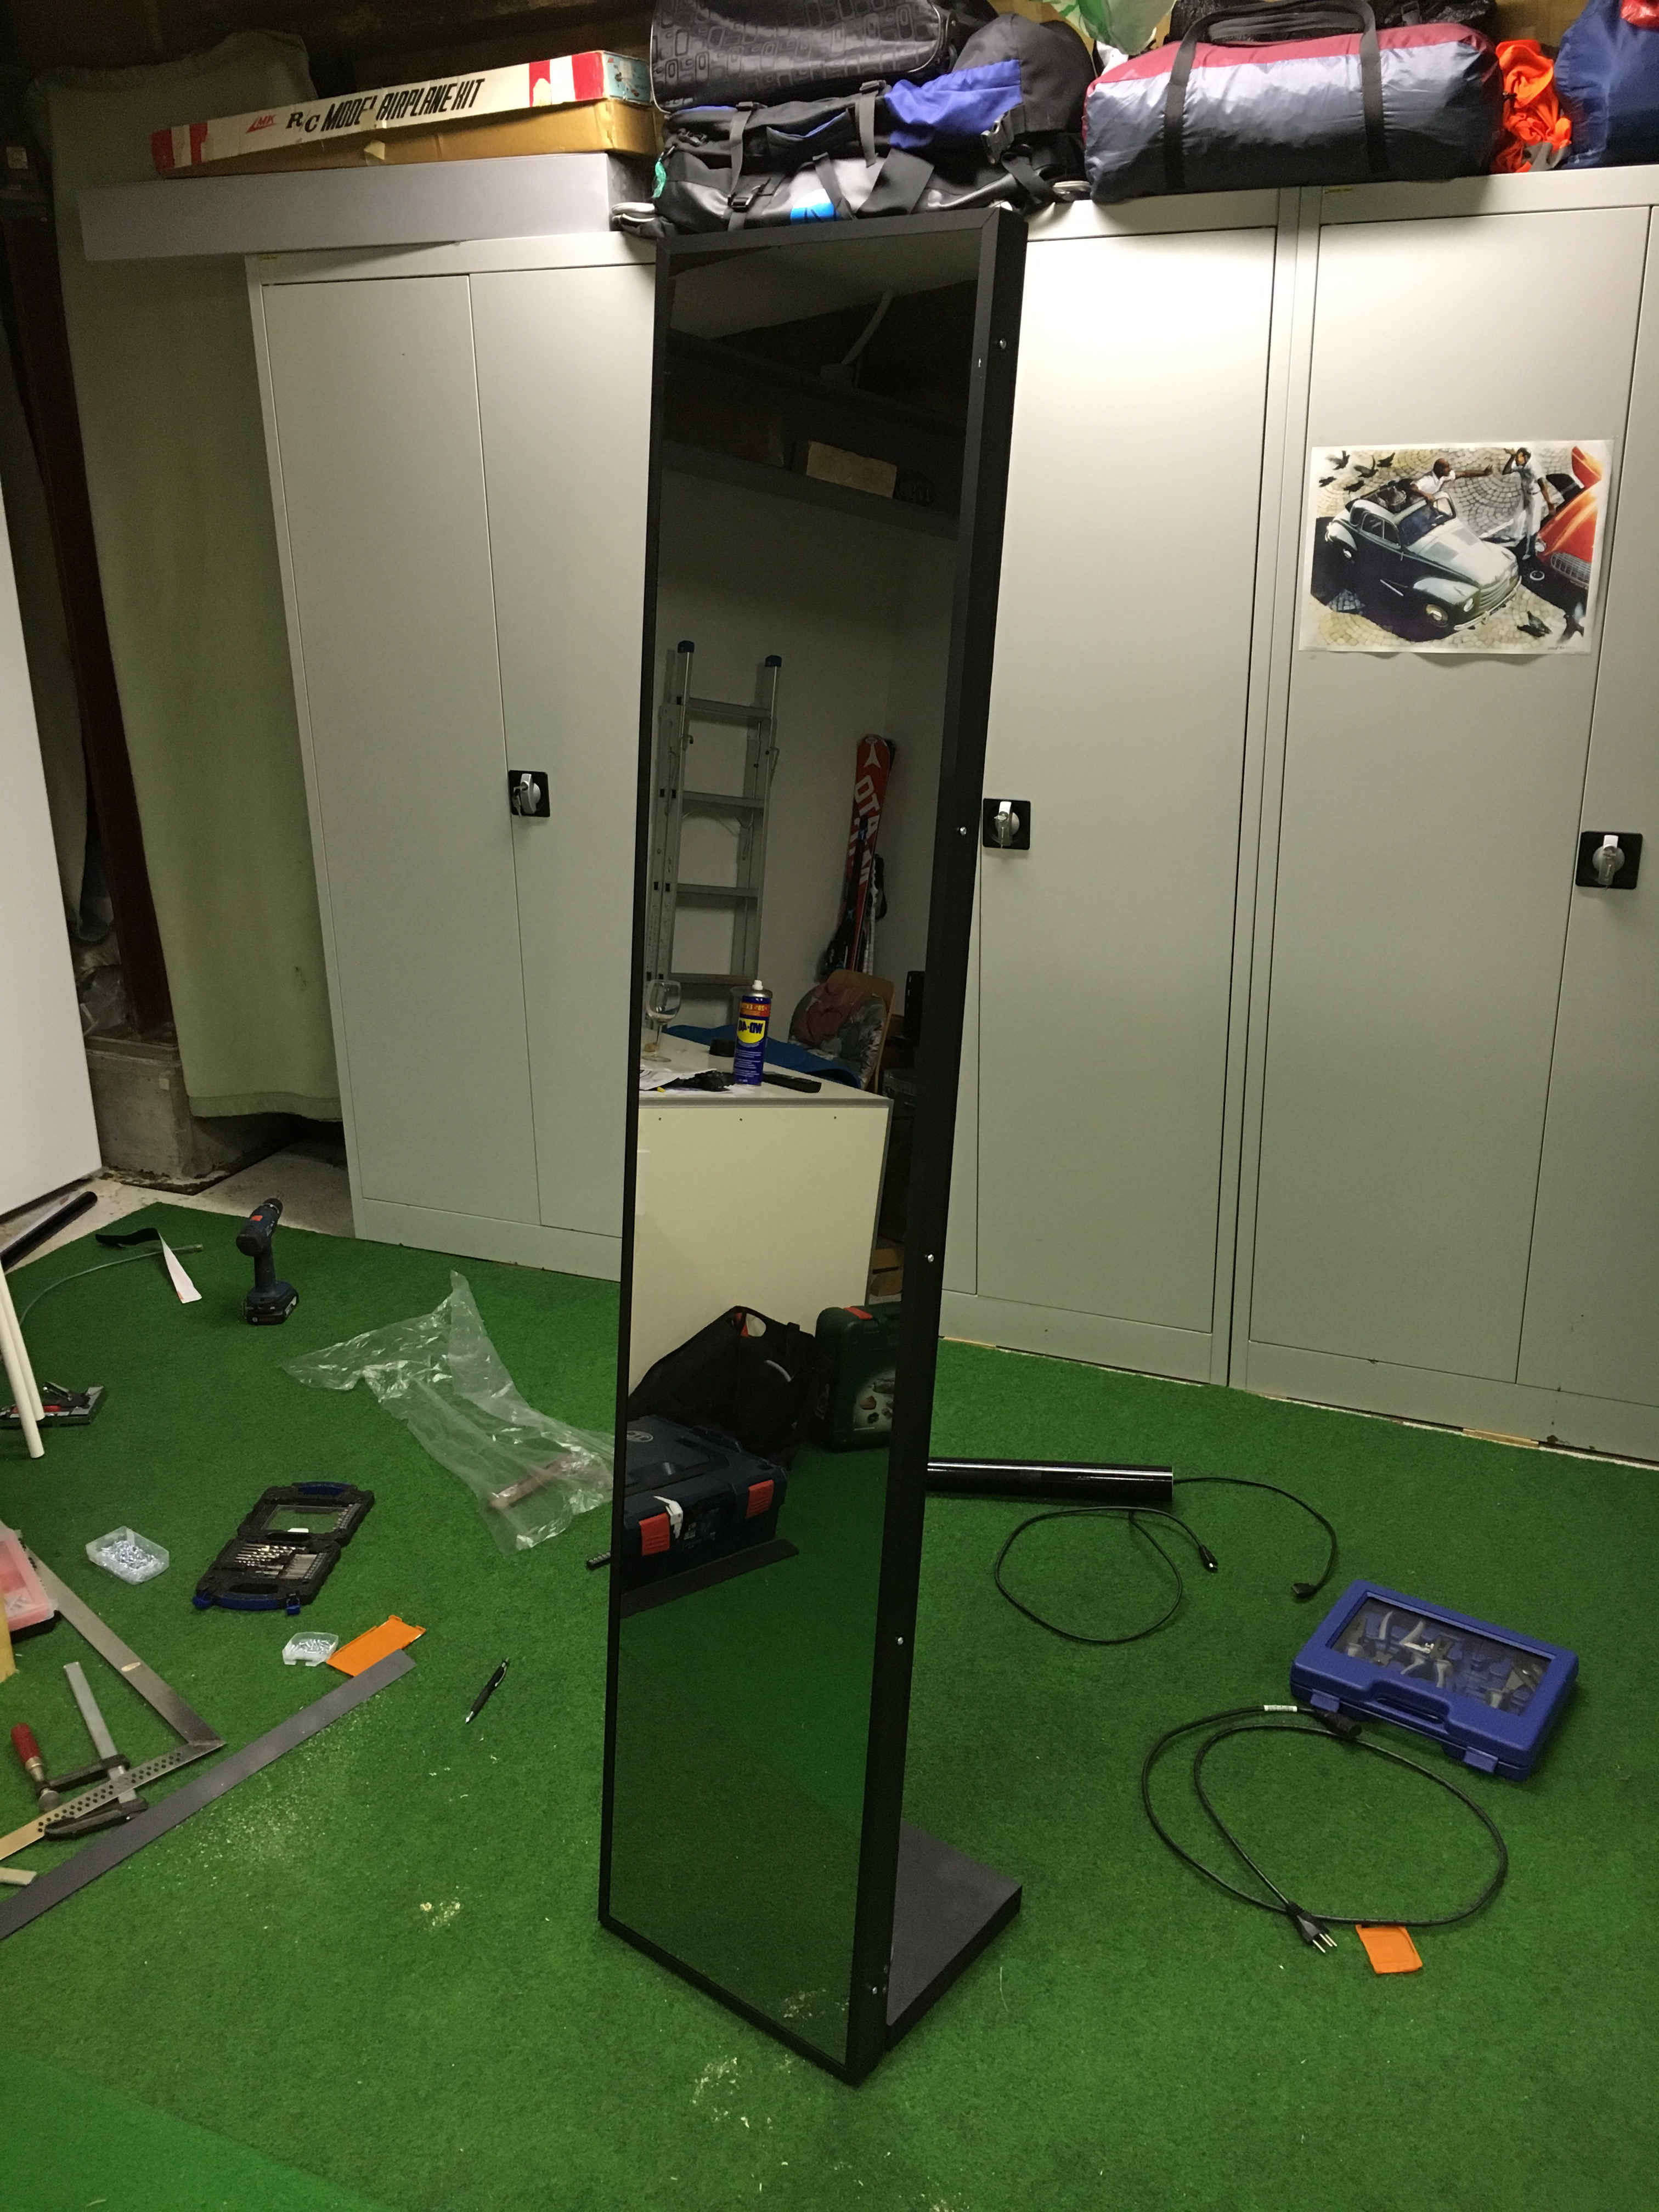
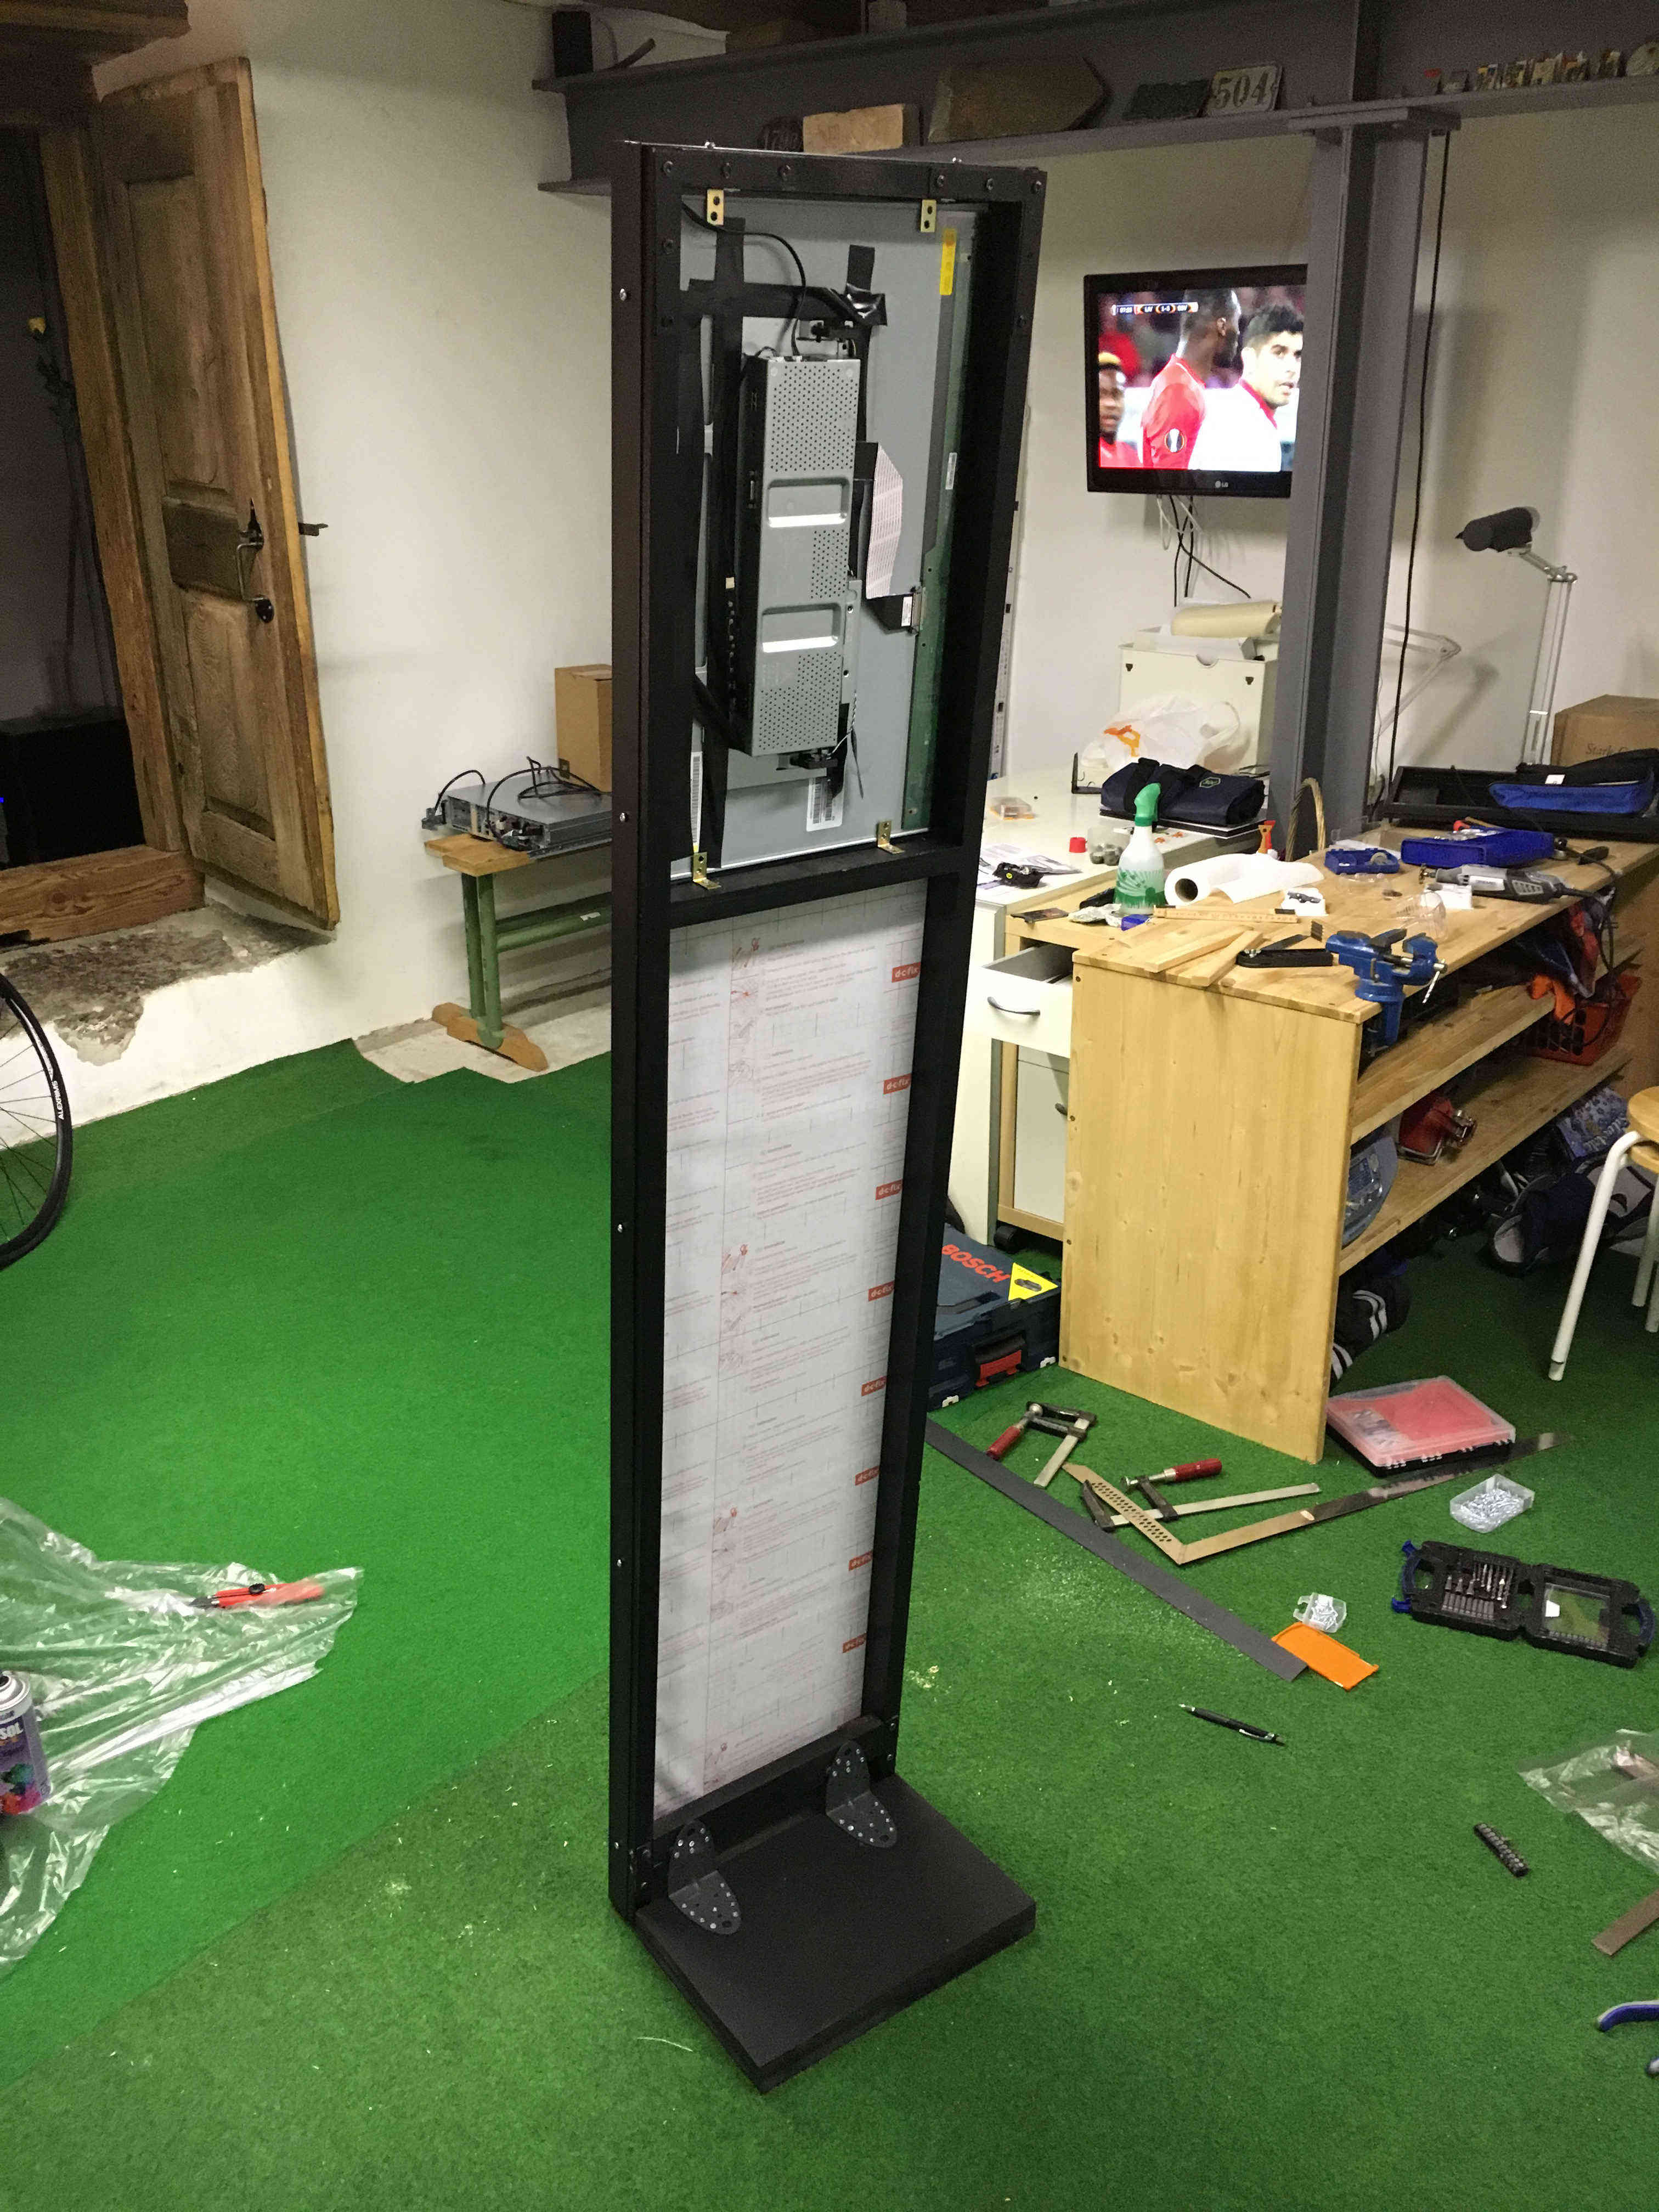
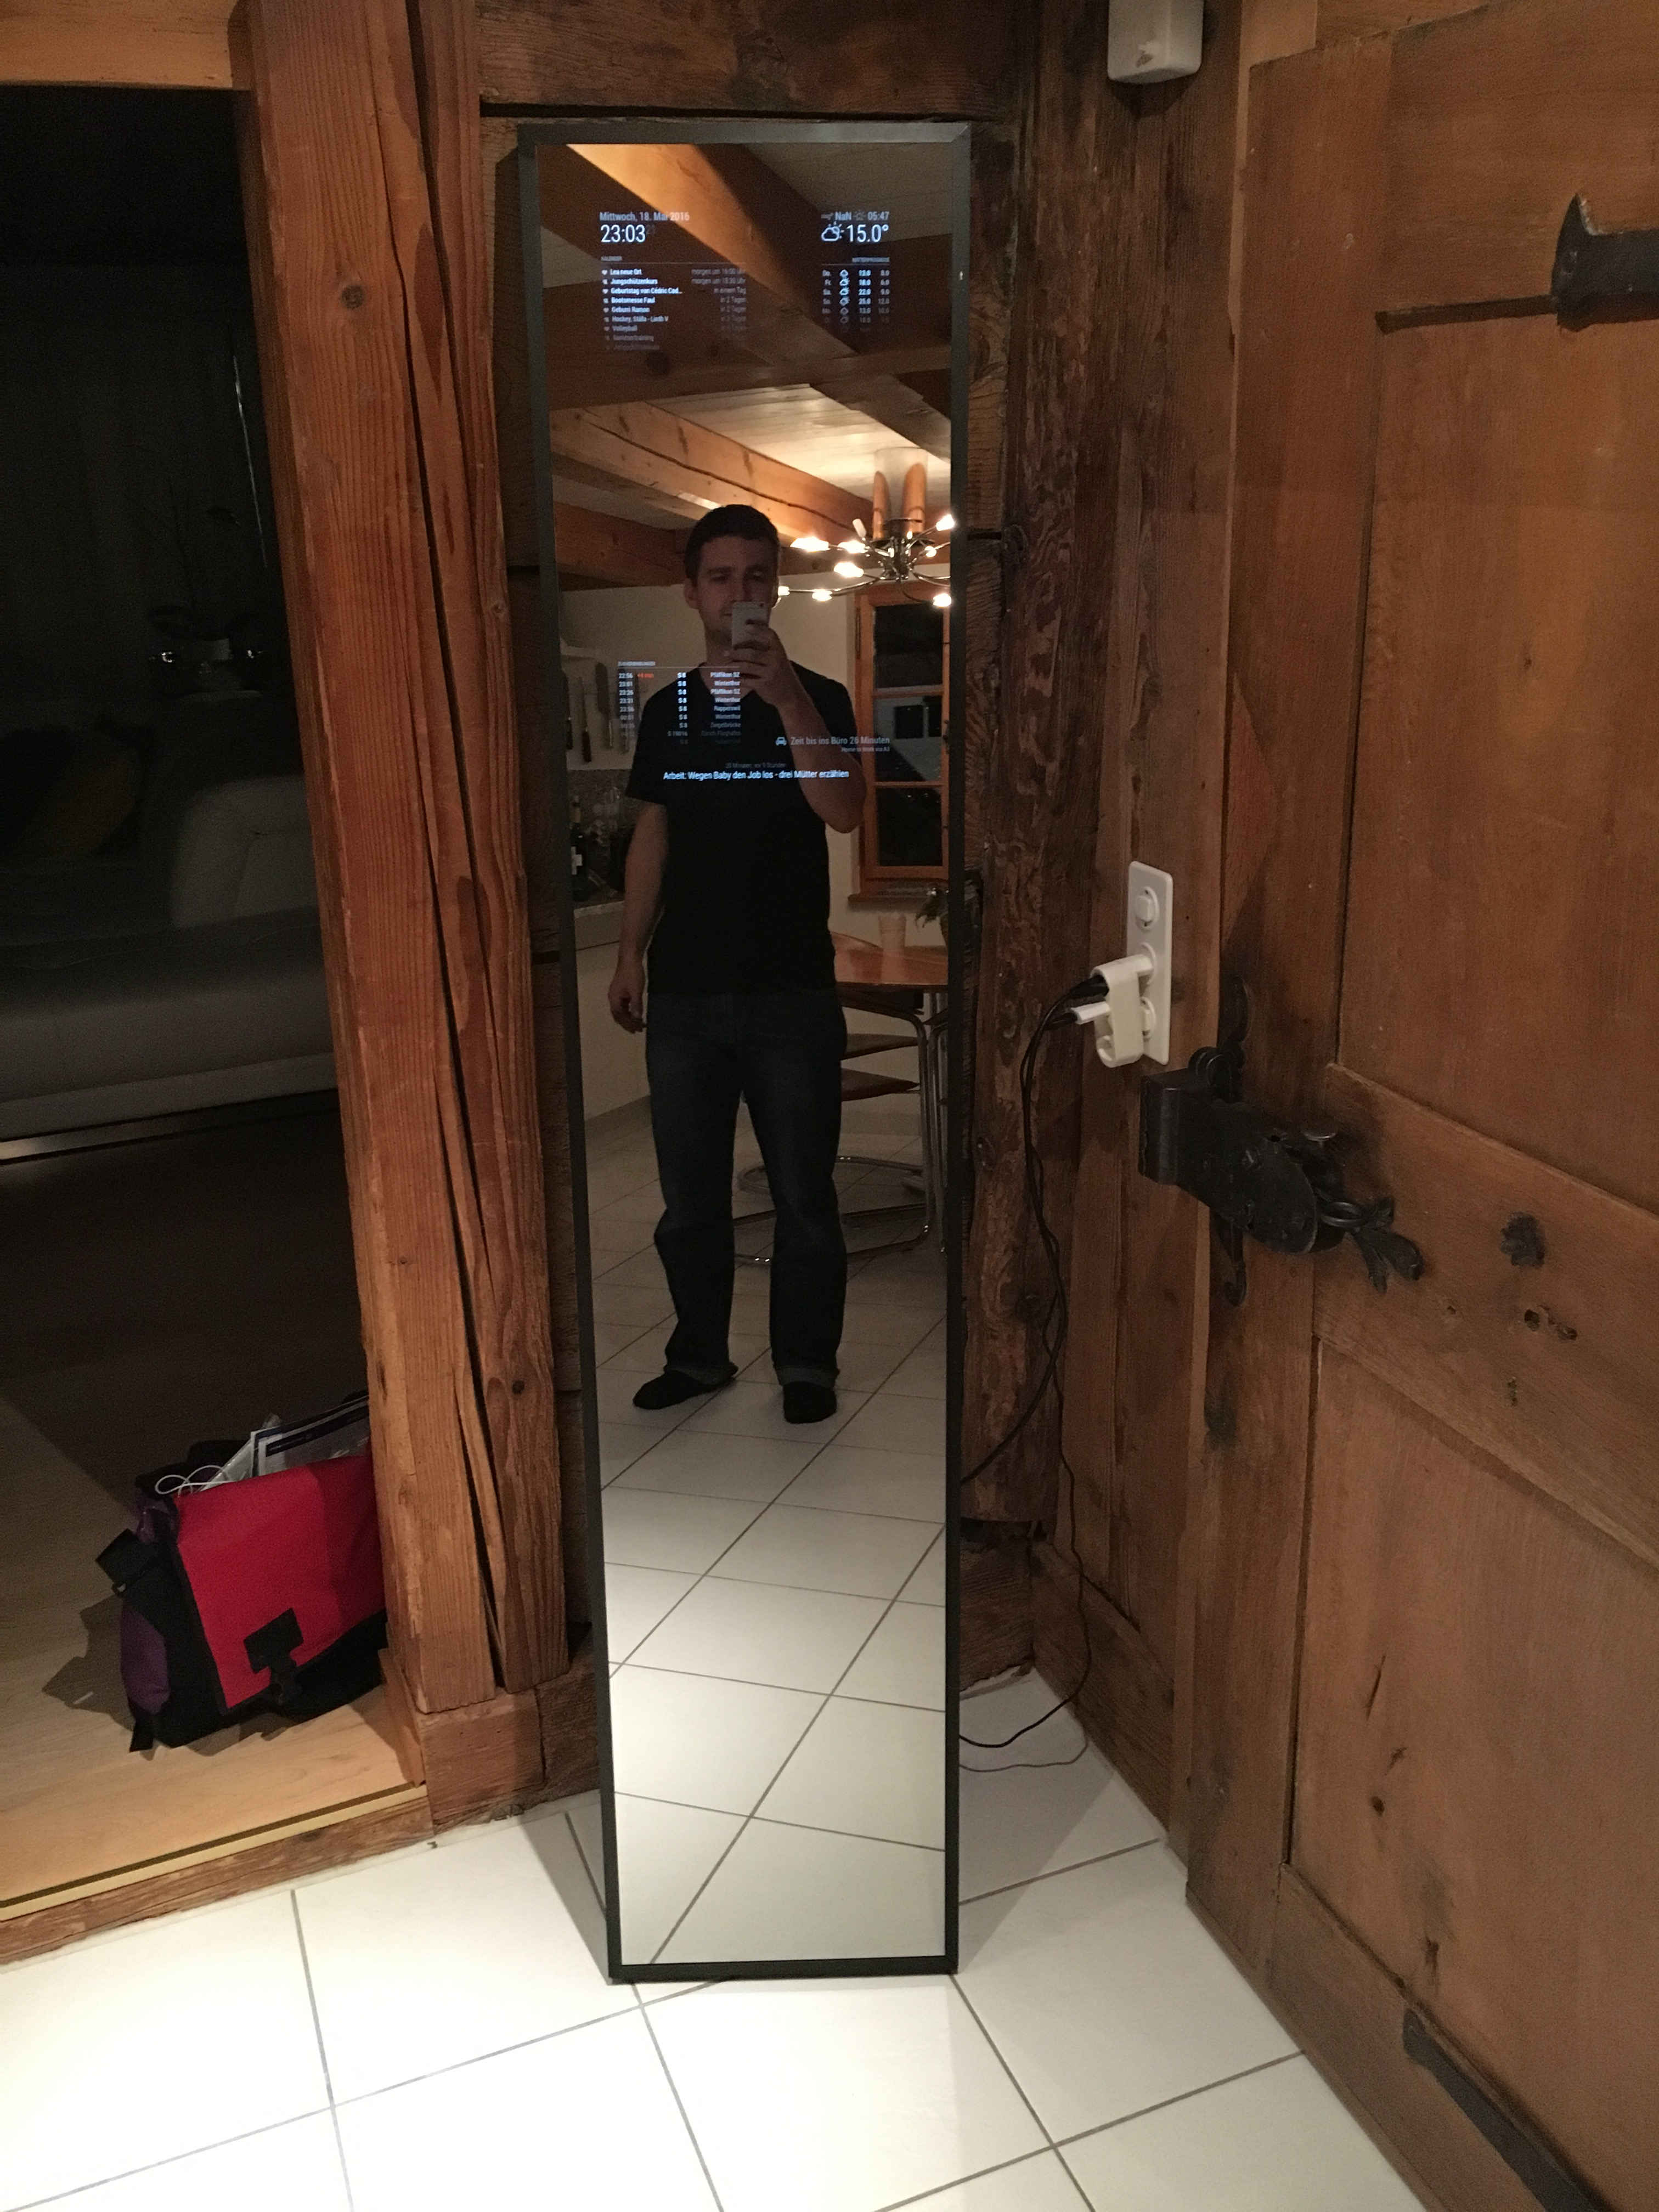
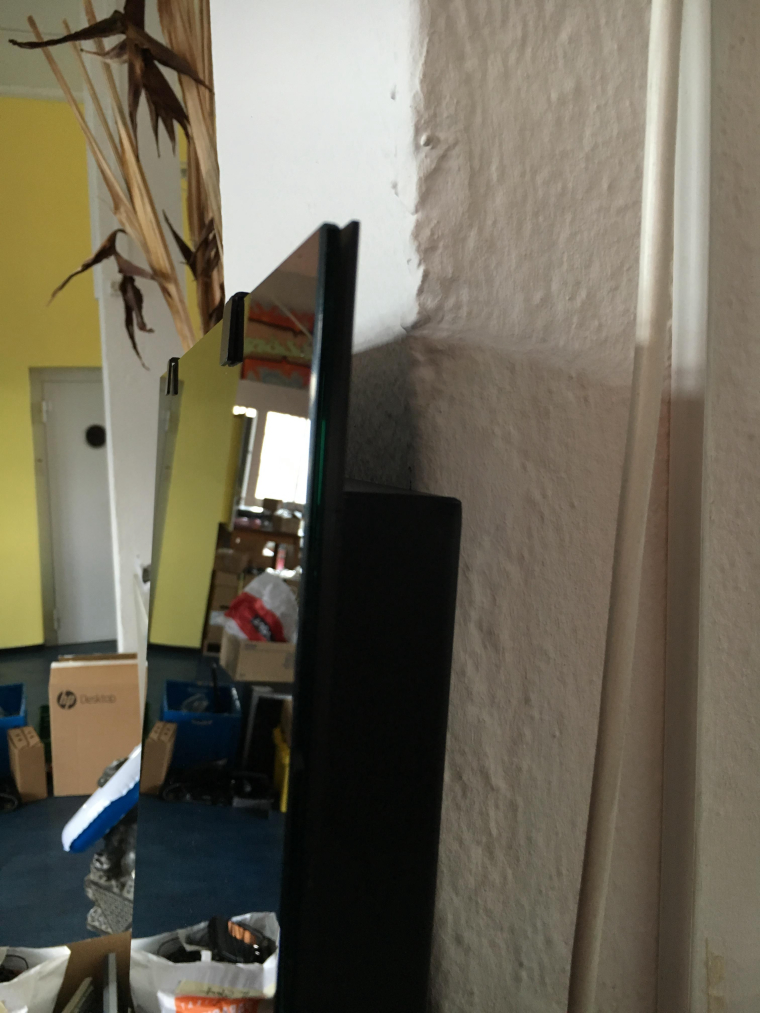
Here is my frameless mirror project. I like this style a lot.
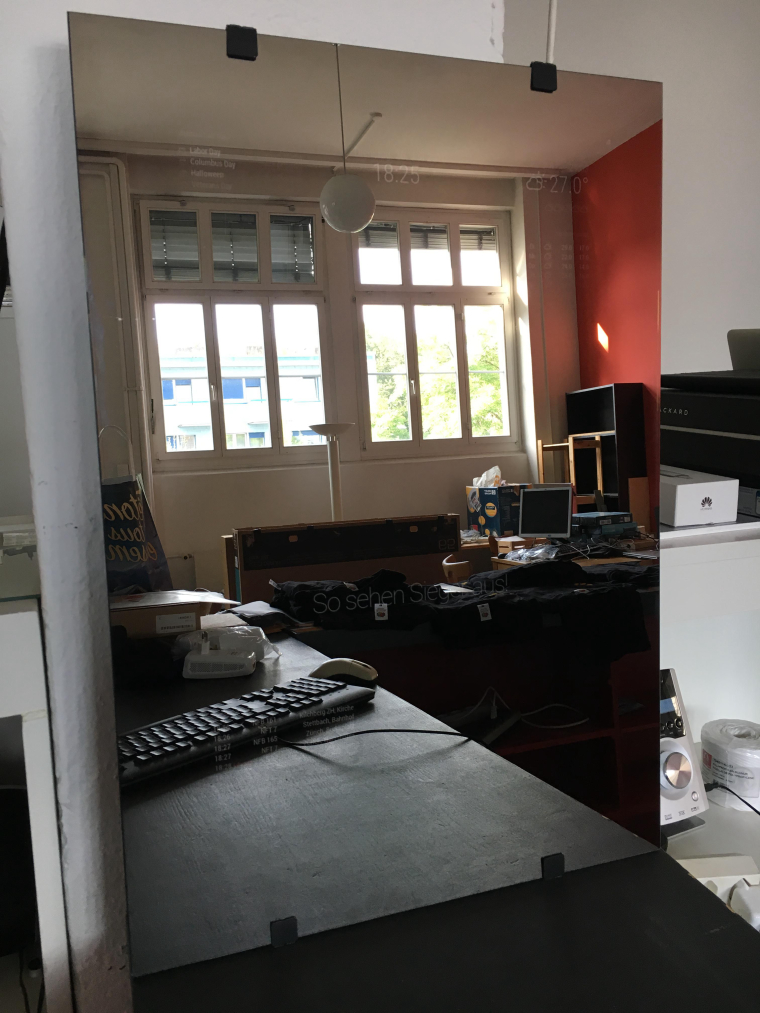
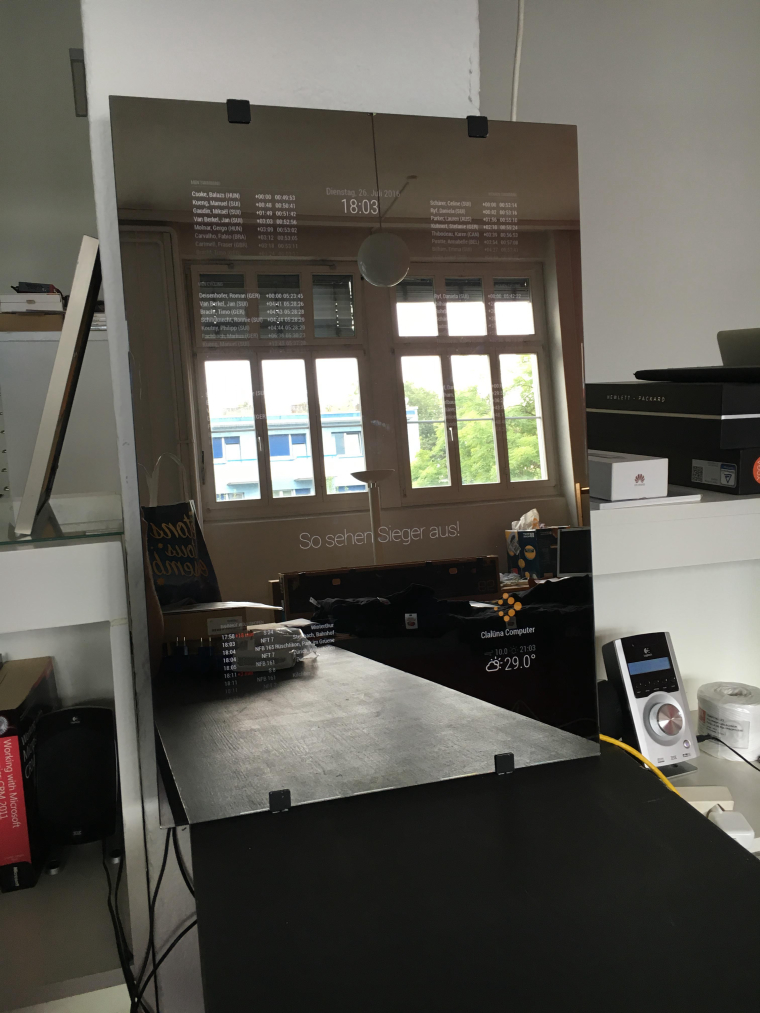
Here you can see the difference between the 12 % and 20 % mirror.
The room has big windows.
12%:
20%
frame:
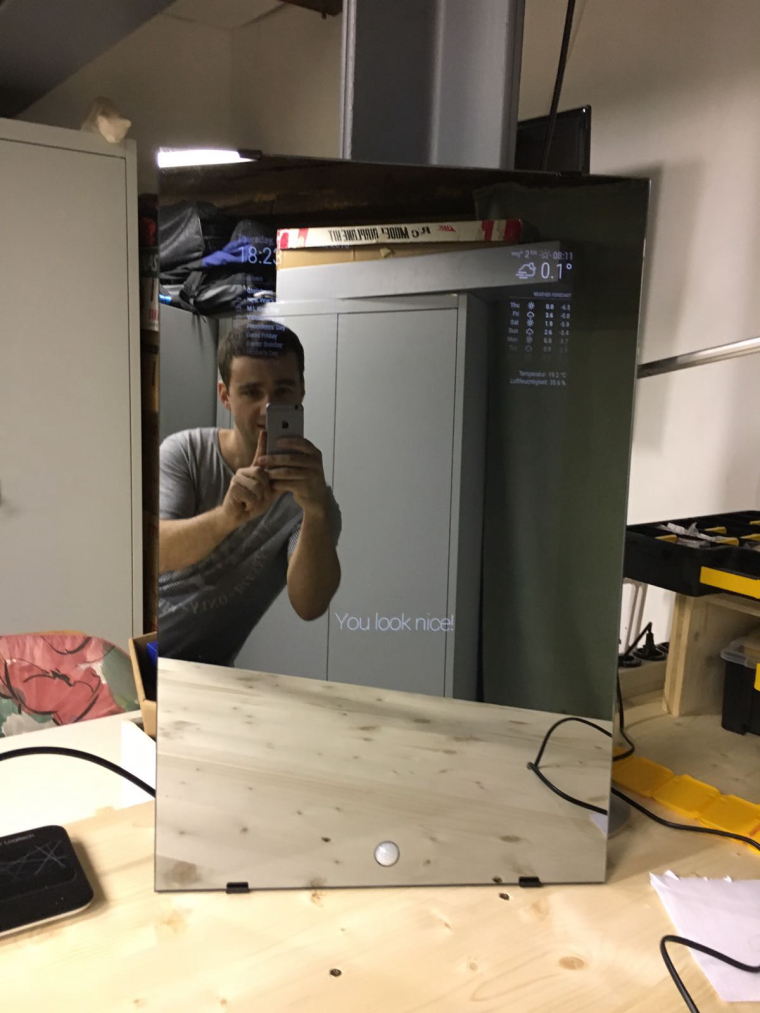
Here is my latest project. I have integrated the PIR sensor in my the glass 😏
ok so lets go step by step:
cd ~/MagicMirror/modules/
now we will remove the PIR folder:
rm -rf MMM-PIR-Sensor
and from here, we’re going to reinstall the MMM-PIR-Sensor modul:
git clone https://github.com/paviro/MMM-PIR-Sensor.git
cd MMM-PIR-Sensor
run the following cmd here:
npm install and wait, this can take a few minutes.
Now you’ll have to add pi to gpio
sudo useradd -g pi gpio
and reboot your Raspi:
sudo reboot
You’ll have to connect your PIR Sensor the right way with your Raspi.
I’ve connected my PIR Sensor on the following Pins:

I’ve got a Pi2 and use Pin 2 for power, Pin 6 for Ground and Pin 15 for Data.
– correctin grn pin

and dont forget to add the config :-)
https://forum.magicmirror.builders/topic/117/bangee-s-mirror/16
This one is also built with a 24" Monitor and a 12 %, 4mm Mirror.
I would recommend this one.
Here is my MMM-DHT22 Module.
Temperature and Humidity monitoring Module for MagicMirror2 that works for DHT22 and AM2302 sensors.
https://github.com/Bangee44/MMM-DHT22/

It’s analog to @psk’s Module: https://forum.magicmirror.builders/topic/726/mmm-temperature-humidity-module-dht11-dht22-and-am2302-sensors
But I don’t want to run MagicMirror as Root with sudo.
Bangee
Hey there beginners like me :-)
I would like to show you, where and how to find errors while installing, using or developing MagicMirror 2.
What we need:
MagicMirror2 from github -> https://github.com/MichMich/MagicMirror installed on a Raspberry Pi.
Try to use the automatic install as described in the Readme.md.
A really good tool to see whats going on behind your MM2 is Firebug -> http://getfirebug.com/
If you run you MM2 as node serveronly you will have a lot of informations.
Connect to your Raspberry using Putty -> http://www.putty.org/
Username: pi
Password: raspberry
node serveronlyhttp://192.168.0.150:8080 (replace your Raspy’s IP adresse)F12 to start FirebugIf you are using PM2 you will get informations running these command:
pm2 info mm (replace mm whit your App Name)
Output:
pi@raspberrypi:~ $ pm2 info mm
 Describing process with id 0 - name mm
┌───────────────────┬───────────────────────────────────┐
│ status            │ online                            │
│ name              │ mm                                │
│ restarts          │ 5                                 │
│ uptime            │ 3h                                │
│ script path       │ /home/pi/mm.sh                    │
│ script args       │ N/A                               │
│ error log path    │ /home/pi/.pm2/logs/mm-error-0.log │
│ out log path      │ /home/pi/.pm2/logs/mm-out-0.log   │
│ pid path          │ /home/pi/.pm2/pids/mm-0.pid       │
│ interpreter       │ bash                              │
│ interpreter args  │ N/A                               │
│ script id         │ 0                                 │
│ exec cwd          │ /home/pi                          │
│ exec mode         │ fork_mode                         │
│ node.js version   │ N/A                               │
│ watch & reload    │ ✘                                 │
│ unstable restarts │ 0                                 │
│ created at        │ 2016-05-13T08:30:59.308Z          │
└───────────────────┴───────────────────────────────────┘
 Add your own code metrics: http://bit.ly/code-metrics
 Use `pm2 logs mm (--lines 1000)` to display logs
 Use `pm2 monit` to monitor CPU and Memory usage mm
Here you’ll find again a lot of informations where to find your error_log or your out_log.
If you create a console.log("something"); debug message or output you’ll be able to see this info using the following command:
tail -f /home/pi/.pm2/logs/mm-out-0.log (replace the path with your paht to log or error file)
This will be continued…
so long Bangee…
I’ve tried to use PIN 26. In my electron errorlog, there was this msg:
[Error: digitalRead: IsInt32(arguments['pin']) === false]
So I went back to PIN 22 and now my mirror starts again. :-)
EDIT:
New idea -> Try without ’ ';
{
module: 'MMM-PIR-Sensor’,
config: {
sensorPIN: 2 ,
}
}
Ok, that’s a nice modul :-)
I’ve insert an restart function for the MM app and the ability to turn you monitor on and off:
insert in node_helper.js at line 54:
				if (query.action === 'RESTART')
				{
					res.send({'status': 'success'});
					exec('pm2 restart mm', function(error, stdout, stderr){ callback(stdout); });
					return;
				}
				if (query.action === 'MONITORON')
				{
					res.send({'status': 'success'});
					exec('/opt/vc/bin/tvservice -p', function(error, stdout, stderr){ callback(stdout); });
					return;
				}
				if (query.action === 'MONITOROFF')
				{
					res.send({'status': 'success'});
					exec('/opt/vc/bin/tvservice -o', function(error, stdout, stderr){ callback(stdout); });
					return;
				}
in remote.js on line 131:
    'restart-mm-button': function () {
        Remote.getWithStatus("action=RESTART");
    },
    'monitor-on-button': function () {
        Remote.getWithStatus("action=MONITORON");
    },
    'monitor-off-button': function () {
        Remote.getWithStatus("action=MONITOROFF");
    }
in remote.html on line 40:
<!-- MagicMirror menu -->
		<div id="restart-mm-button" class="menu-button power-menu">
                    <span class="fa fa-recycle" aria-hidden="true"></span>
                    <span class="text">%%TRANSLATE:RESTARTMM%%</span>
                </div>
		<div id="monitor-on-button" class="menu-button power-menu">
                    <span class="fa fa-toggle-on" aria-hidden="true"></span>
                    <span class="text">%%TRANSLATE:MONITORON%%</span>
                </div>
                <div id="monitor-off-button" class="menu-button power-menu">
                    <span class="fa fa-toggle-off" aria-hidden="true"></span>
                    <span class="text">%%TRANSLATE:MONITOROFF%%</span>
                </div>
and the translations/en.json and de.json on line 8 ff:
    "RESTARTMM": "Restart MagicMirror2",
    "MONITORON": "Turn monitor ON",
    "MONITOROFF": "Turn monitor OFF",
    "RESTARTMM": "Starte MagicMirror2 neu",
    "MONITORON": "Bildschirm einschalten",
    "MONITOROFF": "Bildschirm ausschalten",
I think thats it.
The evil this is a must for my mirror… so thats next. I think we can do this like the IFTTT module does it.
Install modules remotly will be the next big thing… :-)