MagicMirror Forum
    • Recent
    • Tags
    • Unsolved
    • Solved
    • MagicMirror² Repository
    • Documentation
    • 3rd-Party-Modules
    • Donate
    • Discord
    • Register
    • Login
    1. Home
    2. KirAsh4
    3. Best
    A New Chapter for MagicMirror: The Community Takes the Lead
    Read the statement by Michael Teeuw here.
    Offline
    • Profile
    • Following 0
    • Followers 26
    • Topics 32
    • Posts 773
    • Groups 1

    Posts

    Recent Best Controversial
    • RE: Complete Setup Tutorial

      Installing MagicMirror²

      Thanks to @MichMich and his outstanding installation script, installing MagicMirror² is pretty straight forward.


      Step 1
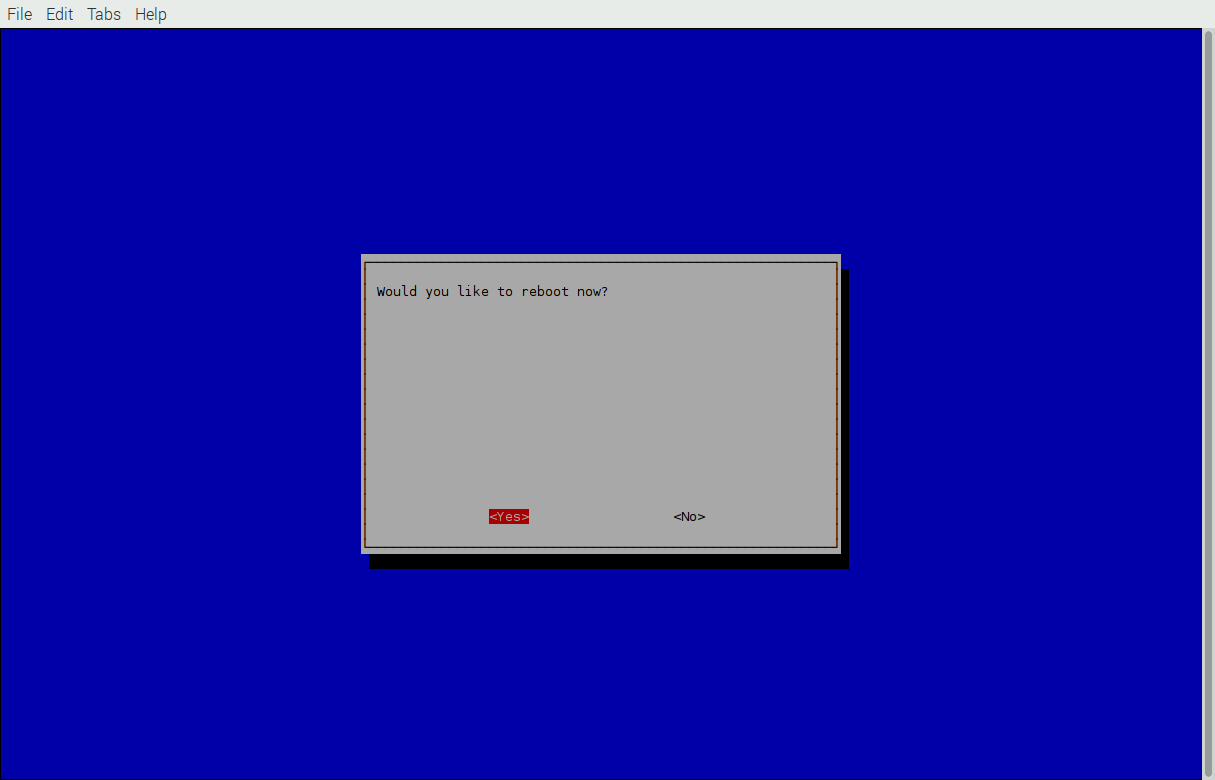
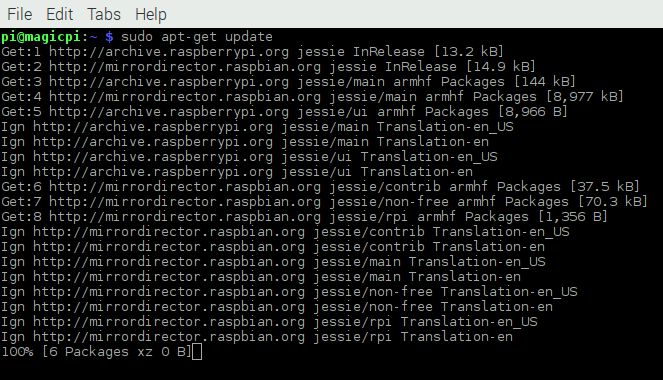
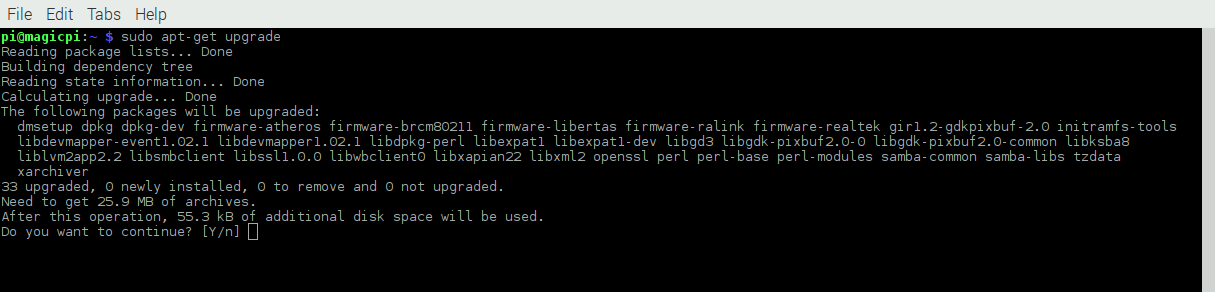
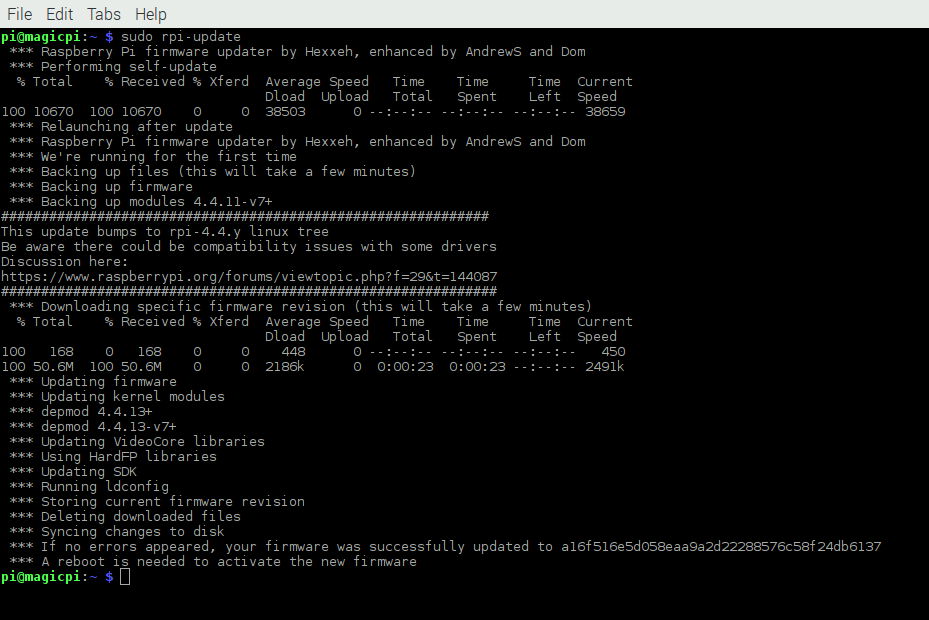
      After you’ve configured and updated your Raspberry Pi and rebooted, launch a Terminal window again and type in
      bash -c "$(curl -sL https://raw.githubusercontent.com/MichMich/MagicMirror/master/installers/raspberry.sh)"

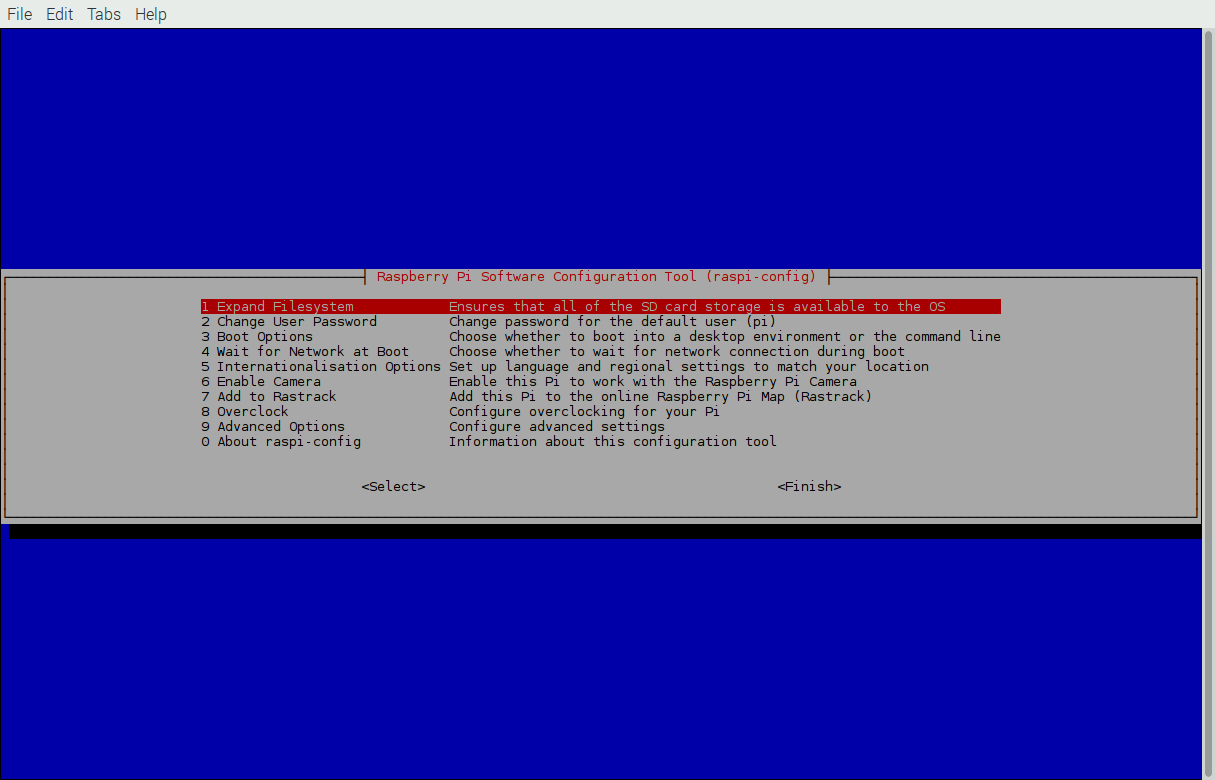
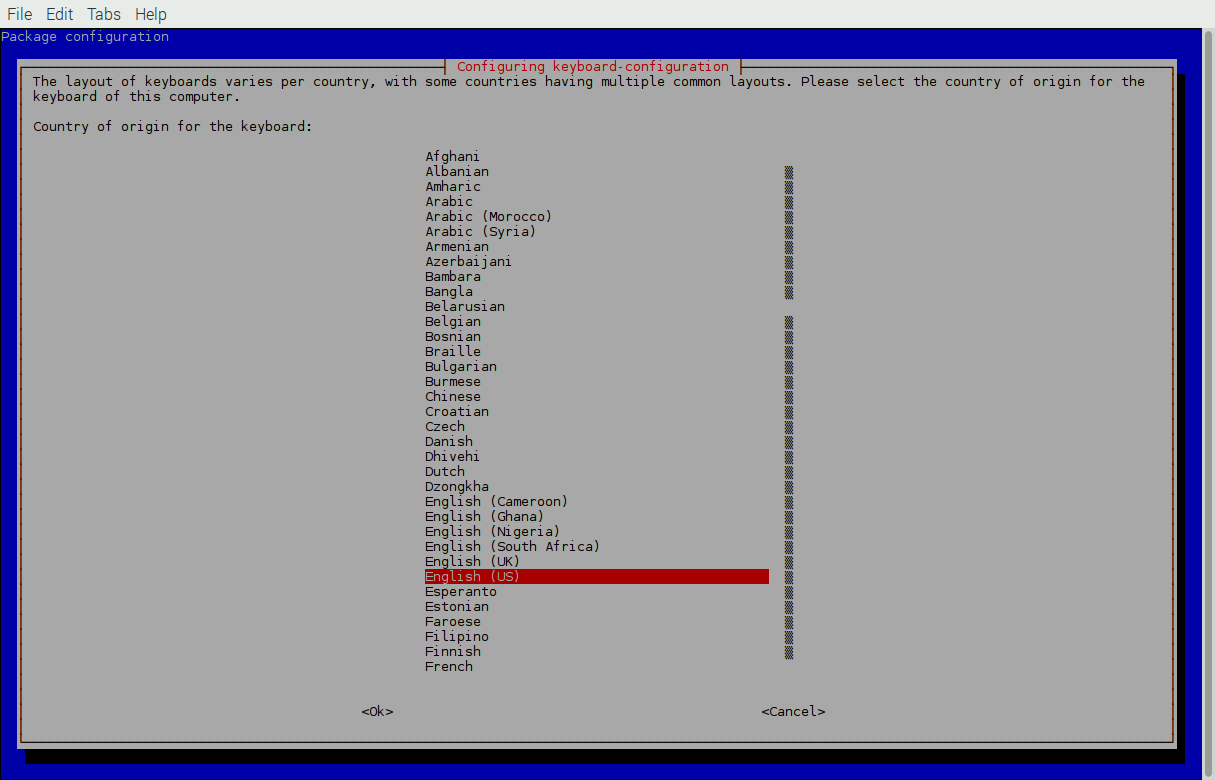
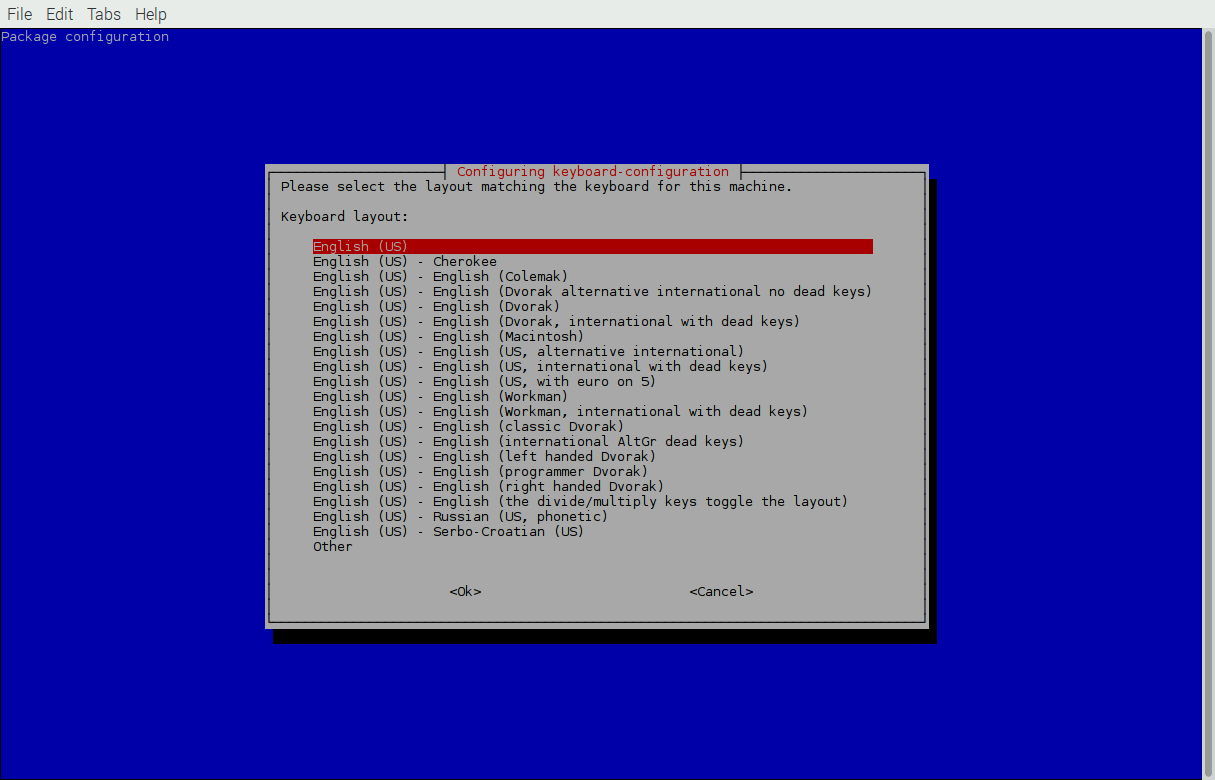
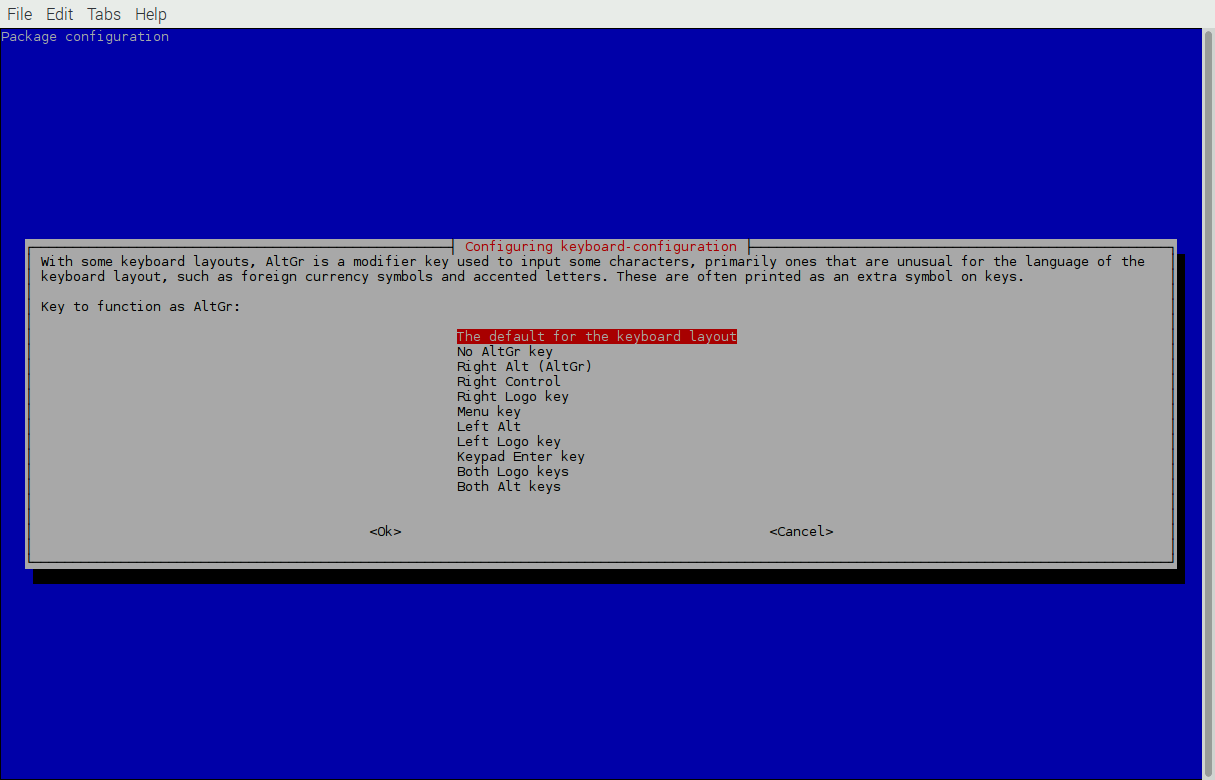
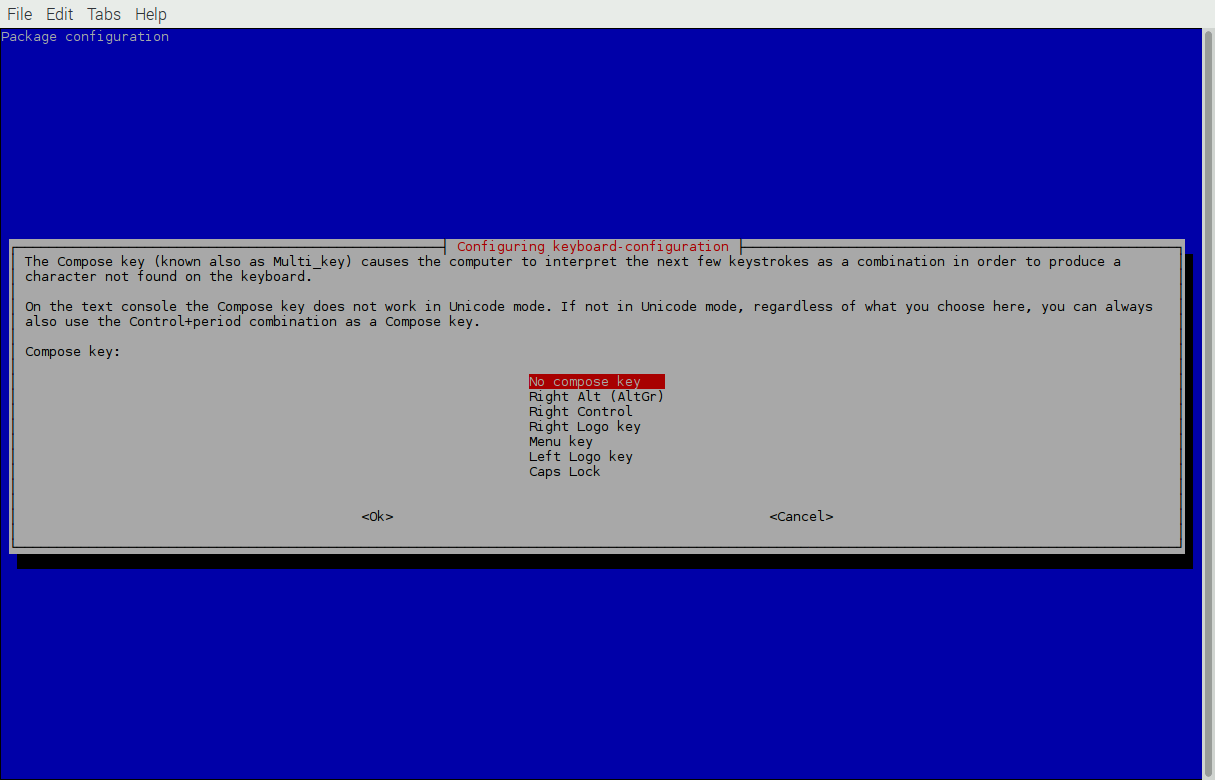
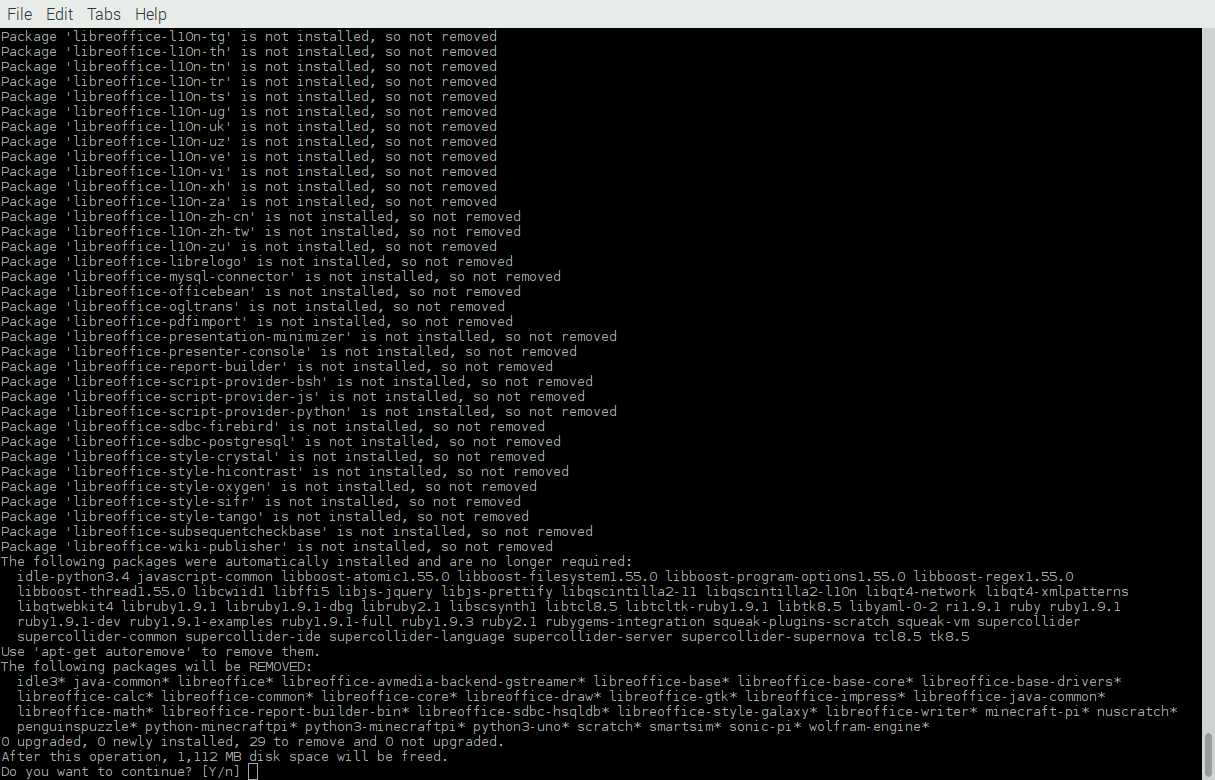
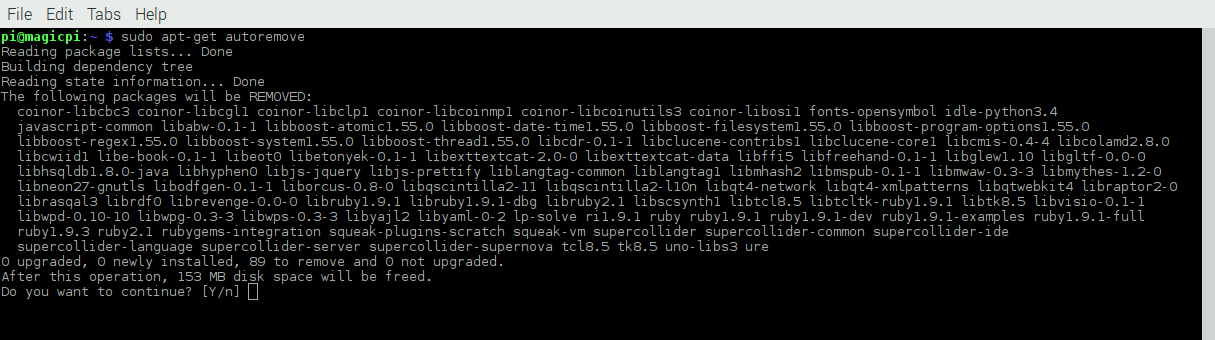
      This will start the installation process for you:

      0_1466018397542_044-mm-install.sm.png


      Step 2
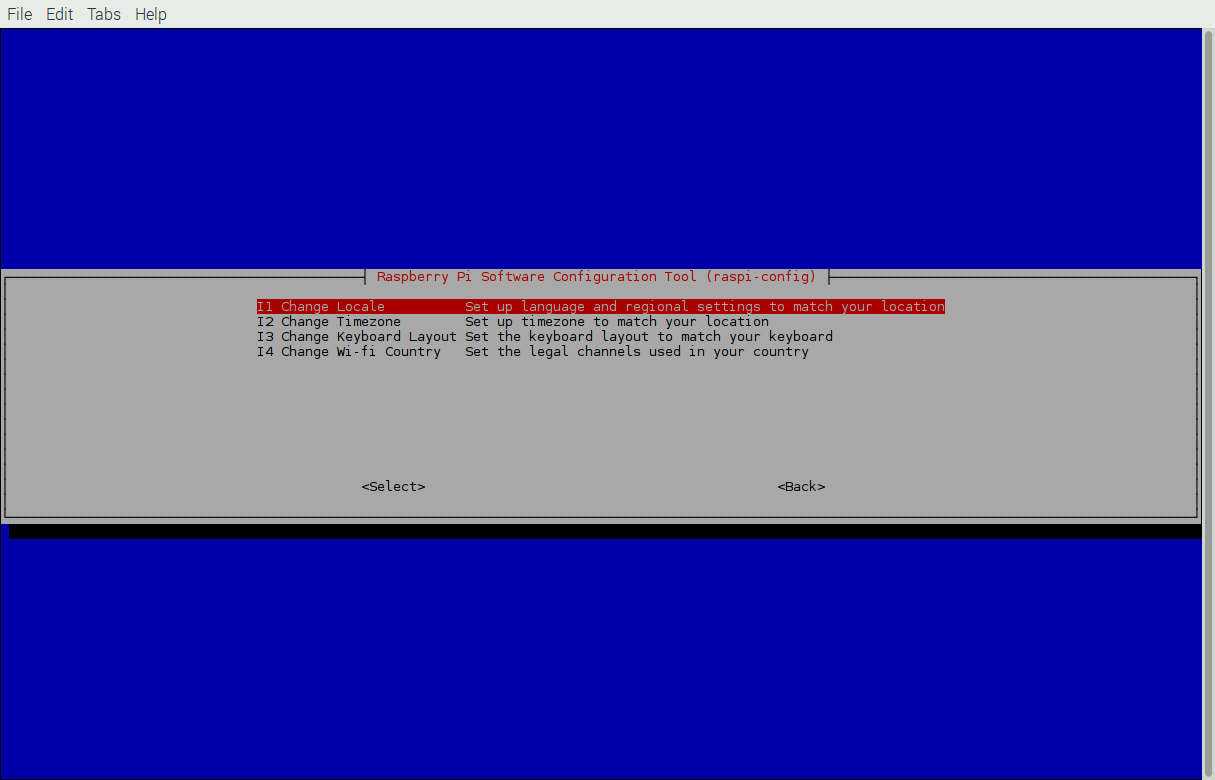
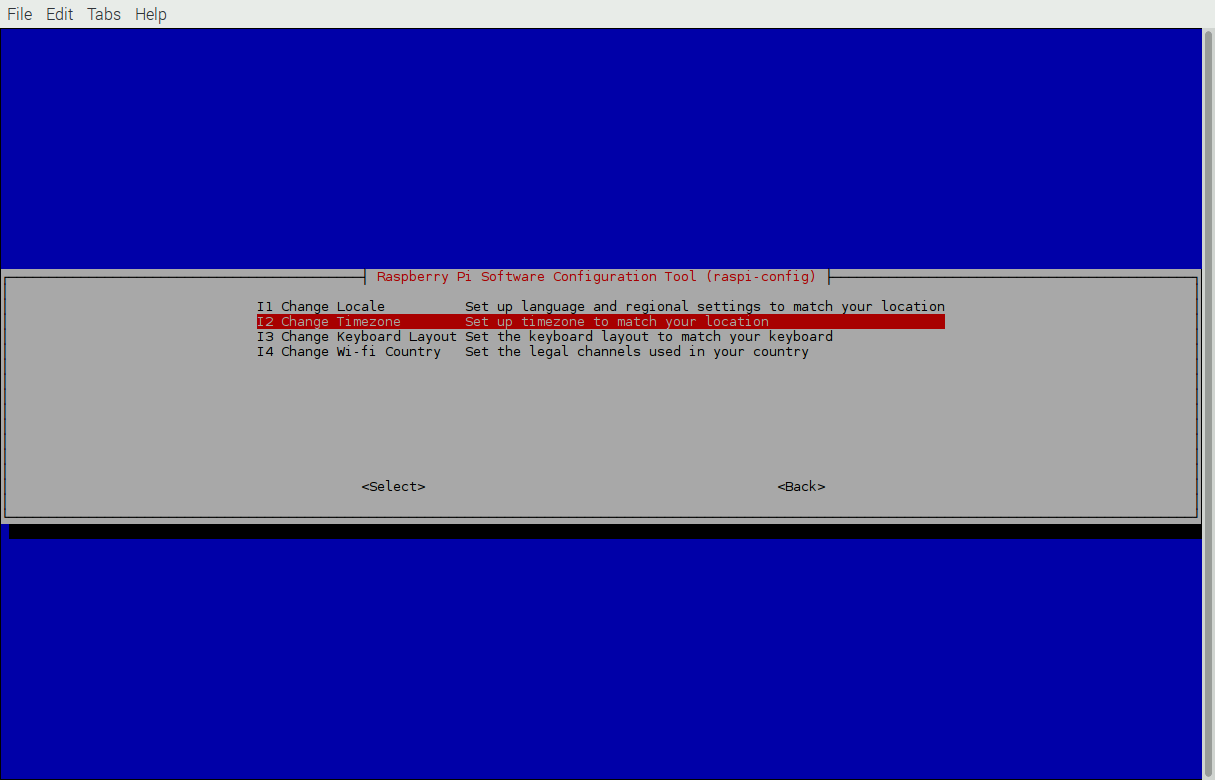
      A few configurations still need to be done on the Raspberry Pi, specific for MagicMirror². Let’s start with rotating the display vertically. For this, you’ll need to edit one of the boot configurations. (Please note: If you plan on running MagicMirror² as a landscape (or wide) display, you do not need to do this.)

      Type in sudo nano /boot/config.txt and add the following to the file. Where you add it doesn’t really matter:

      # Rotate display vertically
      display_rotate=1
      

      Press CTRL-X when you’re done, and say Y(es) to saving the changes.

      0_1466022914081_047-configure-rpi.sm.png


      Step 3
      Let’s disable the screen saver and screen blanking as well. This needs to be done in two places. First in the autostart configuration:
      sudo nano /etc/xdg/lxsession/LXDE-pi/autostart

      And add the following to the bottom of the file:

      @xset s noblank
      @xset s off
      @xset -dpms
      

      0_1466022921947_049-configure-rpi-sm.png

      Next in the X-windows manager configuration:
      sudo nano /etc/lightdm/lightdm.conf

      Scroll down to the [SeatDefaults] section and look for the xserver-command line below that. Change the line to look like this:
      xserver-command=X -s 0 -dpms (so you’re removing the # on the front, and adding the missing bits at the end.) Again, hit CTRL-X and say Y(es) to saving the file.

      0_1466023313607_050-configure-rpi.sm.png


      Step 4
      A Raspberry Pi is configured to automatically shutdown parts of the hardware that aren’t actively in use. This includes the WiFi driver. This will cause MagicMiror² to occasionally fail to fetch updates for things like the newsfeed, weather, and others. You can disable the power saving feature for the WiFi from the interfaces configuration file:
      sudo nano /etc/network/interfaces

      Find the wlan0 section and add wireless-power off below it:

      0_1466023583053_051-configure-rpi.sm.png

      Once you’re done with that, reboot the rpi one more time with sudo reboot and when it comes back up again, open a Terminal window and type in iwconfig and you should see that the Power Management is now off:

      0_1466024885350_052-iwconfig.sm.png


      At this point you have completed the basic install for MagicMirror². The next step is to create a valid configuration file for it so you can test it out. You can do that by going into the MagicMirror’s config folder:

      pi@magicpi:~ $ cd MagicMirror/config
      pi@magicpi:~/MagicMirror/config $ cp config.js.sample config.js
      

      You can now try to start MagicMirror².

      pi@magicpi:~/MagicMirror/config $ cd $HOME/MagicMirror
      pi@magicpi:~/MagicMirror $ npm start
      

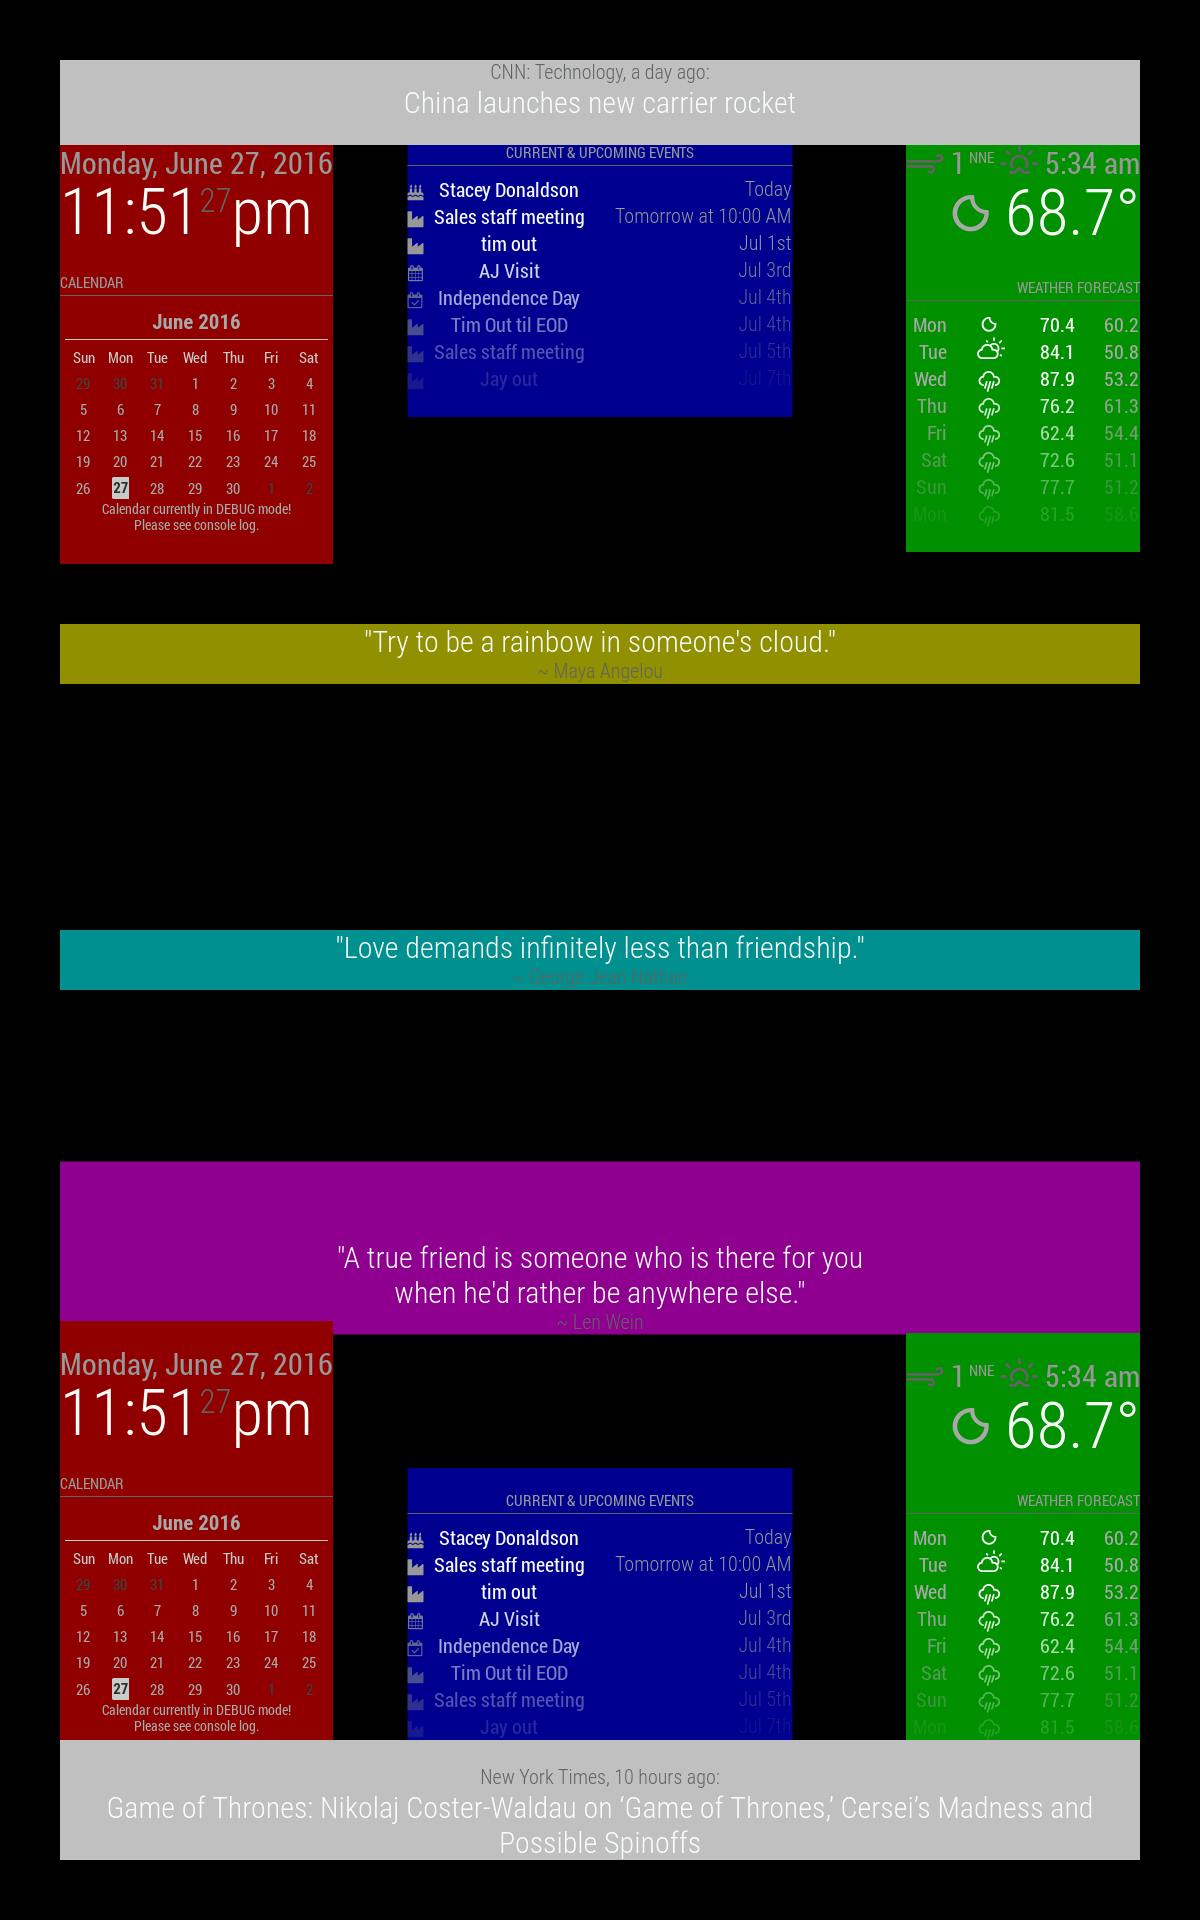
      If everything went well, your screen should load up the MagicMirror² interface. The weather module will tell you that you don’t have a valid APPID, but once set, your screen should look like this:

      0_1466023961725_mm-capture.png

      Congratulations!

      posted in Tutorials
      KirAsh4K
      KirAsh4
    • Regions

      In case one wants to know where the various regions are. Missing are the fullscreen_below and fullscreen_above as those cover the whole screen, one under everything else and the other above.

      top_bar and bottom_bar are light gray
      top_left and bottom_left are red
      top_center and bottom_center are blue
      top_right and bottom_right are green
      upper_third is yellow
      middle_center is cyan
      lower_third is magenta

      All these regions will resize as needed.

      0_1467093434766_regions.png

      posted in Core System
      KirAsh4K
      KirAsh4
    • Complete Setup Tutorial

      What will follow this post will be a series of steps to go from taking a brand new raspberry Pi 3 out of the box to having MagicMirror² up and running. I will try to keep things in order but that’s no guarantee. I will however link each post back into this one in the correct order, so you’d be able to just click on the link and jump straight to that specific post.

      The Raspberri Pi setup is as follows:

      Note: I have no affiliation with the listed vendors. I list them because that’s where I got the parts from. You can buy them wherever you buy your daily dose of electronics.

      • Raspberry Pi 3 - Model B - ARMv8 with 1GB of RAM (Adafruit)
      • 5V/2.4A Power supply (Adafruit)
      • 8GB Sandisk Ultra Class 10 MicroSDHC card (Amazon)
      • ASUS ProArt PA248Q Monitor (Amazon)
      • Belkin 6’ HDMI Cable (Amazon)
      • Mini 2.4G Wireless Keyboard & Mouse Combo (eBay)

      Notes:

      1. The Raspberry Pi 3 needs a hefty power supply to run. You don’t need a 2.4Amp one, but I wouldn’t go below 2Amps.
      2. You want a high speed SD card. Since the entire OS runs off of it, get a fast one. eLunix.org has a comprehensive list of what’s tested and works. You can find the list here.
      3. Monitor and choice of cable is obviously up to you.
      4. I use a mini keyboard for any/all of my projects that require a temporary solution. Even those that need a permanent one. They’re smaller than a regular sized one. And this one in particular is also rather thin. And I like that they are wireless. it cuts down on the cords needed to be connected to the device itself. These ones have a miniature USB dongle. Again, personal choice.
      5. I will be running this wirelessly and will make a note of it again in the setup part.
      6. I will be using my Windows 10 system for the initial setup of the card containing the operating system. What you use is up to you, however keep in mind that any screen captures I take and any software I use during this process will be from a Windows 10 platform.
      7. DO NOT INSTALL MagicMirror² as the root user! Always do it as the regular, non privileged pi user and learn to use the sudo command instead. “But why?”, you ask, “… if it’s in my house, and on my network, and not on the internet.” That’s all fine, however we don’t control every possible module that others contribute and someone, or something, could expose your Raspberry Pi, or your entire network to the outside world. Just don’t do it.
      8. This entire tutorial is based on you having physical access to the Raspberry Pi. After all, you will need that to set it up, but even at the end, installing MagicMirror², it is assumed you are doing that directly on the Raspberry Pi, and not through a remote SSH login.

      Section 1: Preparing the SD card with the operating system
      Section 2: Booting up the Raspberry Pi and configuring it
      Section 3: Configuring wireless networking
      Section 4: Cleaning up and updating the operating system
      Section 5: Installing MagicMirror² & Configuring Raspberry Pi for MagicMirror²
      Section #: … beer?

      posted in Tutorials
      KirAsh4K
      KirAsh4
    • When you're writing code ...

      0_1466189518660_bugs.jpg

      posted in General Discussion
      KirAsh4K
      KirAsh4
    • RE: MMM-PIR-Sensor - White Screen

      Folks, please keep in mind that all of us have jobs, some of us are still in school, all of us have a life, all of us have other things to do that is not MagicMirror. I know that @paviro has moved recently and is still settling down into a new place. MagicMirror is probably far lower on the list of things to do at the moment for him. I’ve had a bad life event happen recently and have been absent from everything this past month or so and am just now starting to catch up on things. I’m not ready to jump into anything right away. Some days I’m perfectly fine, other days I’m doubled over crying somewhere, unable to do anything, and this is no joke. And @MichMich, I can’t even imagine all the things he does that we don’t know (and I’m not even talking about his harem.)

      Point is, there are several aspects of the code that we are aware of that will need some debugging, fixing, or perhaps simply light on fire and start over. I know that, and I’m sure the other guys know that too. Free time isn’t something that we have in abundance. It comes when it comes, and I try to make use of it when I have it. I can’t speak for the others.

      A little patience will go along way. I am certain @paviro will get to coding again when he’s available to do that. And eventually, I too will do the same. For now though, just try to keep the boat floating and stick your fingers into any leak you see springing up …

      posted in Troubleshooting
      KirAsh4K
      KirAsh4
    • RPI Update

      Have you updated your Raspberry Pi lately?

      $ sudo apt-get update
      $ sudo apt-get upgrade
      $ sudo rpi-update
      $ sudo reboot
      

      Note that the firmware update will cause the reboot step to take longer than normal. Just don’t think your rpi is stuck and yank the power cord. Let it sit there for a bit. Mine took a good 2 minutes before it finally rebooted. The SD card access light was flickering quite a bit, meaning it was doing a lot of writing and configuring after the update.

      And don’t forget to also request the most recent git copy of MagicMirror² as well:

      $ cd magicMirror
      $ git pull
      
      posted in General Discussion
      KirAsh4K
      KirAsh4
    • RE: Where are you from?

      Well fine, since we’re showing pictures …

      Where am I from (originally)?
      It looks like this when you go to the beaches:
      0_1474674554515_20160923-001.jpg


      Where am I from (currently)?
      It looks like this when you look west:
      0_1474674583918_20160903-001.jpg

      posted in General Discussion
      KirAsh4K
      KirAsh4
    • RE: Trafficmaps

      Reading your posts and your code, there are two things that stand out for me, one is that you are really trying, you want to figure it out, and you are doing everything you can think of to make things work. That is something I look for in any and all of the kids I teach in school: the desire to want to try and figure things out and not just memorize the book and regurgitate it back up later. The other side of that is that as hard as you are trying, you are struggling with it and a lot of it is because there seems to be a lack of understanding how the underlying code works and in some cases, even the simple fundamentals of JavaScript.

      While looking at other people’s code is certainly a possibility, for what you are trying to do, that isn’t working so well. You have unfortunately also picked a harder to implement system than many others. My recommendation is to start with something simple first, try to understand how the system works, how a module gets integrated into the core system, how a module works on its own, how does it communicate with the outside world if it needs to. I recommend reading the module development page and work through that. Start small.

      I’m not here to discourage you from what you are attempting to do, it is certainly possible to do what you want, but at the same time I also want to try and guide you, rather than just telling you ‘this is wrong’, ‘do that’, etc., etc. No one learns from that.

      In your post you mentioned both wanting the maps integration, and also voice control. Those are two completely different systems, and require completely different controls. Do things one at a time. Either do the voice control part first, and get that working (you don’t need the ‘maps’ feature for this). You can always come back later and add to it. Or, do the maps integration first, and get that working the way you want it to. Integrating a button is by far the easiest way to have some kind of interaction between the mirror and the user. A simple button push can do something, like for example, display an alert message. So get that working, push button, alert message pops up (‘Hi, you pushed my button!’). Again, you can always change it later to say, trigger the display of a map. Whichever you do first, just pick one and get it working, and get it working correctly and have it stable, not just ‘it works sometimes’ …

      Small steps, one at a time, together they form a bigger achievement. You can do it.

      posted in Development
      KirAsh4K
      KirAsh4
    • RE: Monthly Calendar View

      I said I was not going to write any code this weekend. Really, I did. But when thinking of a simple calendar display, it was way easier for me to just sit down and fiddle. This is still in its infancy, but this is what I’m working on for now. It’s a simple, empty calendar display with nothing other than today highlighted. It is still the same (default) calendar module. You just pick which you want displayed, either a blank one, or one where you configure your calendar URLs for it to fetch the data. At least, this is what I did for now. I may end up pulling it out and into a separate module, together with the weekly display one that I’m also working on.

      There’s no formatting present, in fact it’s all done with tables, something I am going to change as I really don’t like tables. Much easier to format when you’re dealing with CSS elements. But at least I can give you a taste of what it looks like so far.

      Just the blank calendar:
      0_1464669908053_cal1.png

      And if I stack them:
      0_1464669946842_cal2.png

      Comments/Suggestions/Requests/Questions … let 'em rip.

      Things still todo:

      • Replace table with CSS elements
      • Allow for proper language translation
      • Cosmetics
      posted in Requests
      KirAsh4K
      KirAsh4
    • Funny, yet not funny ...

      Last night I got home and decided I wanted to tinker with some more on my MM² code. After some lines were written, I popped a browser open … and saw no change. Huh? Went back, double checked my code, refreshed the browser … nothing. Oookay, I started adding debug lines and commenting out others. Still nothing, no debug, no console, no change, anywhere. Well this is annoying … the mirror is still running, but it seems none of my changes are taking. Ok, so maybe I need to restart the process. So I popped open another SSH session, logged in, and hit 'pm2 restart MM'. Boom, the mirror restarts no problems. But what’s this? Even on the mirror I don’t see my code changes. Did the rpi suddenly get corrupted and it can’t read data? Crap. Time to restart the rpi and do a file systems check. That came back fine, memory test, fine … so what gives? Flipped back to the first SSH window to check on code … yep still there. What’s going on?!

      By now I was getting irritated so I did the next best thing I could think of: recloned everything from github, reset it all, and try again (from the first SSH window session - can you guess what’s going on here yet?.) Hit reload …ok, it comes up. Let’s make code changes again … nothing. No changes, it’s like all my code was being completely ignored.

      So I flipped back to the second SSH session I had opened to start looking at the filesystem again and then it hit me … I’m working on the wrong device! UGH! The window title correctly tells me that I was on a different address, I just never looked UP to see it.

      See, I have an identical installation on my office server, it’s an exact clone of the rpi at home. When I code at home, I push up to github, when I get to the office, I clone it back down. When I leave the office at the end of the day, I push changes up to github and when I get home, I reclone again. So the two devices always stay the same. In the first SSH session window, I was already logged into the one at the office, I just didn’t realize it. So all my code changes were being done there while I was trying to see the changes from the rpi at home.

      It’s at that point I decided it’s time to just go to bed. :)

      posted in General Discussion
      KirAsh4K
      KirAsh4
    • RE: Preference Page

      It’s on @MichMich’s radar …

      On my radar is the possibility to live a 37 hour day without having an psychotic episode.

      posted in Requests
      KirAsh4K
      KirAsh4
    • Just for showing ...

      I questioned myself a few times (and I still am) before posting this. In light of our recent loss, a family member asked if it’s possible to display pictures on MM. The answer, of course, is yes. However, I wanted a bit more flair. And while this goes way south of @MichMich’s desire to keep things back and white, for this purpose, I decided to move away from that.

      Please don’t ask for the code because a) it has a lot of limitations, b) it’s a personal thing, and c) just enjoy it and should you want to tackle something similar thing, know that it’s possible and by all means, go for it.

      https://www.youtube.com/watch?v=7KX_BoMgi0c

      posted in General Discussion
      KirAsh4K
      KirAsh4
    • Forum Posting Tips

      There are no clear rules for creating topics or responding to posts on forums in general. Each one is different, each one will have its own set of rules to abide to and what you can or can’t do. However, what we can do is offer guidelines. So here goes:

      1. If you are a new user, please take the time to read the Announcements topic. Besides a warm welcome from the creator of MagicMirror, other forum specific announcements will be available there.
      2. Search the forum to see if your topic is already covered. Perhaps another user had the same issue, perhaps a solution has already been posted.
      3. Try to post your topic in the relevant forum section. This I can not state often enough.
      4. And with that, stay on topic! If you’re responding to someone else’s post, please stay on topic and don’t interrupt the topic of discussion (or hijack their topic.)
      5. When posting pieces of code, please use the available markdown to better highlight those sections. If you need help with the Markdown, please see this page on commonmark.org.
      6. Please do not double post, as in, don’t post the same topic or question into multiple different categories. Not only does it make it difficult to follow a thread, it’s makes it hard on yourself to follow where someone has said what, and who’s responding to what. If you’ve posted something and you think it’s in the wrong category, let one of the admins know and if they feel it doesn’t belong there, your topic will get moved into the correct category.
      7. When replying to a specific post, mind the quoting of the previous message in yours. If a post is right above yours and all you’re doing is responding with a ‘Yes.’, ‘Me too.’, ‘Where to get that?’, there is no sense in quoting the message. You can delete it, or click on the ‘Reply’ button below the thread as opposed to the message itself. If you DO need to quote someone, consider trimming the message to only the relevant parts that pertains to your response. Quoting entire messages just adds more stuff to scroll through and read and things get lost.
      8. Be civil with each other, act in a give-and-take manner, don’t chastise a new user, instead help guide them. And particularly because this forum happens to have folks from several different countries with different languages, try to speak in a way that others will understand you. Using slang might be understood by some, but not others. The same applies to humor, some people might understand you, and others might not, and yet others who might get offended. I’m not suggesting you be strict and dry as a shriveled up prune, but just be mindful of the language barriers here.
      9. Please use expressive titles that do not just consist of one word but give you a impression of what the topic is about.

      Am I boring you yet? Well good, you read this far. :) Seriously folks, have fun, enjoy, post your mirror issues, questions, or other relevant topics. We’re all here to learn from one another, and showcase our work.

      Go forth and code!

      posted in Announcements guidelines
      KirAsh4K
      KirAsh4
    • RE: Complete Setup Tutorial

      Booting up the Raspberry Pi and configuring it

      Now that we have the operating system on the card, we’re ready to boot up the Raspberry Pi (rpi). Put the card into the slot on the bottom of the rpi, plug in your monitor cable, turn the monitor on. Whether you are using a wired or wireless keyboard and mouse, make sure those are plugged in, then plug in power to the rpi itself.

      The first boot up takes a bit longer than usual because it’s reconfiguring itself and setting all the defaults. If all went well, it should boot straight into the graphical interface. I apologize but I forgot to take a screen capture of this, but in the upper menu, click on the Terminal icon. It looks like a black monitor. This opens up a black terminal window, logged in as the pi user.

      We are now going to run through the basic configuration of the rpi itself. This will result in a rather long post with lost of screen captures. You’ve been warned. :)

      Step 1
      In the terminal window, type in sudo raspi-config and hit return/enter. This will launch the Raspberry Pi Software Configuration Tool. (Navigation is done with the arrow keys, the TAB key allows you to jump from the selection menu to the buttons on the bottom, and the space bar is used to select or un-select menu items.)

      0_1465931806571_001-raspiconfig.png

      The first item, Expand Filesystem is already highlighted for you, so just hit enter/return on that. This will instruct the rpi to resize the partition to use the full size of the card.

      0_1465931869981_002-raspiconfig.png

      You do not need to immediately reboot, so let’s move on.


      Step 2
      Now we’re going to configure the Internationalisation Options. This will configure your rpi to use the correct language, timezone, and others. Select that option (5) and hit enter/return.

      0_1465931969915_003-raspiconfig.png

      Select the first option, Change Locale (I1)

      0_1465932007733_004-raspiconfig.png

      Now scroll to your preferred language using the up/down arrow keys. In my case, I’ll be using US English as opposed to the default GB English. Press your space bar to select your preferred language, and don’t forget to un-select the default. one. And I specifically picked the UTF version because it supports any Unicode character. ISO-8859-1 only supports the first 256 characters.

      0_1465932196146_005-raspiconfig.png

      0_1465932208265_006-raspiconfig.png

      Once you complete that step, you’re back at the main menu. Select the Internationalisation Options again, and go to the second option, Change Timezone (I2)

      0_1465932259726_007-raspiconfig.png

      Start by picking your region, then the respective timezone that you’re in. In my case, I’m in the US, living in the Mountain timezone

      0_1465932328231_008-raspiconfig.png

      0_1465932339295_009-raspiconfig.png

      Once again, when you finish that, it takes you back to the main menu. Get back to the Internationalisation Options and pick the third option, Change Keyboard Layout (I3). The default is a standard UK, full size keyboard. If that’s what you’re using, then you don’t need to do this. However, it’s still worth looking at in case you do happen to have a different keyboard. I wanted to change mine to a US keyboard instead.

      0_1465932457562_010-raspiconfig.png

      By default the Generic 105-key (Intl) PC version is selected. For most cases, that’s fine, just hit enter/return on that and it will take you to the layout option. Note the default UK settings:

      0_1465932529172_012-raspiconfig.png

      Since I wanted a US layout, I selected Other.

      0_1465932579015_012-raspiconfig.png

      On the next screens, I picked the English (US) for the country, again English (US) for the layout,The default for the keyboard layout, and No compose key

      0_1465932880569_013-raspiconfig.png

      0_1465932893456_014-raspiconfig.png

      0_1465932901366_015-raspiconfig.png

      0_1465932910201_016-raspiconfig.png

      At the end of this, it will ask you what you want the CTRL-ALT-Backspace combination to do. Normally it does nothing, but it can be configured so that if you hit that combination, it instantly kills the X-Server (and depending on the OS setup, will restart it fresh.) This was a more applicable when X11 was still in its infancy and things crashed a lot. Over the years, things became more stable, threads started getting removed from the main process, so applications could be killed and restarted without needing to completely kill the X-Server itself. However, it’s still around today. I have yet to have the X-Server on my rpi crash on me, ever. And if things really get completely bogged down, I just restart it remotely. Specially since this isn’t going to have a keyboard on it, there’s no sense in configuring this option, so I left it as No.

      0_1465933095320_017-raspiconfig.png

      Ok, one more time, go back into Internationalisation Options and pick the last item, Change Wi-fi Country (I4). This will set the correct channel frequencies available. In the US, channels 1 through 11 are common. Channels 12 and 13 are allowed, but for low power only, and channel 14 is forbidden. For the rest of the world, channels 12-13 are not restricted. And for those in Japan, well aren’t you guys special … you get to use channel 14 as well (only specific protocols.)

      0_1465933365567_018-raspiconfig.png

      0_1465933378615_019-raspiconfig.png

      0_1465933391670_020-raspiconfig.png


      Step 3
      Scroll down to Advanced Options and select it. Pick the second option, Hostname (A2). Here you will give your rpi a name. By default it’s raspberrypi but why be like the rest of the world? You can change that.

      0_1465933619435_023-raspiconfig.png

      Make sure you read the warning that pops up, then set the name to whatever you want. For example, I changed mine to magicpi … after all, it will be running MagicMiror! (the screen shot shows the default setting)

      0_1465934297102_025-raspiconfig.png

      Once back at the main screen, pick Advanced options again and scroll down to SSH (A4). I like having the SSH server running because it allows me to connect to the rpi from anywhere on my network using a terminal program. So I don’t need to have a keyboard and mouse connected to the rpi itself, I can log into it using a different machine. But if you don’t need/want this, you can turn off/on the SSH server. In this case, I wanted mine turned on

      0_1465933788724_026-raspiconfig.png

      0_1465933800224_027-raspiconfig.png


      Optional Camera Step
      Are you using a Raspberry Pi specific camera? If so, you need to enable the rpi to work with it. Scroll down to option 6, Enable Camera and turn it on.

      0_1465933463193_021-raspiconfig.png


      Step 4
      Done! When you’re back at the main screen after the last step, press the TAB key and highlight Finish at the bottom and hit return/enter. It will ask if you want to restart to which you will say Yes of course.

      0_1465933849440_028-raspiconfig.png

      0_1465933905935_029-raspiconfig.png

      posted in Tutorials
      KirAsh4K
      KirAsh4
    • Screen capture on a Raspberry Pi

      I had to look this one up myself today. For those of you wanting to do a screen capture on your MM2 on the raspberry pi, you can install the scrot package (sudo apt-get install scrot) and use it to do that. Simply issuing the scrot command from a terminal will take a screen capture of what’s being displayed and saves a PNG file in the current folder. You can also tell it where to put the file by issuing scrot /path/to/file.png - note you must put in a file name as well for this to work.

      Now obviously you can’t do that when MM2 is running, but you can do it through an SSH login to the raspberry pi. You will have to tell it which display to use: DISPLAY=:0 scrot /path/to/file.png.

      Because I develop from a remote machine (through SSH), the above command comes in handy because I can drop the file onto a shared folder and access it from my remote system.

      Using scrot beats taking a picture of the screen whenever you want to show something on your MM installation.

      posted in General Discussion tips and tricks
      KirAsh4K
      KirAsh4
    • RE: Temporary disable modules

      I don’t remove config sections … I comment them out … If I’m going to edit that file to change a flag, it’s just as easy to add a /* ... */ tag around the specific section. :)

      posted in Feature Requests
      KirAsh4K
      KirAsh4
    • RE: Error during installation ("

      Do not install MM as root. Do it as the 'pi' user. Better, safer.

      posted in Troubleshooting
      KirAsh4K
      KirAsh4
    • RE: Loading compliments from external file

      Submit a PR request on the Github page. Do it against the ‘develop’ branch please.

      posted in Requests
      KirAsh4K
      KirAsh4
    • RE: Complete Setup Tutorial

      Cleaning up and updating the operating system

      Ready for some fun? Let’s clean up the rpi OS and remove some of the big packages and a few things that we won’t need. This is but a small list of apps, but they are by far the biggest ones aside from the X-server itself.

      First, let’s look at the current state of the storage:

      0_1465938488348_033-df-stock-sm.png

      The df command will show you storage across the entire file system (or it can be restricted with specific options.) The -k option shows the values in 1K block format, while the -h option refers to the human readable option, which prints the sizes in powers of 1024. So we can see the /dev/root/ file system is at 48% full. That’s just the default Jessie installation!

      Now, for all intents and purposes, this is just fine. It still has over 50% of the file system free and if you aren’t doing anything else with it, this is fine, you can leave it alone. However, I run all of my systems lean, meaning I will remove all (or most) of the stuff I won’t be using for the specific application. And in this case, I only removed the big space hogs that I know I will never use. There are a lot of packages that you could remove, since MM does not need them, but I didn’t care to do that … yet. So let’s move on.

      Step 1
      Remove unnecessary software packages. I started with the stuff I know I won’t be using and the big stuff!

      idle3			java-common		libreoffice		minecraft-pi
      scratch			nuscratch		penguinspuzzle		python-minecraftpi
      python3-minecraftpi	smartsim		sonic-pi		wolfram-engine
      

      The command I used to remove all of them is:
      sudo apt-get remove --purge idle3 java-common libreoffice* minecraft-pi scratch nuscratch penguinspuzzle python-minecraftpi python3-minecraftpi smartsim sonic-pi wolfram-engine

      NOTE: on libreoffice I added a star at the end, making it libreoffice*. This is because there’s a single libreoffice package, as well as several libreoffice-* packages, and if you don’t add the star, it will only remove the one, while leaving all the rest.

      When you run that, it will collect everything that needs removing and present you with a [Y/n] question. Notice the amount of space that’s about to be reclaimed:

      0_1465939281578_034-aptget-remove.png

      You’re reading that right, a whopping 1,112MB, or 1.1GB worth of space. Let that run and remove all those packages.


      Step 2
      Once completed, we’ll also remove those that aren’t needed anymore:
      sudo apt-get autoremove
      It will present you with a list of packages that aren’t used anymore (since you just removed all those other ones above). Again, say Y(es) to the question:

      0_1465939485028_035-aptget-remove-sm.png


      Now, for comparison, let’s look at the storage usage again:

      0_1465939560323_036-df-clean-sm.png

      Look at that, we went from 48% full, down to 30%, or from 3.3GB down to 2.1GB used. That’s a lot of space reclaimed!


      Step 3
      Moving on. It’s time to run an update/upgrade on the system packages. You do that by entering the following commands:
      sudo apt-get update
      sudo apt-get upgrade
      Or if you want to do them both together:
      sudo apt-get update ; sudo apt-get upgrade

      First the update:

      0_1465939942396_037-aptget-update-sm.png

      Followed by the upgrade:

      0_1465939959016_039-aptget-update-sm.png

      So why two separate commands? The update command will refresh the mirror list and available packages from the distribution mirrors. This sets up the next command, upgrade, with the necessary files to compare against. Then the upgrade command will compare all the packages that are currently installed with the mirror lists and show you all the ones that need to be upgraded. You did say Y(es) to that, right?


      Step 4
      The last thing we need to do is make sure the firmware on the rpi is current. Performing a sudo apt-get upgrade does not always trigger this (in fact, I have yet to see it do that), so we’ll do it manually. The command for that is:
      sudo rpi-update

      0_1465940236832_042-rpiupdate-sm.png

      Note that it requires a reboot once that’s completed. A sudo reboot will get that done for you.


      Now let’s look at the storage usage once more:

      0_1465940359726_043-df-final-sm.png

      That’s not too shabby at all. 2.3GB out of 7.2GB used … I’m happy with that.

      You are now ready to start installing MagicMirror²!

      posted in Tutorials
      KirAsh4K
      KirAsh4
    • RE: Do your guest gets worried?

      “There’s a camera behind the mirror. We will know if you don’t wash your hands.”

      posted in General Discussion
      KirAsh4K
      KirAsh4
    • 1
    • 2
    • 3
    • 4
    • 5
    • 6
    • 7
    • 8
    • 1 / 8