So folks, this is it! I put together my own magic mirror. It was (and still is) a fun project to do and here is my story…
As soon as i decided to build this kind of mirror, i was in an constantly thinking process (for several days) about which steps i should take.
I came up with these general ideas:
I want a mirror…
…which is big! A huge 32 (zoll) screen or more! Yes!
…which is some kind of „modular“ and single parts of it can be changed if damaged.
…which should be my new bathroom mirror using my already existing frame
…which is made of real glas (as i still think that plastic wouldnt do the job in my bathroom)
…which is not too thick in dimensions (depth)
…my wife also accepts :-)
I cut my project into three steps :
- Install the MagicMirror Software onto my Pi3 and see how far i can get
- If step one is okay, try to find all the parts (Mirrror, framing parts, screen, a.s.o.)
- Put it all together (the DIY part)
First part of the project:
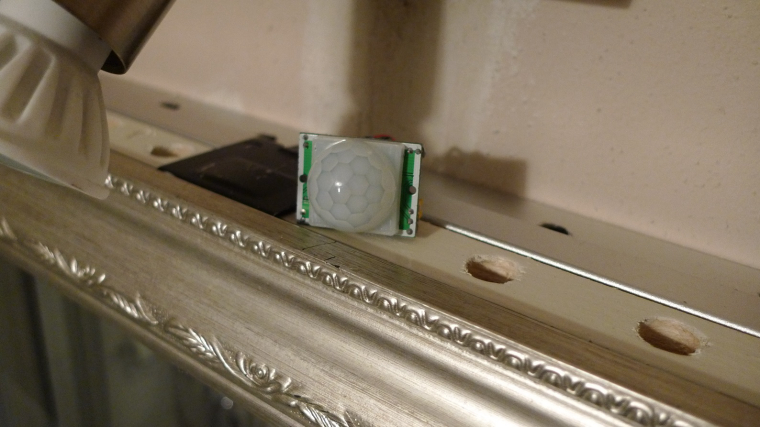
The first part was fun – thanks to this great community (most if not nearly everything is well documentated or mentioned in the forum). I managed to set up the mirror software in about one week (around 2-4 hours every evening of testing, trying, reading). Challenging was the cirumstance, that my monitor had an build in power safe function. No signal, turn off. Sounds good, but could not correspond with the PIR-Sensor detection i managed to install (in order to power on the mirror only when a person enters the bathroom). The monitor only woke up, when it realized a keyboard or mouse input. So, i ended up by simulating a mouse movement in connection with an ingoing PIR sensor movement detection. If your interested in that “movement automation” - here`s the content to read for you: http://pyautogui.readthedocs.io/en/latest/mouse.html).
I implemented these modules and functions:
- weather forecast
- time, date
- cheapest gas price
- calendar (with private data from NAS)
- events (birthdays, holidays - coming from the calender data mentioned above)
- newsfeed
- monitor/mirror sleep function with a PIR sensor (and wake up via mouse movement simulation)
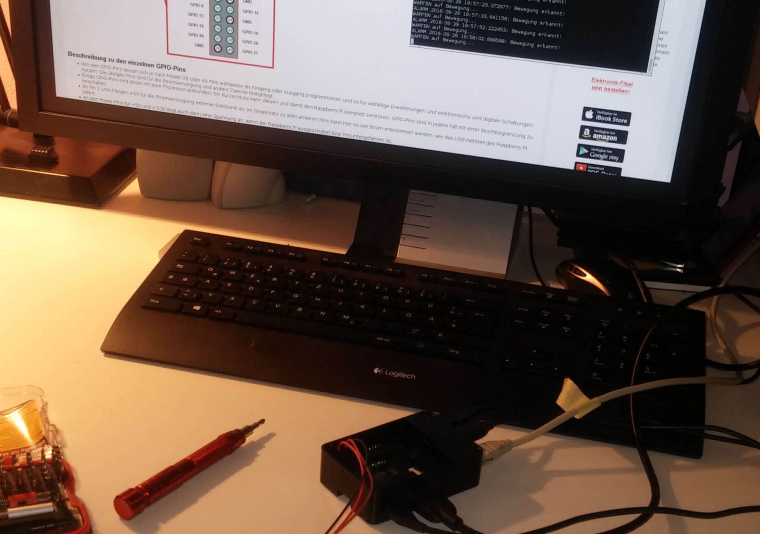
At the end i had a working MagicMirror on my local PC - ready to go for the next step…
Second part of the project:
Next was a difficult one: Finding the right bits n pieces for my project! It was a real pain to do the research for each different part. At the end - endless nights of research and re-thinking - i had a complete list of parts i needed:
- a raspberry Pi3, case, powering unit, sd-card, hdmi-cable (70 Euro)
- a brand new 32inch Philips PC monitor/screen (model 323E7QDAB) which had a 6.4cm depth (250 Euro - but i had some vouchers so in the end i had to pay 50 Euro)
- a aluminium frame (mounted to the wall and hold the mirror glas) - but all i could get was a 5cm depth one (name: “LUMIXON LED Panel”) (30 Euro)
- four wood frame parts (as the aluminium frame was not deep enough, to have the opportunity to cut "as needed"to put it on the alu-frame in order to get the right depth for the monitor) (10 Euro)
- a new “spy mirror” (i could obtain one from a local glas store near my location). They only had this one and could cut it to the size i needed. So i bought it: a “Mirrastar SGG”. (115 Euro)
All in all, i ended up with around 500 Euro (but i still think it is possible to archive the goal with used parts so this price maybe could be halved)
Ordered all - now all i could do was waiting an dreaming of my new mirror… :-)
Third part of the project:
When the order arrived, the last part of the project was also quite challenging and time consumptive. First i had to hammer a canal and holes for my new two wall sockets (as i didnt wanted a cable to hang around out of the mirror). What a mess i had to clean up after! Man… My wife roled her eyes every time she came by our bathroom. But it was worth the sweat and dirt - two powering sockets for the mirror and no loose cables (and a switch to turn on the lights above the mirror). Very good!
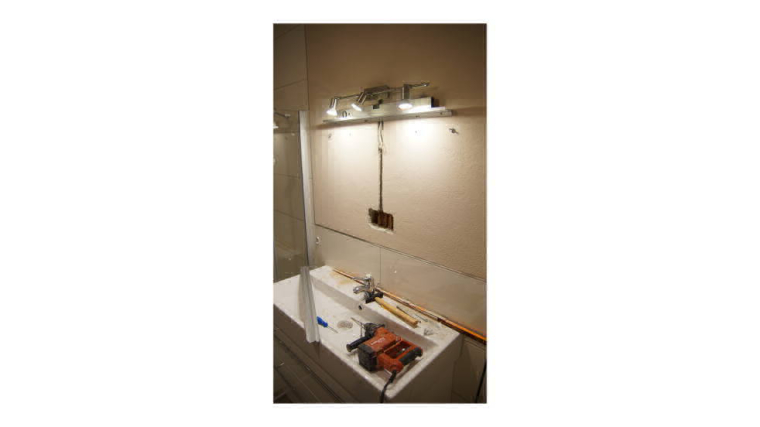
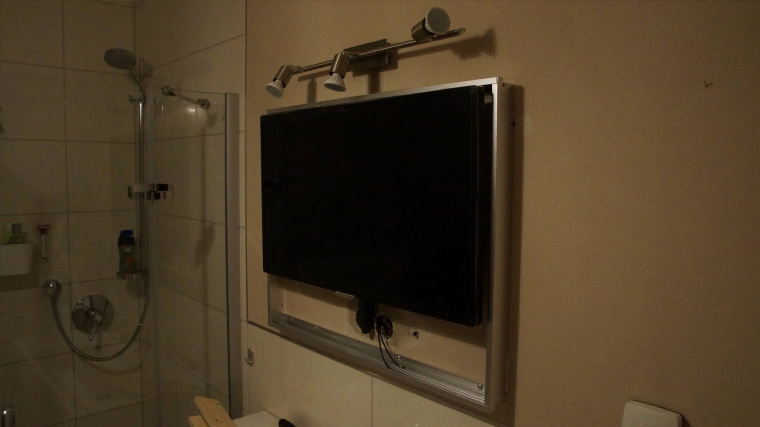
Next i cut the aluminium frame to the right measures, drilled holes on the top (to get some air circulation), drilled holes into the wall and at last mounted the frame (and because i was “in the groove” already, i put also the holding construction for the monitor) and hang the monitor on the wall. Not that problem at all.
… and some time later also the wooden Frame was done and installed:
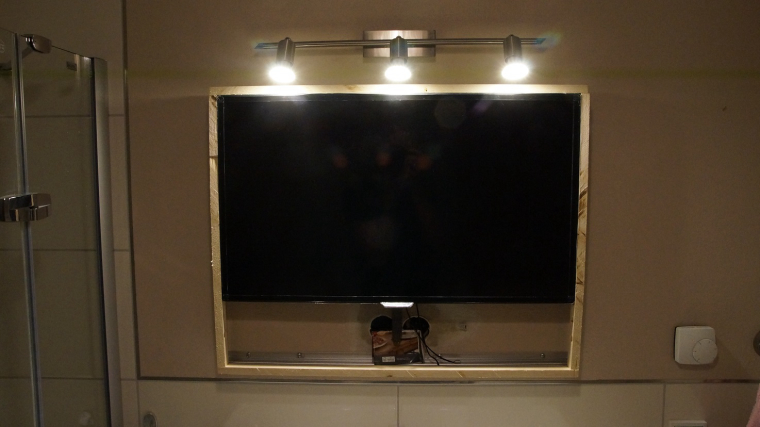
Mounting the monitor (i kept as it is and did not disassemble it in order to replace it easily if it will get broken), wasnt - i think you can guess - that easy…
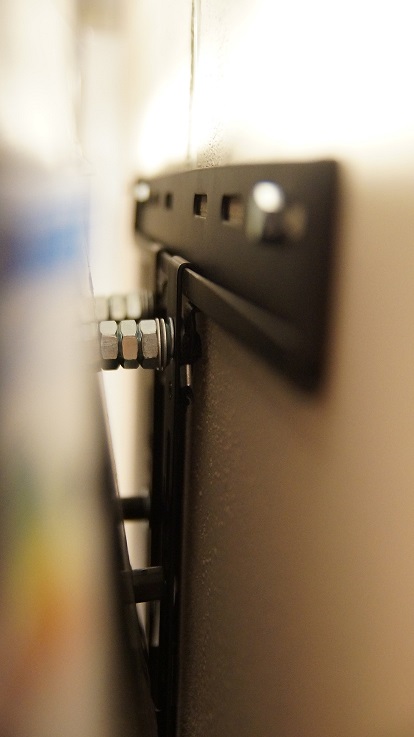
I found out, that i had bought the wrong wall mount for the monitor, as the monitor is some kind of curved at the back and the mount is straight. So i had to “extend” the mount with bolt nuts. Countless tries (mounted, not right, get it off the wall, one more bolt/one less) to get the complete monitor to the wall and horizontal and vertical right to fit completing to the end of the wooden frame and at least the back of the glas mirror.
Next was the fitting of my old silver-wooden frame to the new mirror. As i had cutted the glas to the correct dimensions, the frame fitted perfectly. But the next problem occured: Now that the glas was in the frame, the distance to the monitor had grown and the shown content was not visible that good as it could be with a minimal distance. So i had to put in some “distance pieces” to the front. My first idea was to cut satellite cables (dont ask why, i also dont know) to the length of each side and glue them to the inside of the front of the frame. That worked good, the glas was now in position. But the longer i looked at it, the more i hated this solution.
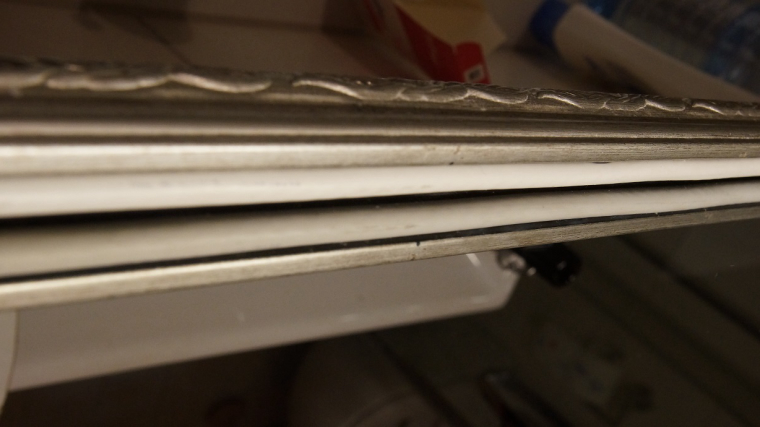
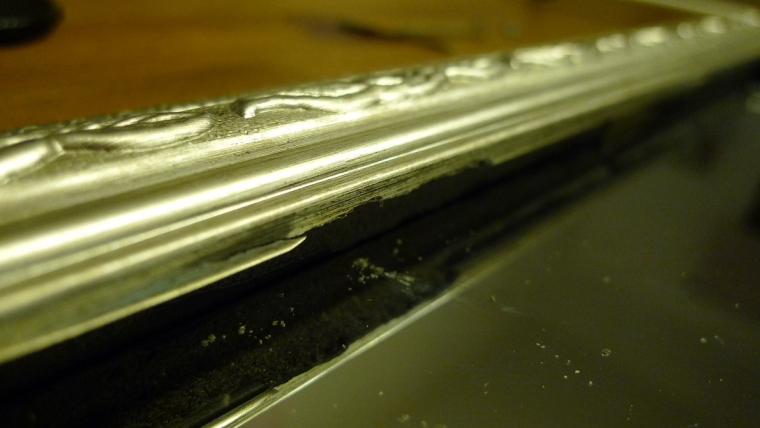
So, in the end (and also one evenening and 4 hours of work) i ripped out the cables again, cleaned the wood from the hot-glue i used (never never never use too much hot glue as i did, as it sticks like HELL!) and replaced them with silver painted wood pieces. I damaged the wooden silver frame, had to do some repair with superglue, brought some of that to the mirror and had to clean it (man, i cursed a lot and in the end crossed my fingers as i didnt knew if the superglue would get off that mirror without damaging it!). But all went good…
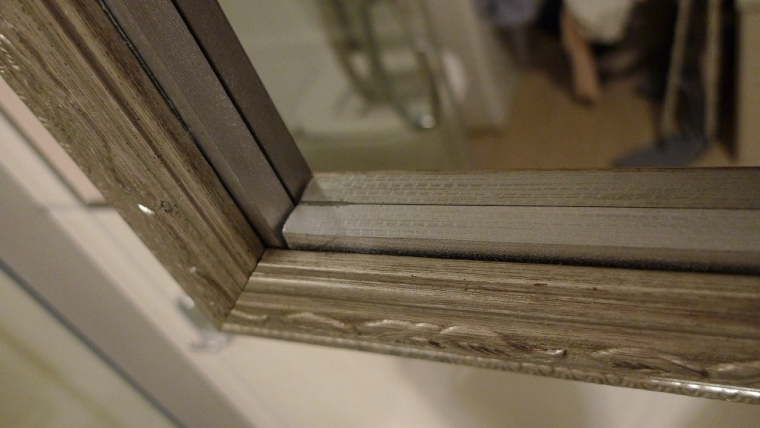
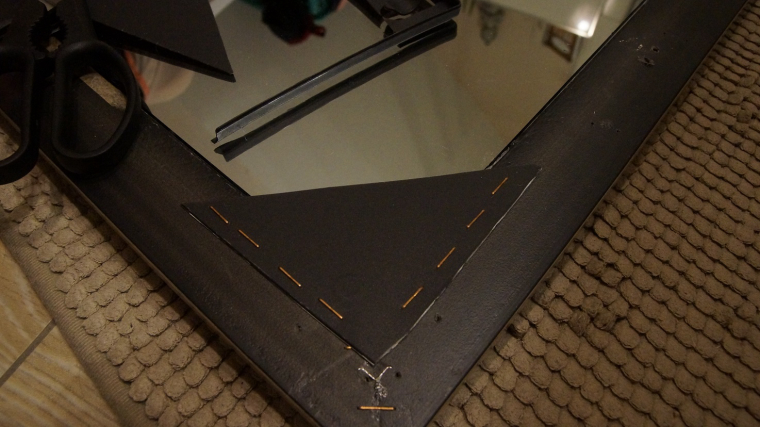
Now they fit perfect to the rest of the frame. Also the old brackets which held the mirrorglas, had to be replaced as they “thickend” the frame at the back unnecessarily. I had to find a material that is thin and durable. So, why not take a… DVD sleeve/shell i found in my desk! Cut it to triangles and stapled them to the back. Perfect result.
Mounted the holder (i found in my toolbox) for the mirror to hang on the aluminium frame. Connected the Pi to the PIR-Sensor and at last the monitor…
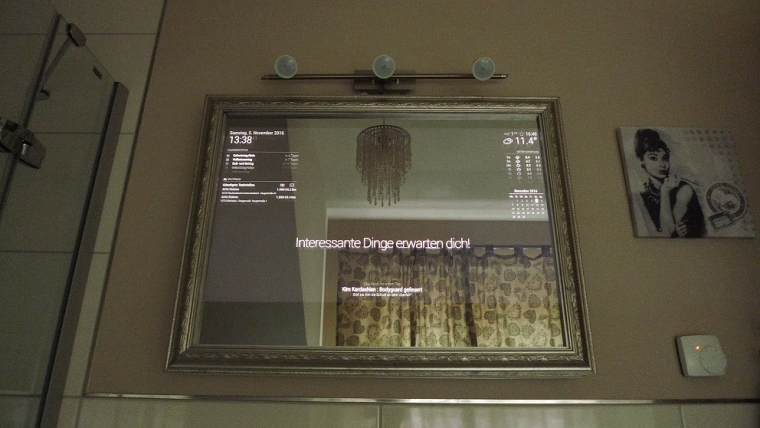
And at last - after a lot of blood (as i cutted my finger two times!), sweat, (no, no tears :-D), time and money - i finished my MagicMirror project. I’m pretty satisfied with the result.
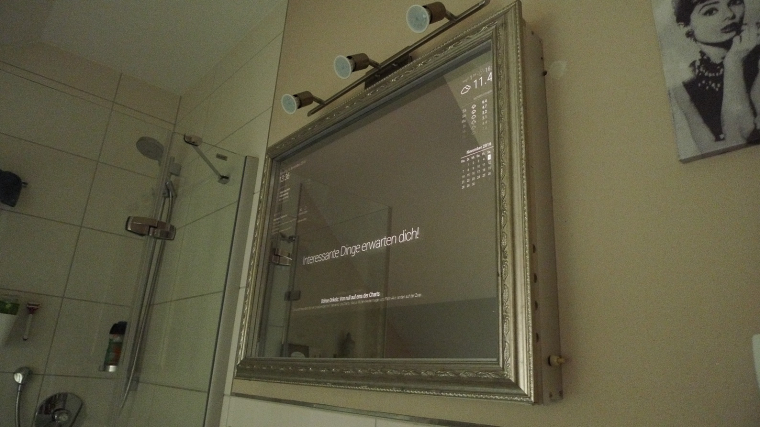
But the fun did not end as im now discovering (and hopefully implementing) some more software/hardware functions (movement detection, radio stream, face recognition to name only some).
Thanks for reading and writing solutions to this forum!
Cheers!
