Read the statement by Michael Teeuw here.
UPDATE: Replaced my PIR-Sensor with a Doppler Microwave Sensor.
-
@Fozi
I’ll try this out hopefully tonight but not with an Aluminium tape but with aluminum foil. Should work as well as far as I can see. -
@lavolp3 yes, should do equally. I had some leftover of the tape and it was more convenient to apply. I found some post from you a few months ago, when you struggled to make the sensor work. I hope you get some better results now.
-
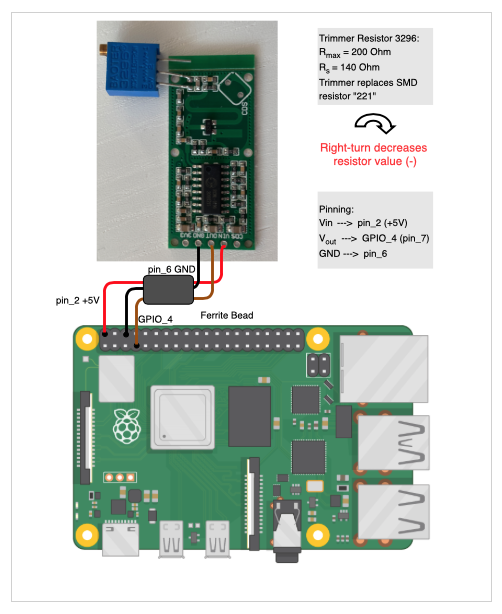
@Fozi Is there a wiring diagram for this? I know where the wires on my pi are and there two wires running to the sensor but where are they connected on the actual sensor?
Thanks!
-
@cowboysdude
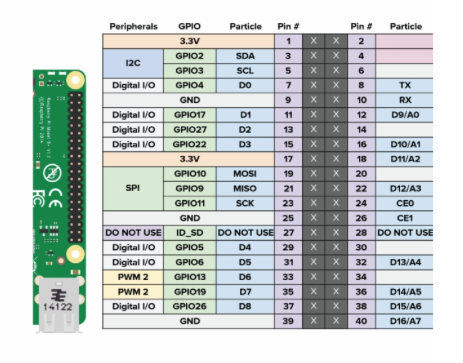
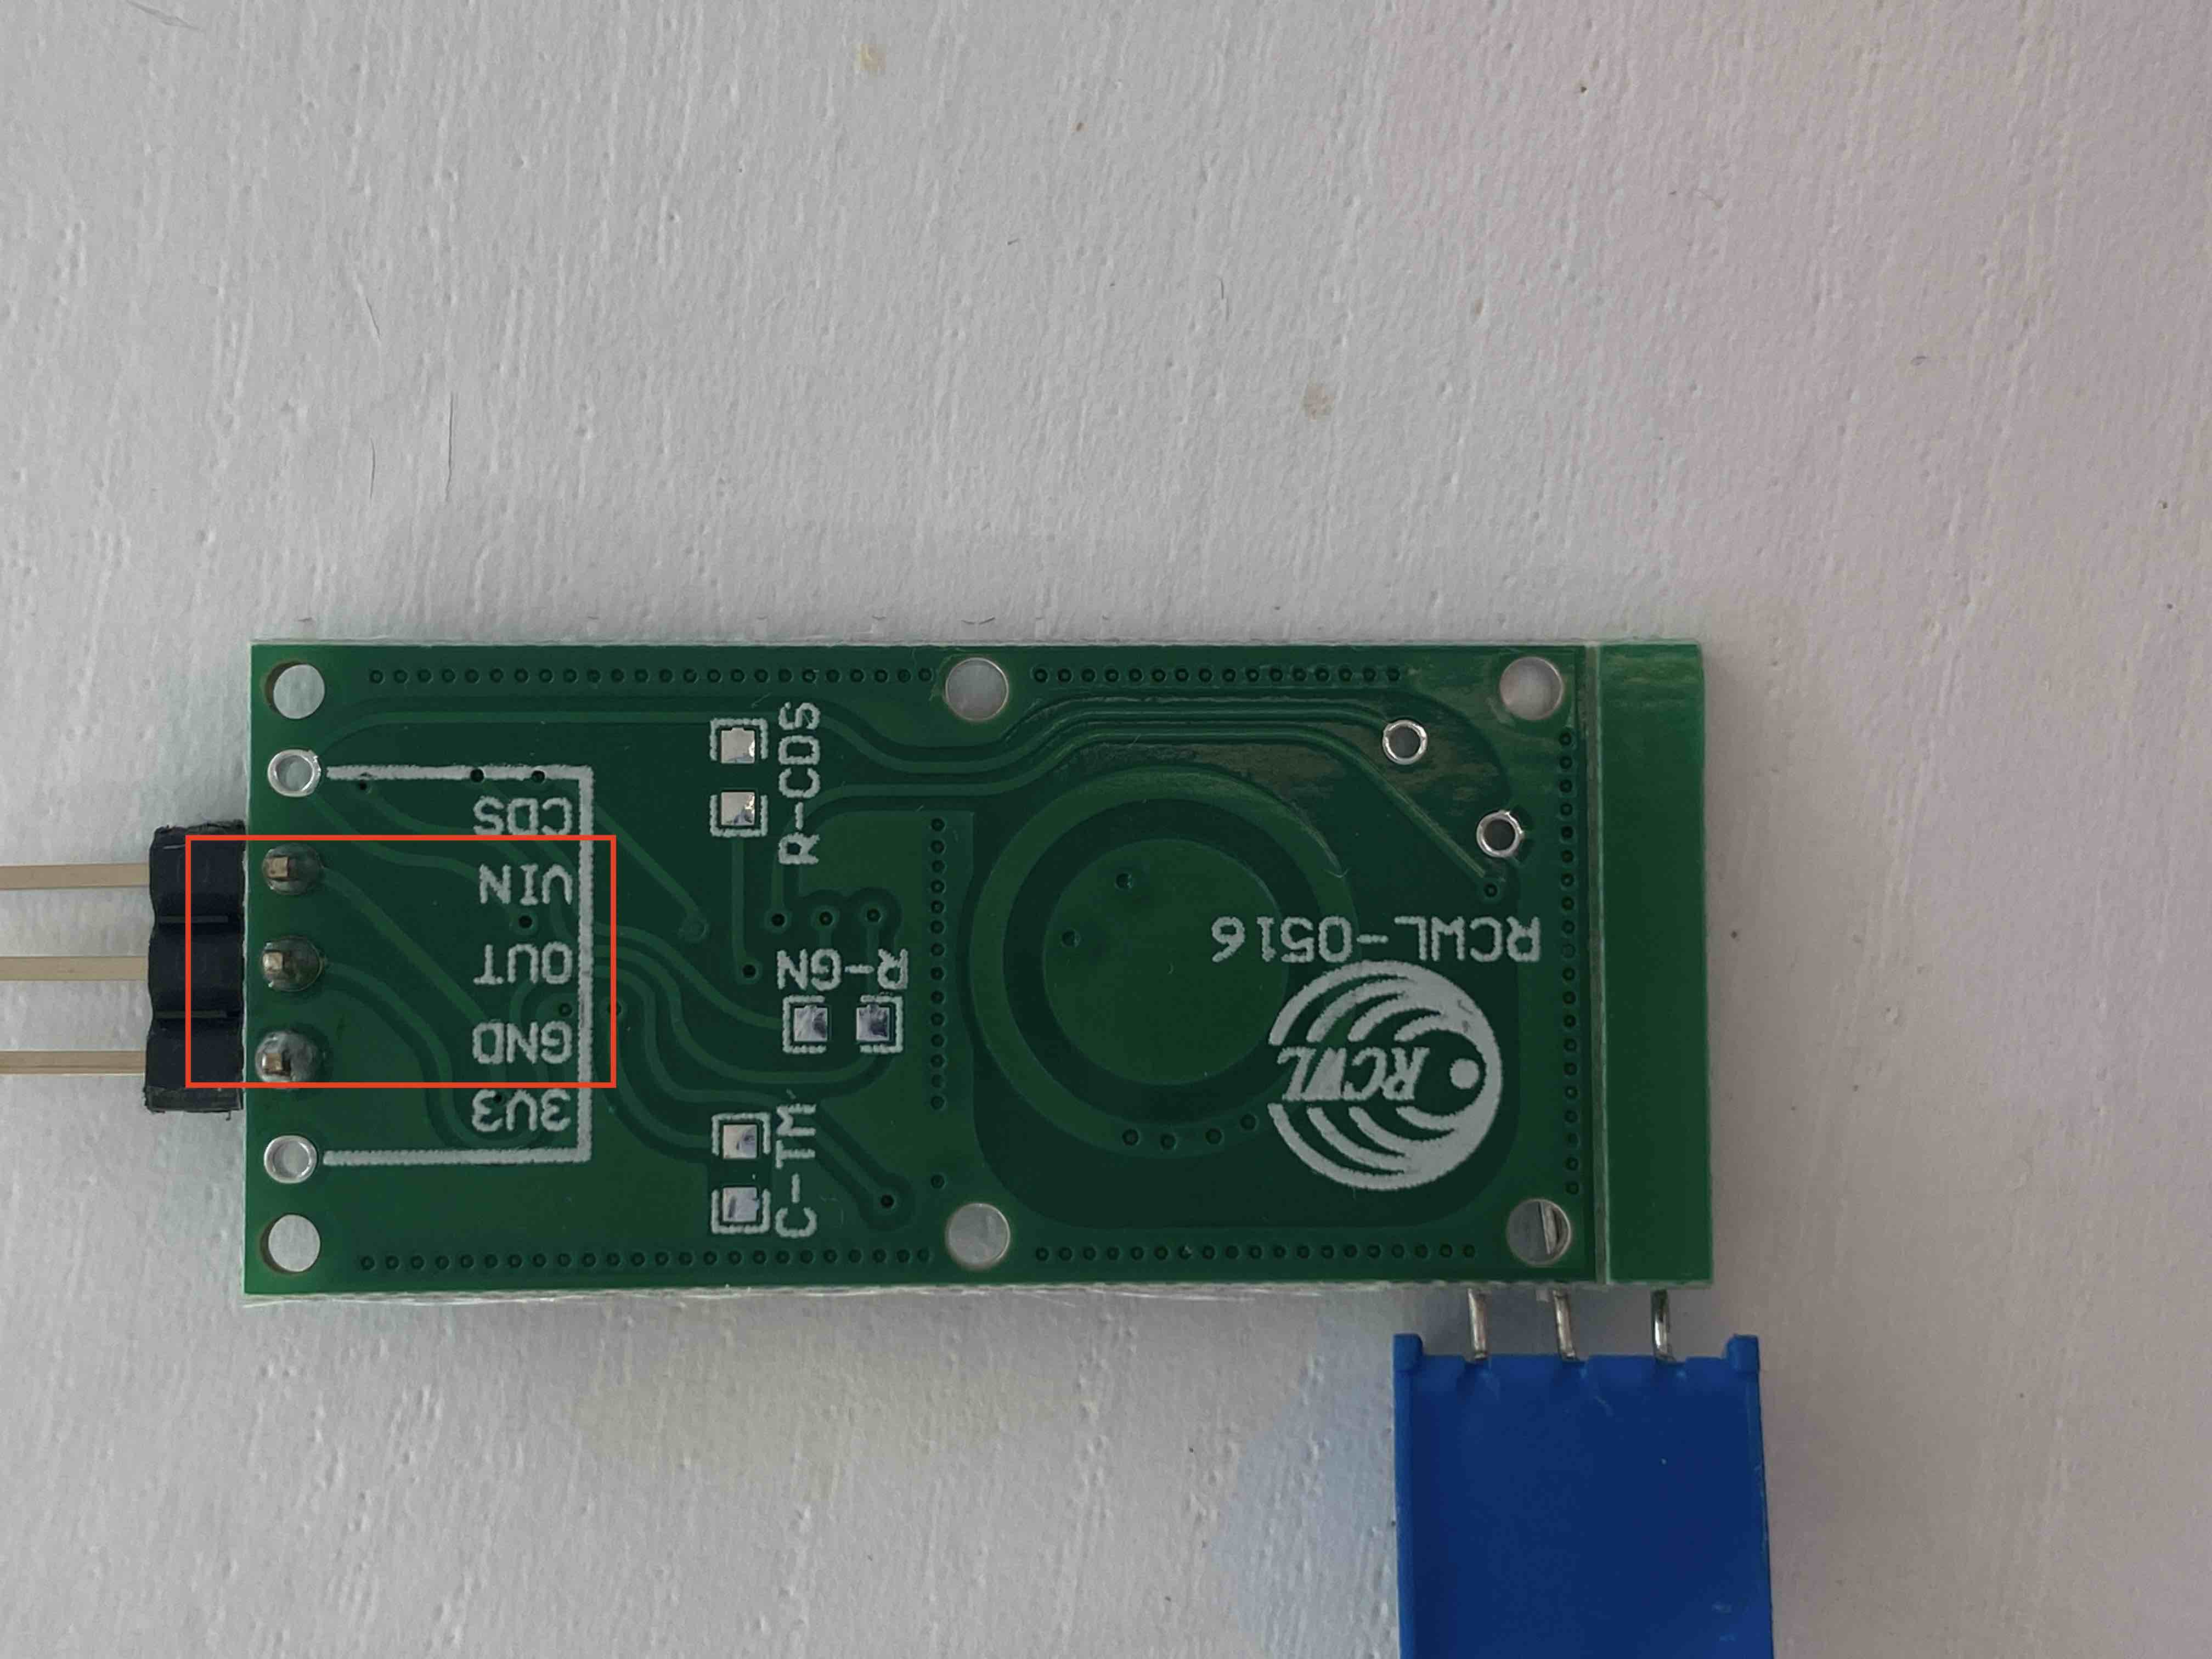
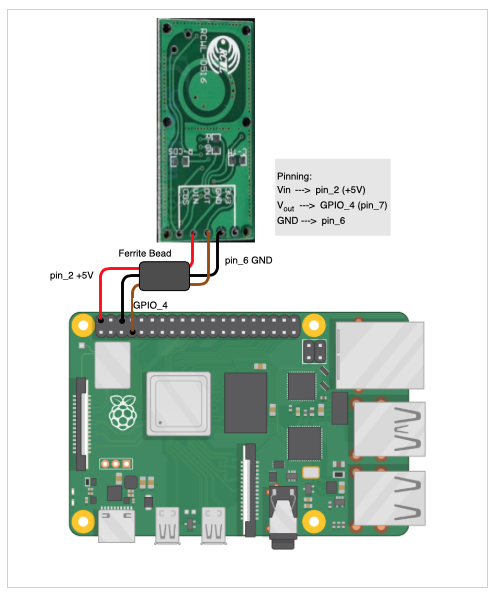
You only use Vin (5V), Vout and GND. CDS (for applying a photo diode) and 3V3 (delivers 3.3V output) remain unused. For Vout you can use also oher GPIO pins (labeled “Digital I/O” in the 2nd diagram), in case GPIO_4 is already used.The ferrite bead is optional. It is a left over from the PIR sensor I had attached. If you may need one, you can dismantle an old VGA cable and use that one.
Here the wireing diagram: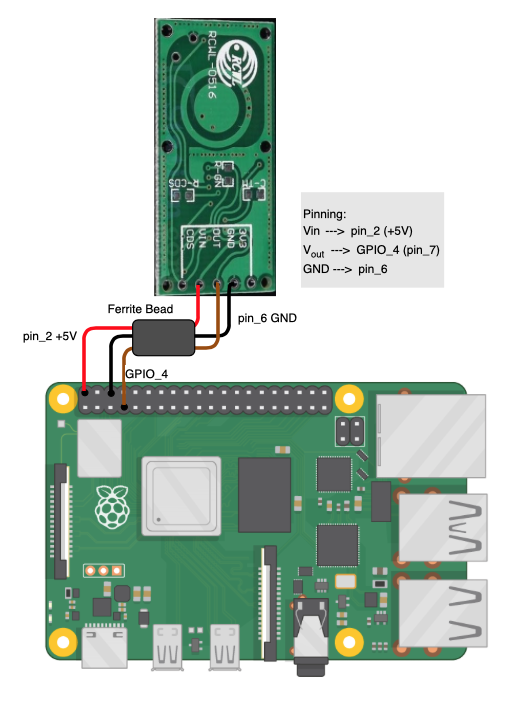
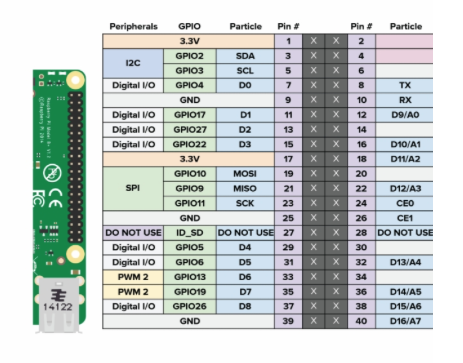
-
Super Awesome yet again!! Thank you! I don’t use the PIR module… I have a Python script I run behind everything. It works very well for me but this will work so nice, and now I can move it behind the glass!
Now if I can just remember where I put my ferrite beads… I know I have some … but where LOL
-
Hi folks,
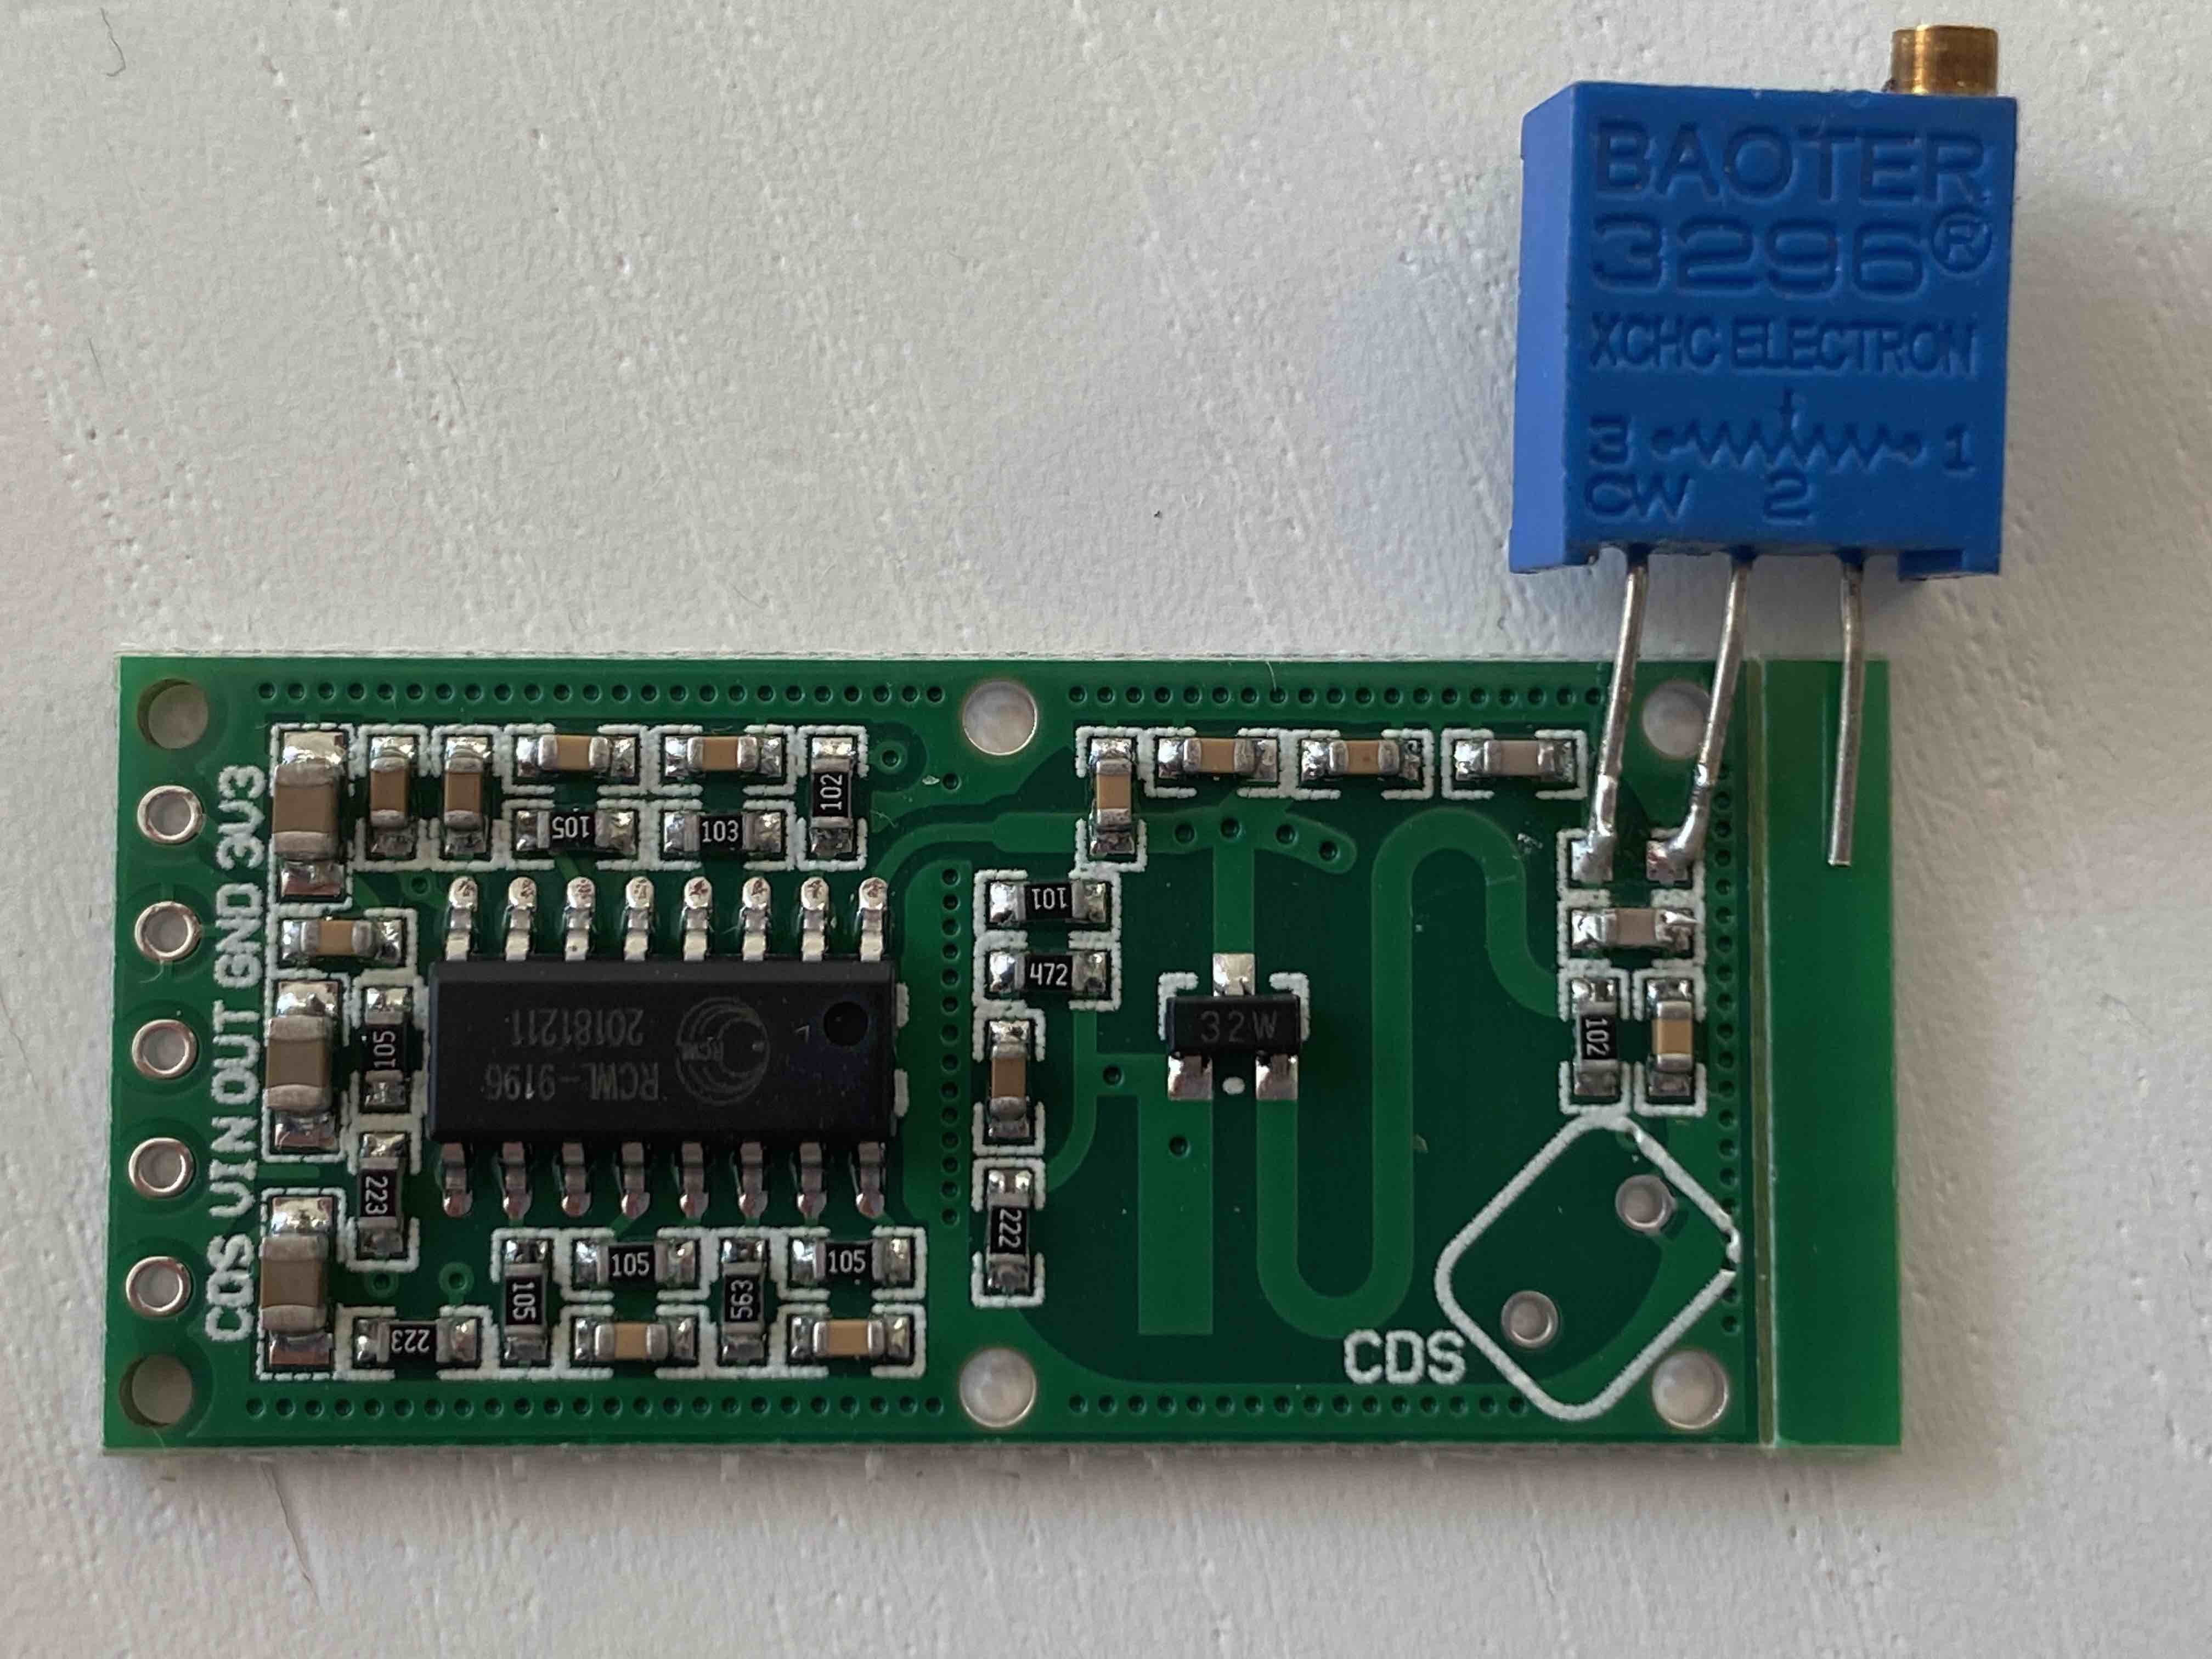
sooner than expected I modified the sensor with a trimmer resistor.
For that I also updated my initial post and enhanced the tutorial, where now both options are described. Enjoy and give me your feedback, how that works for you. -
@Fozi nice update… very clear and helpful
-
Once again excellent work! I love the trimmer it’s a great idea for those with limited space!
For some strange reason I have left a gap at the top of my mirror that fits what I build perfectly!
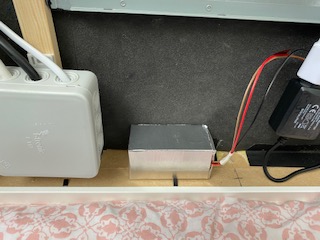
I wanted a bigger mirror so I bought the glass oversized and centered the monitor in it :)This, accidently, left me enough room to fit this in perfectly!
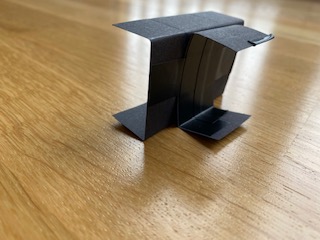
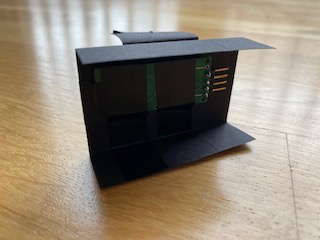
So what I did was design a “T” with a whole in it to mount the sensor and install it inside the box.
I am a contractor so having aluminum tape was not a hard thing for me to come up with.Thank you @Fozi for this entire project! Allows me to get rid of the ugly PIR sensor outside the mirror and place a sensor behind the scenes but works as intended.
So for me option 1 works great! This won’t work for everyone but in my case perfect!
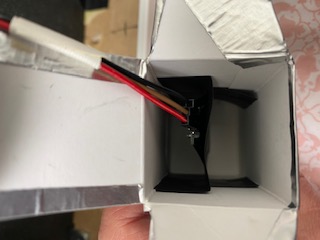
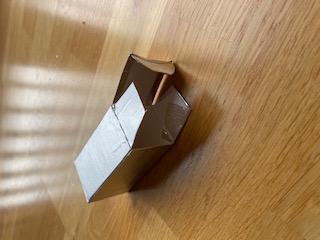
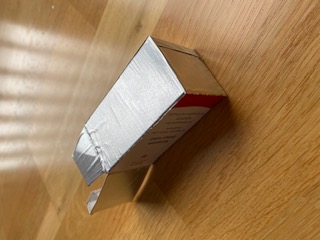
[Have NOT installed it in the mirror yet but will today]Here’s the pictures.
Box
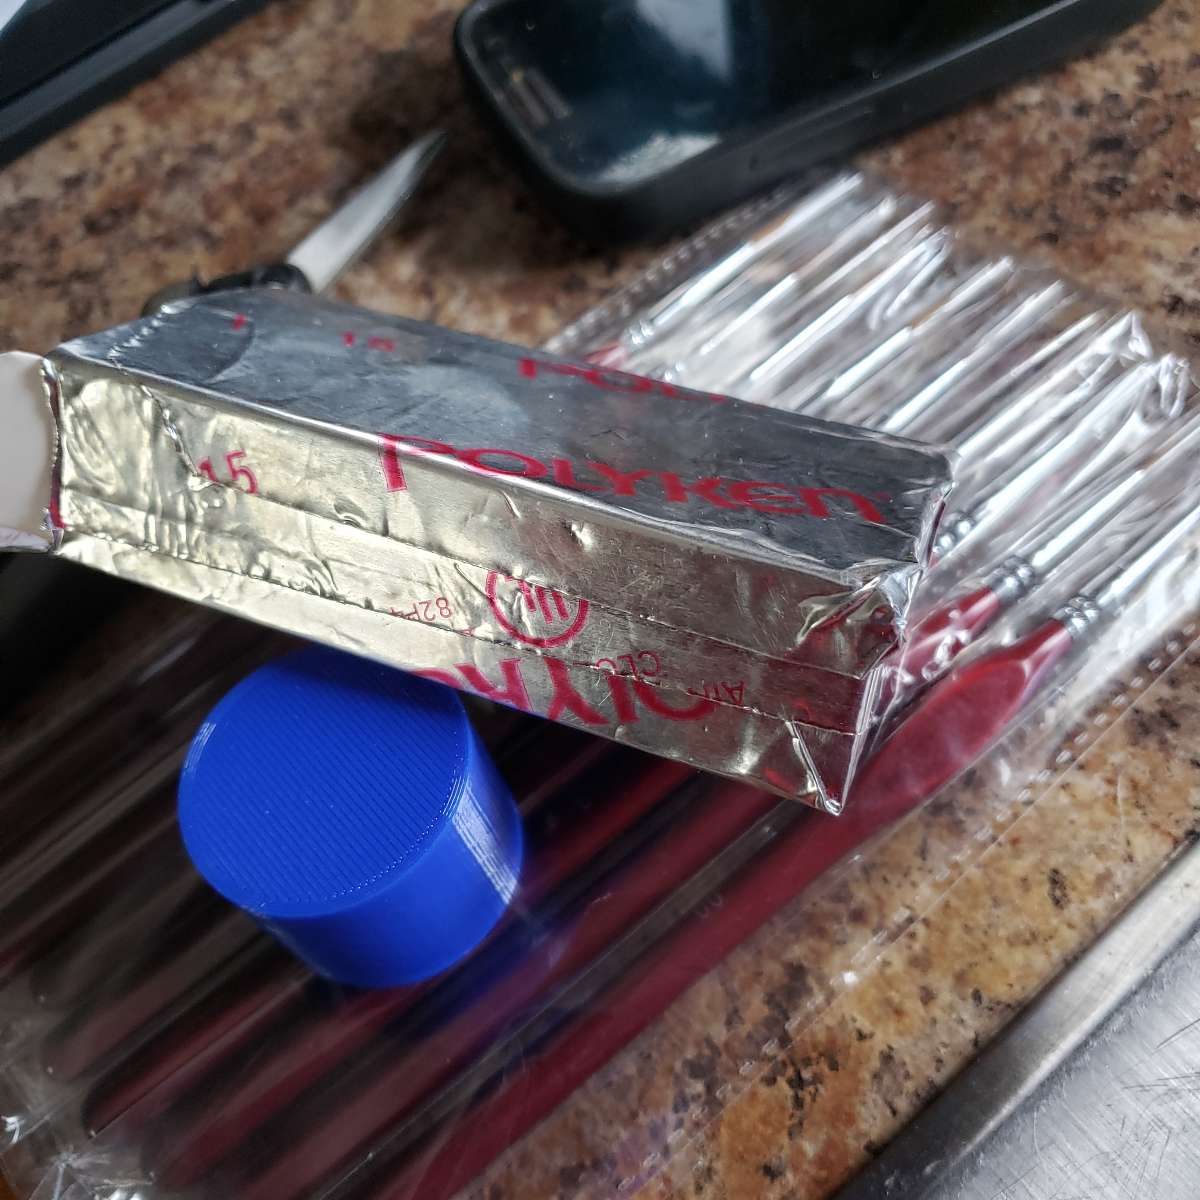
3d PLA Printed ‘T’
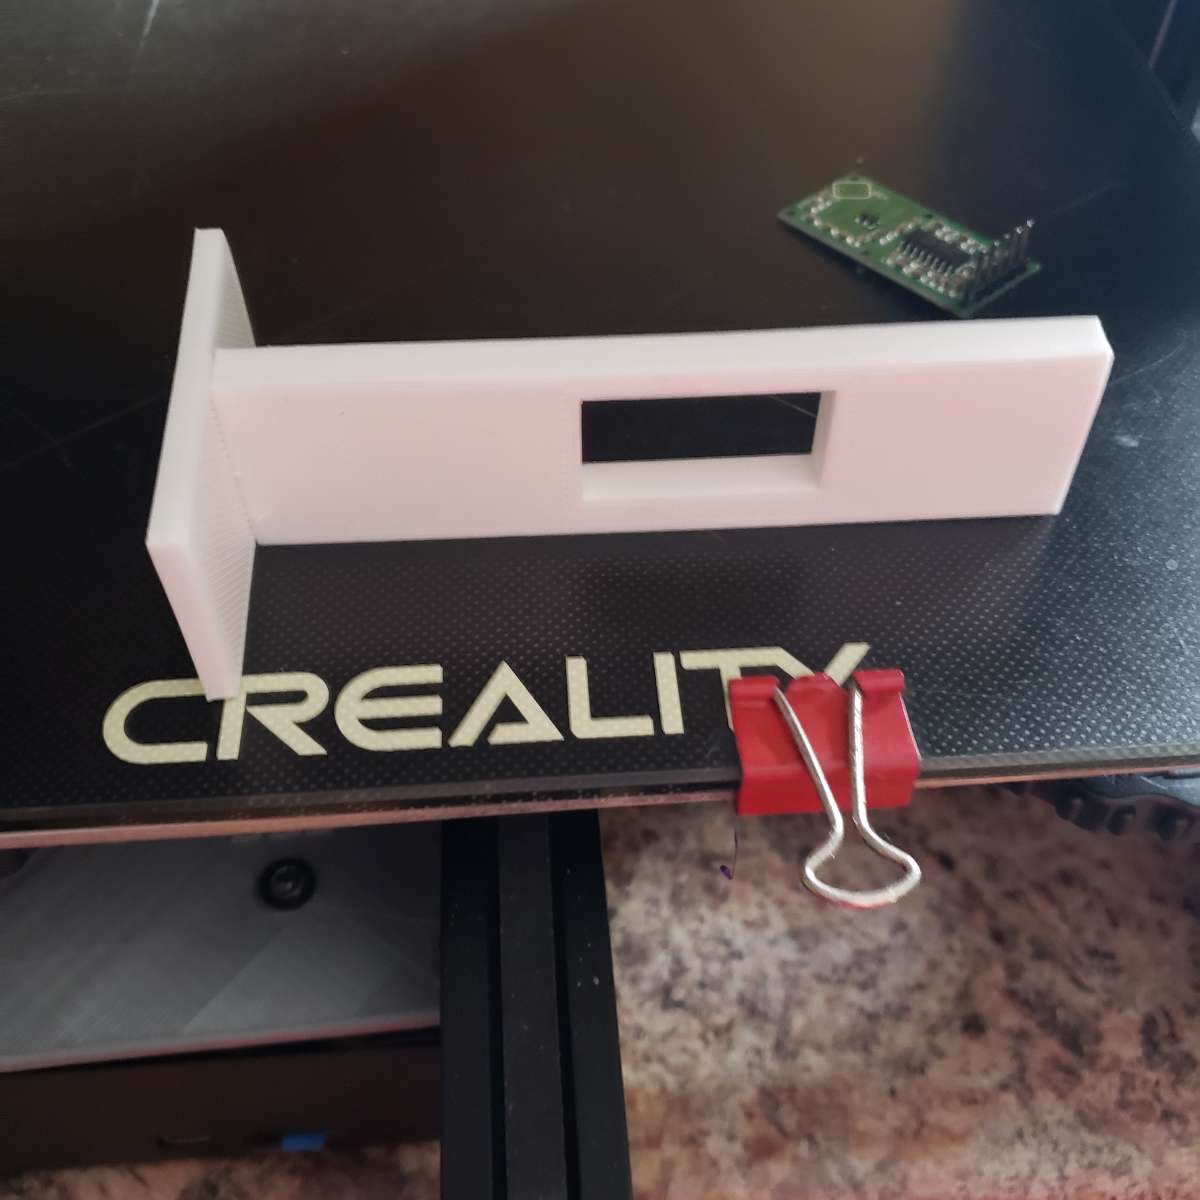
Fits inside of box
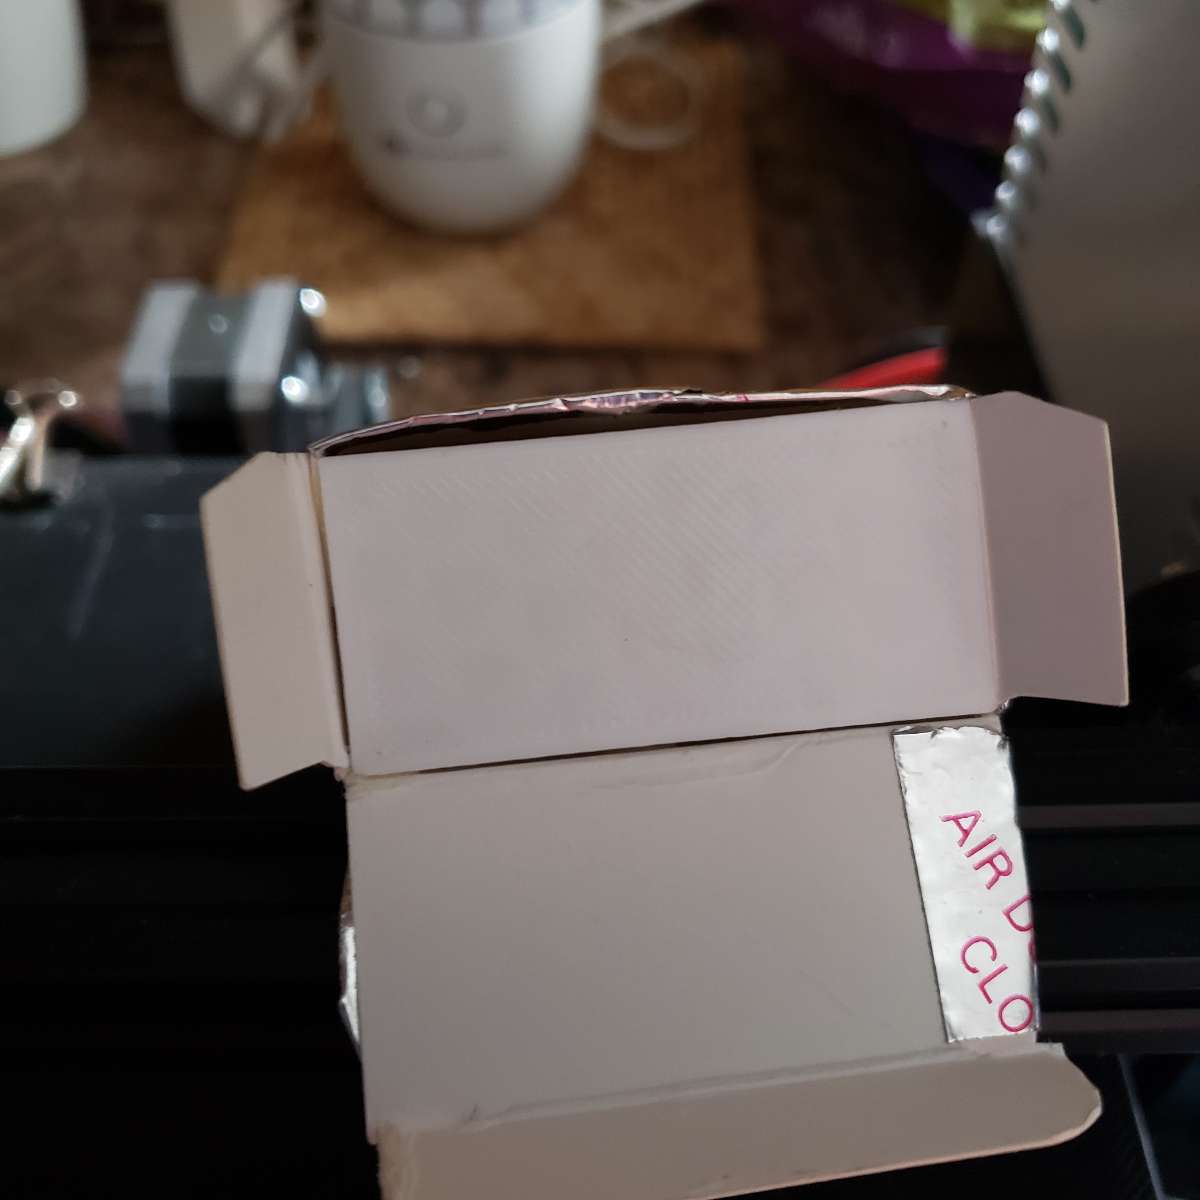
Picture of sensor on ‘T’
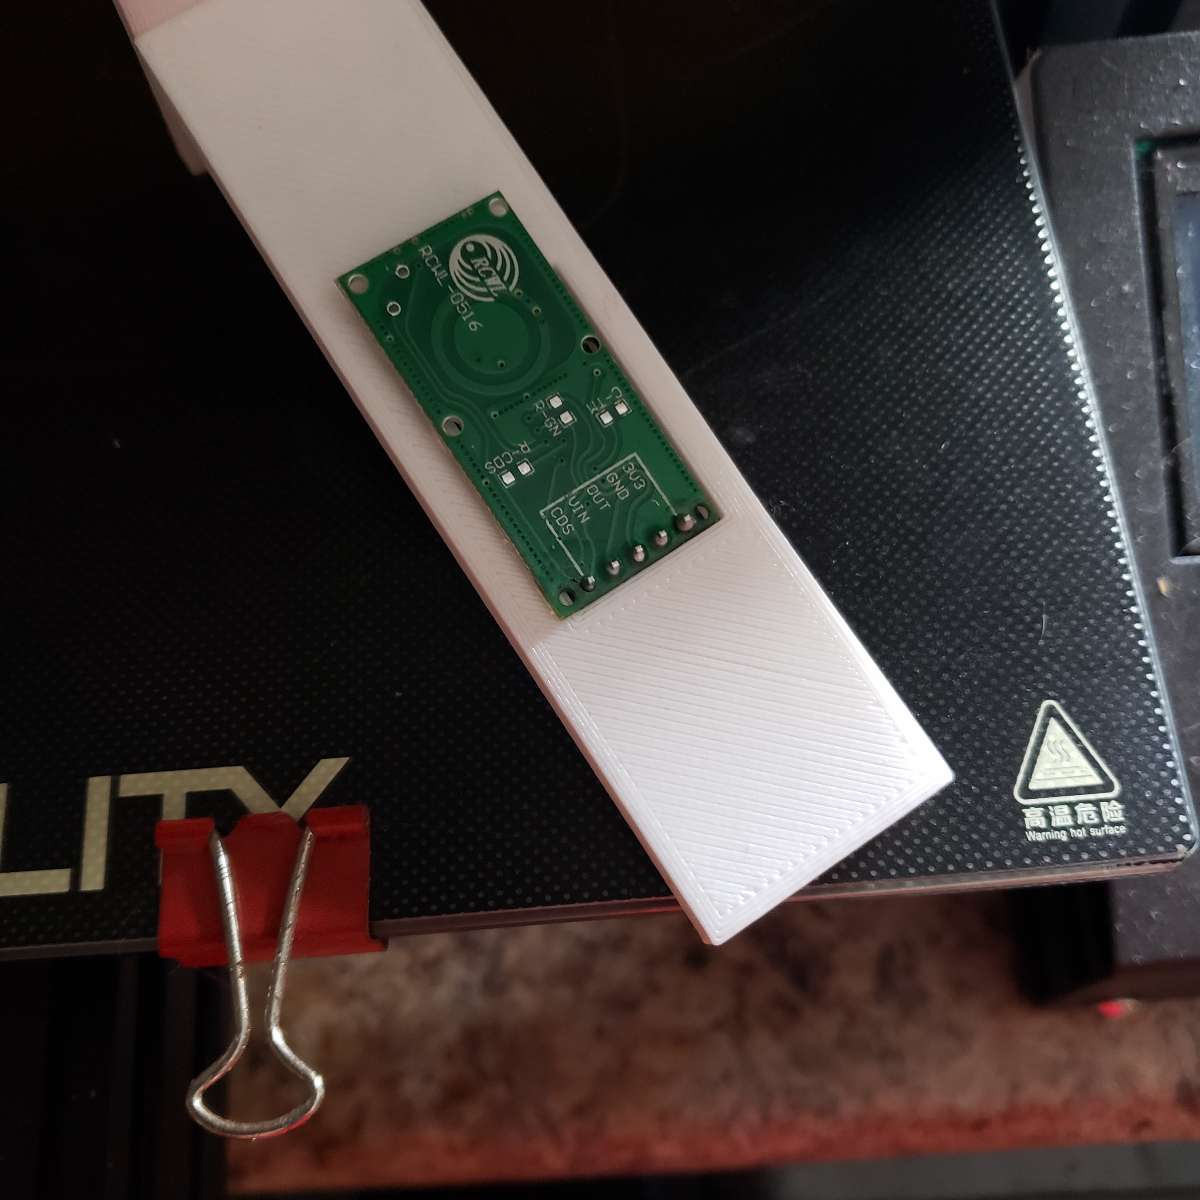
Once again, Thank you @Fozi !!!
-
@Fozi said in UPDATE: Replaced my PIR-Sensor with a Doppler Microwave Sensor.:
sooner than expected I modified the sensor with a trimmer resistor.
For that I also updated my initial post and enhanced the tutorial, where now both options are described.Dude, (can I call you dude?) although I don’t use a sensor (I have a cam on my first mirror w/Pi) I appreciate what you’ve done here. I’ll say it again (in different words), I think this is the death knell of the PIR sensor. So, thanks. :thumbsup:
Peace!
-
@cowboysdude I‘m totally happy that I cold help and to receive so positive feedback! I love it when a plan works!😁 Thanks!
This T-shaped holder, is it 3D-printed or an off-the-shelf available part? It‘s totally cool!
