@C13INTZ said in Just installed magic mirror, now how do I change some things?:
Hello, I just finished the installation of my magic mirror using this guide: https://forum.magicmirror.builders/topic/236/complete-setup-tutorial, but I want to change a few things. I’m extremely new to raspberry pi and I’m having trouble finding what I need.
Welcome to the wonderful world of the Raspberry Pi, and MagicMirror.
I was wondering:
- How do I set up the weather module with my location?
https://github.com/MichMich/MagicMirror/tree/master/modules/default/currentweather
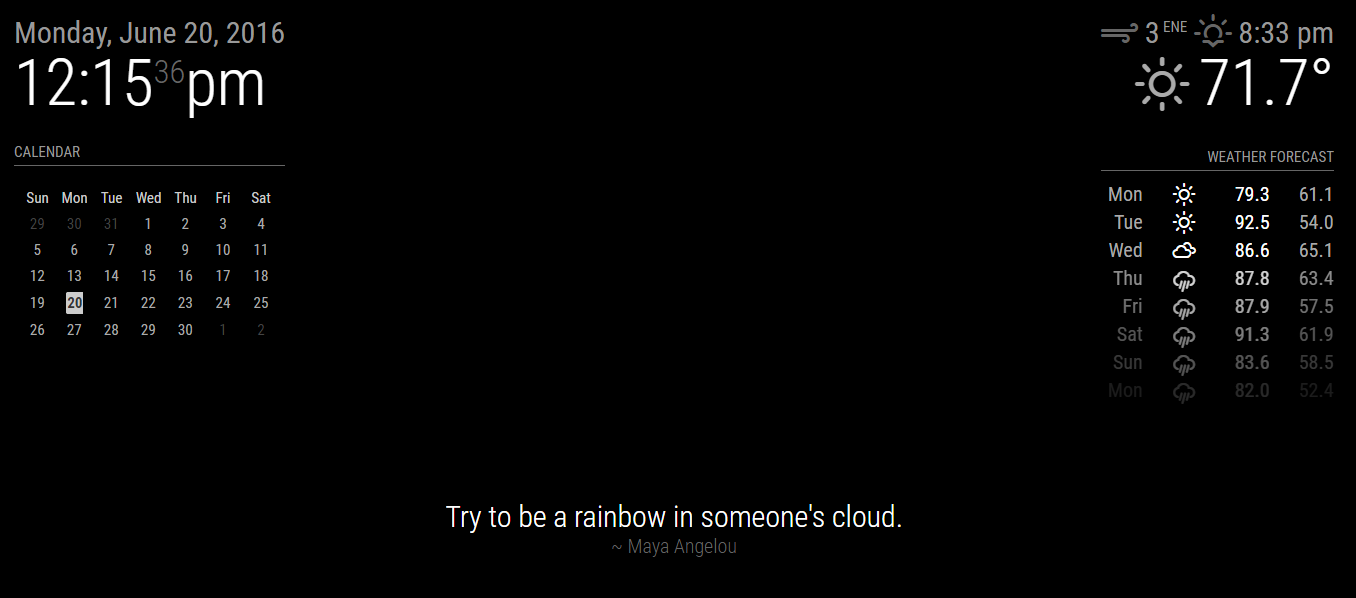
- How do I adjust the clock from a 24 to 12 hour format?
https://github.com/MichMich/MagicMirror/tree/master/modules/default/clock
- I want to get rid of the news feed and move the compliment module to the bottom of the screen. I assume to get rid of the news feed I just delete it, but how do I move down the compliment module?
https://github.com/MichMich/MagicMirror/#configuration - specifically the 'position' value.
either links to tutorials on how to do this or full explanations would work great, thanks.
Hope those links help.