Read the statement by Michael Teeuw here.
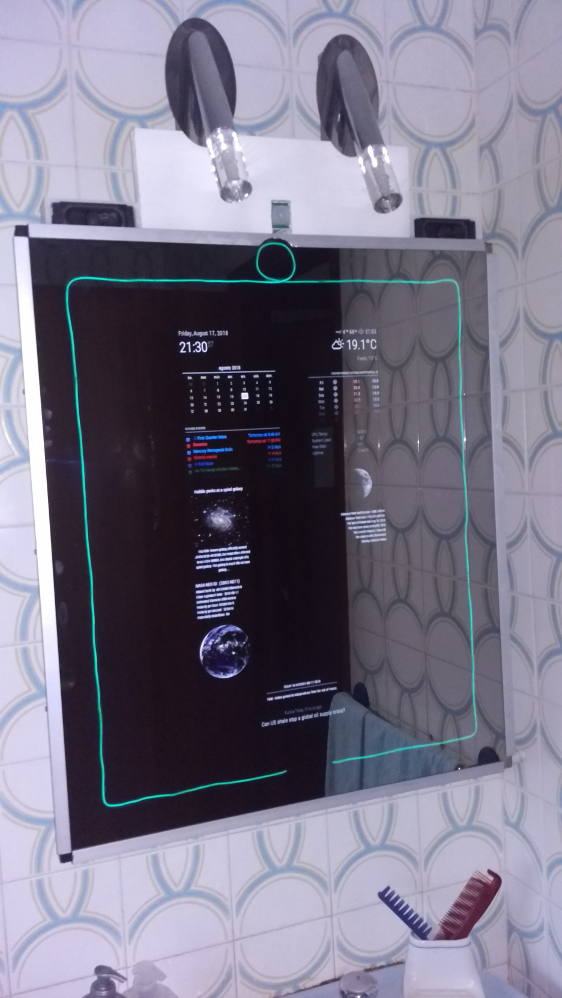
My bathroom smart mirror.
-
Hi!
First of all I would like to thanks to @goldjunge_chriz for the opportunity to acquire a 2-way mirror. It is impressive, much better than the acrylic sheet. And, I’d like to thanks to @MichMich too for the Magic Mirror software.
Here I leave some pictures of the montage that I was doing this last summer, at leisure. I have been quite happy with the result. I hope you like it!
I am going to try not to extend myself too much with the explanations, if someone has any doubts, I will kindly answer him.
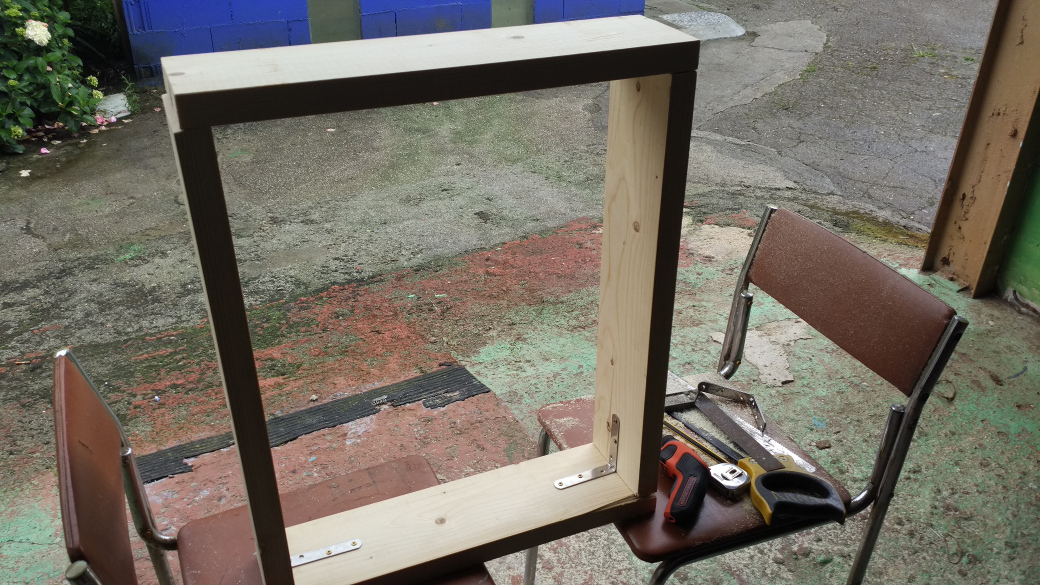
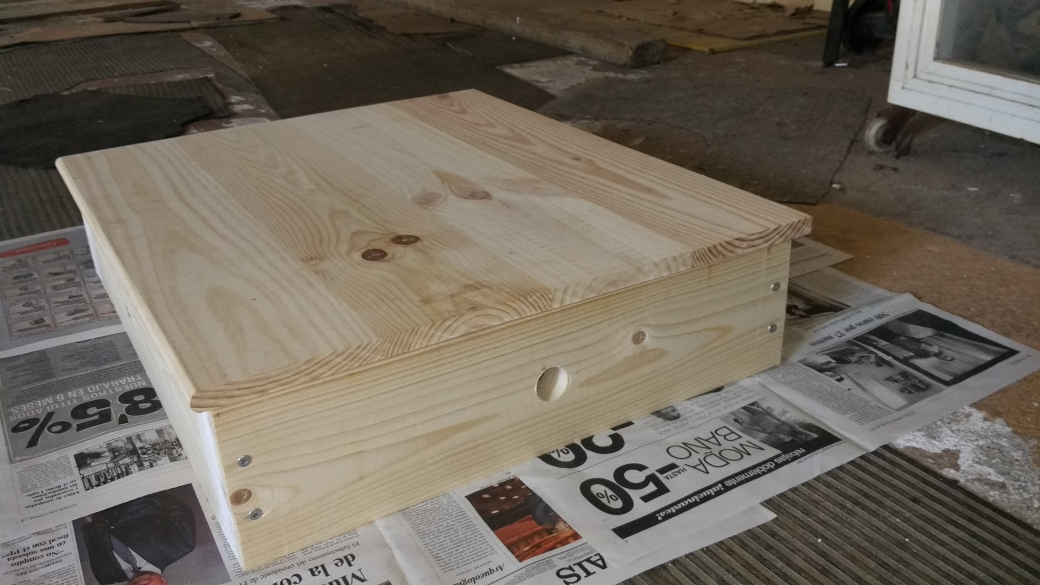
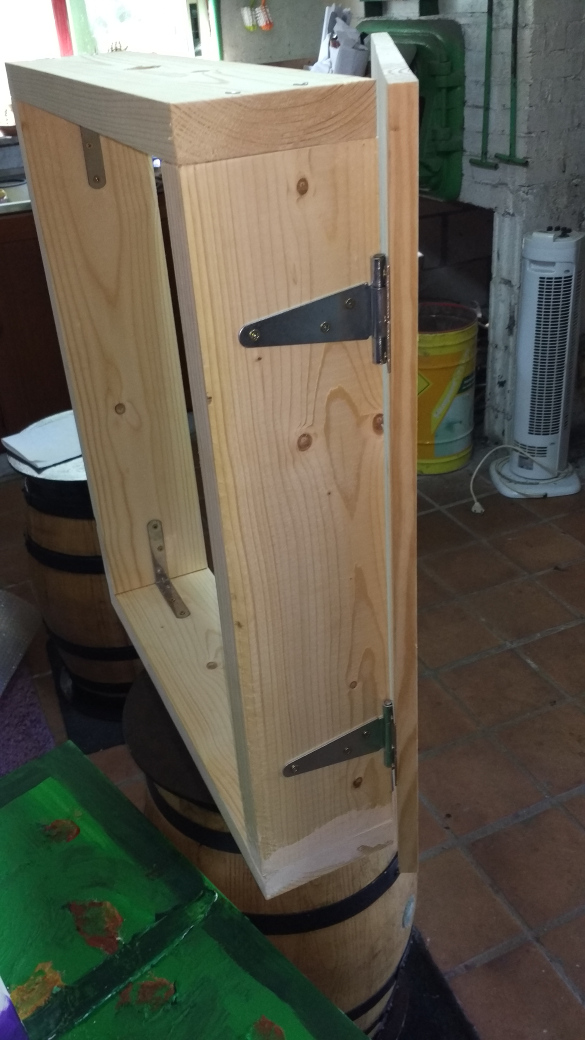
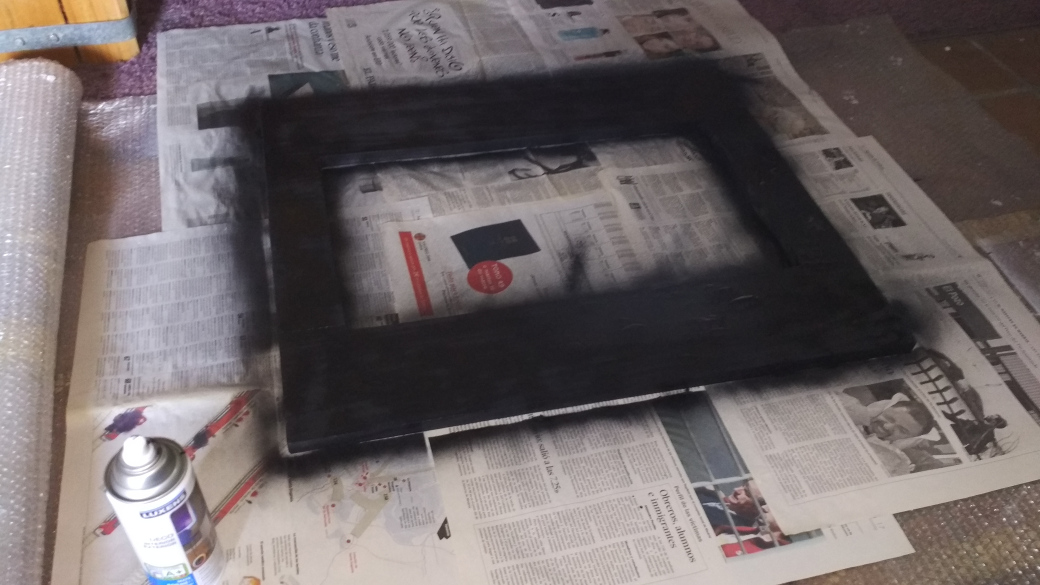
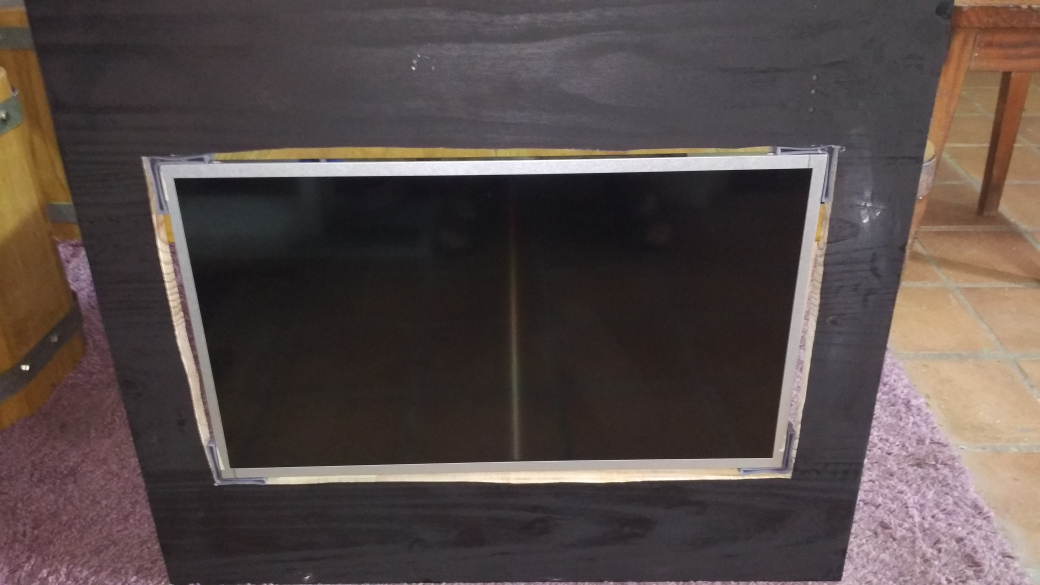
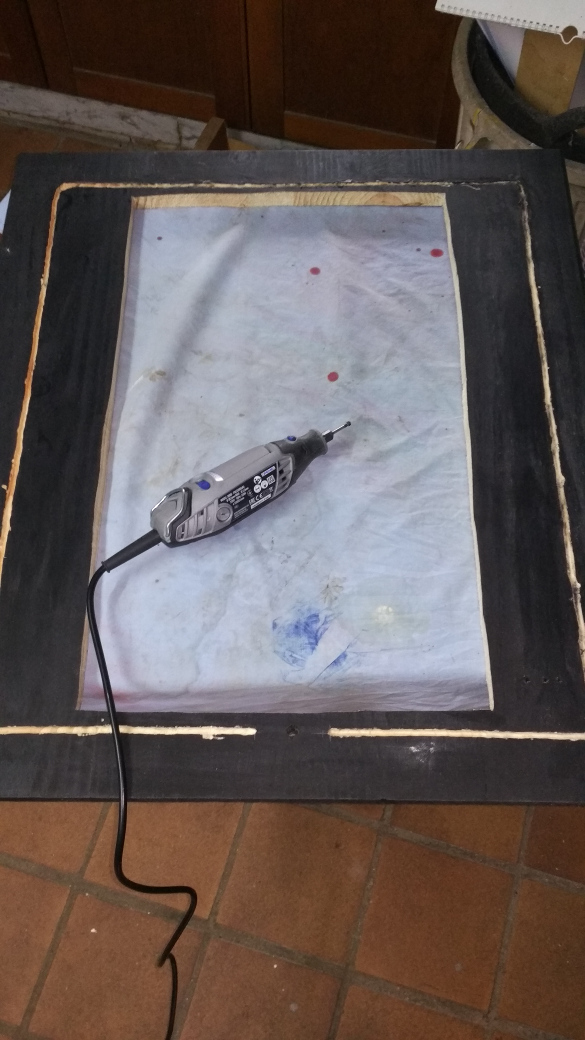
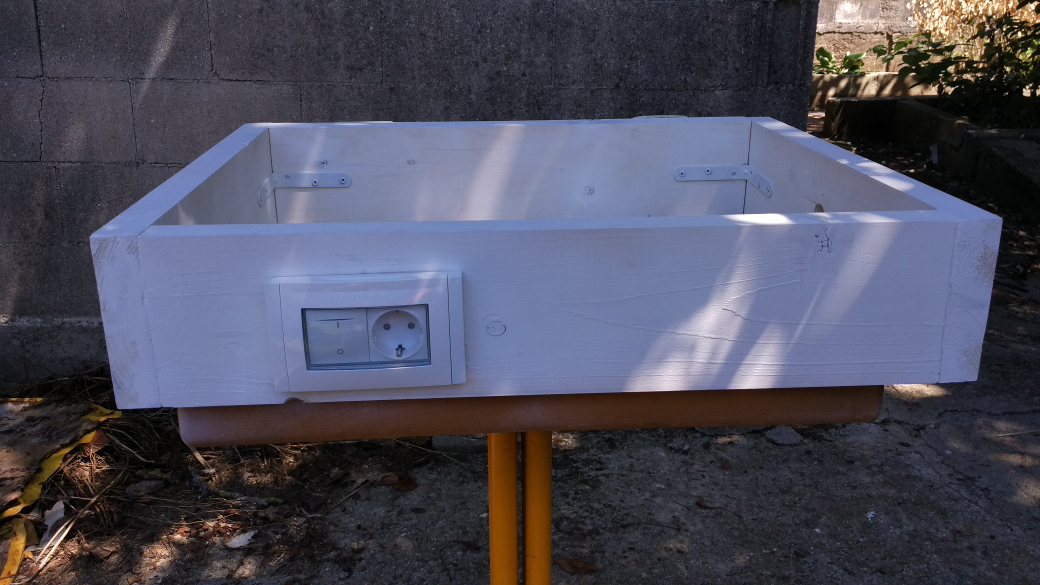
The bathroom cabinet consists of 2 pieces: a frame and a door:
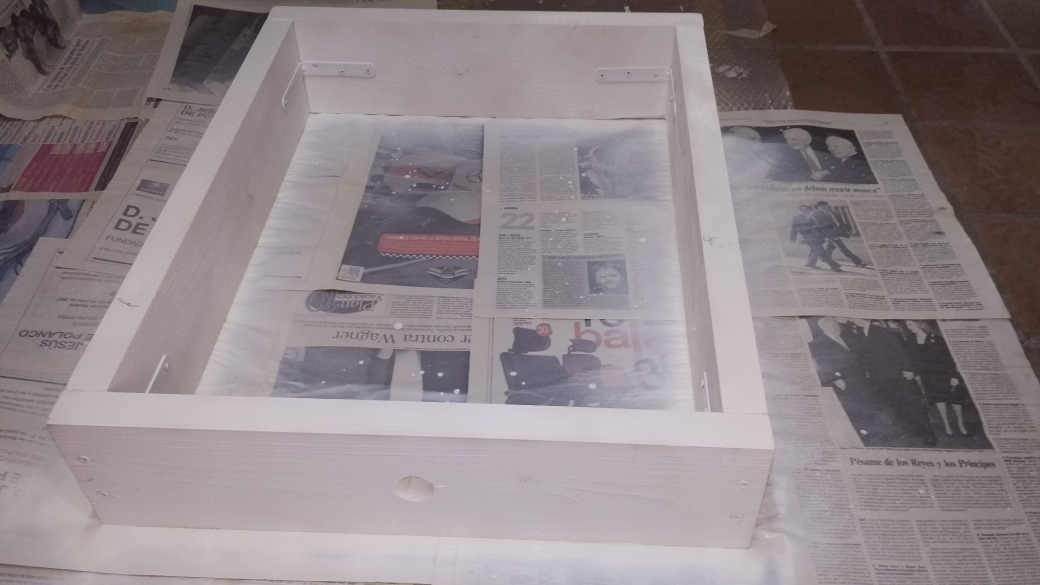
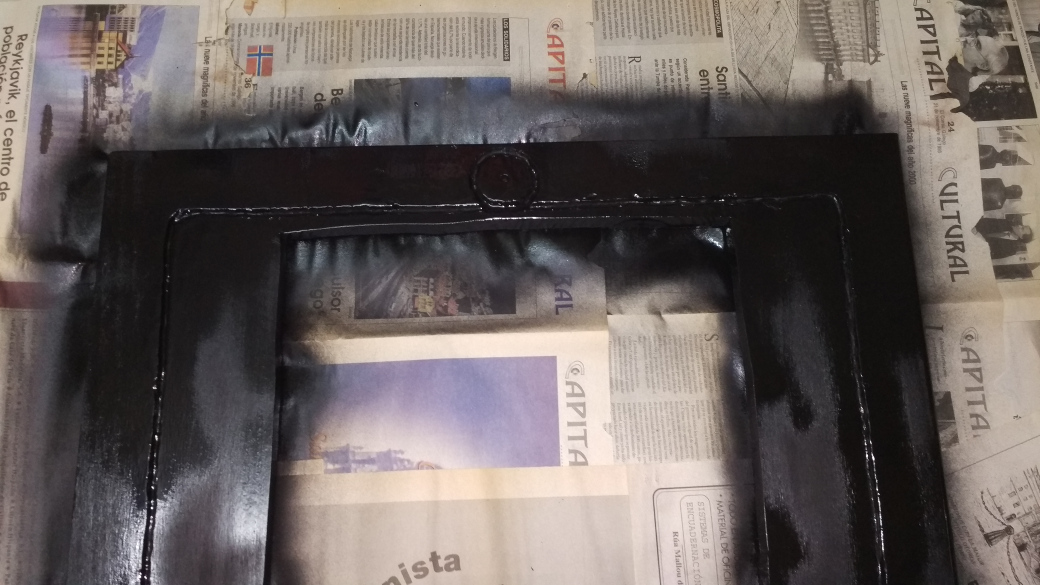
A coat of paint…
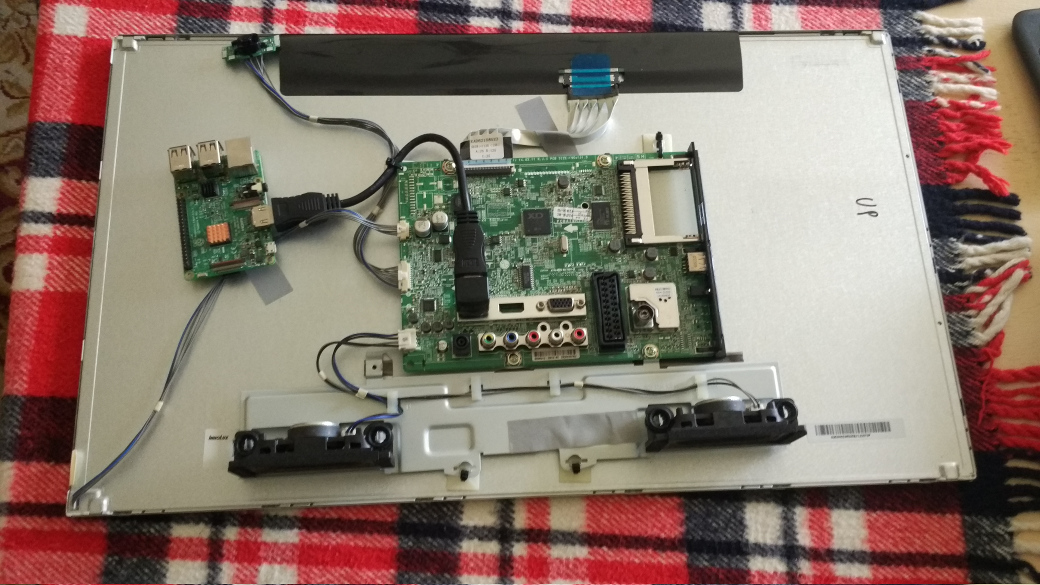
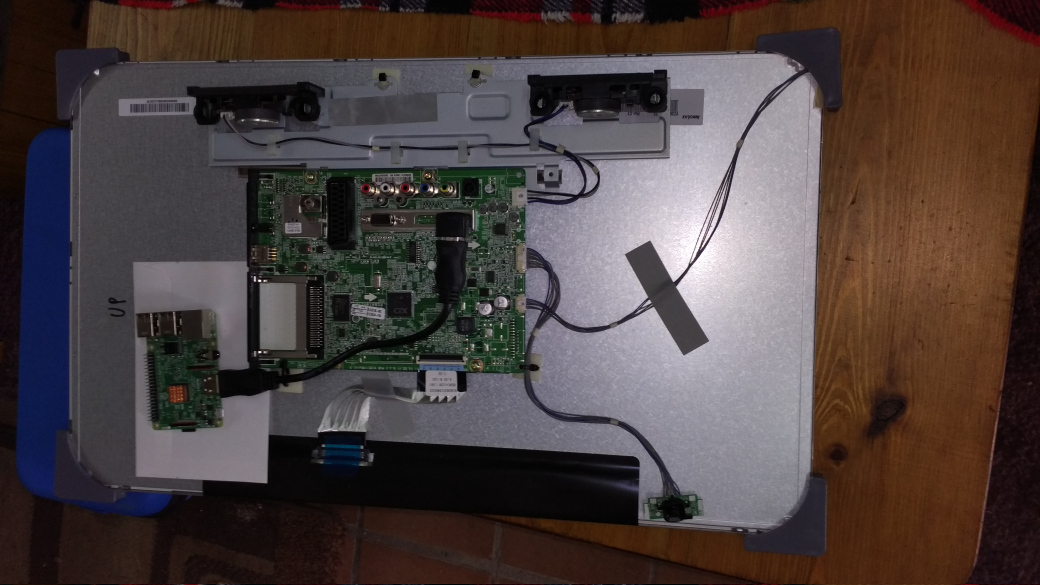
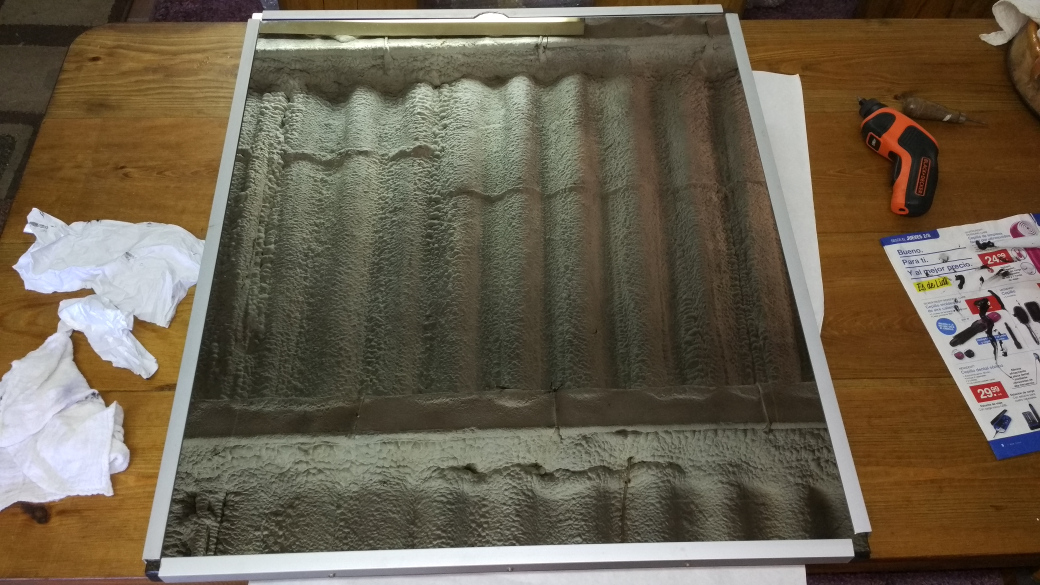
The screen of a second-hand 24-inch LCD TV
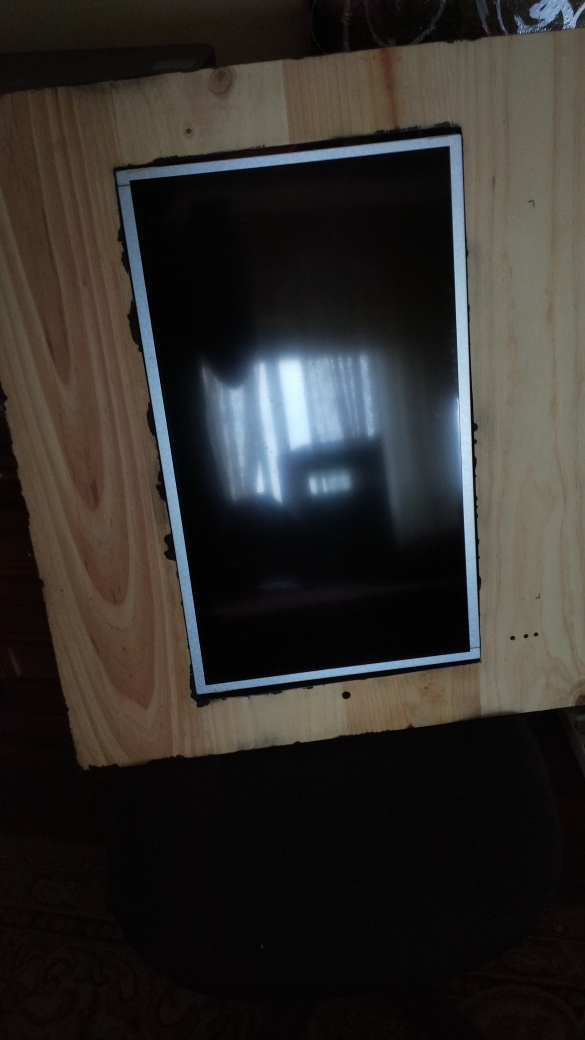
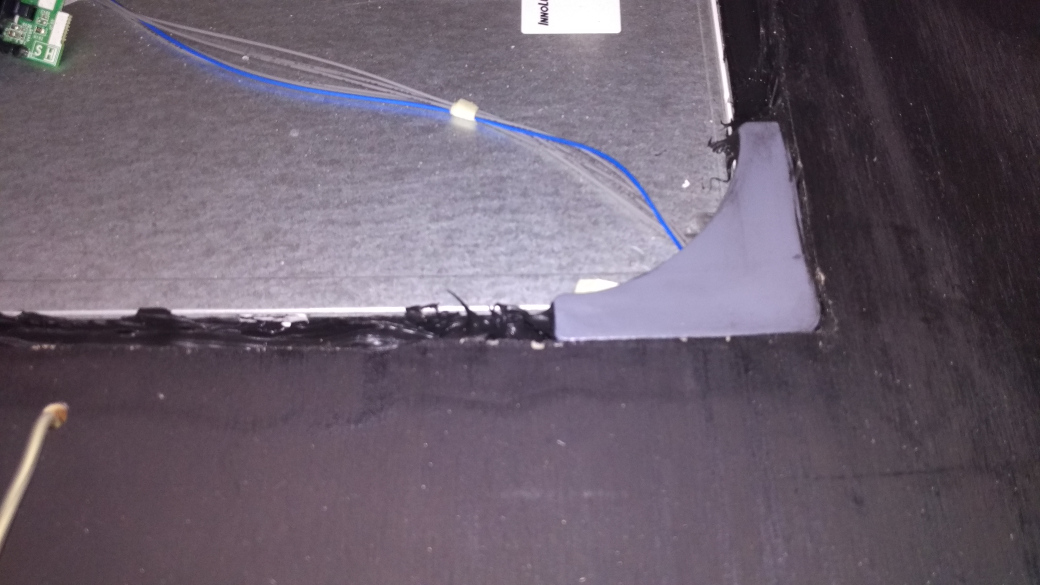
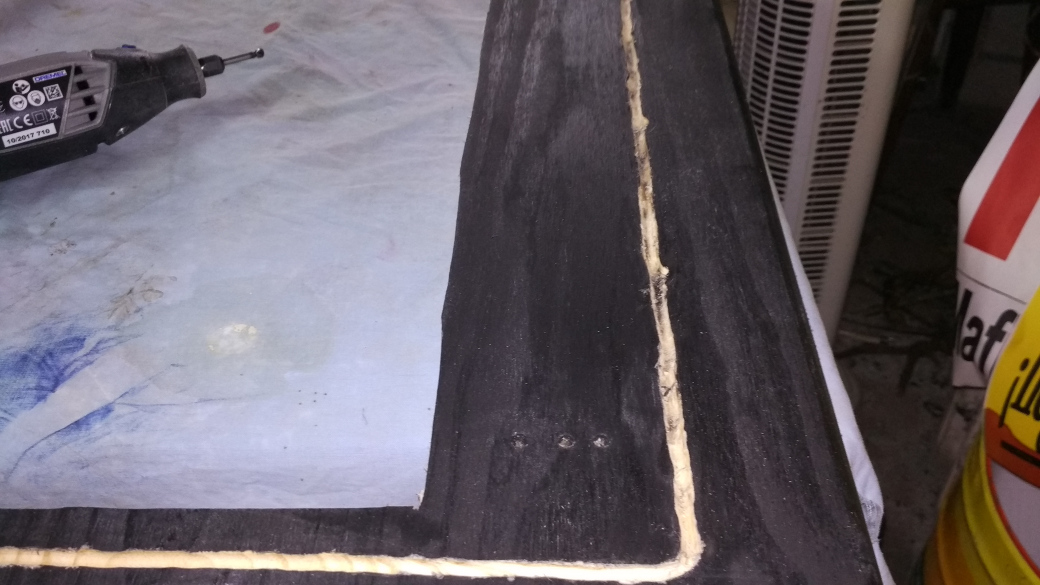
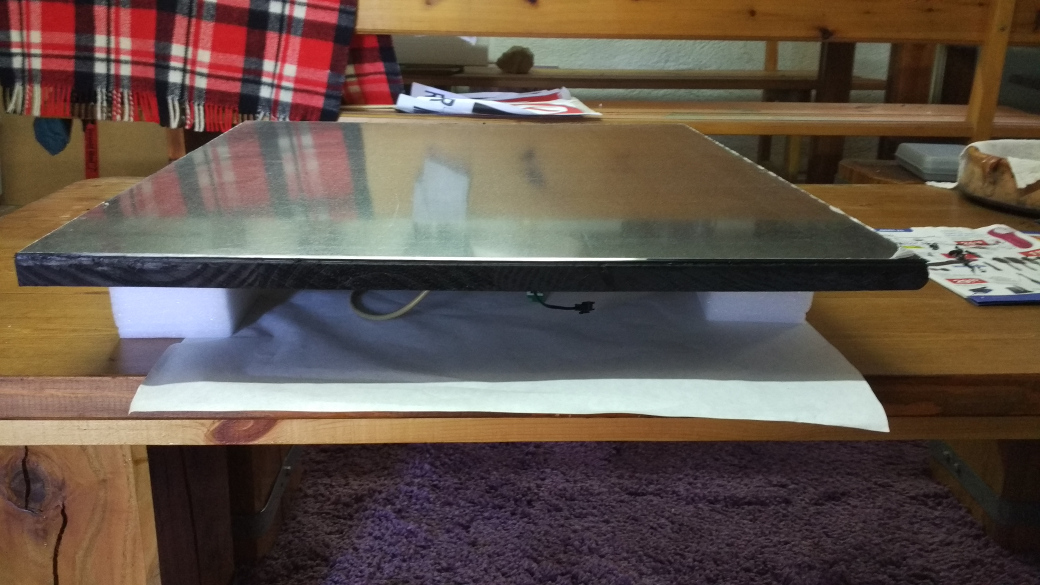
To correct these errors in the cut with the electric saw, I have put some plastic corners and black silicone. This is the result:
E.L. wire installation:


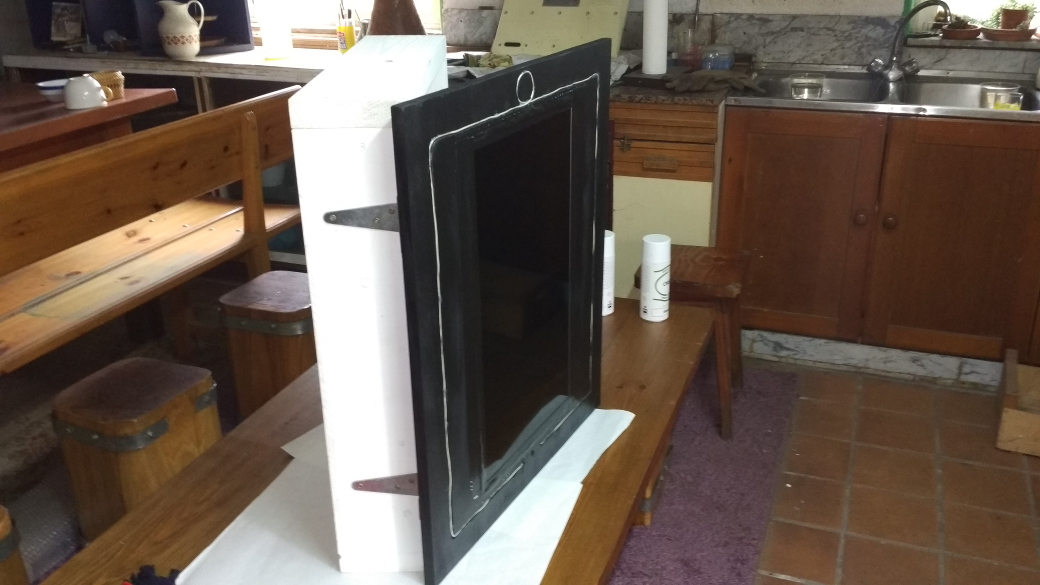

Mirror installation:
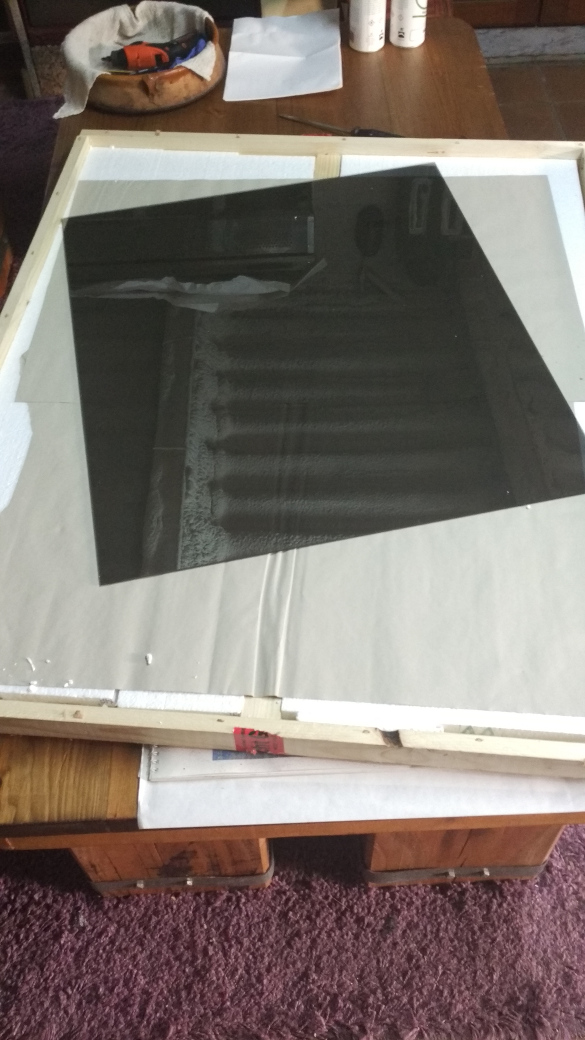
The mirror was glued with black silicone too
Preparation of the electrical wiring in the frame…
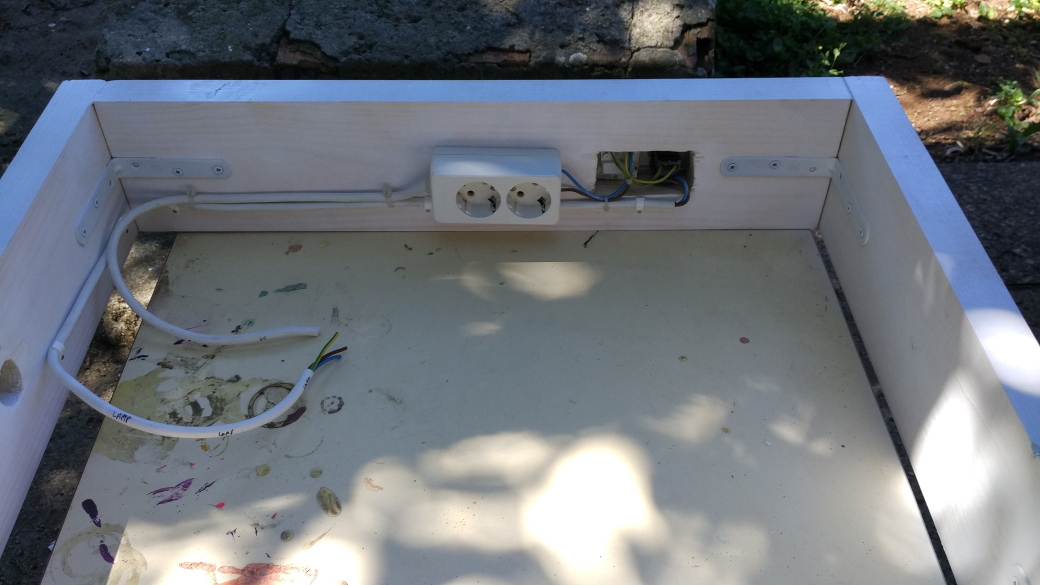
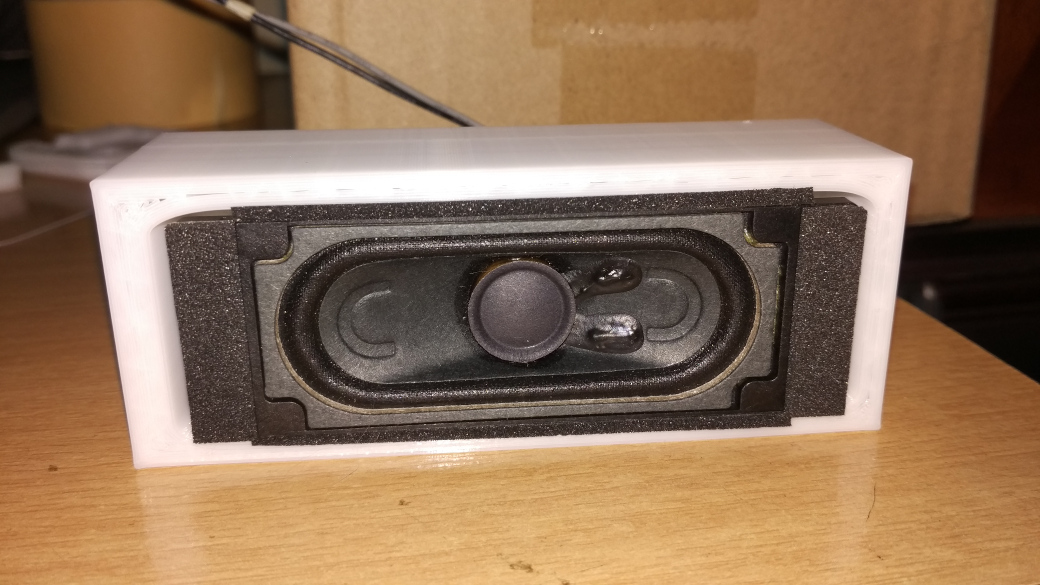
… and the TV speakers. I designed a simple piece in 3D to put them inside (they are available in thingiverse in case someone is interested).
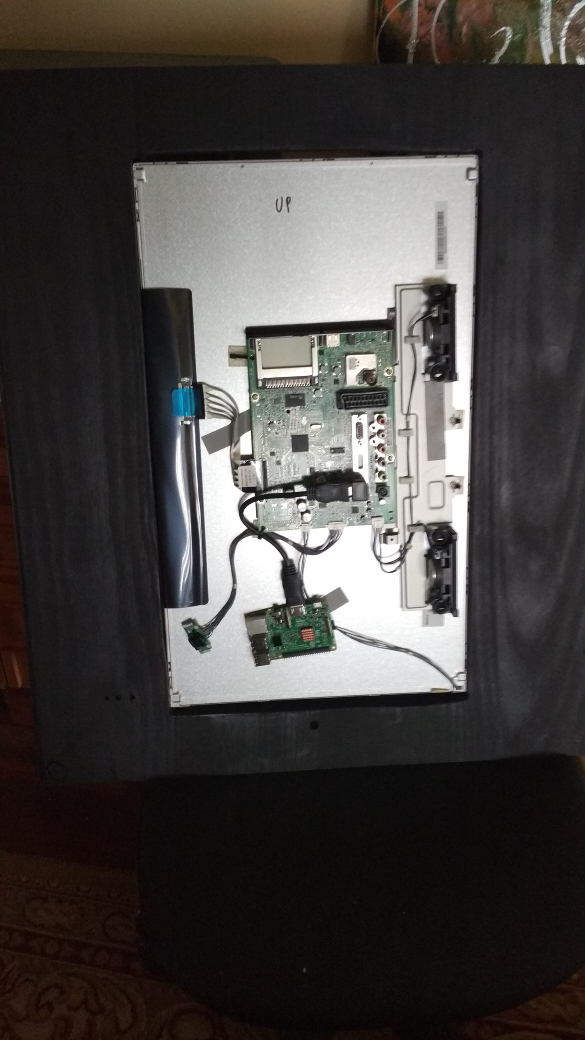
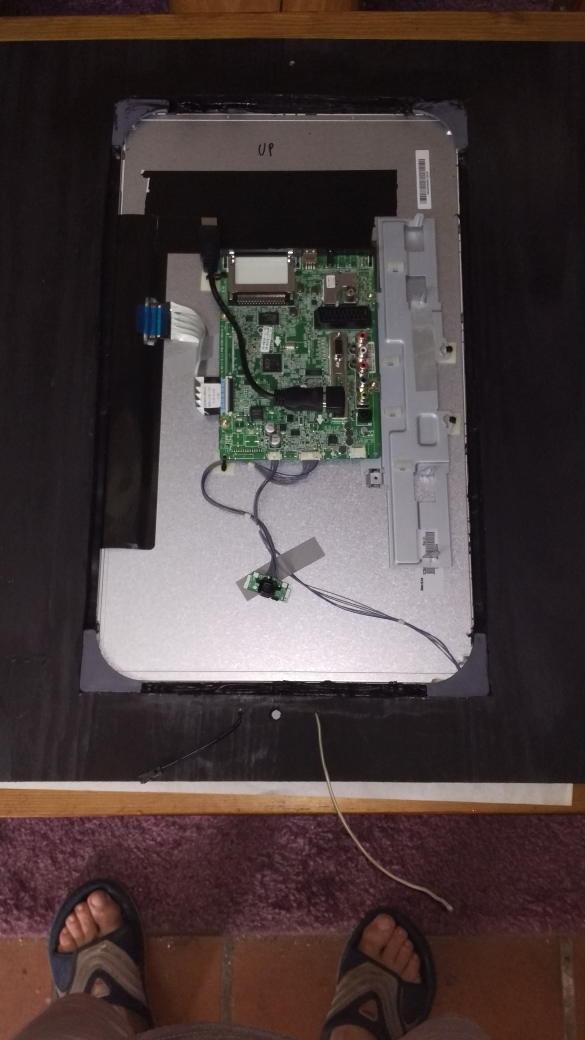
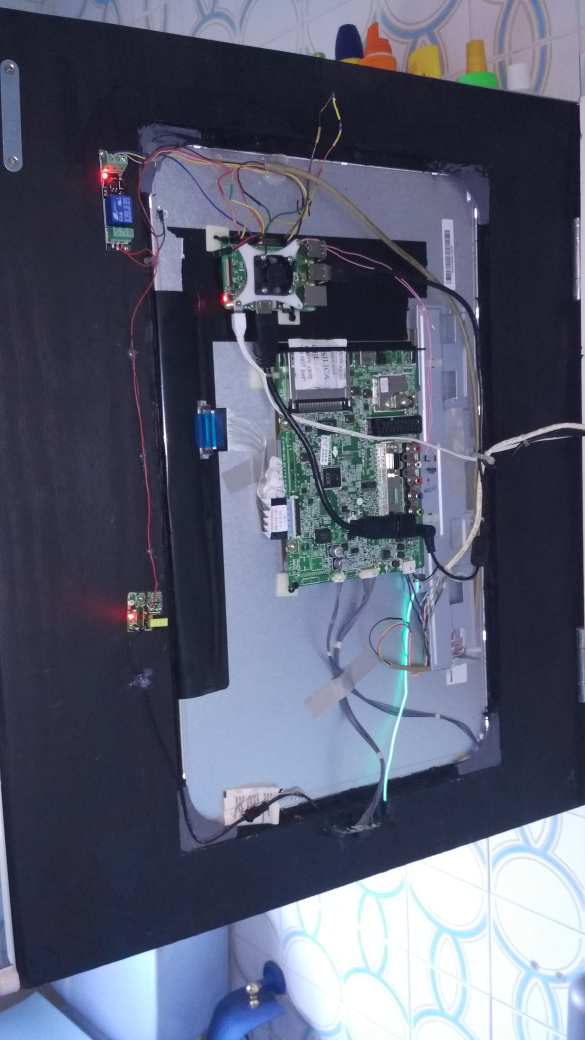
Final assembly:

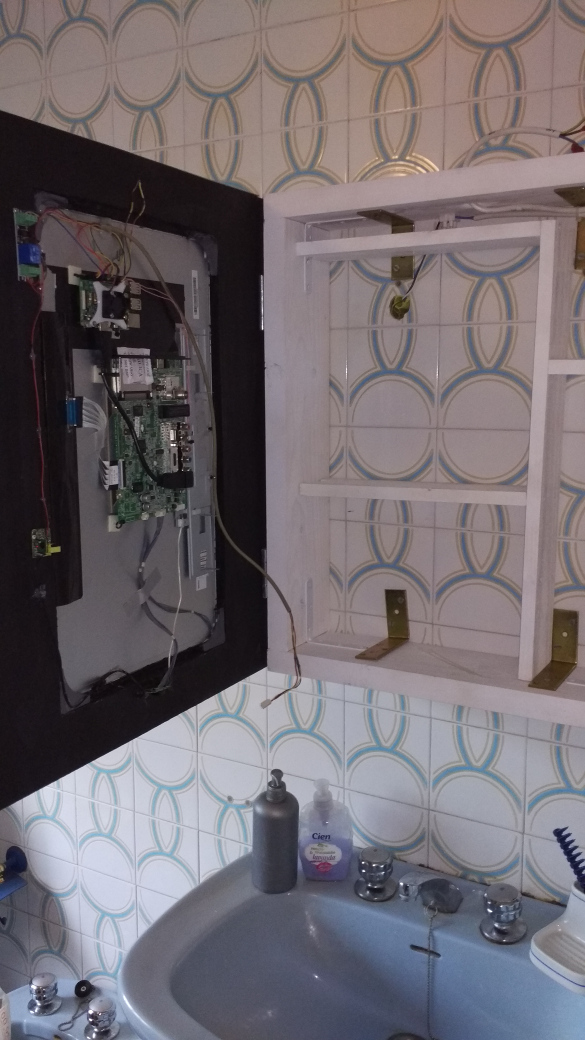


Detail of Raspberry Pi 3B
Last adjustments and … It works !!!
I have made a pdf with the connection scheme of all the electronic part that you can see here (I’ve had to convert to png previously to put it here):
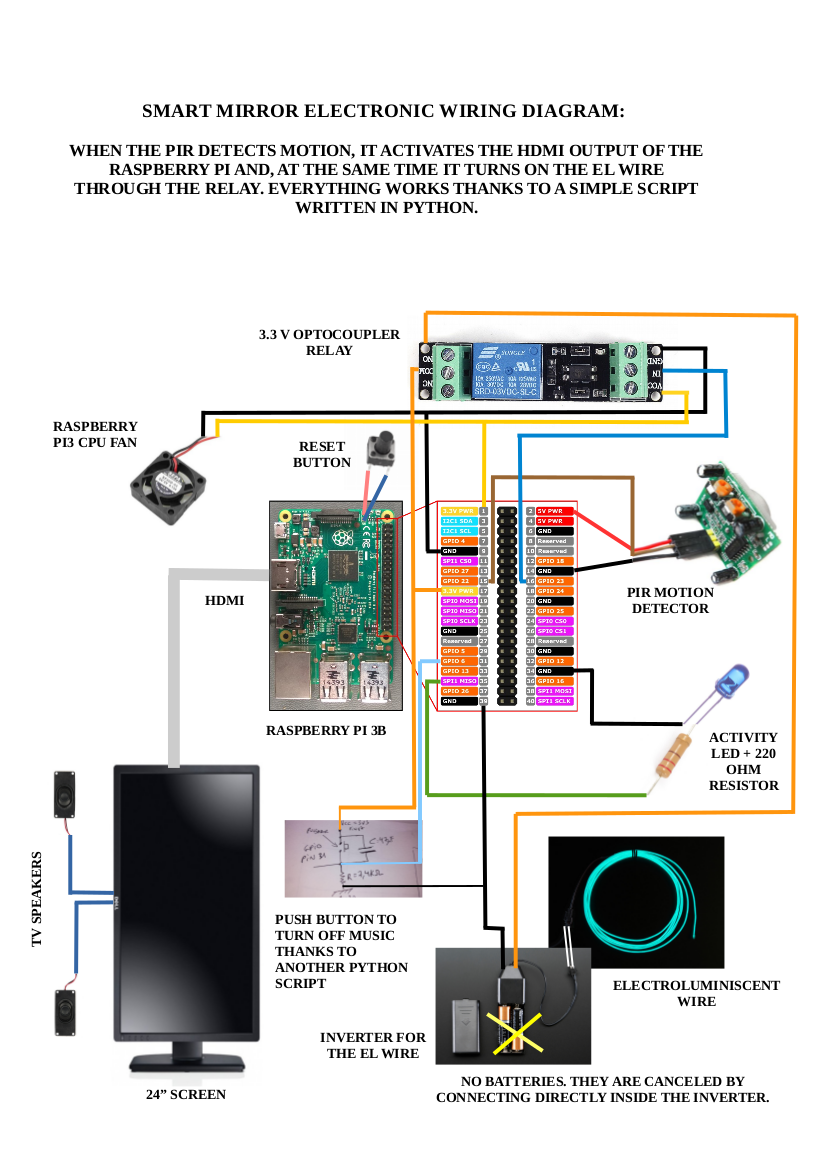
And here is the python3 script to make it all works:
#!/usr/bin/python3
# Para que funcione correctamente, hay que instalar los siguientes
# paquetes:   sudo apt install python3 python3-rpi.gpio

# Script que activa la pantalla y el EL wire cuando detecta movimiento
# a través del sensor de presencia PIR

import RPi.GPIO as GPIO
import time
import os

GPIO.setmode(GPIO.BCM)
GPIO.setup(22, GPIO.IN)						# SALIDA DEL PIR (PIR OUTPUT)
GPIO.setup(23, GPIO.OUT)					# EL WIRE (CABLE ELECTROLUMINISCENTE)
GPIO.setwarnings(False)

time.sleep(120)
os.system('vcgencmd display_power 0')

while True:
    if (GPIO.input(22) == 1):		                # SI DETECTA PRESENCIA (IF MOTION IS DETECTED)
        os.system('ogg123 -qz /media/pi/MUSICA/ &')	# ACTIVA LA MÚSICA (TURN MUSIC ON)
        os.system('vcgencmd display_power 1')	        # ACTIVA HDMI --> ACTIVA PANTALLA (TURN ON SCREEN)
        GPIO.output(23, GPIO.HIGH)			# ENCIENDE EL ELWIRE (TURN ON EL WIRE)
        time.sleep(600)					# "DUERME" 10 MINUTOS (SLEEP 10 MINUTES)
        os.system('vcgencmd display_power 0')		# APAGA SALIDA HDMI --> APAGA PANTALLA (TURN OFF SCREEN)
        GPIO.output(23, GPIO.LOW)			# APAGA EL WIRE (TURN OFF EL WIRE)
        os.system('sudo pkill ogg123')			# MATA PROCESO MÚSICA (TURN OFF MUSIC)
And you can watch a video here:
https://www.youtube.com/watch?v=WOjyTtQLJ6w
I hope you like it as much as I do!!
So far I have not managed to make the music stop when the push button is pressed, but I will end up getting it …
-
Good stuff!
-
Looks really great. Thanks for the documentation and the review
Hello! It looks like you're interested in this conversation, but you don't have an account yet.
Getting fed up of having to scroll through the same posts each visit? When you register for an account, you'll always come back to exactly where you were before, and choose to be notified of new replies (either via email, or push notification). You'll also be able to save bookmarks and upvote posts to show your appreciation to other community members.
With your input, this post could be even better 💗
Register Login