• Recent
  • Tags
  • Unsolved
  • Solved
  • MagicMirror² Repository
  • Documentation
  • 3rd-Party-Modules
  • Donate
  • Discord
  • Register
  • Login
MagicMirror Forum
  • Recent
  • Tags
  • Unsolved
  • Solved
  • MagicMirror² Repository
  • Documentation
  • 3rd-Party-Modules
  • Donate
  • Discord
  • Register
  • Login
A New Chapter for MagicMirror: The Community Takes the Lead
Read the statement by Michael Teeuw here.

Bathroom Magic Mirror

Scheduled Pinned Locked Moved Show your Mirror
67 Posts 25 Posters 72.3k Views 27 Watching
Loading More Posts
  • Oldest to Newest
  • Newest to Oldest
  • Most Votes
Reply
  • Reply as topic
Log in to reply
This topic has been deleted. Only users with topic management privileges can see it.
  • S Offline
    spitzlbergerj Project Sponsor Module Developer
    last edited by spitzlbergerj Jan 30, 2020, 11:48 AM Nov 25, 2018, 12:51 PM

    My first MagicMirror is now finished and mounted in our bathroom.
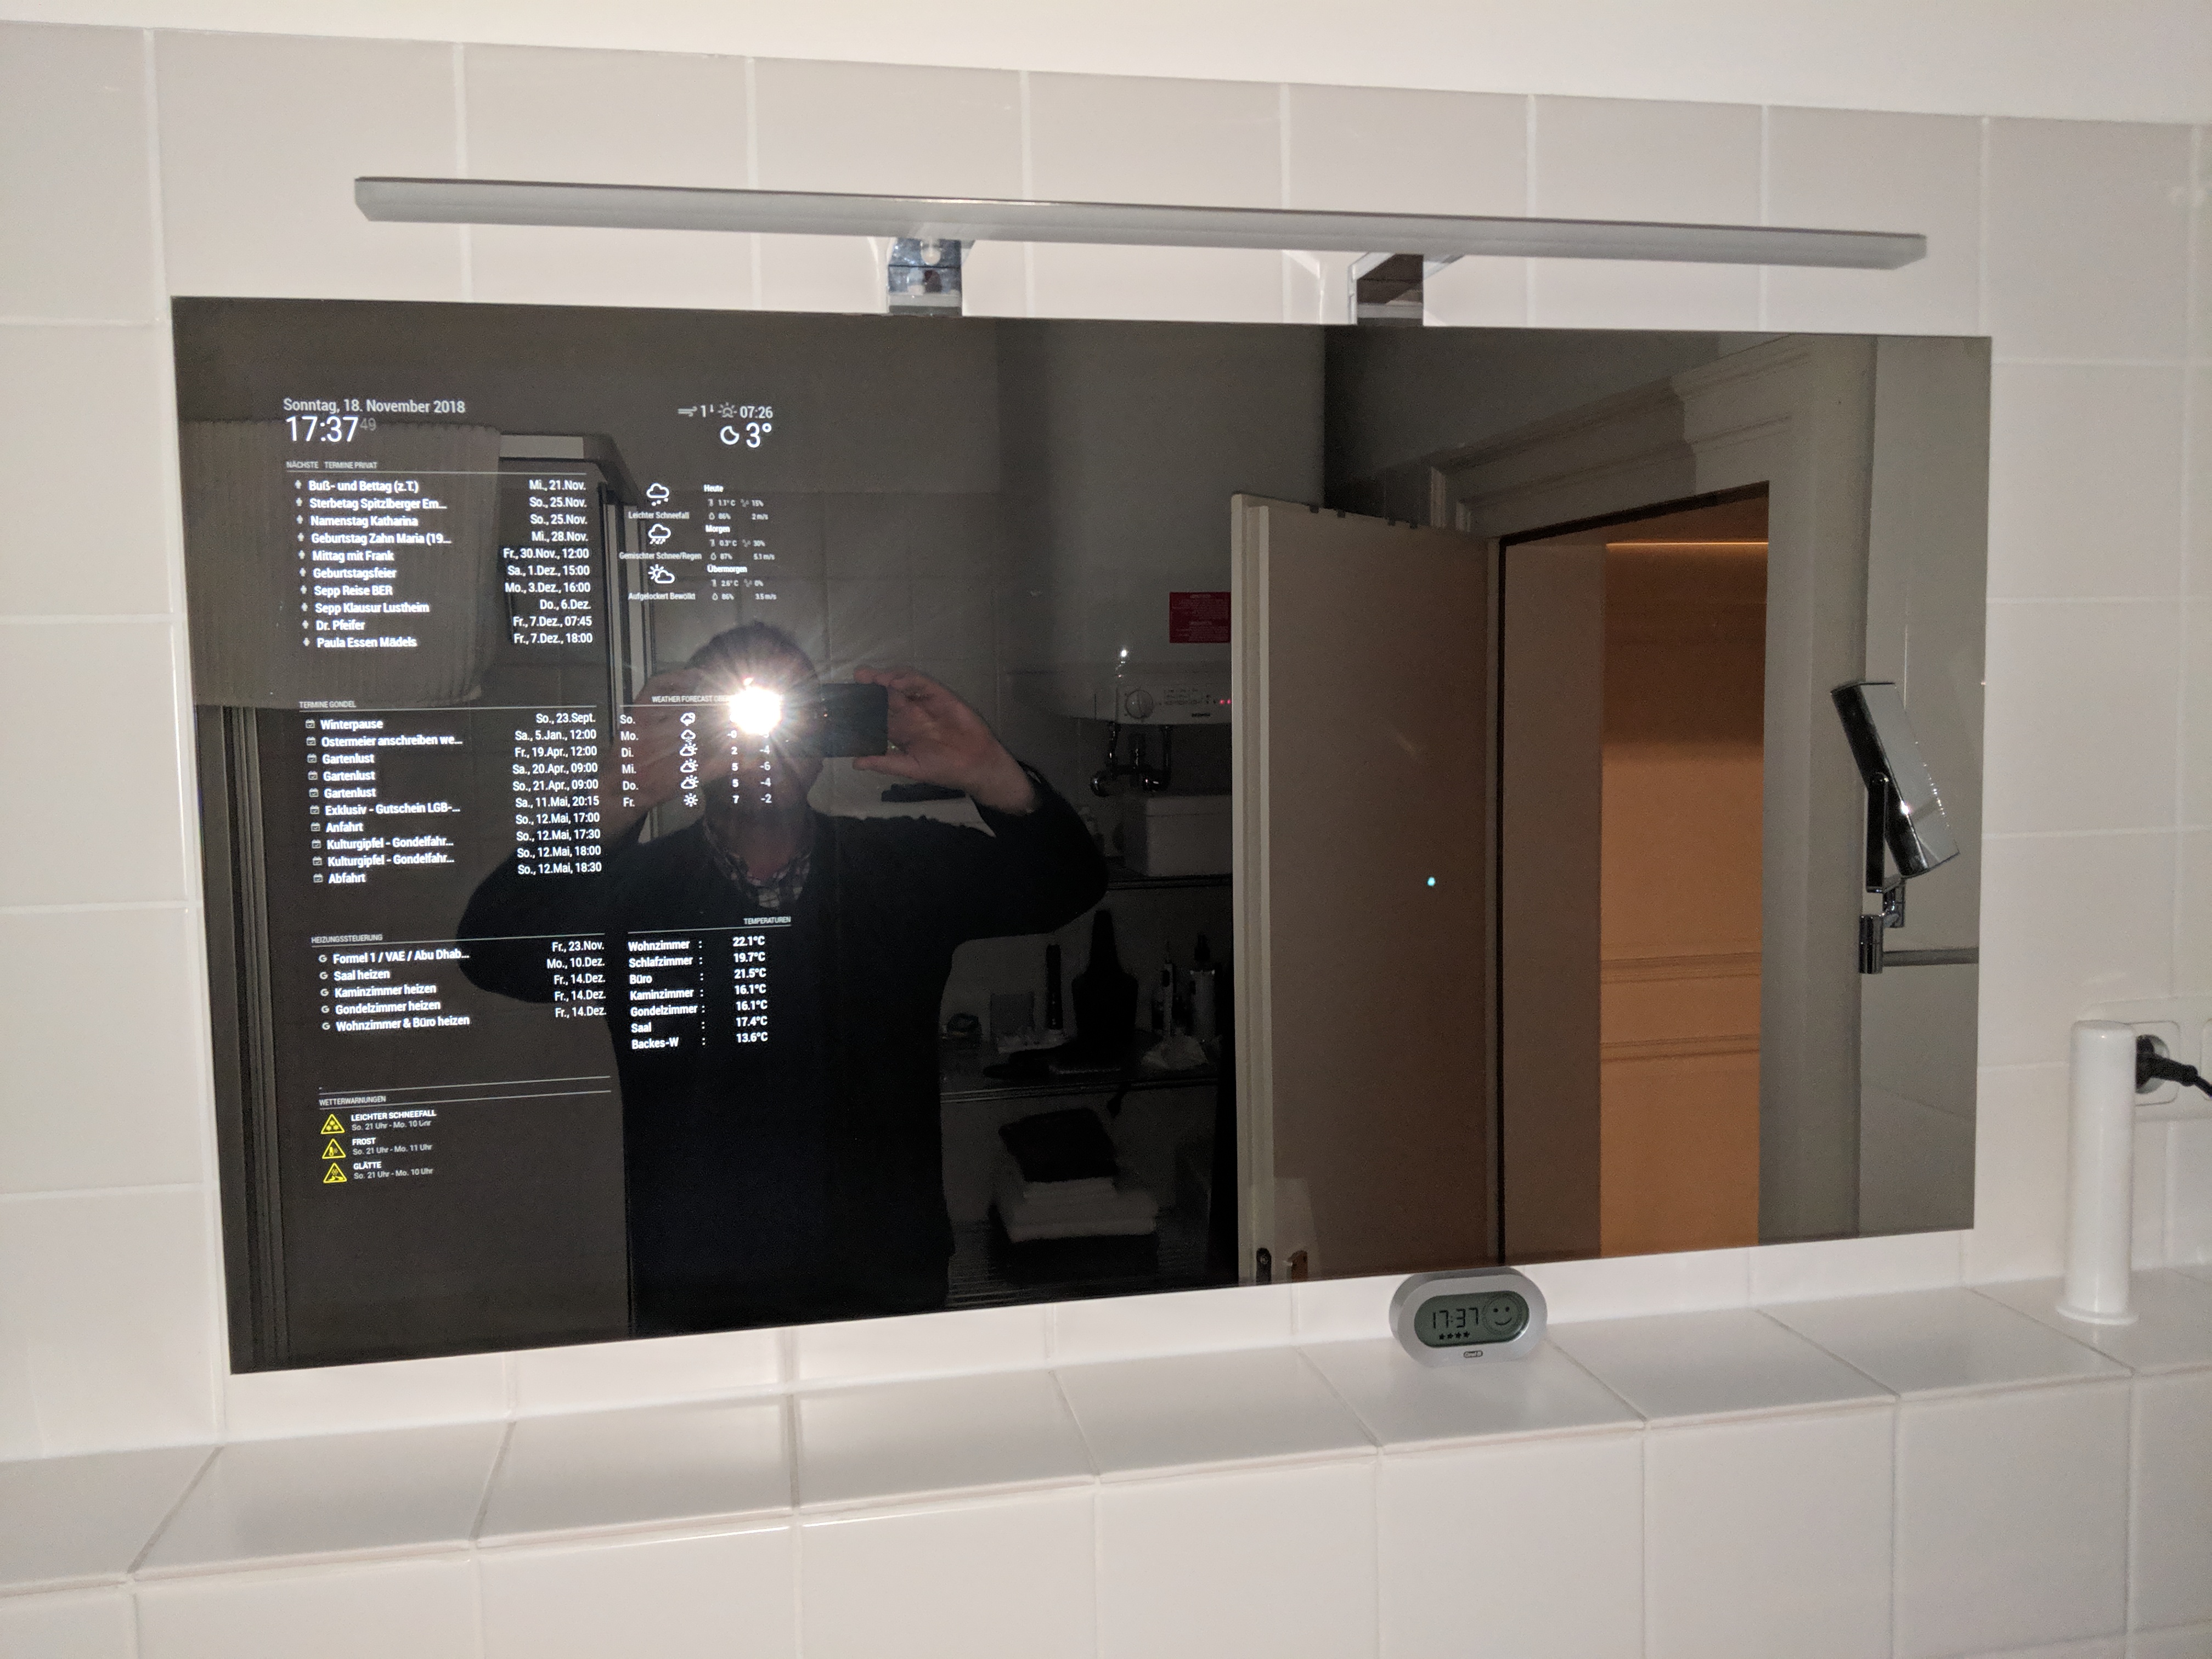
    my SmartMirror

    The following requirements had to be fulfilled:

    • maximum woman acceptance factor
    • minimum depth
    • rimless mirror
    • Mounting a LED light bar
    • Integration into my Homematic installation
    • Button to reboot the Raspberry pi
    • Button for further control tasks
    • Motion control

    I have planned the mirror with SketchUp:

    Picture 1:
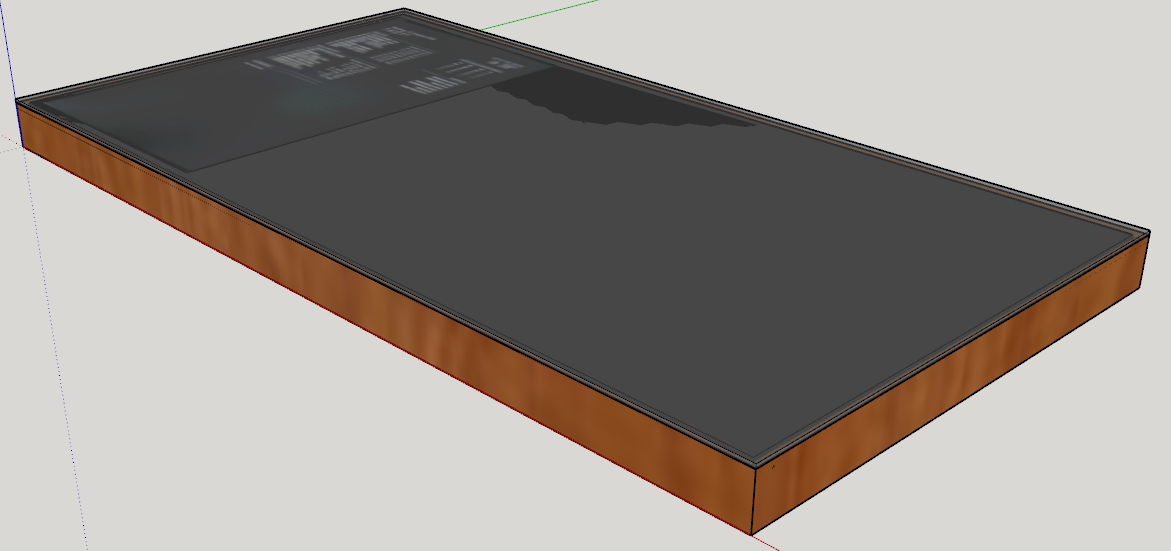
    SketchUp

    Picture 2:
    SketchUp

    Picture 3:
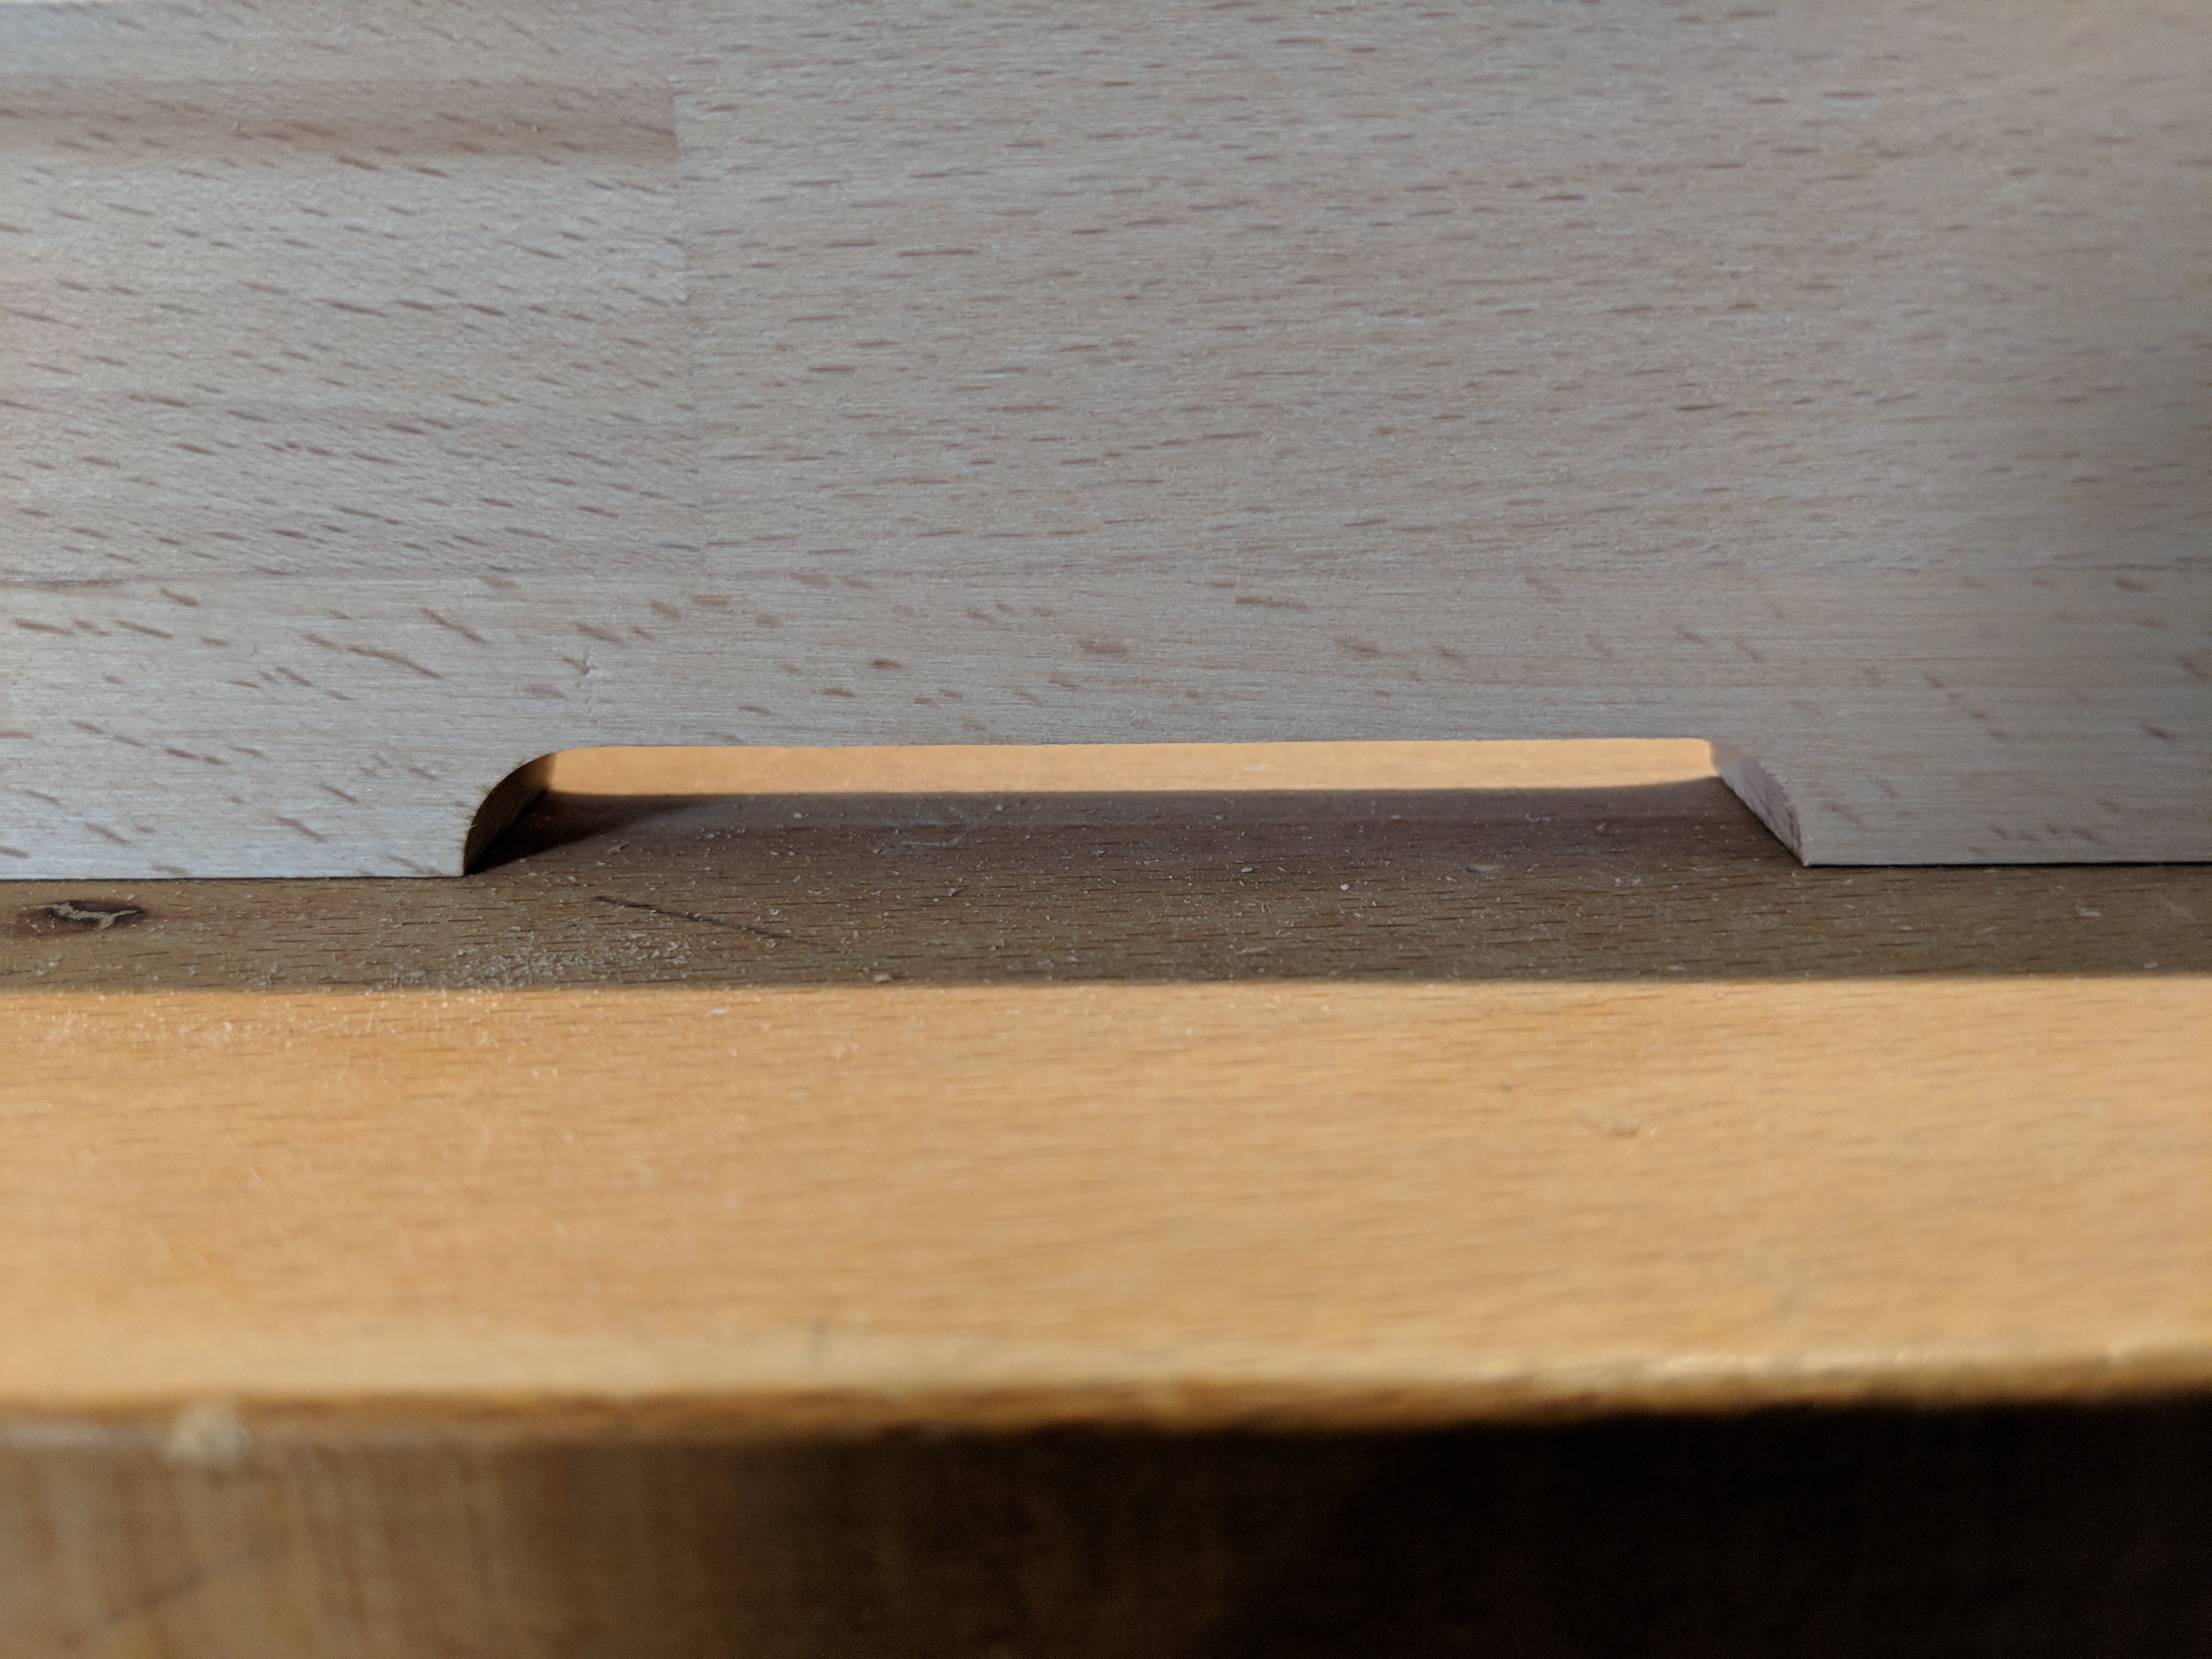
    Fräsung für Silikonfuge/Milling groove for silicone joint
    SketchUp

    Picture 4:
    SketchUp

    Picture 5:
    SketchUp

    Picture 6:
    SketchUp

    Picture 7: (wall mount)
    SketchUp

    I used beechwood

    Picture 8:
    Fräsung für Silikonfuge/Milling groove for silicone joint

    Picture 9:
    Entlüftungsöffnungen rechts und links oben/Vent opening (out) on left and right top

    Picture 10:
    Belüftungsöffnung unten/Vent opening (in) at the bottom

    Picture 11:
    Bohrungen für Taster/Holes for buttons

    Picture 12:
    Fräsung für Metallwinkel/Milling for metal angles

    Photos of the assembly

    Picture 13:
    assembly

    Picture 14:
    assembly

    Picture 15:
    assembly

    Picture 16:
    assembly

    Picture 17:
    assembly

    Picture 18:
    assembly

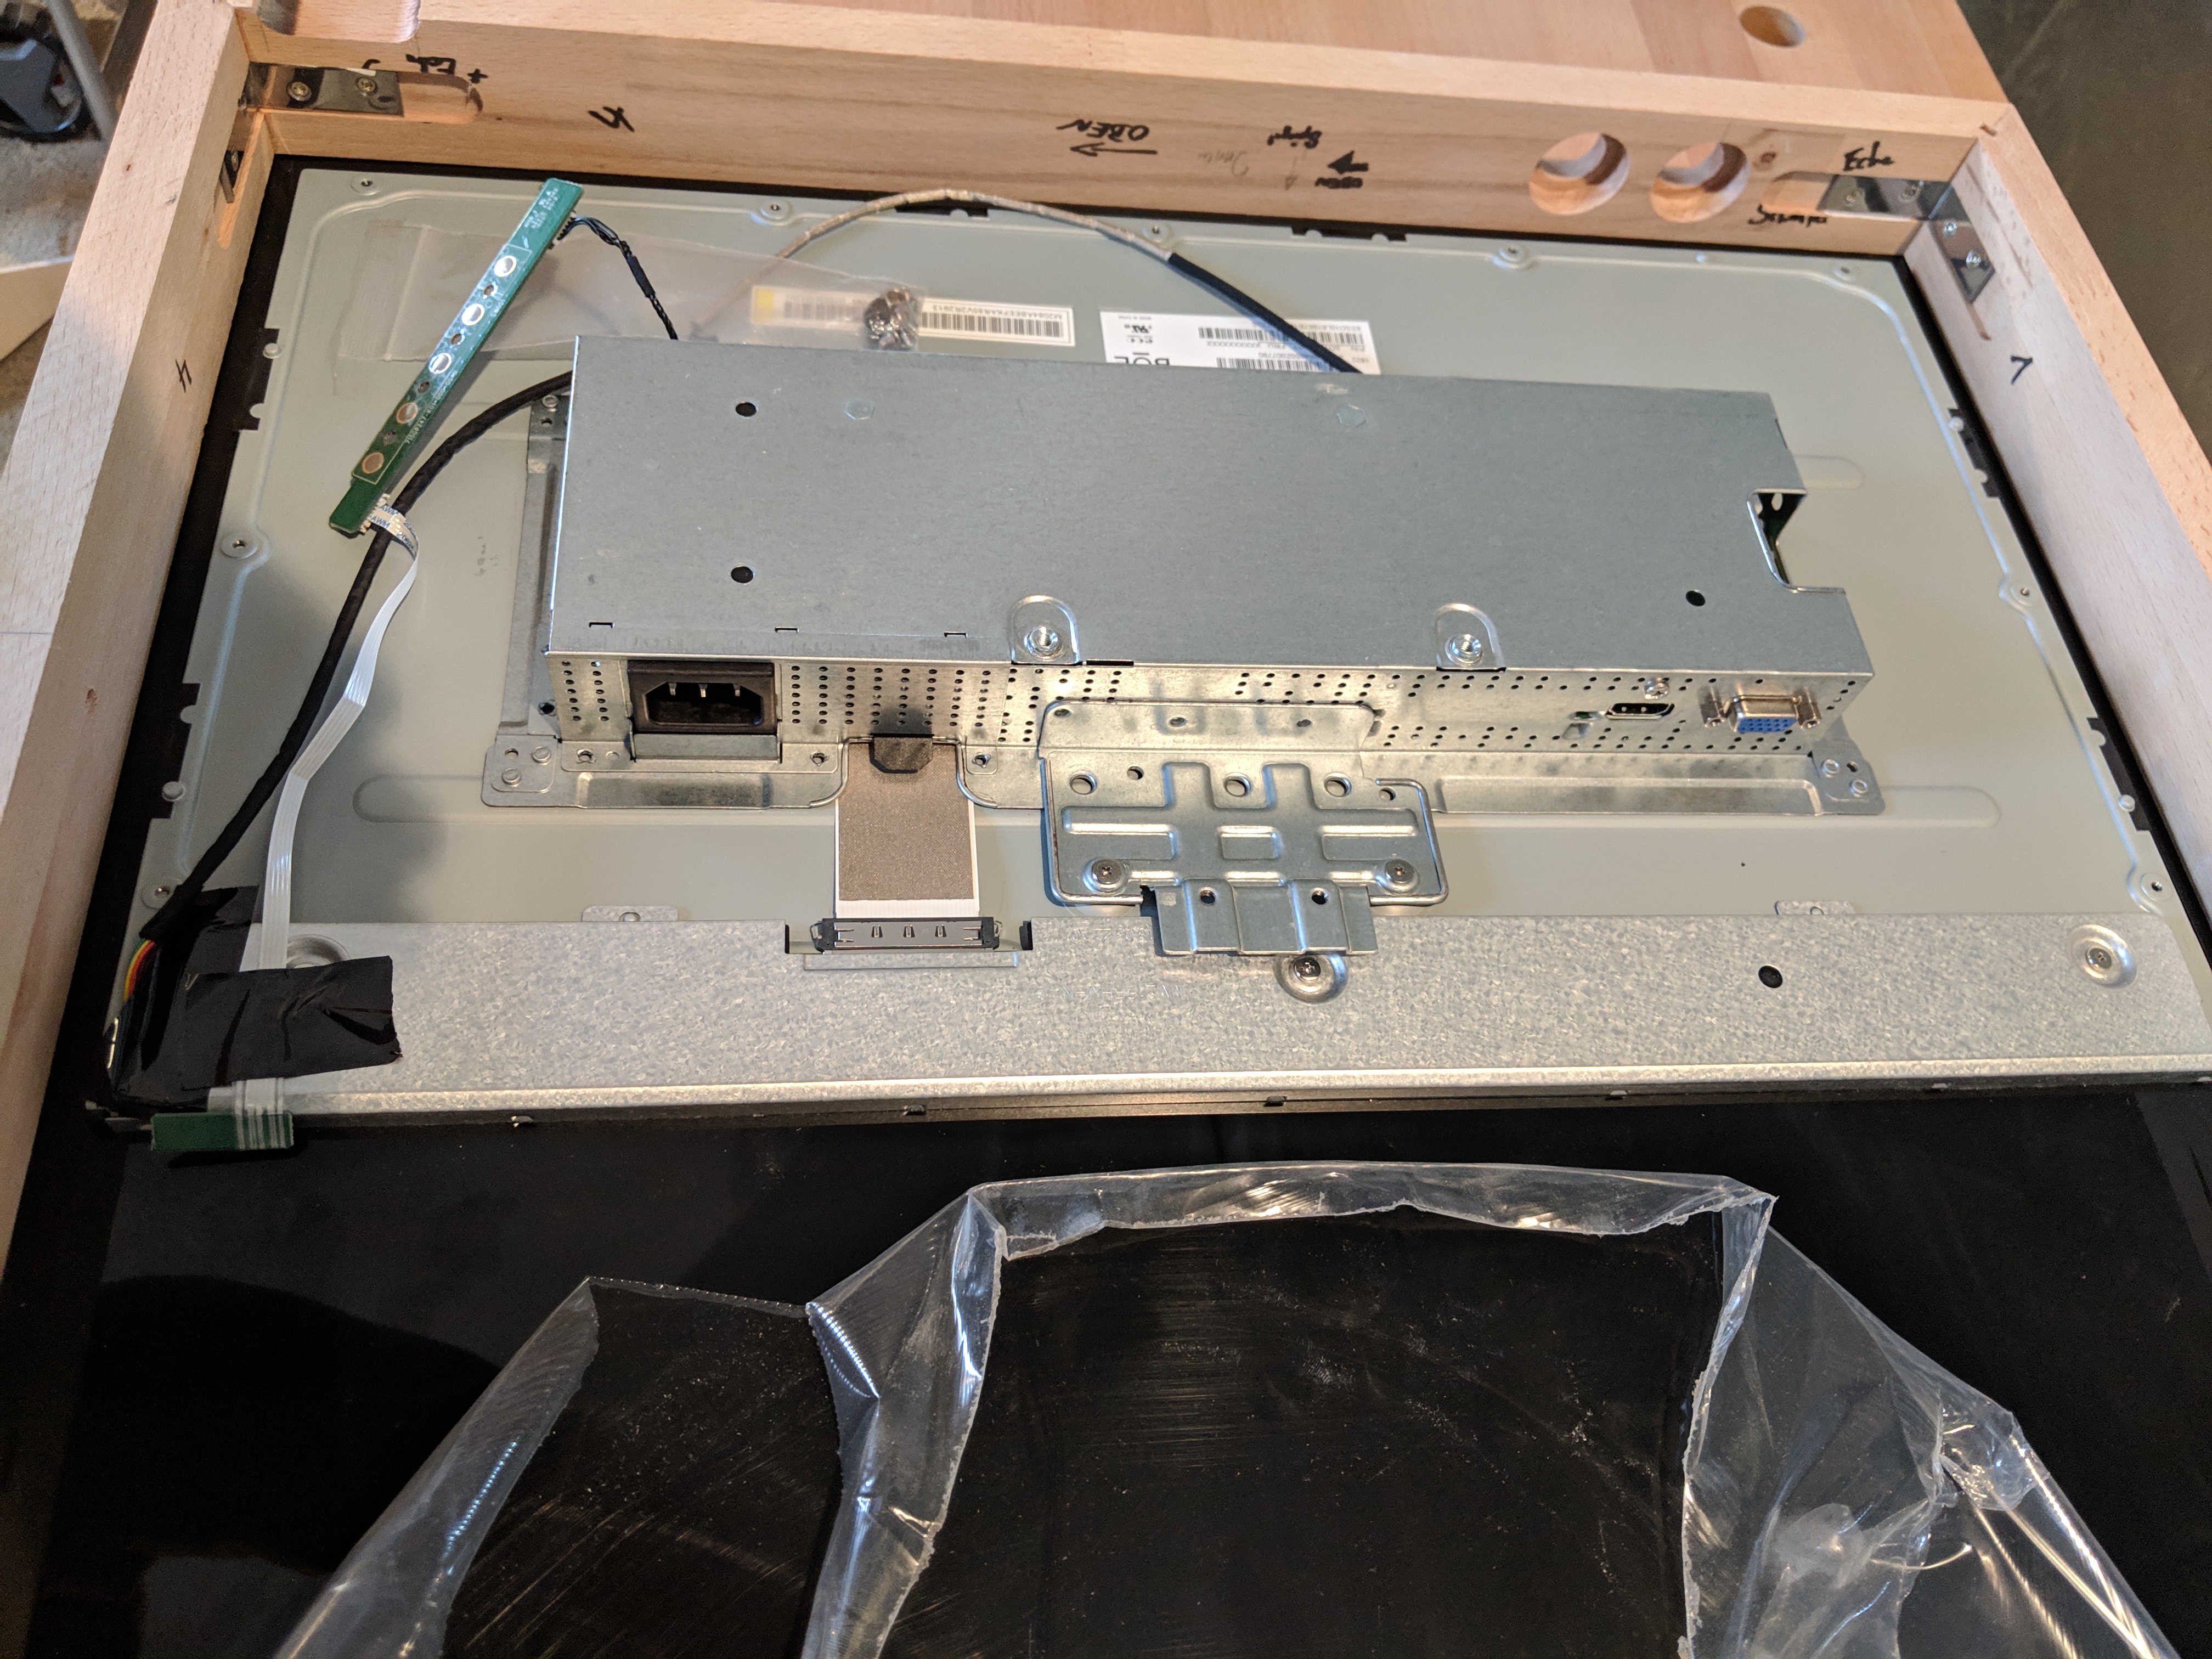
    Picture 19:
    back

    Picture 20:
    back

    Picture 21:
    back

    To connect the mirror to the power, I use a “cold device plug” (C13/C14 coupler). I split the former extension cable in the middle.

    And that’s how the mirror looks finished

    Picture 22:
    finished

    Picture 23:
    finished

    Picture 24:
    finished

    The following websites helped me with the construction and the configuration

    https://www.heise.de/ct/hotline/Ein-Ausschalter-fuer-Raspberry-Pi-und-Raspi-Zero-3892620.html?wt_mc=print.ct.2017.25.150
    https://webnist.de/python-script-auf-dem-raspberry-pi-automatisch-starten/
    https://pi-buch.info/hdmi-ausgang-unkompliziert-ein-und-ausschalten/
    https://www.nils-snake.de/archives/magic-mirror-bewegungssensor-einbauen-teil-5

    I have used:

    • Raspberry pi 3
    • Beech wood from the hardware store
    • Aluminium composite panel (ACP) with cutout (https://www.plattenzuschnitt24.de/ - german: Alu Dibond Platte)
    • Spy mirror (https://www.glas-star.de/spionspiegelnachmass/chrome-spy-spiegel/)
    • Silicone (PCI Silcofern S) Color: black (Important! Never use transparent silicone. Otherwise you will see it and regret it!)
    • Screen (HP 22w (1CA83AA) 54.6 cm (21.5 inch) monitor (IPS, Full HD, HDMI) https://smile.amazon.de/gp/product/B0732RBR3J/ref=oh_aui_detailpage_o01_s01?ie=UTF8&psc = 1)
    • Radar motion detector (Amazon Haljia 5 RCWL-0516)

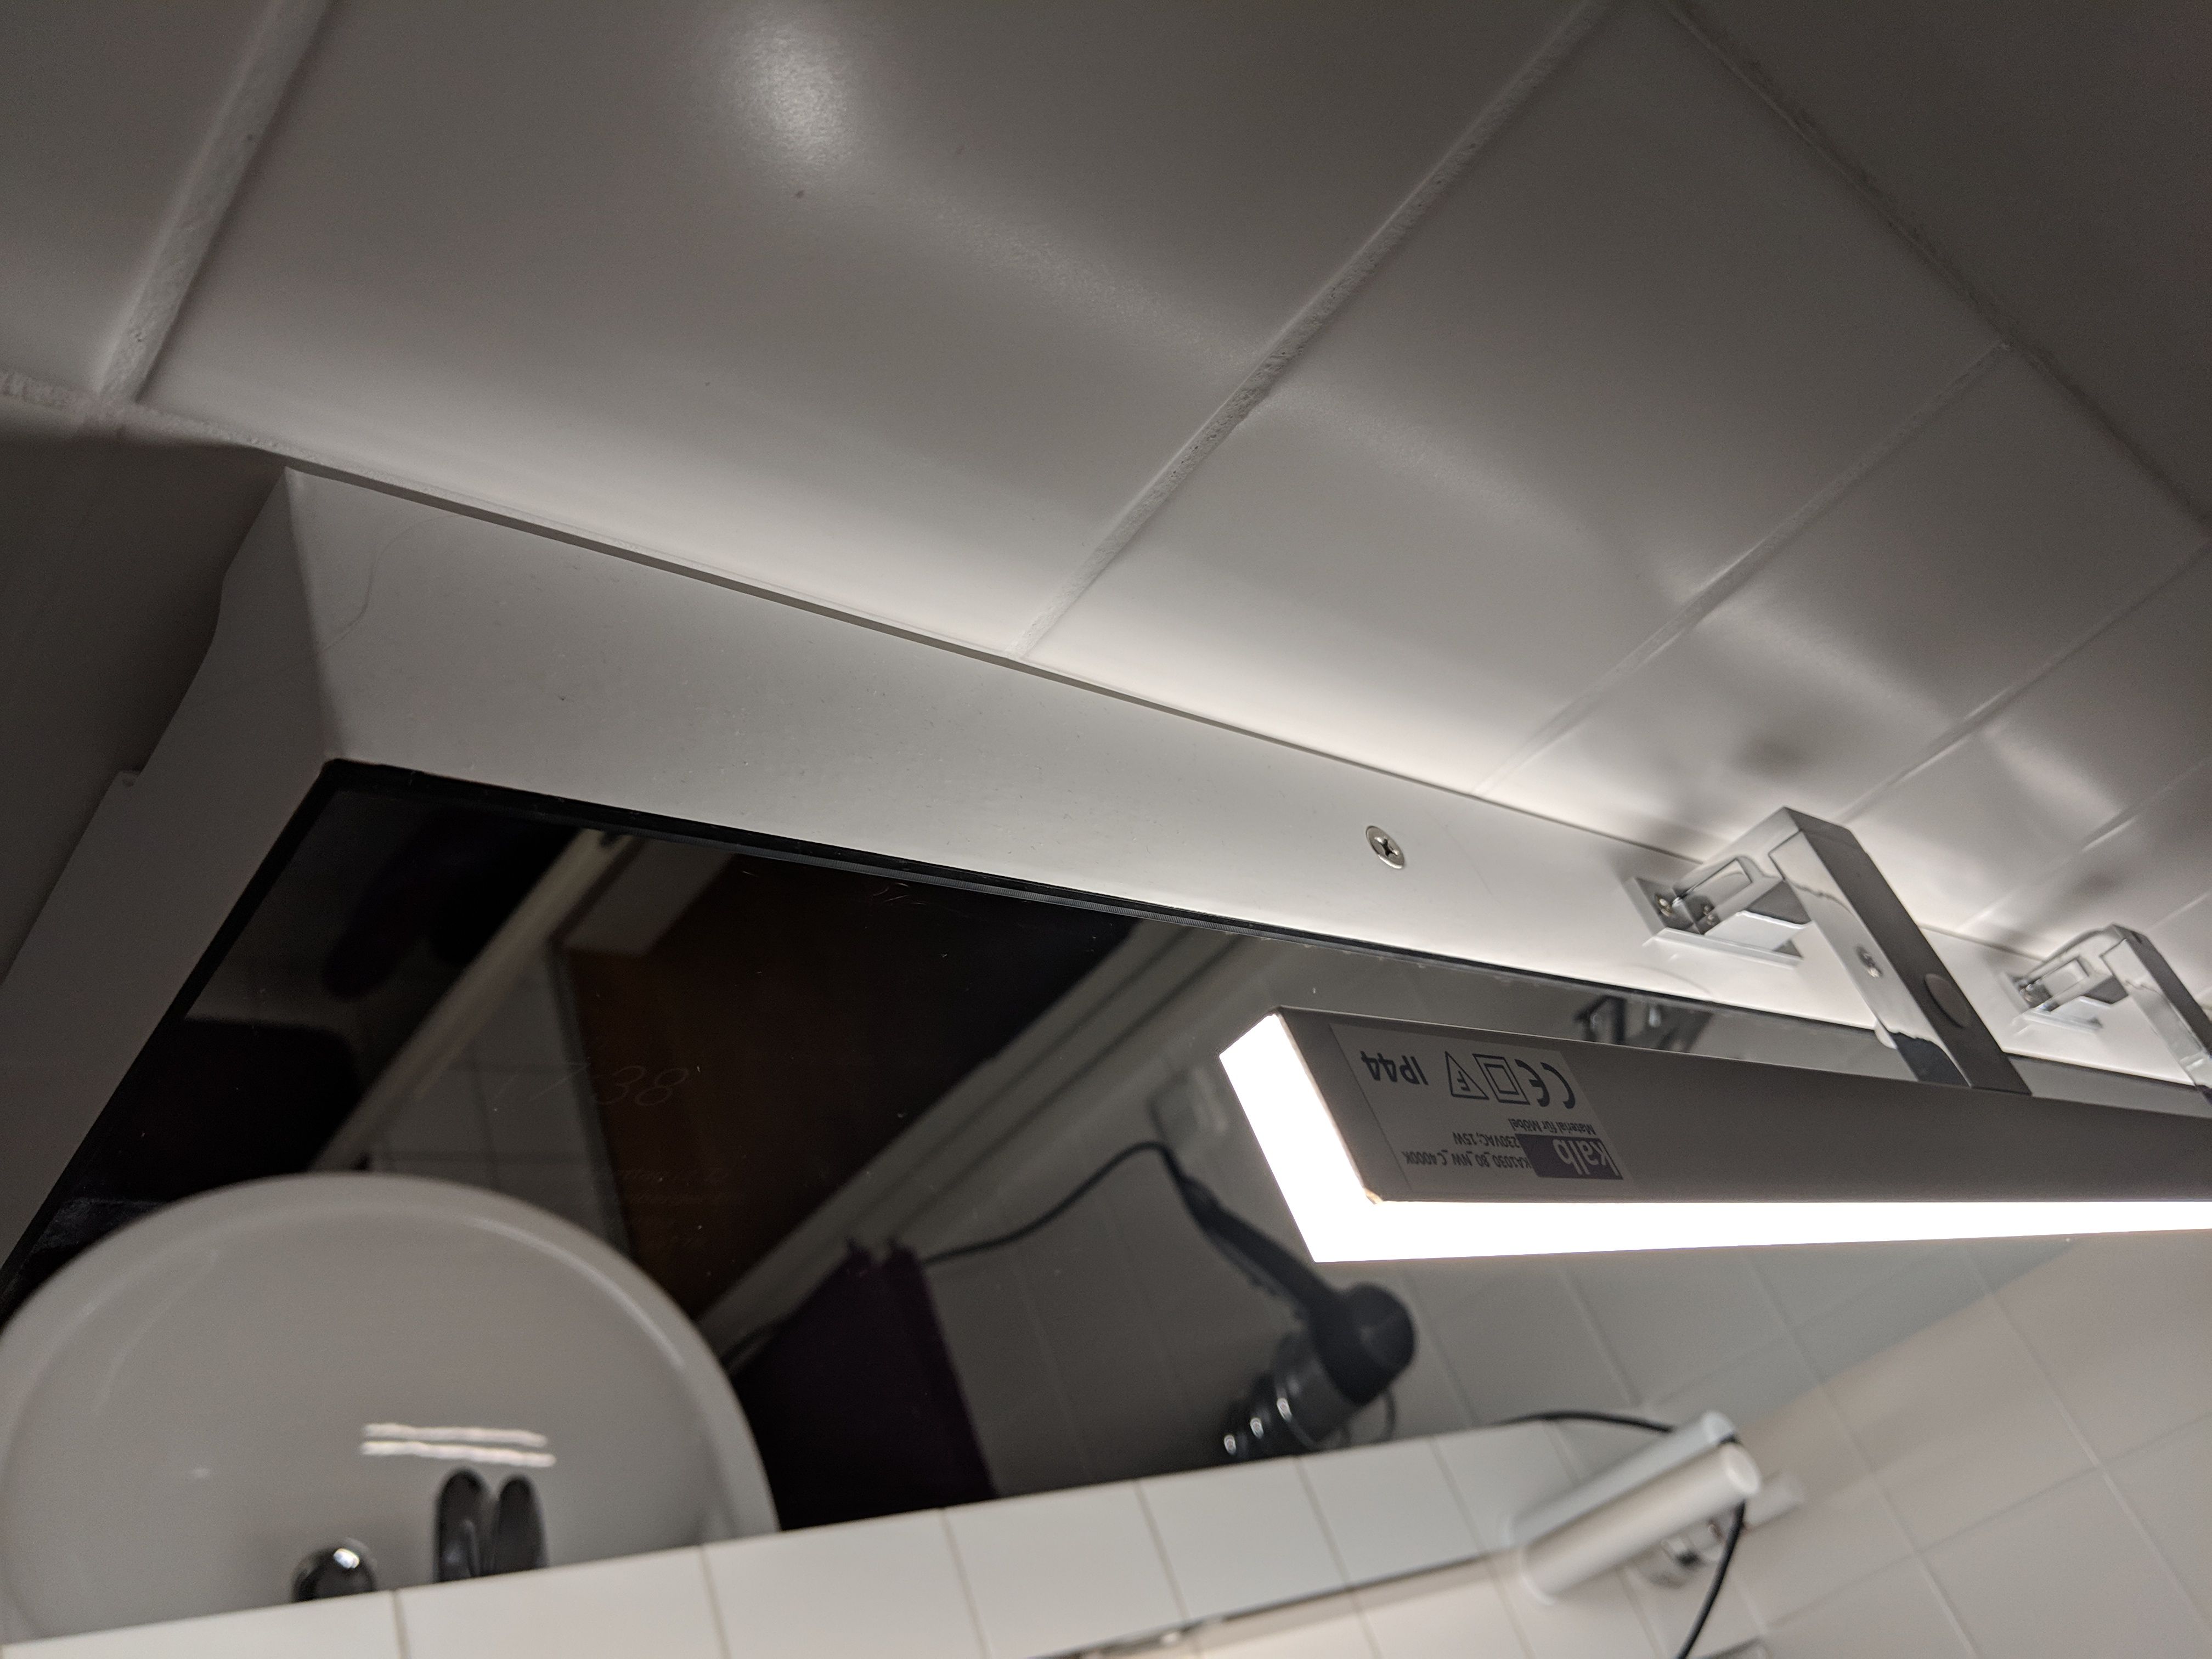
    To fix the frame to the wall I use fittings as they are also used in the assembly of kitchen wall cabinets (see also picture 7). These are height-adjustable and depth-adjustable. The frame is fastened there over a vertical screw from above by the frame at the substructure. (see picture 24). I used these parts:
    rail: https://www.amazon.de/gp/product/B01MPZM5ER/ref=oh_aui_detailpage_o03_s00?ie=UTF8&psc=1
    fitting left: https://www.amazon.de/gp/product/B01BDR8JV0/ref=oh_aui_detailpage_o03_s00?ie=UTF8&psc=1
    fittign right: https://www.amazon.de/gp/product/B01BDR8K32/ref=oh_aui_detailpage_o03_s00?ie=UTF8&psc=1

    Download the Sketchup File

    Addendum to the motion detector - radar detector:
    In addition to the cutout for the monitor, I would now have an additional small cutout for the radar board (20 x 40 mm) made. The radar detector works perfectly, but unfortunately not through the Dibond plate. I had to fix it at the bottom of the frame. That’s OK, but it would have been perfect behind the mirror glass.

    Regards
    Josef

    http://www.spitzlberger.de/smartmirror, https://github.com/spitzlbergerj/MMM-TeslaLogger, https://github.com/spitzlbergerj/CaravanPi, https://www.la-gondola-barocca.de

    E 1 Reply Last reply Feb 28, 2021, 7:58 PM Reply Quote 19
    • M Offline
      Mykle1 Project Sponsor Module Developer
      last edited by Nov 25, 2018, 1:46 PM

      Very impressive.

      Create a working config
      How to add modules

      1 Reply Last reply Reply Quote 0
      • C Offline
        cyberphox
        last edited by Nov 25, 2018, 2:03 PM

        wow that is nice!

        Full time Dad, DJ and entertainer and lover of technology.

        1 Reply Last reply Reply Quote 0
        • Y Offline
          yawns Moderator
          last edited by Nov 25, 2018, 5:05 PM

          Nice end result, well done. Your woodwork looks very professional

          1 Reply Last reply Reply Quote 0
          • P Offline
            PaulB
            last edited by Nov 25, 2018, 9:46 PM

            WOW! That looks so professional. Great work. Hope you have a lot of fun with the mirror :)

            1 Reply Last reply Reply Quote 0
            • qu1queQ Offline
              qu1que Project Sponsor
              last edited by Nov 27, 2018, 12:31 AM

              Wow!! I like your mirror a lot. Impressive the final result. What are the buttons for?

              S 1 Reply Last reply Nov 27, 2018, 6:45 AM Reply Quote 0
              • S Offline
                spitzlbergerj Project Sponsor Module Developer @qu1que
                last edited by Nov 27, 2018, 6:45 AM

                @qu1que Thanks a lot for your post.

                The bottom button boots the Raspberry in a safe way (without simply turning off the power)

                The top button controls the lights in the bathroom via a homematic webservice.

                Regards
                Josef

                http://www.spitzlberger.de/smartmirror, https://github.com/spitzlbergerj/MMM-TeslaLogger, https://github.com/spitzlbergerj/CaravanPi, https://www.la-gondola-barocca.de

                1 Reply Last reply Reply Quote 1
                • P Offline
                  PaulB
                  last edited by Dec 2, 2018, 9:55 PM

                  @spitzlbergerj
                  I love your work. Could you recommend any tipps on how to build a mirror in the bath? I would like to do this as my next project. So are there any Best Practices regarding any silicone or electronics?.
                  Greetings from Germany :)

                  S 1 Reply Last reply Dec 3, 2018, 5:56 AM Reply Quote 0
                  • S Offline
                    spitzlbergerj Project Sponsor Module Developer @PaulB
                    last edited by Dec 3, 2018, 5:56 AM

                    @paulb Hallo Paul,
                    das Silicon, das ich verwendet habe, habe ich im Post angegeben. Der Spionspiegel verlangt ein spezielles Silicon (neutralvernetzend), damit die Beschichtung nicht angelöst wird. Und ansonsten habe ich Standard-Komponenten verwendet. Durch die Lüftungsöffnungen erhoffe ich mir eine bessere Belüftung. Bisher konnte ich keine Probleme feststellen.
                    Grüße
                    Sepp

                    Regards
                    Josef

                    http://www.spitzlberger.de/smartmirror, https://github.com/spitzlbergerj/MMM-TeslaLogger, https://github.com/spitzlbergerj/CaravanPi, https://www.la-gondola-barocca.de

                    P 1 Reply Last reply Dec 5, 2018, 8:24 PM Reply Quote 0
                    • lavolp3L Offline
                      lavolp3 Module Developer
                      last edited by Dec 3, 2018, 8:04 AM

                      @spitzlbergerj Impressive mirror!
                      Especially like the lighting solution.
                      What glass did you use? (also from Germany here)
                      What is the material you have used for the backplate?

                      How to troubleshoot modules
                      MMM-soccer v2, MMM-AVStock

                      S 1 Reply Last reply Dec 3, 2018, 8:37 AM Reply Quote 0
                      • 1
                      • 2
                      • 3
                      • 4
                      • 5
                      • 6
                      • 7
                      • 1 / 7
                      1 / 7
                      • First post
                        1/67
                        Last post
                      Enjoying MagicMirror? Please consider a donation!
                      MagicMirror created by Michael Teeuw.
                      Forum managed by Sam, technical setup by Karsten.
                      This forum is using NodeBB as its core | Contributors
                      Contact | Privacy Policy