We’re back in the office after a brief break for a plague. So I got into the mirrors and uploaded some moving portrait videos.
First, the right side:
https://youtu.be/5647bHkcUw0
And on the left side:
https://youtu.be/HT6_DEtfaSc
We’re back in the office after a brief break for a plague. So I got into the mirrors and uploaded some moving portrait videos.
First, the right side:
https://youtu.be/5647bHkcUw0
And on the left side:
https://youtu.be/HT6_DEtfaSc
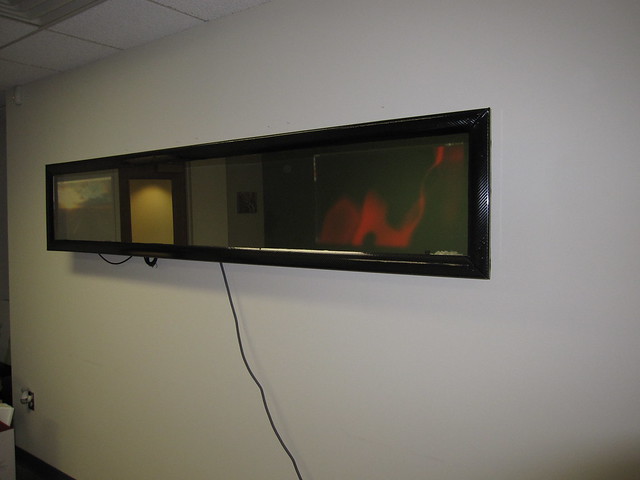
The 2nd mirror I made was for my office using a really wide piece of one-way mirror that I had fall into my lap. After a lot of tribulations, I got it done. But I was never really happy with it. The mounting system was clunky, it hung away from the wall a lot, there was a huge dead space in the middle, I used two different processors for the monitors, power was via a concealed power strip mounted on the wall, etc.
I just finished upgrading the double-wide mirror to a triple-monitor setup. New frame, new facing, better mounting and a power plug that I highly recommend to anyone.
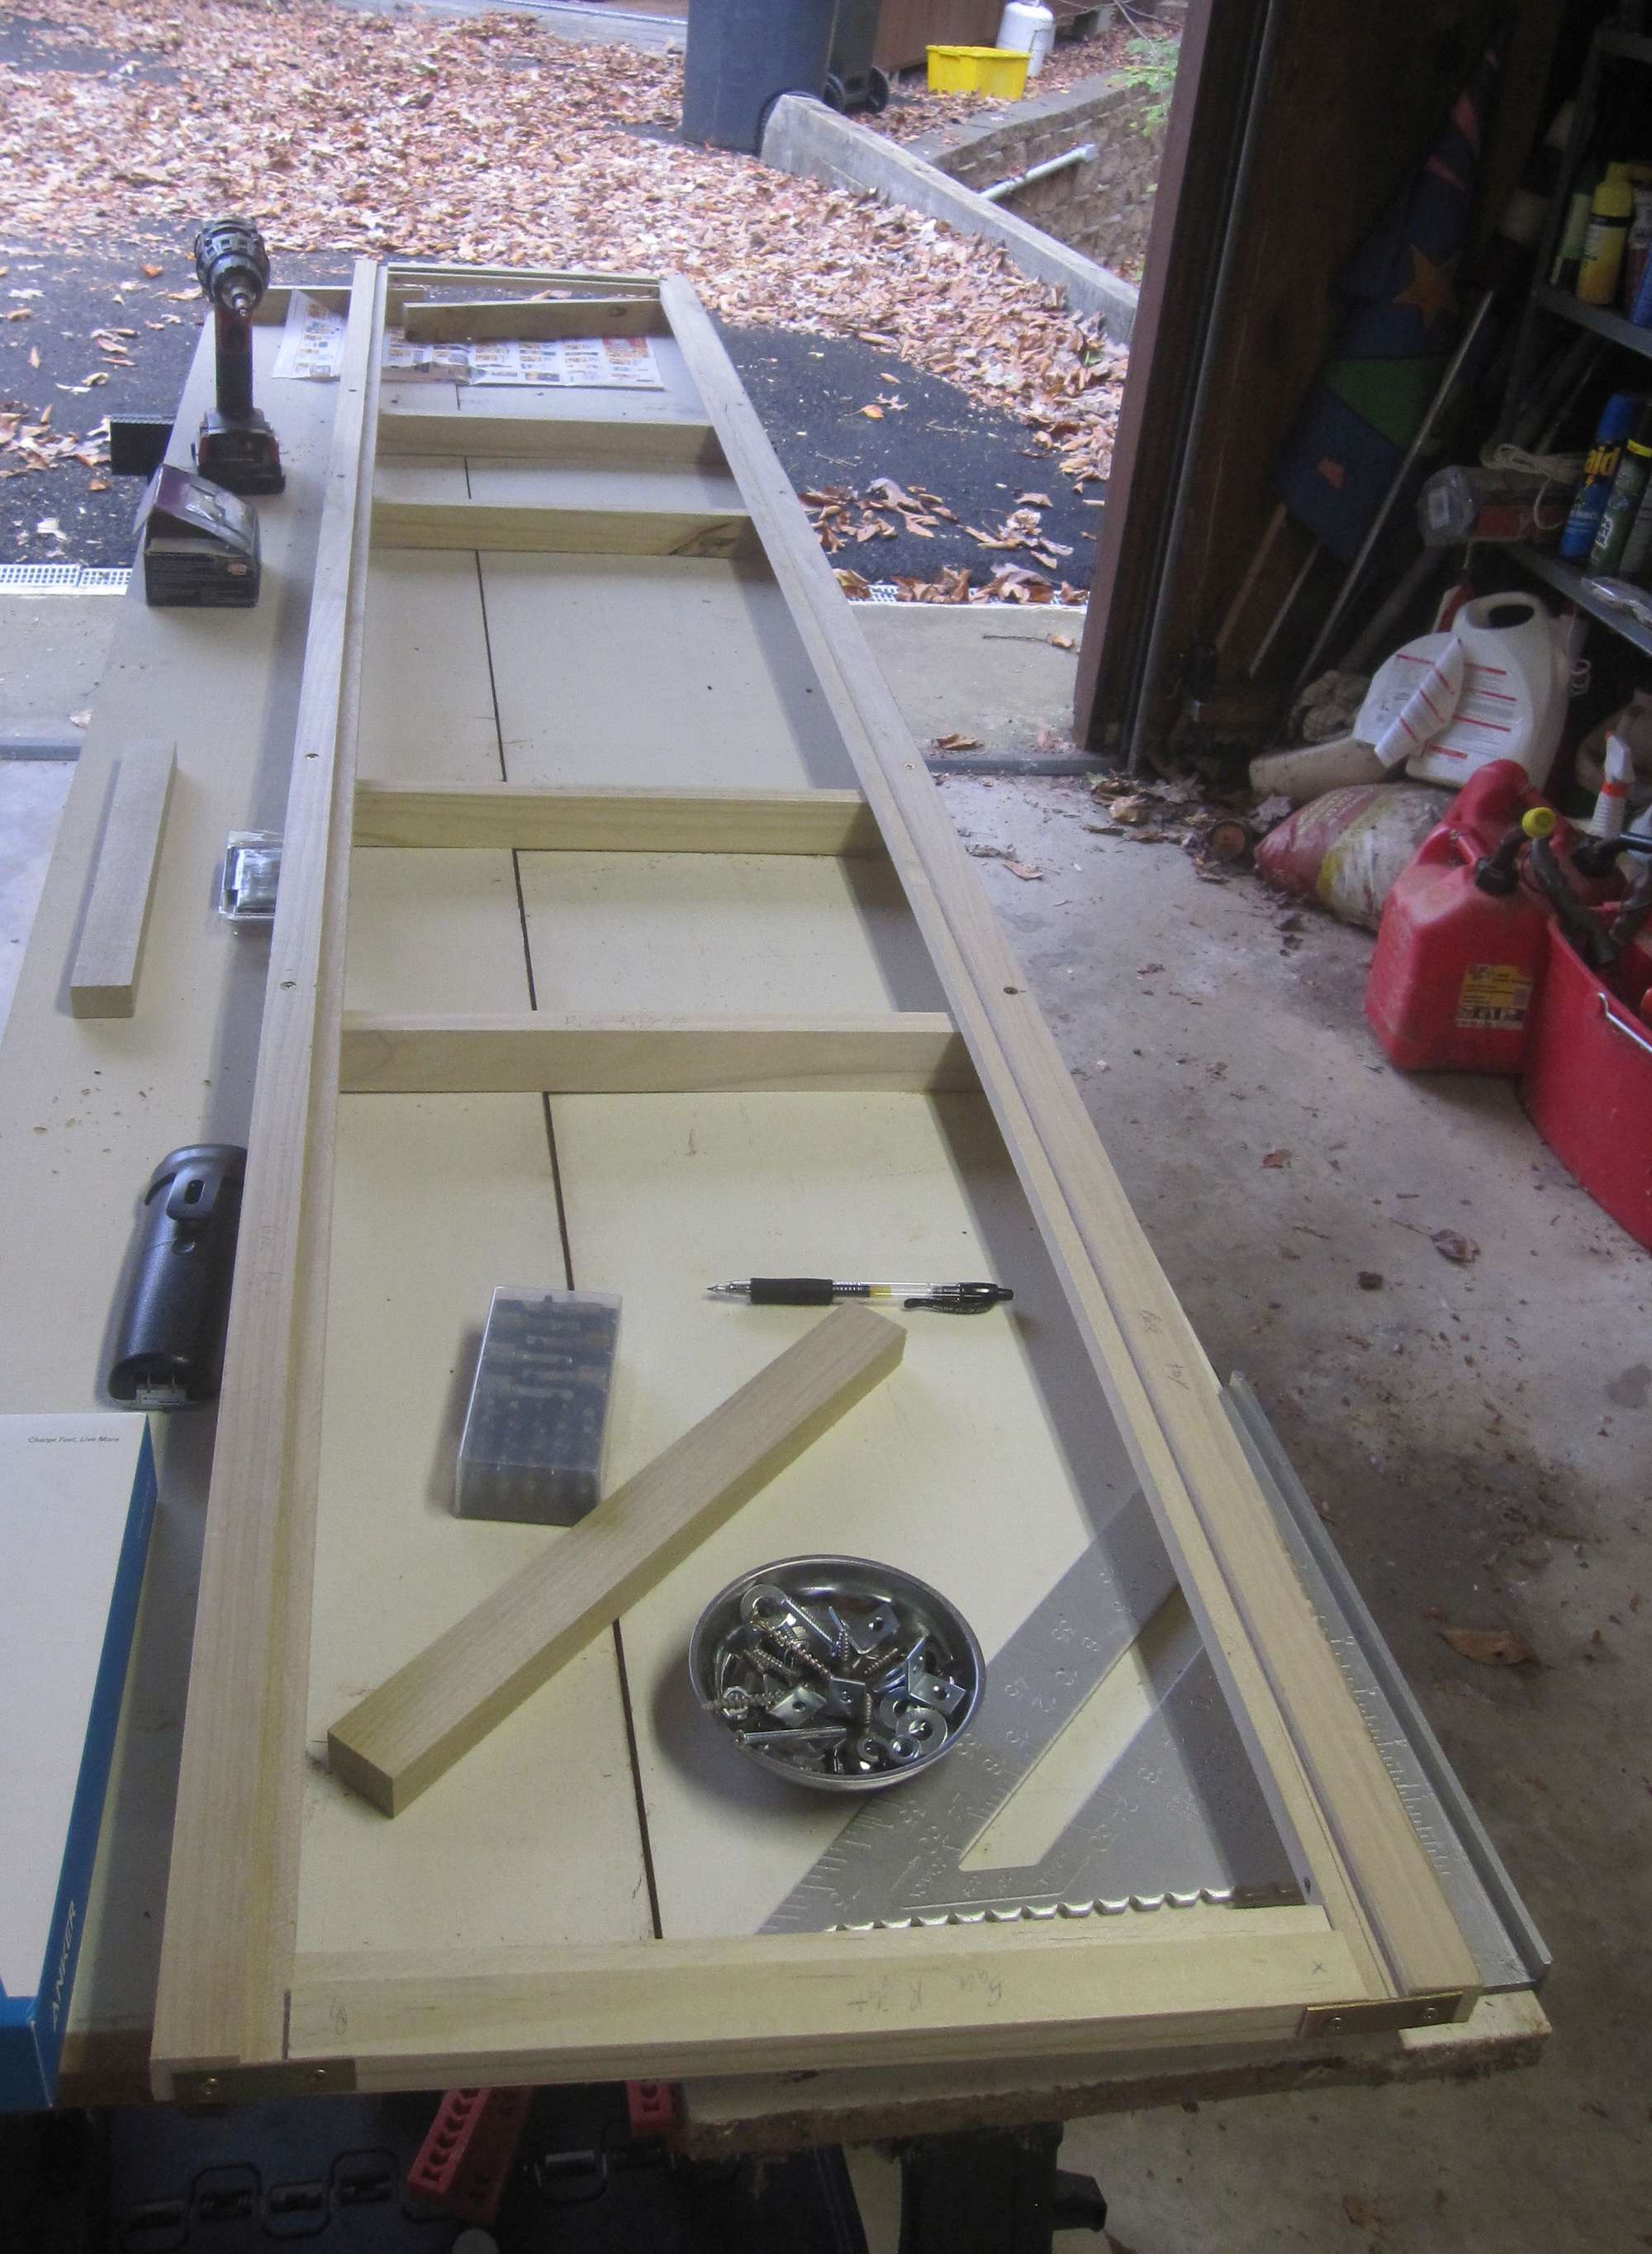
First, I build the support frame. I added a rabbit around the inside to hold the glass.
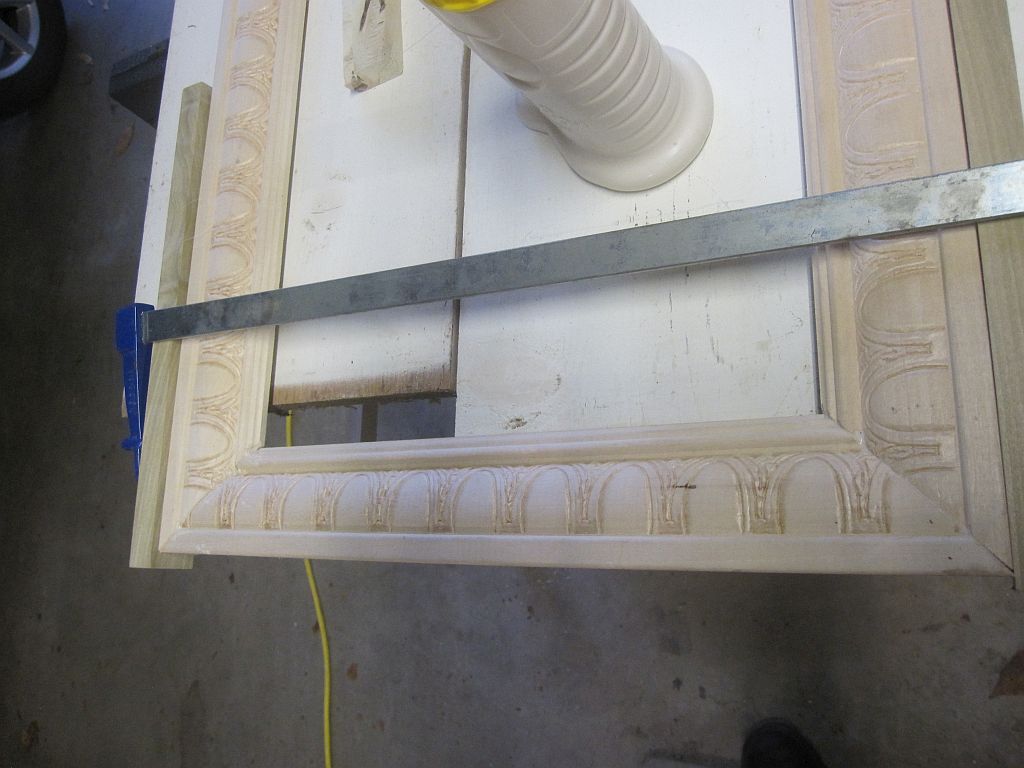
Next I built the facing out of chair rail molding. This is the same material as previous (the boss likes it).
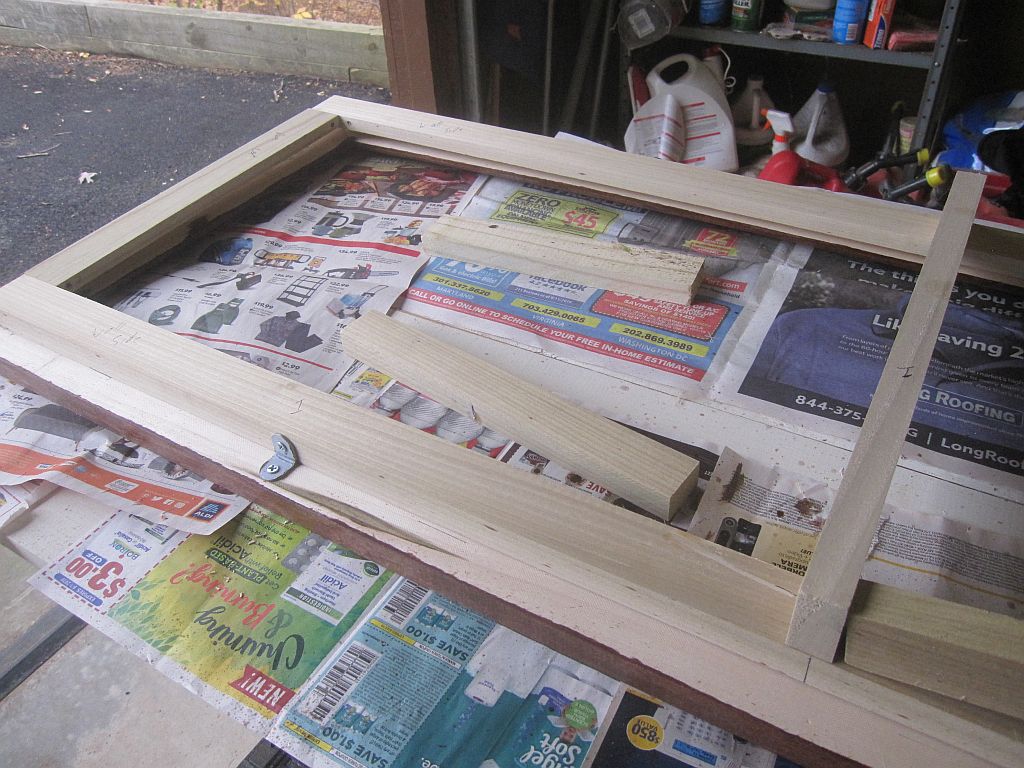
After staining the facing, I joined the support frame to the facing. Eventually, the glass will sandwich between these two pieces. The metal L brackets are screwed in so that I can transport the entire thing as a unit and detach the pieces when it’s time to migrate the glass from the existing mirror to the new frame.
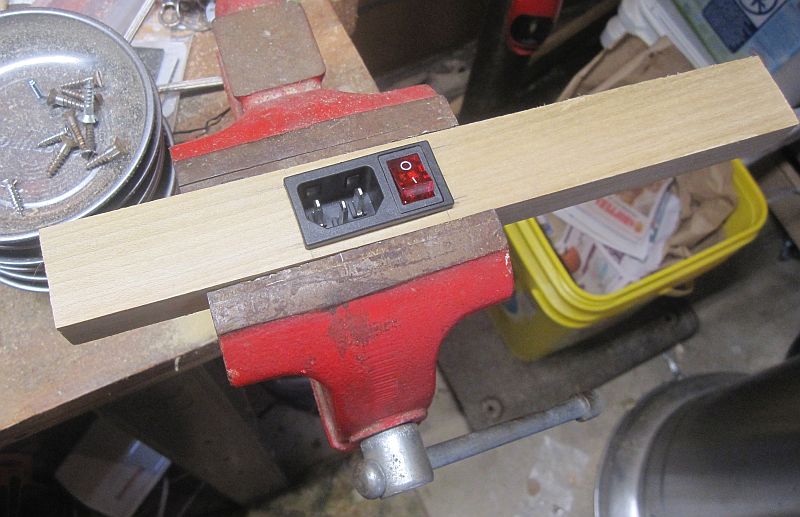
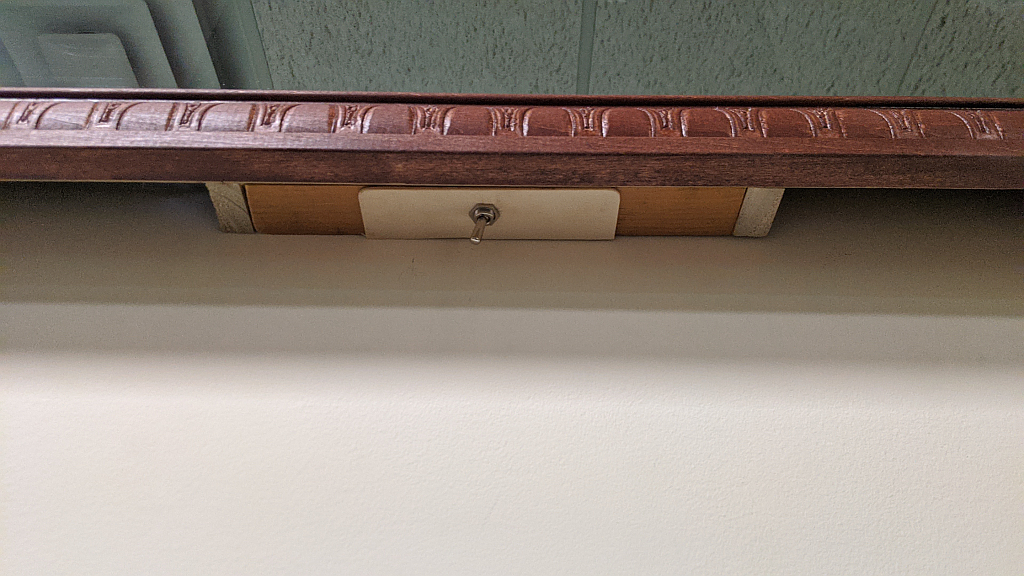
Next, I cut a hole for the power plug. I found these on Amazon. I did have to wait a couple weeks while they shipped from China, but I think they were worth the wait. No more inline switches on power cords!
The power port is wired into a power strip that I also bought off of Amazon. This will provide a place for the monitors and Pi to plug in. It just has enough slots. I’m using every AC and USB socket on this thing. I tried glueing it to the support frame but it didn’t work. I ended up zip tying it in place.
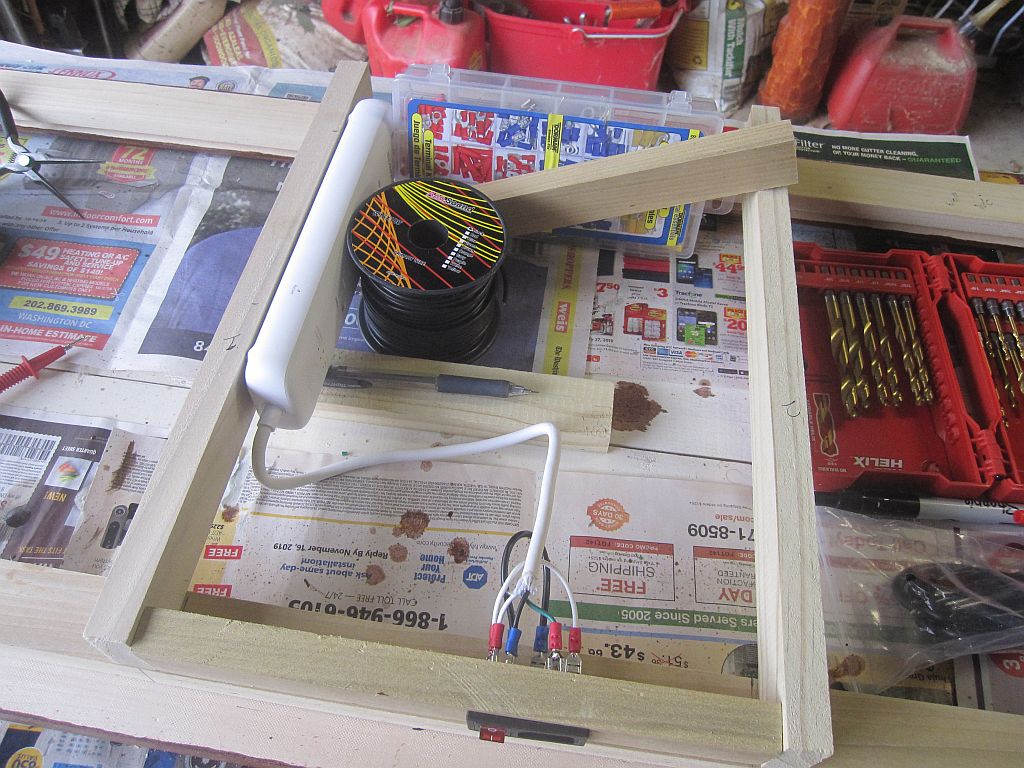
Quick testing to make sure I didn’t miswire anything. You can see some other steps here: the support frame has been painted black so it won’t show through the one way glass. The holes in the support frame for the power cords and USB cords have been drilled and the cords are threaded. The power cords were snipped in order to make it through the holes, so I reconnected those with some wire nuts. There are some pieces of scrap wood on the support frame that are screwed in with one screw. Those hold the monitor up against the glass so the monitor doesn’t slide out due to gravity. They’ll rotate into place one the monitors are in position up against the glass.
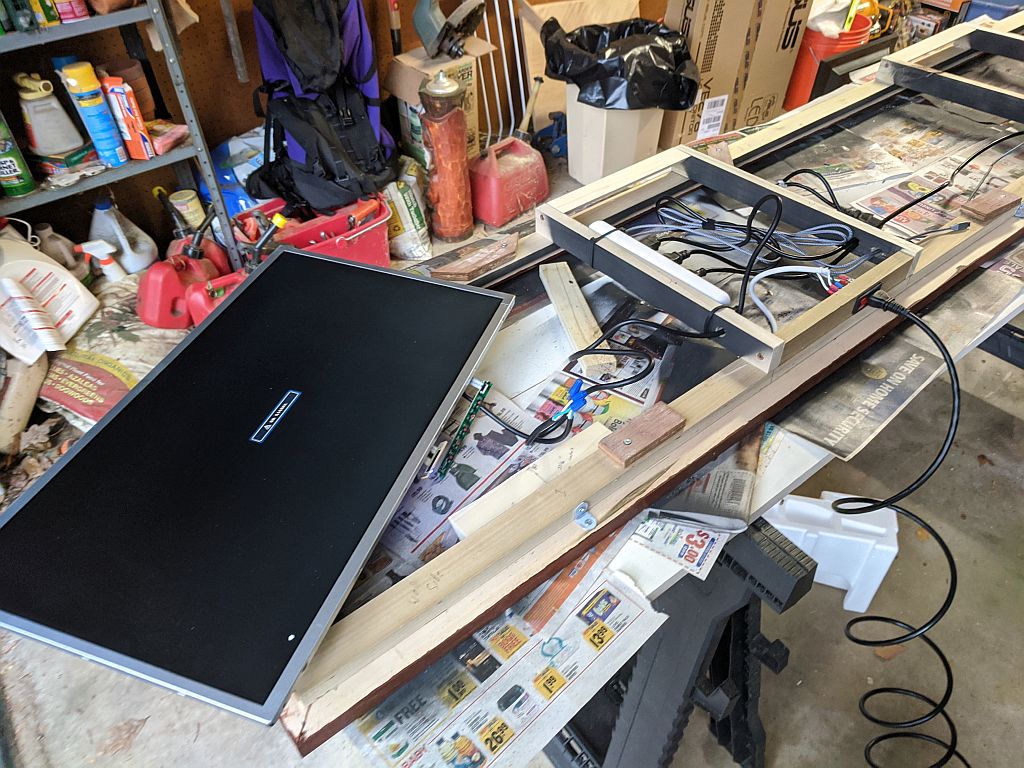
After testing, I took it to work and installed in over about 3 hours. I had someone in the office help me which was a lifesaver. It’s heavy! We took down the old mirror, disassembled it, moved the glass over to the new frame, screwed the facing on, flipped it over, removed the monitors from the old mirror, took off the bezels, installed them in the new mirror, took down the old VESA mounts, put up the new French cleats and then finally hung the mirror.
I went back today to configure it. I think it turned out really well!
https://youtu.be/A4nr88bGblI
“Any sufficiently advanced technology is indistinguishable from magic.” – Arthur C. Clarke
Many years ago, I went to a very small school and I’ve stayed in touch with most of the people from that class. One of my friends is now a parent with kids in that same school and heavily involved with the PTA, school clubs, etc. Each year, they host an auction to raise funds for the school sports & drama programs and she asked if I could donate a magic mirror for the auction. So I came up with this:
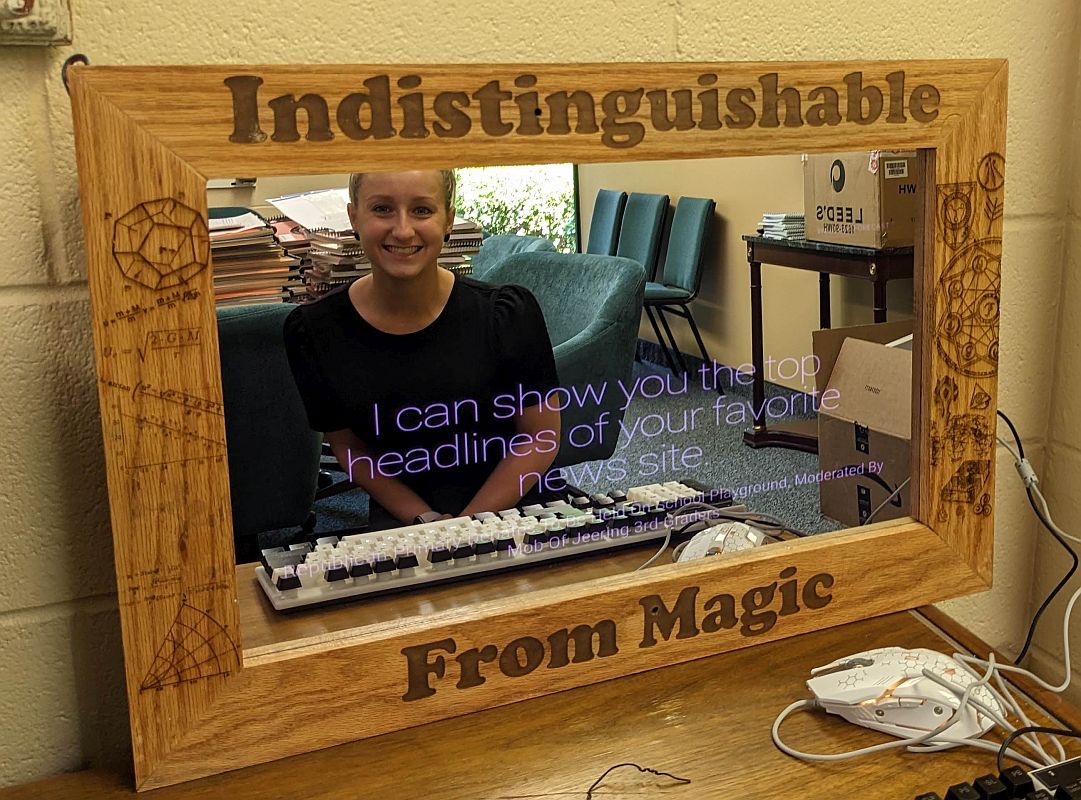
The theme is the use of technology to give the appearance of magic. The left side of the face has various equations & graphs, while the right size has some wiccan & magic symbols. The words are carved with my CNC and filled with a 2-part resin with metallic pigment.
It’s running on an RPI4 with the camera module and a PIR sensor built into the frame. There are 300 neopixels running around the back side of the frame, but I didn’t quite have time to get that part of the mirror working before the auction. It has my reverse SSH code on it, so I can get into it remotely now that it’s been auctioned off.
Honestly, there are several things I would do differently if I had more time (I’m a terrible procrastinator). It needs engravings on the top & bottom pieces of the facing frame, not just the sides. And the pigment for the words should be darker, I think. If I can convince them to give it back to me for a couple weeks, I may be able to redo the frame properly. And I really need to buckle down and get the neopixels working properly.
I created a quick module that will map Santa as he travels around the world Christmas Eve to distribute presents. This is a quick & dirty module that uses the data from Google’s Santa Tracker suite of applications.
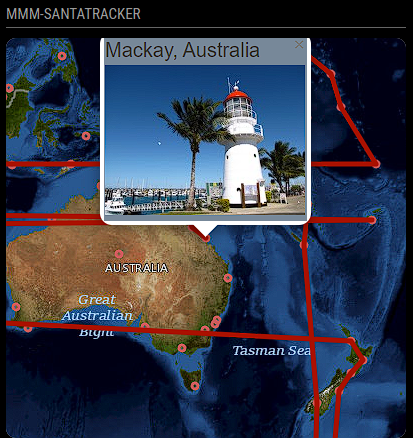
Santa’s location updates every minute. Grab the code at MMM-SantaTracker
I’ll have more on this in the next couple of days. But here’s a preview just to whet your appetite.
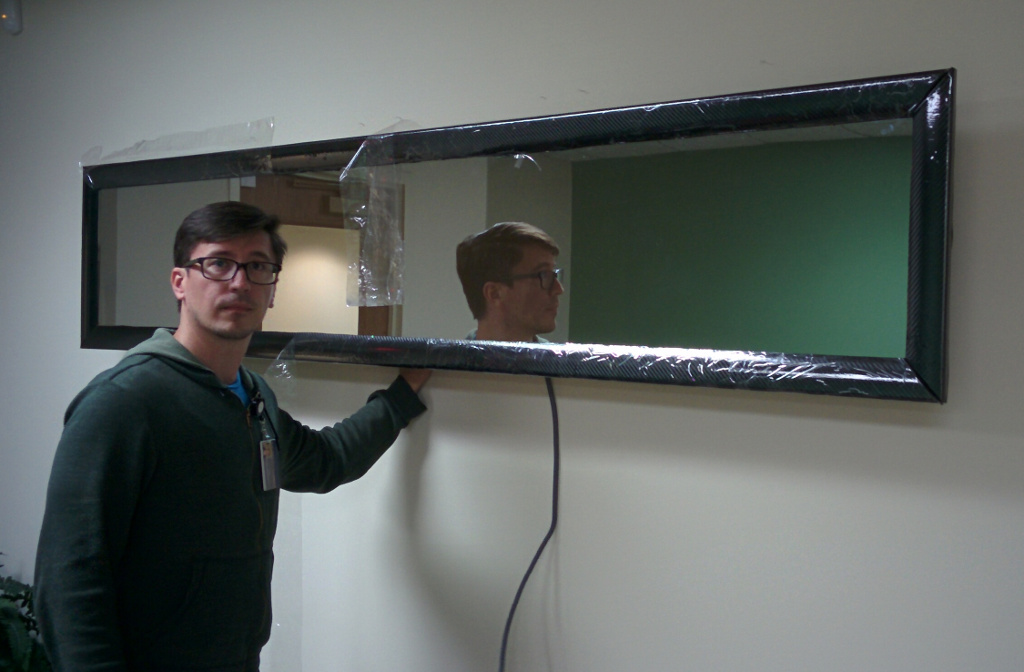
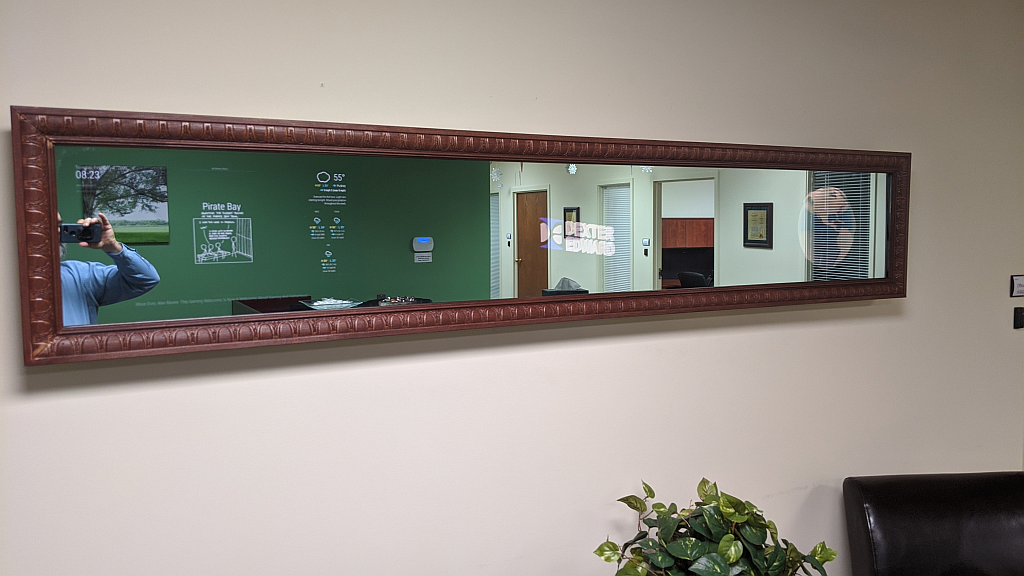
Now that photos are working again, here are some photos of the refreshed Magic Mirror Mark II. All three screens are active and the look is much cleaner.
And a close up of the switch.
First, I want thank @alexyak for his motioncontrol module. Unfortunately for me, it doesn’t work on my Mirror due to new security controls put in place by the Node.js team. Apparently it’s not a wise move to let client-side Javascript access the webcam attached to your server. Who knew?
In the end, I ended up seeking another solution. The Facial Recognition module didn’t work due to the reduction in light coming through the mirror itself. But I do get an image. I started browsing sites of people who have turned their Raspi into a security system. It turns out, someone ported the Motion framework to Raspberry Pi and called it MMAL-Motion.
After a lot of reading, I found a Wiki for MMAL Motion. Following the steps for Jessie, I did the following:
cd ~sudo apt-get install -y libjpeg-dev libavformat56 libavformat-dev libavcodec56 libavcodec-dev libavutil54 libavutil-dev libc6-dev zlib1g-dev libmysqlclient18 libmysqlclient-dev libpq5 libpq-devwget https://www.dropbox.com/s/6ruqgv1h65zufr6/motion-mmal-lowflyerUK-20151114.tar.gztar -zxvf motion-mmal-lowflyerUK-20151114.tar.gzThis will put a configuration file called motion-mmalcam-both.conf and a folder called motion in your home folder. At this step you can test it if you like, but for my purposes I needed to make a few changes tot the config file. So, make a copy and edit the copy.
cp motion-mmalcam-both.conf motion.conf
nano motion.conf
I played around with the configuration quite a bit until I found one I liked. But for our purposes (turning the display on when someone comes near) you only have to make a few changes.
framerate 4 - run the detection video at 4 frames per second
threshold 2500 - increase the # of pixels to trigger the screen. We want them to get close to the mirror
minimum_motion_frames 2 - Motion must be detected in 2 consecutive frames (at 4 FPS)
event_gap 60 - This is important. This is how long in seconds after no motion the screen will turn off.
output_pictures off - Do not save images
ffmpeg_output_movies off - Do not record video
stream_port 0 - Turn off remote viewing
webcontrol_port 0 - Turn off HTTP control of camera
on_event_start vcgencmd display_power 1 - Important! This is the command to turn on the screen
on_event_end vcgencmd display_power 0 - Important! This is the command to turn off the screen
Save your motion.conf file and now you can test it out by entering ./motion -c motion.conf. If you stay very still for a minute, the screen should turn off. Move close to the mirror, and everything should come back after a couple seconds.
@skr Because I’m a crap coder in Javascript.
Sorry for not helping earlier, folks. I was at a wedding and delivering my mirror as a gift. I’ll investigate and see if I can’t improve the mirror code.
You should not ever have to modify the compliments.js file. You should be able to pull it off with just modifications to the config.js file.
So this was an interesting project. I showed my first mirror to my boss and he was so impressed with it, he voluntold me to make one for the office. He gave me a budget and told me to complete it at my own pace. Other than “make it impressive” and “modern”, I was given more or less a free hand.
I considered mounting a 65" TV and doing it that way, but I had a piece of one-way glass fall into my lap. I figured it would be faster to use it than order a chunk of glass large enough to make that ginormous mirror. The trouble is… the glass is 88" x 15". It’s repurposed from a faux-fireplace thing that my neighbor is installing in his bathroom (don’t ask). So in the end, I decided that two monitors behind one glass would work. This way, there’s always a portion that is just reflection so people can primp.
So I started out by working out the mounting problem. With two monitors and a really long piece of mirror, I decided that I could keep the bezel on the monitors and use commercial wall mounts that attach to the VESA holes in the back of the monitor. The mirror hangs off of the monitors, instead of the frame supporting both the monitor and mirror.
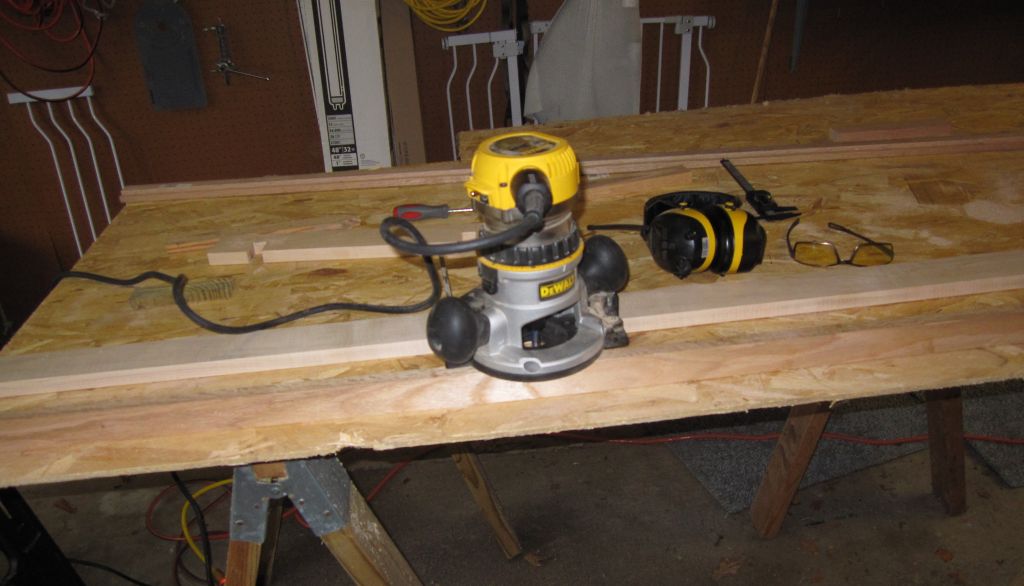
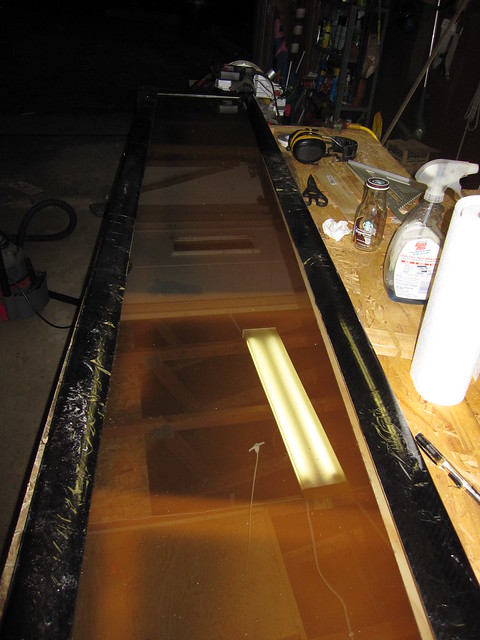
First step: Route a rabbit into the frame so that the glass will sit flush with the face of the frame.
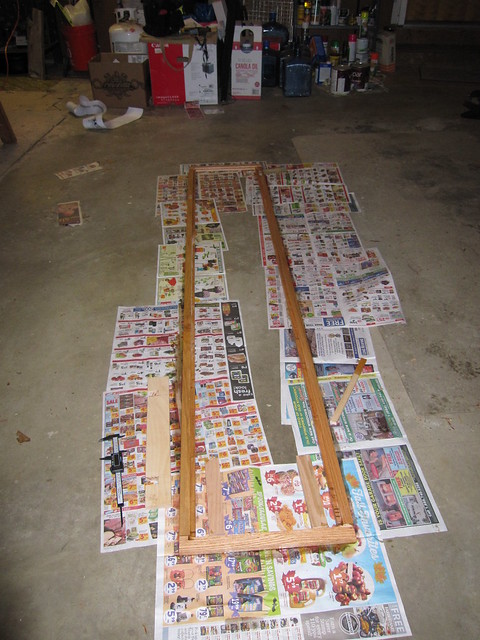
A quick coat of stain in case someone sees it from the side:
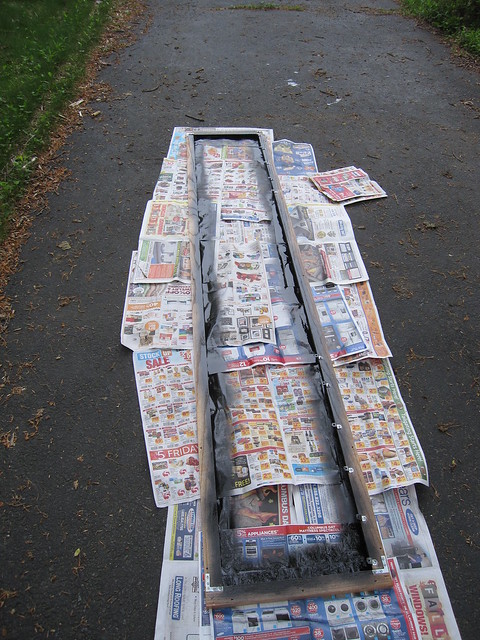
Paint the inside edges black to cut down on the visibility of the lighter edge through the glass:
A layer of window weather stripping goes in the rabbit to provide cushioning to for the glass, and also to push the glass up against the moulding.
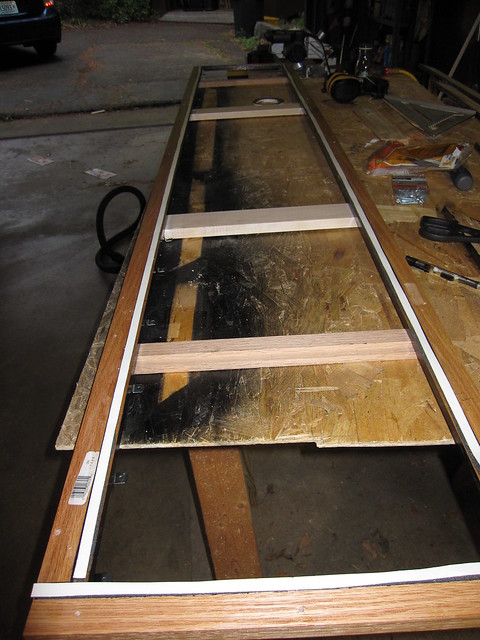
Screw the moulding down over the glass and into the frame. The moulding is a fairly simple round over type, usually used for chair rails. I wrapped it in a vinyl wrap with a carbon fiber pattern.
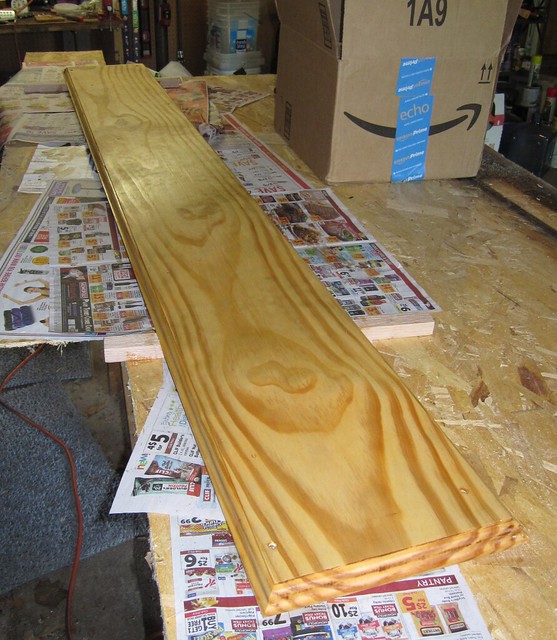
I haven’t ever mounted anything in an office before. They don’t use wooden studs, so I was unsure how to mount this thing into the walls. On the building construction supervisor’s advice, I build a mounting plate out of pine. A quick pass with the router put a good edge on it, and a stain plus sealant gave it some color.
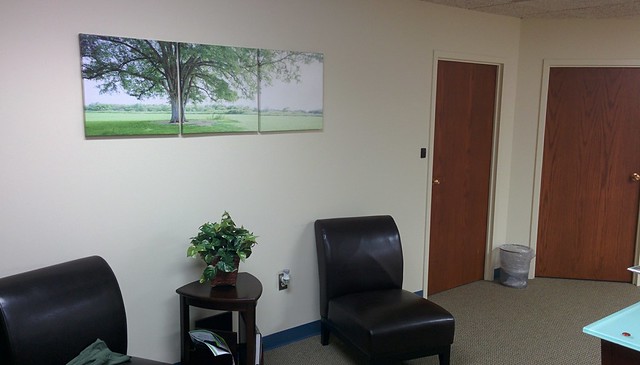
Time to install everything in the office! Here’s what it looks like beforehand:
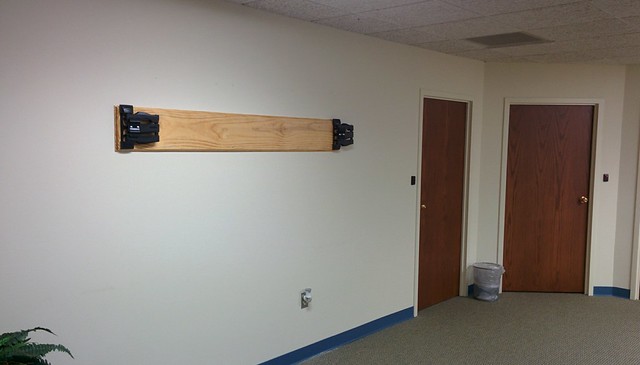
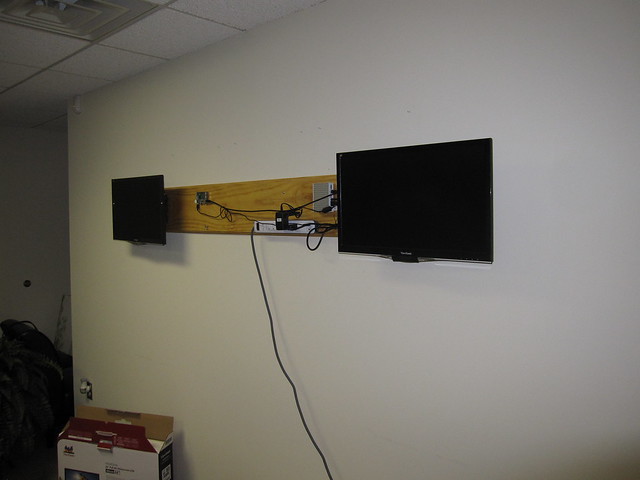
The mount is up along with the monitor mounts attached to the mounting board.
Monitors, power strip, RasPi and Fitlet in place:
And finally, we hang the mirror over the top of the two monitors.
