I know, Shakespeare didn’t say that, but I did.
The story:
I wanted to do something a little bit different. I mean, how many Magic Mirrors can you
hang around the house before it gets a little absurd? Bigger seems to be a popular option
but I wanted something unique, something that Magic Mirror hasn’t been used for, yet.
My wife and I attended a wedding recently, and like every other time that we prepare to
go to an event, I waited for her to be nearly ready before I even began getting dressed.
Why? Do you really need to ask that question? Well, in case you are unfamiliar with women, she
takes hours to get ready and I take a few short minutes. Sound familiar?
After waiting an interminable amount of time, I went to check her status. I found her
putting on her makeup. She was sitting in front of a round, vanity mirror, about 8 inches
in diameter. Cha-ching! The bells went off in my head. Fast Forward.
I spent the entire wedding thinking about how to go about doing this. I like to repurpose
things, especially computer parts. I have a collection of CPU’s, monitors, laptops, parts.
I didn’t want the mirror to be too big, based on the size of common, standalone vanity
mirrors. The smallest spare monitor I have is 19 inches. I felt that was too big. I didn’t
necessarily want to purchase another Pi either, because I have several CPU’s. The problem
there is the size of the power supply, not to mention the heat and the fan noise.
That left me with the laptops. Well, why not? Everything is included. They have a relatively
small form factor, display, RAM, CPU, ports, power supply, sound, Wifi, Bluetooth. Sacrificing
one, even if it didn’t turn out the way I wanted, was fine with me. There was some concern
about the LCD not being bright enough and the amount of blue light emitted but I was willing
to chance that. The upside to the equation is that even this old laptop will outperform any
Pi. And it won’t cost me anything.
I had 3 laptops to choose from.
(1) A White MacBook, MacOS 10.6.8, 2Ghz Intel Core Duo, 2GB of RAM
(2) A Compaq Presario CQ57, Windows 7, Dual Core, 4GB of RAM
(3) A Dell E1505 Inspiron, Windows 7, Intel Core Duo, 2GB of RAM
I’m not very familiar with Macs. From the start, I couldn’t install GIT on it because of
the OS it is running. I’d like to learn how to use it for MM but I didn’t want to learn that
now. So, I’m not using that, for now.
The Compaq Presario CQ57 seems like the better of the 3 laptops. It already has MM running on
it, but as I was experimenting, I thought I would use the laptop I was least worried about
destroying. So, I’m not using that, for now.
I settled on the Dell E1505 Inspiron:
Intel Core Duo Processor T2500 at 2.0 GHz per core.
15.4″ Ultrasharp SXGA+ display with TrueLife. Native Resolution = 1680 x 1050
2GB DDR2 533MHz RAM in dual channel mode
Integrated Intel Graphics Media Accelerator 950
100GB 5400RPM SATA Hard Drive
8X DVD +/- dual layer recorder (I left this in. You never know)
Wifi and Bluetooth
Dell laptop power supply
It’s a dog, a dinosaur, almost useless in today’s terms, but it runs MM like a champ!
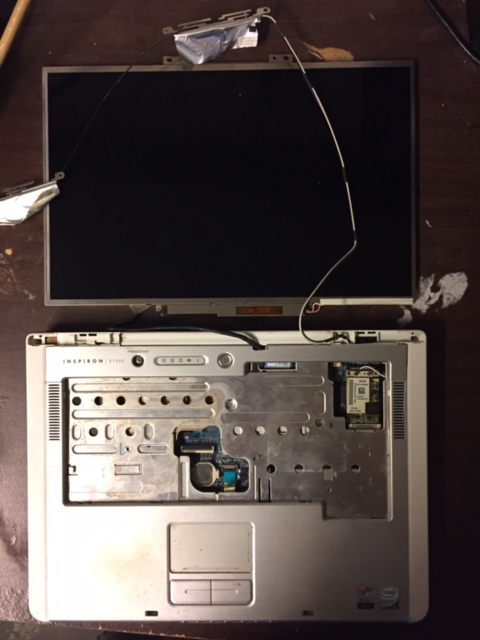
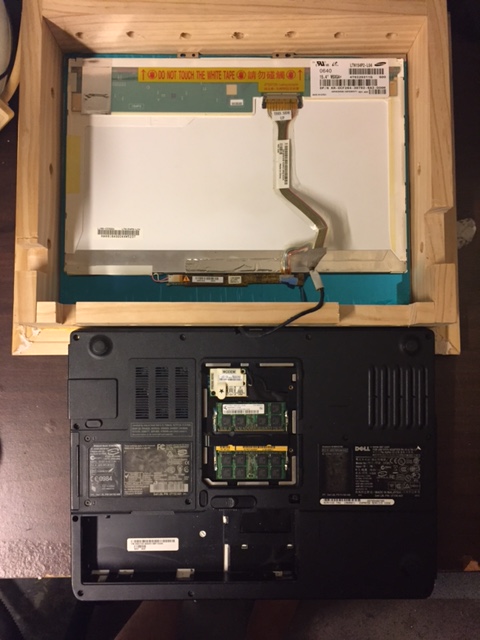
Here’s the display removed from the base and from the bezel. That’s the wifi antenna laying
across the display. I removed the keyboard for venting. I removed the RAM cover and the
battery from the back. The battery no longer holds a charge. I thought of getting a new one
but I wanted this build to be virtually cost free.
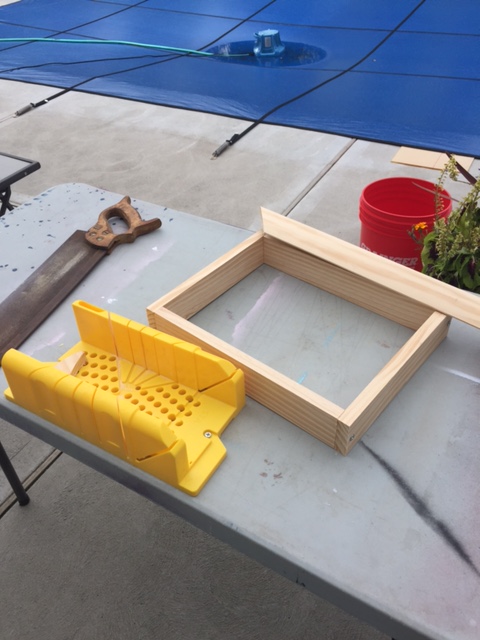
The “box” built to hold everything and mitering the frame.
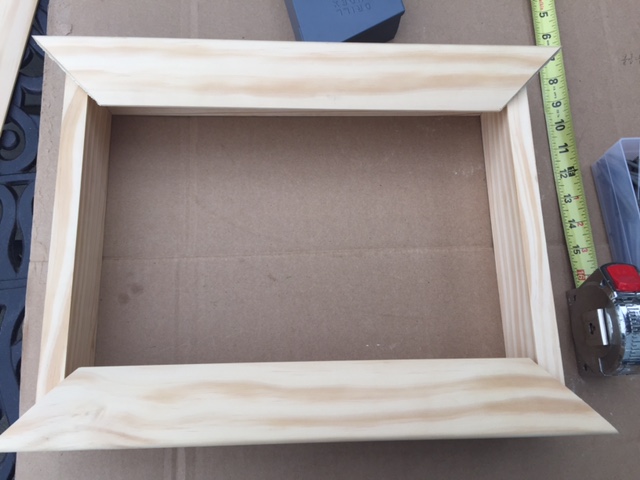
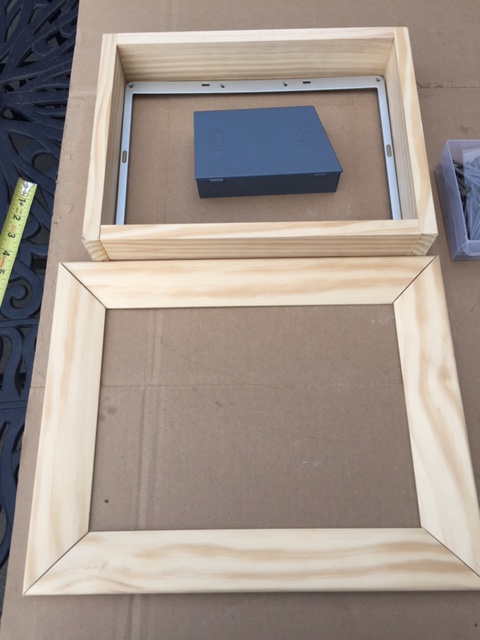
Fitting the display. The base will “flip” into the box and rest on chocks 1 1/4" above the
display. This space allows for maximum ventilation in and out of the box through the vent
holes I drilled around the entire box. As an added benefit, inside the box, the back of the
display emits a soft, white light, which shines through the vent holes. It looks pretty damn
cool in the dark.
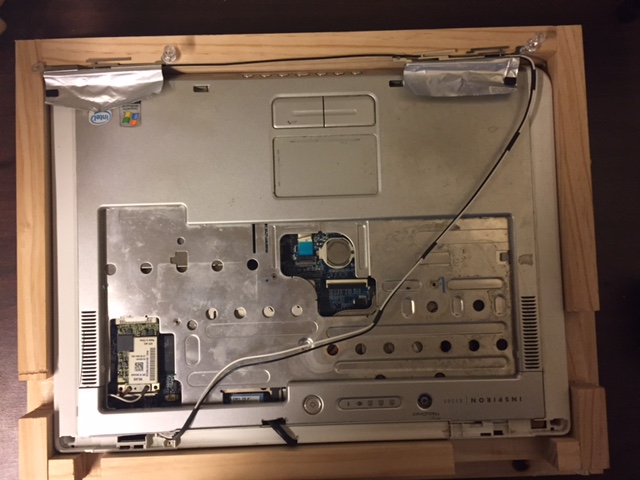
The base flipped into the box. Chocks not in yet, just fitting. Wifi antenna pinned to the top
of the box. I notched access to vents, USB ports and power port through the box. Seeing as the
base is open in the back, and this won’t be against a wall, there’s no problem with heat being
trapped. The power button is still accessible, bottom center. I did not notch access to the
DVD (yet).
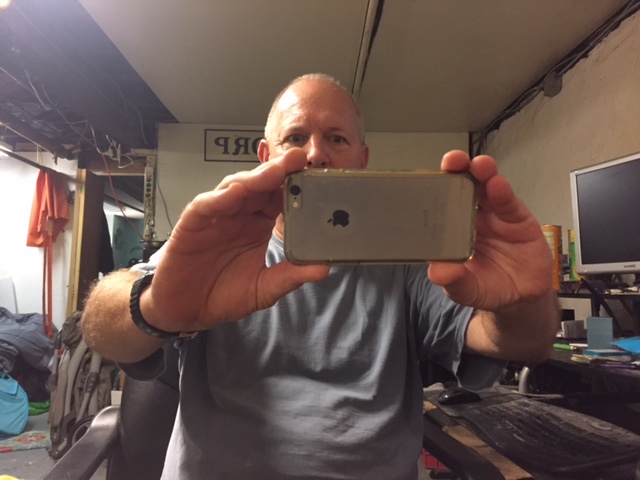
I used 3mm acrylic glass. Why? Because this mirror is designed only to be used at close range,
where distortion (if any) is at a minimum or unnoticeable. My first mirror used the same 3mm
acrylic. Distortion is only noticeable at a distance. Standing directly in front of it, it
exhibits none. That, and the cost factor. I am into this project for less than $50. :^)
Close-up of acrylic. Distortion?
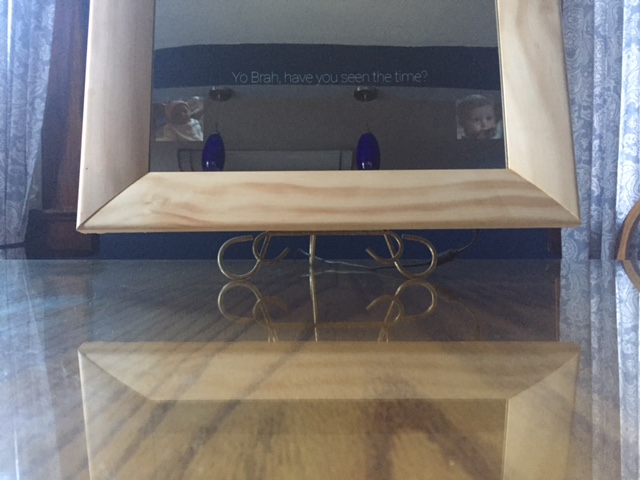
On stand, tilted back to facilitate its use as a vanity mirror. You can just see the power
cord underneath. I should have routed it through the stand before taking this picture. Once I
do, it will hardly be noticeable.
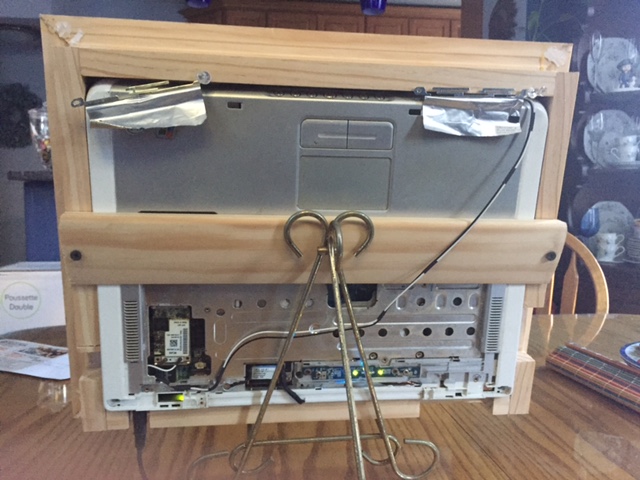
The back of the mirror box. You can clearly see where I notched the box to access ports and
vents. The wifi antenna is pinned to the top of the box until I can think of a neater way to
affix it. A single piece of the frame molding across the back holds the entire thing in place.
Only 2 screws to disassemble the entire thing. Track pad and buttons still useable but it’s
just easier to plug in a keyboard and mouse.
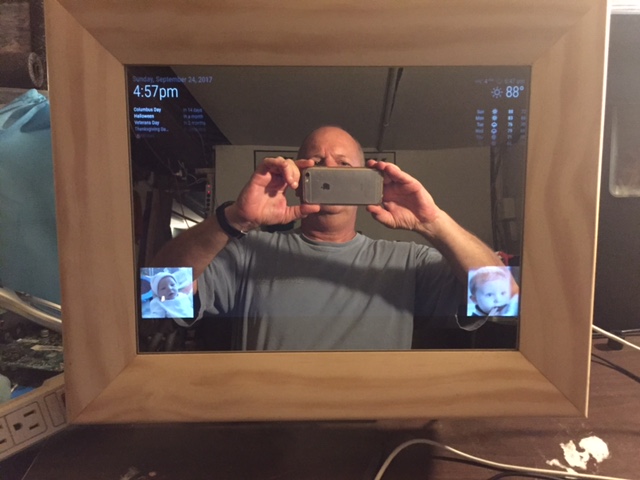
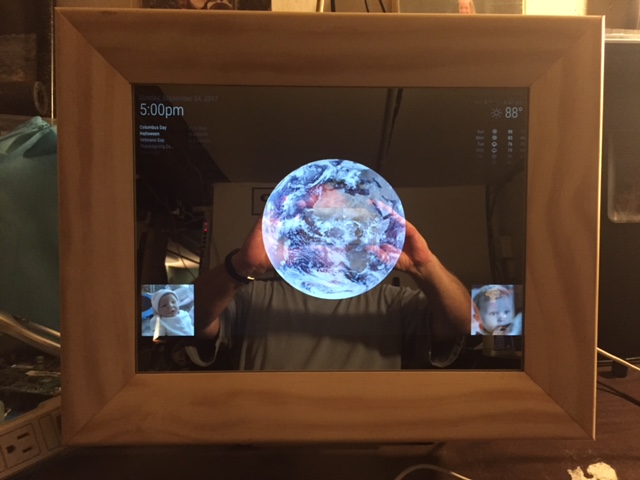
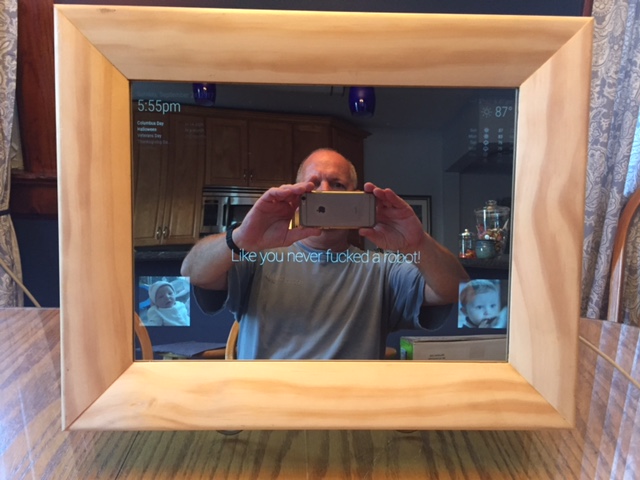
Two views from the front while still in the “shop”. It’s on the dining room table now, waiting
for my wife to come home and see it. I only added two pictures of our grandchildren, a simple
edit to compliments and MMM-EARTH, because it rotates flawlessly on this machine.
Short “mirror shop” video.
https://www.youtube.com/watch?v=JdSR-0PHbR0


