A New Chapter for MagicMirror: The Community Takes the Lead
Read the statement by Michael Teeuw here.

Subcategories

  • 32 Topics
    236 Posts
    M
    Hi MagicMirror team, I wanted to share with the community my MagicMirror project featuring a completely custom-built LEGO frame! Hardware Setup: Display: Vertical monitor Computer: Initially Beelink (mini PC), now migrating to Dell OptiPlex D10U System: Ubuntu (Server → Desktop) PIR sensor for automatic screen on/off control via MQTT Implemented Modules: Clock & Calendar (with Italian custom calendar) Weather (Italian weather with hourly and daily forecasts) Compliments (motivational messages) News Feed (Italian news) Automatic screen control via PIR sensor and Node.js Unique Feature: The LEGO frame is completely customizable and modular. It includes: LEGO minifigures on top Colorful decorations on the sides with bricks from various collections Decorative elements (stars, clouds, stickers) Design that perfectly integrates into the home environment Technical Challenges Solved: MQTT integration for PIR control Italian weather modules configuration Optimization for vertical display Power management and automatic screen shutdown The project became not only functional but also a decorative element appreciated by the whole family. The LEGO frame makes the MagicMirror less “techy” and more accessible, especially for children. [image: 1763043465078-lego-frame.jpeg] ![alt text](image url) Thanks for this amazing open source project! Michele!!
  • This topic is deleted!

    1
    0 Votes
    1 Posts
    2 Views
  • Wich controller board for my lcd screen?

    display hardware
    11
    0 Votes
    11 Posts
    8k Views
    K
    @MadScientist 👍
  • Raspberry Pi Current Requirements

    amp ampere current draw power requirements usb volt
    5
    0 Votes
    5 Posts
    1k Views
    bheplerB
    I’ve gotten away with 2.4A on a Raspberry Pi 3B+, but that’s riding the edge of acceptable.
  • Controller Board issue

    6
    1
    0 Votes
    6 Posts
    3k Views
    M
    @sonicgoose said in Controller Board issue: The controller boards are soldered to output 16:9, but the display I had was natively set to 16:10. Soldered? I think the board was just shipped with the wrong firmware. Unfortunately for these boards you need extra flashing equipment to change the firmware.
  • Due Monitor with Pi4

    8
    0 Votes
    8 Posts
    778 Views
    BKeyportB
    FYI, it’s “Dual” Not “Due”. Might help you searching for answers in the future. 🙂
  • Downgrading the raspberryi pi

    5
    0 Votes
    5 Posts
    1k Views
    D
    Why not a PiZero running browser as a client? I had 4 PiZ in a K8s cluster and they did well. I still have a few running streaming cameras for a 3D print farm. Put MM server in a docker container on the RPi4.
  • temperature sensors

    17
    0 Votes
    17 Posts
    8k Views
    BKeyportB
    @titoof Not quite understanding your wording, there. Once you follow the instructions in the readme - exactly - and reboot your system, it will work. { module: "MMM-DHT-Sensor", position: "bottom_right", header: "Room Temp", config: { sensorPin: 26, // Use the GPIO number. GPIO 26/Pin 37. sensorType: 22, // DHT 22 (DHT 11 change to 11) updateInterval: 60 * 60 * 1000, initialLoadDelay: 0, animationSpeed: 1000, units: "imperial", relativeScale: 35, debug: false }, },
  • Any way to fix this?

    3
    1
    0 Votes
    3 Posts
    470 Views
    S
    Thanks for the suggestions, @bhepler. I’ll try these tomorrow.
  • Monitor Specs

    2
    0 Votes
    2 Posts
    448 Views
    bheplerB
    First, I would play with your monitor controls to see about getting more light to transmit through your acrylic. Up the gamma first, the contrast second and then adjust the brightness. The brightness will also affect the black areas of the screen, so don’t just crank it all the way up. If that doesn’t work for you, then yeah you may wish to investigate a new monitor.
  • Safest method for attaching boards to back of display

    5
    0 Votes
    5 Posts
    906 Views
    bheplerB
    I found a bulk pack of wooden popsicle sticks at my local craft store (Michael’s, I think). Something like 500 for a couple of dollars. I hot glue’d two of them to the back of my Pi and I intend to do the same to the monitor circuit boards later this summer. You can hot glue the other side of the sticks to the monitor or use some other adhesive. Another possibility: those credit card offers you get in the mail with the fake credit card included? Grab the sticky industrial booger from the back of those cards. It’s pretty strong, easily formed and temperature resistant.
  • Best 17-inch monitor

    3
    0 Votes
    3 Posts
    672 Views
    bheplerB
    “Best” is a very subjective term. In my experience, just about any monitor will do as the mirror layer is going to interfere with what normally separates one monitor from another. To me, the absolute non-negotiable feature is at least one HDMI port and it must face down towards the table in a normal configuration. Other than that… Resolution doesn’t matter so much because I’m just displaying text. Refresh rates don’t matter. Vividness of colors likewise doesn’t matter. I would look for one with good black levels, as any backlight will show through a little bit when the monitor is on. Other than that… whichever is cheapest for the size I want.
  • new tv..problem with vnc during sleeping

    1
    0 Votes
    1 Posts
    198 Views
    C
    Hello everybody, since i changed tv i can’t connect to vnc after a sleeping of tv. the connection comes again when i turn on…for a few moment i see black screen when i turn off. i changed parameters tv and it works for ssh but not vnc (hdmi off during sleeping ?) Thanks
  • Building dashboard with touch controls

    9
    0 Votes
    9 Posts
    2k Views
    L
    @lavolp3 sorry for the late response, I didn´t get to work on my dashborad in the last few days… I hope to find some time on the weekend :/ The Timer is in an really early state of “development”. I´ll create an git for it in now, I´ll then add the link. Yes I like that idea (y) Here is the code for the TimerModule: https://github.com/Lucker25/MMM-MyTimerModule I hope it´ll work for you okay, as I said, there are many things I still need to add. Since today my screen arrived. I had some suff to do there ;)
  • Full Body Mirror Glass Question

    3
    0 Votes
    3 Posts
    570 Views
    S
    @bhepler Oh you’re the guy with the sick three screened office mirror! I saw that a few months back, great stuff man! Damn… they were the main company I was trying to hide from it was so expensive 😂 glad I was on the right track, thanks for letting me know the size you used!
  • Would this mic be compatible?

    2
    0 Votes
    2 Posts
    668 Views
    X
    I’m hoping to use this microphone with the mmm-awesome-alexa module and was wondering if it was compatible with the pi? Thanks! https://www.amazon.com/dp/B086D439F8/ref=cm_sw_r_cp_api_i_7ih0Eb4NY47M9
  • Need mount ideas to use MM as vanity mirror.

    3
    0 Votes
    3 Posts
    860 Views
    B
    Thanks. I’ll take a look.
  • Where is the run-start.sh located?

    10
    0 Votes
    10 Posts
    1k Views
    T
    @sdetweil This was what I needed! Many thanks for helping me with this problem! Issue solved!
  • New Mirropane™ Chrome Spy 6MM Mirror to sell

    1
    0 Votes
    1 Posts
    508 Views
    D
    PLEASE READ CAREFULLY THE INSTRUCTIONS : I have a brand new mirror from PILLINKGTON that I want to sell. 
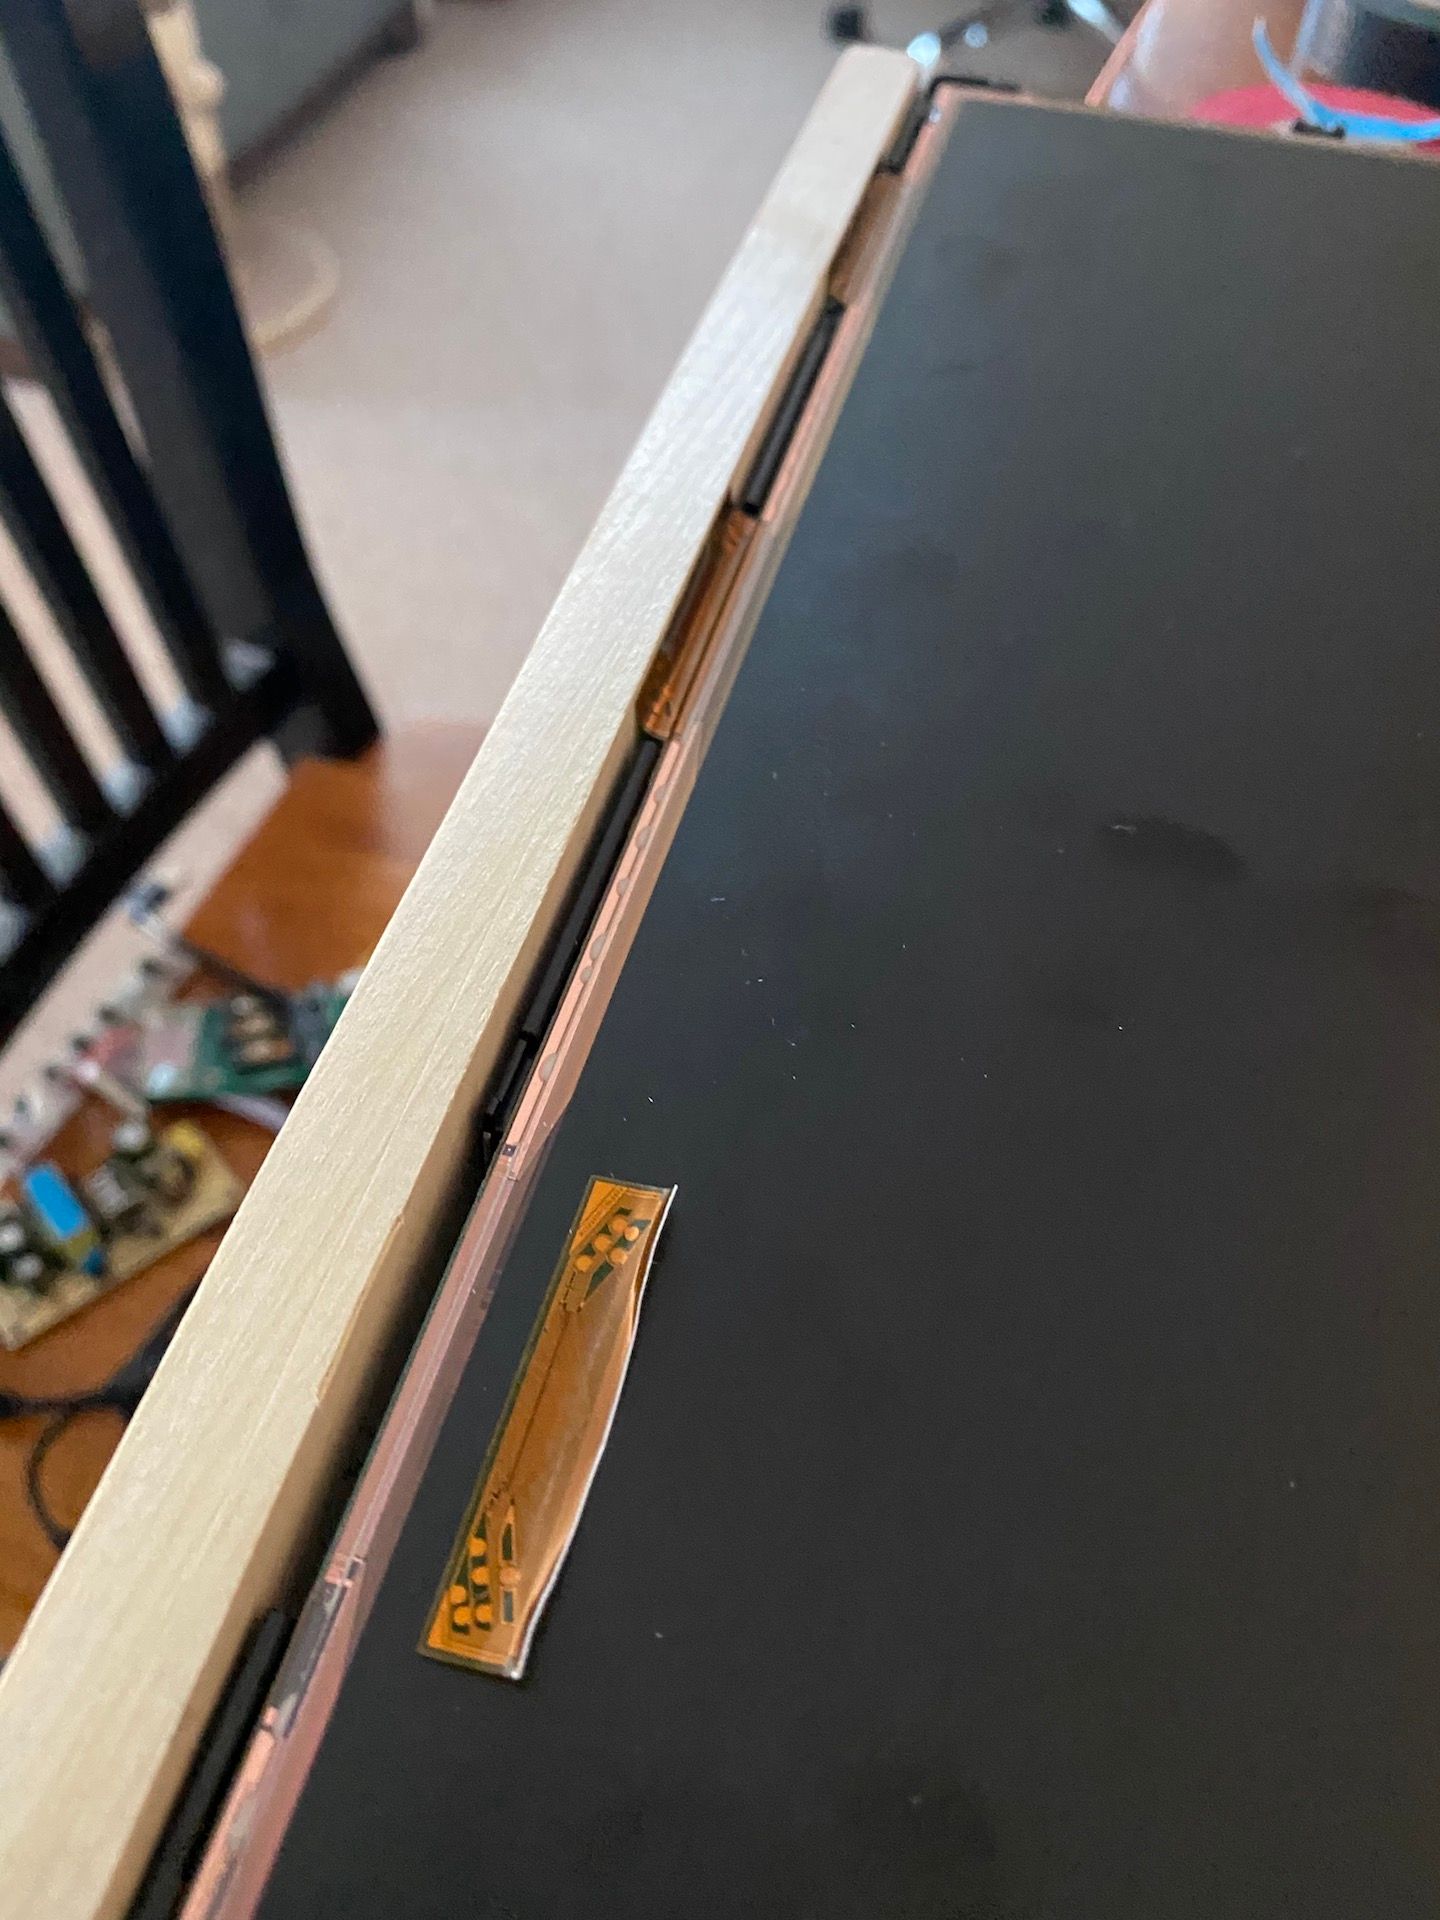
The mirror was never used but has been received with a broken edge of about 5 cm (height). The original size/details are as follows : 1x Mirropane™ Chrome Spy 6MM Width : 58 cm Height : 95,5 cm Weight : 8,31 Kg To be clear : The size presented above are the original size (without the broken edge), so this mirror can be used for anyone that needs a mirror with a height equal or less than 90,5 cm and a width equal or less than 58 cm. The purpose was to build a big 40 inch mirror, that means that for my project, this mirror cannot be used anymore but for everyone who has a project that needs a smaller mirror, this mirror can be used and (made) cut by any glazing manufacturer (to be done by the buyer or myself (upon request) - should not cost more than 20€) following your needs and be used as a must cheaper alternative than buying a new one. The selling price is 60€ (without the shipping fees and cut). The mirror is still originally packed and is located near the Belgium/German border, so we can talk about the shipping or pickup if anyone is interested. Instead of leaving it in my garage, I thought that it could be useful for someone, so don’t hesitate to get back at me. Questions are welcome. See pictures below. BITTE LESEN SIE DIE ANWEISUNGEN SORGFÄLTIG DURCH: Ich habe einen brandneuen Spiegel von PILLINKGTON, den ich verkaufen möchte. Der Spiegel wurde nie benutzt, wurde aber mit einer gebrochenen Kante von ca. 5 cm (Höhe) empfangen. Die Originalgröße / Details sind wie folgt: 1x Mirropane ™ Chrome Spy 6MM Breite: 58 cm Höhe: 95,5 cm Gewicht: 8,31 kg Um es klar auszudrücken: Die oben angegebene Größe entspricht der Originalgröße (ohne gebrochene Kante). Daher kann dieser Spiegel für alle Personen verwendet werden, die einen Spiegel mit einer Höhe von höchstens 90,5 cm und einer Breite von höchstens 58 cm benötigen. Der Zweck war es, einen großen 40-Zoll-Spiegel zu bauen, was bedeutet, dass dieser Spiegel für mein Projekt nicht mehr verwendet werden kann, aber für alle, die ein Projekt haben, das einen kleineres Spiegel benötigt, kann dieser Spiegel durch jeden Verglaser nach Ihren Wünschen gechnitten und verwendet werden (schnitt des Glases sollte vom Käufer betätigt werden (oder ich kann dass nach absprache machen ) - sollte nicht mehr als 20 € kosten (zb. bei Bauhaus/Obi etc…)), und als eine billigere Alternative als der Kauf eines neue Spiegels verwendet werden. Der Verkaufspreis beträgt 60 € (ohne Versandkosten und schnitt des spiegels). Der Spiegel ist noch ursprünglich verpackt und befindet sich in der Nähe der belgisch-deutschen Grenze, sodass wir bei Interesse über den Versand oder die Abholung sprechen können. Anstatt es in meiner Garage zu lassen, dachte ich, dass es für jemanden nützlich sein könnte, also zögern Sie nicht, sich bei mir zu melden. Fragen sind willkommen. Bild befindet sich unten. VEUILLEZ LIRE ATTENTIVEMENT LES INSTRUCTIONS: J’ai un tout nouveau miroir PILLINKGTON que je veux vendre. Le miroir n’a jamais été utilisé mais a été reçu avec un bord cassé d’environ 5 cm (hauteur). La taille / détails d’origine sont les suivants: 1x Mirropane ™ Chrome Spy 6MM Largeur: 58 cm Hauteur: 95,5 cm Poids: 8,31 Kg Pour être clair: la taille présentée ci-dessus est la taille d’origine (sans le bord cassé), donc ce miroir peut être utilisé pour toute personne qui a besoin d’un miroir d’une hauteur égale ou inférieure à 90,5 cm et d’une largeur égale ou inférieure à 58 cm. Le but était de construire un grand miroir de 40 pouces, cela signifie que pour mon projet, ce miroir ne peut plus être utilisé mais pour tous ceux qui ont un projet qui a besoin d’un miroir plus petit, ce miroir peut être utilisé et (faire) découper par n’importe quel vitrier (à faire par l’acheteur (ou je peux m’en occuper si nécessaire) - ne devrait pas coûter plus de 20 €) en fonction de vos besoins et être utilisé comme une alternative moins chère que d’acheter un nouveau mirroir. Le prix de vente est de 60 € (hors frais de livraison et découpe). Le miroir est toujours dans son emballage d’origine et est situé près de la frontière belgo-allemande, nous pouvons donc parler de l’expédition ou de l’enlevement sur place si quelqu’un est intéressé. Au lieu de le laisser dans mon garage, j’ai pensé qu’il pourrait être utile à quelqu’un, alors n’hésitez pas à me contacter. Les questions sont les bienvenues. Voir photos ci-dessous. [url=https://ibb.co/FzRqvw7][img]https://i.ibb.co/KWTzZqy/IMG-001.jpg[/img][/url] [url=https://ibb.co/Xs9RtDJ][img]https://i.ibb.co/ncTJjBk/IMG-5673.jpg[/img][/url] [url=https://ibb.co/G9PRSCY][img]https://i.ibb.co/jz4DX30/IMG-5675.jpg[/img][/url] ==> The red line is the part that will be cut
  • Do not use generic power supply on Raspberry Pi4

    2
    2 Votes
    2 Posts
    1k Views
    BKeyportB
    As with anything, you get what you pay for. Mine run off canakit power supplies. Works extremely well.
  • Transparent glass in front of Acrylic Sheet to hold it together ?

    7
    0 Votes
    7 Posts
    1k Views
    P
    @askmahesh Thank you for your kind response. For Acrylic sheet you will need to build a complete frame, after taking allowances as suggested by @bhepler